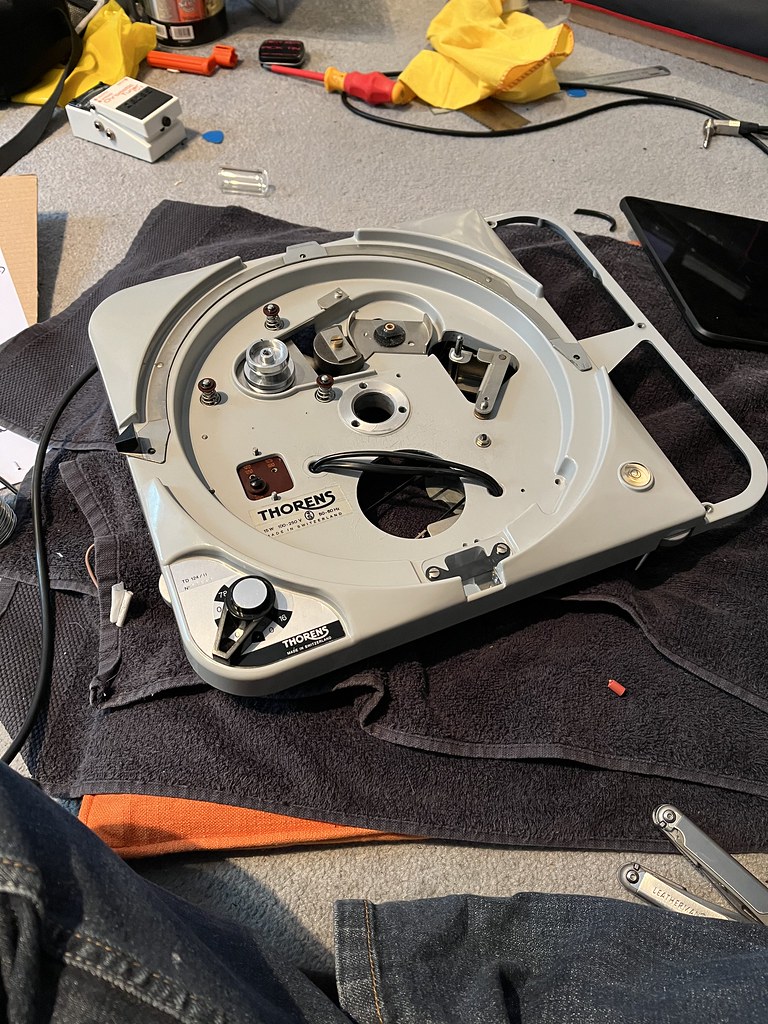
It's been a strange couple of weeks since my last update... my TD-124 now looks like this under it's hat:
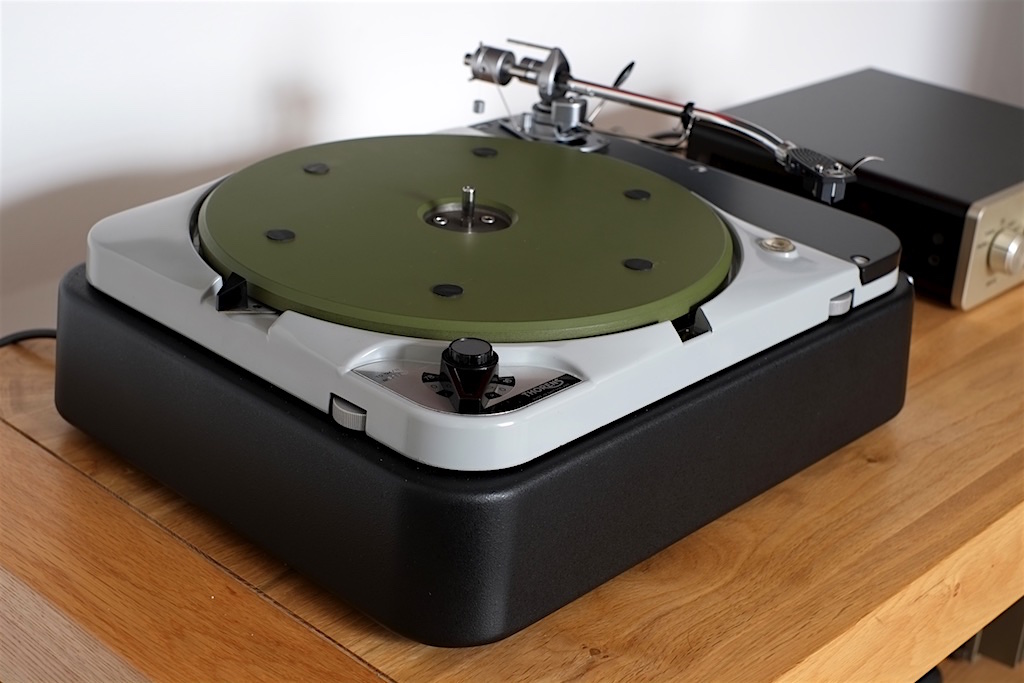
Yes, that is an original green Thorens cast iron platter! What happened is I became increasingly aware/irritated by a deep fairly quiet once per revolution "....fluppp..." sound that was audible on solo piano, string quartets etc, and tracked it down to an area of rough paint finish on the inside rim of my black Swissonor platter. Exactly the area the idler tracks. I'd not really noticed it with the La Scalas as they have a light and airy tonal balance, the Tannoys however have some real heft at the bottom so showed it up. I contacted Swissonor, who were very helpful indeed and suggested just sanding the area down with some wet and dry. Perfectly reasonable I guess, but me being me (i.e. picky almost to the point of OCD) I wasn't happy to go this route with such an expensive item, plus I have a good sense of pitch and was worried I'd end up knocking the thing off circle a bit. As such I've accepted a full refund and sent it back. Very generous indeed IMO given I had owned the thing for four years or so.
The thing that worried me most is the Swissonor platter simply kills the alloy one sound wise, even though the alloy one didn't have the rumble issue. It really is a lot better, the extent surprised me when I A/B tested them when boxing the Swissonor up. It would have been a great shame to downgrade the deck to that extent. I don't know where my new green iron platter, from the south of France no less, fits in the grand scheme of things compared to the Swissonor, but it is clearly a lot better than the alloy one, so I'm happy again. I also think I've got the pitch the most true I've had it on this deck so far, piano is sounding very good assuming a nice concentrically cut record.
The green iron platter, being a ferrous iron, obviously has a degree of magnetic attraction, but it is controllable. I read elsewhere that it is officially 0.5g at record playing height with a DL-103 (which I am currently using) and I've measured this and agree. Just moving the SME's balance weight back half a gram gives the right reading at record height. I understand the figure of 0.7g is correct for an SPU, but I haven't got one of those... yet! It is not an issue at all with moving magnets, but I suspect Deccas may be a no-go.
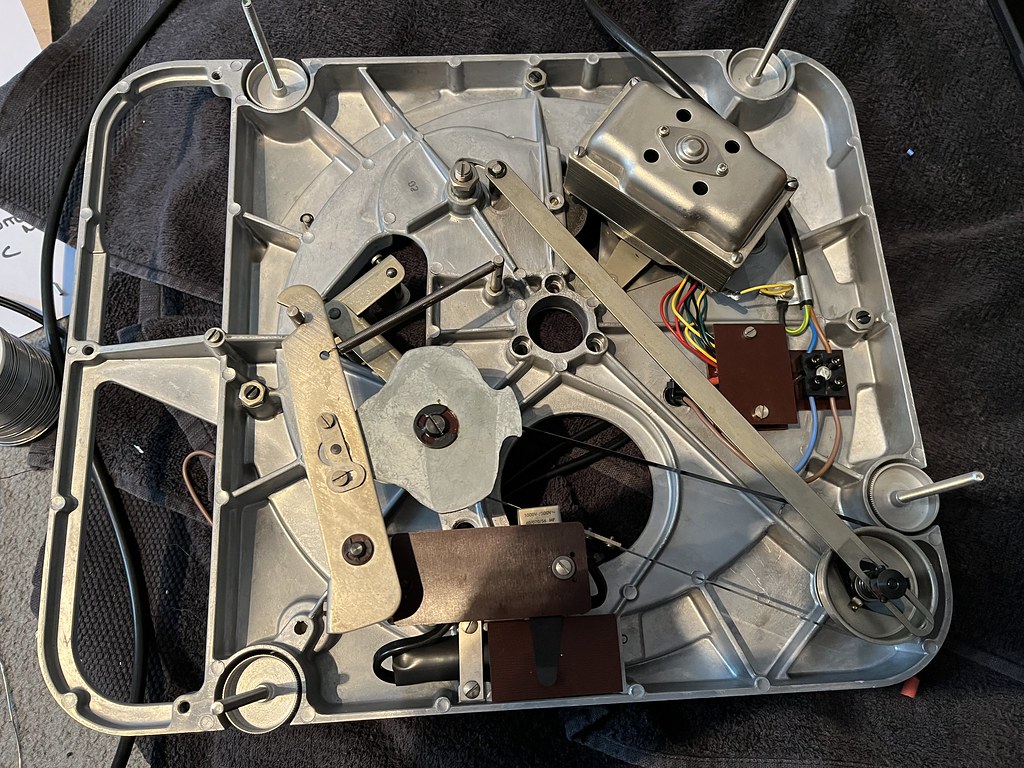
PS There will be more to write about belts. A lot more. I am now convinced my TD-124 is working absolutely perfectly, but I haven't yet found a belt that is immune to shedding a little black gunge after a day or two, and even the slightest amount and the transmission starts making a bit of noise. I am convinced this is down to all available belts being too tight for the 50Hz pulley, i.e. IMO there should be two belts for a TD-124, one for the 50Hz pulley and one for the 60Hz, a belt that "does both" is just too compromised. I'll get there in the end. At least I am now certain it is not the motor or stepped pulley as simply cleaning the belt and the surfaces it rides on restores silent running. In many ways it is a non-issue as this transmission noise does not seem to exit as rumble, I can't hear it on a silent groove record. I'd just like to sort it, so I'm still belt shopping...

")