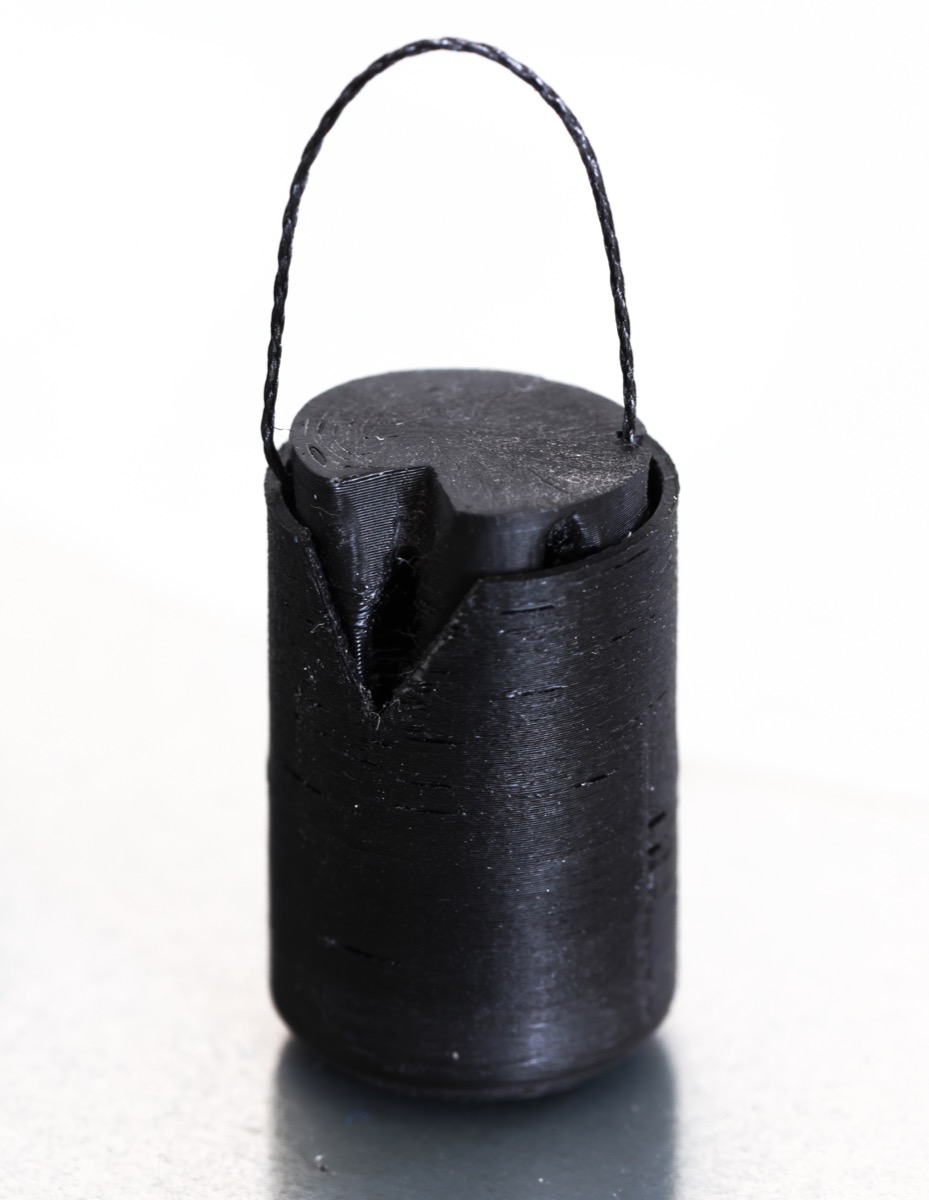
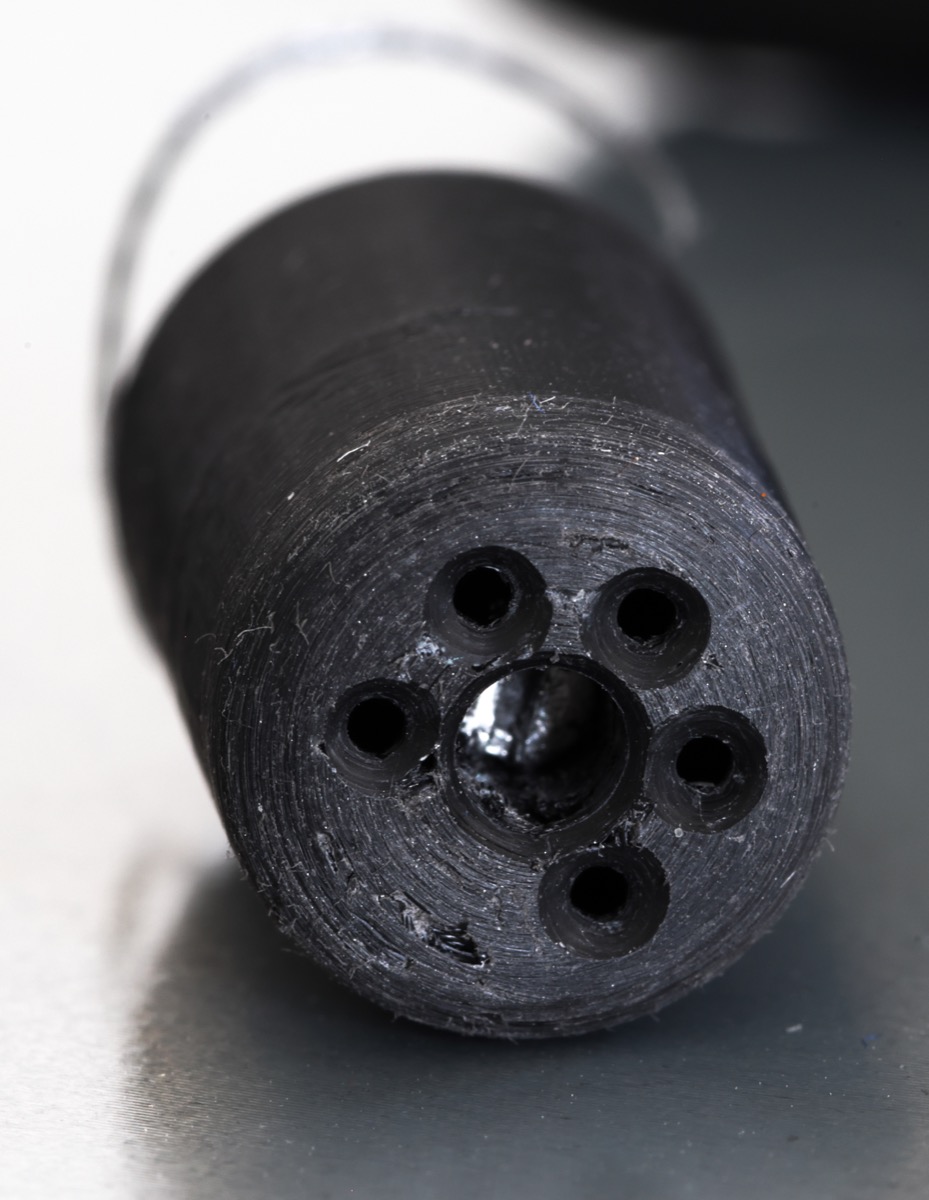
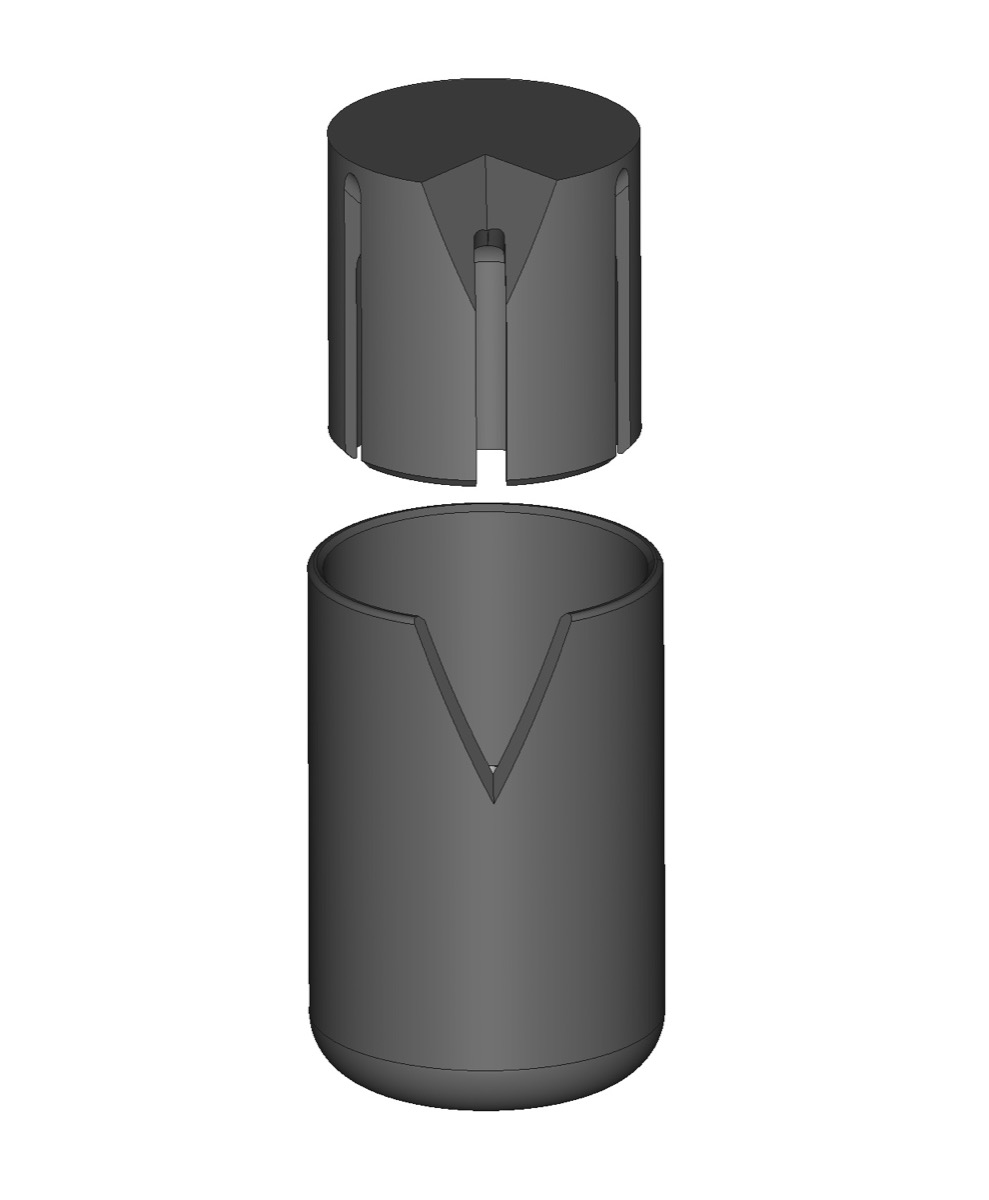
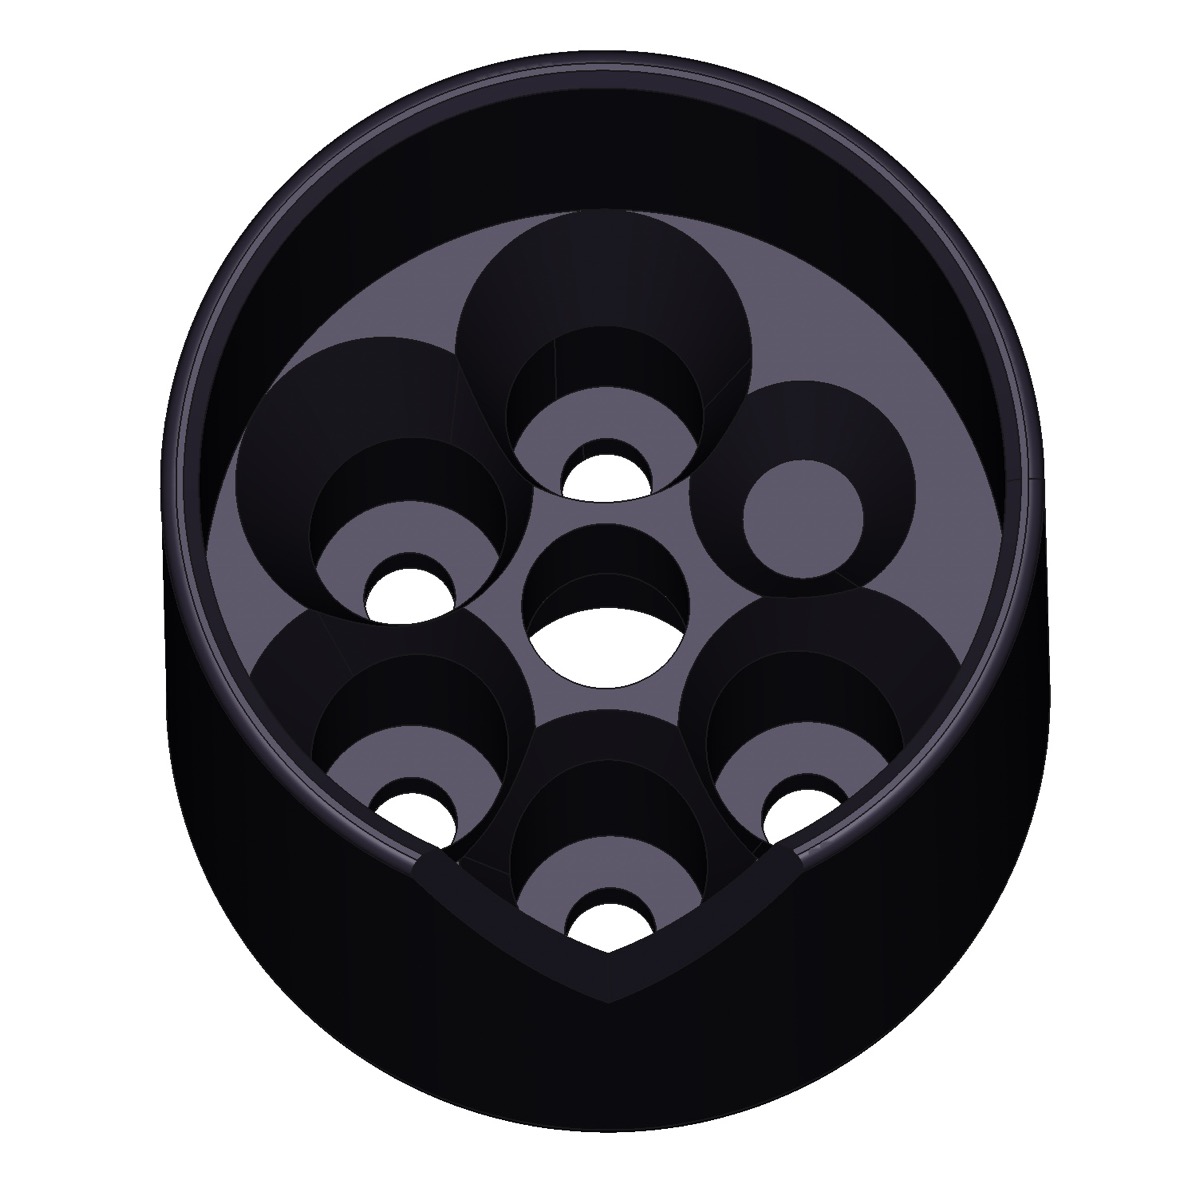
advertisement


Sideways Uni-Pivot Arm, SUPATRAC Blackbird, formerly "Ekos Killer (Price?)"

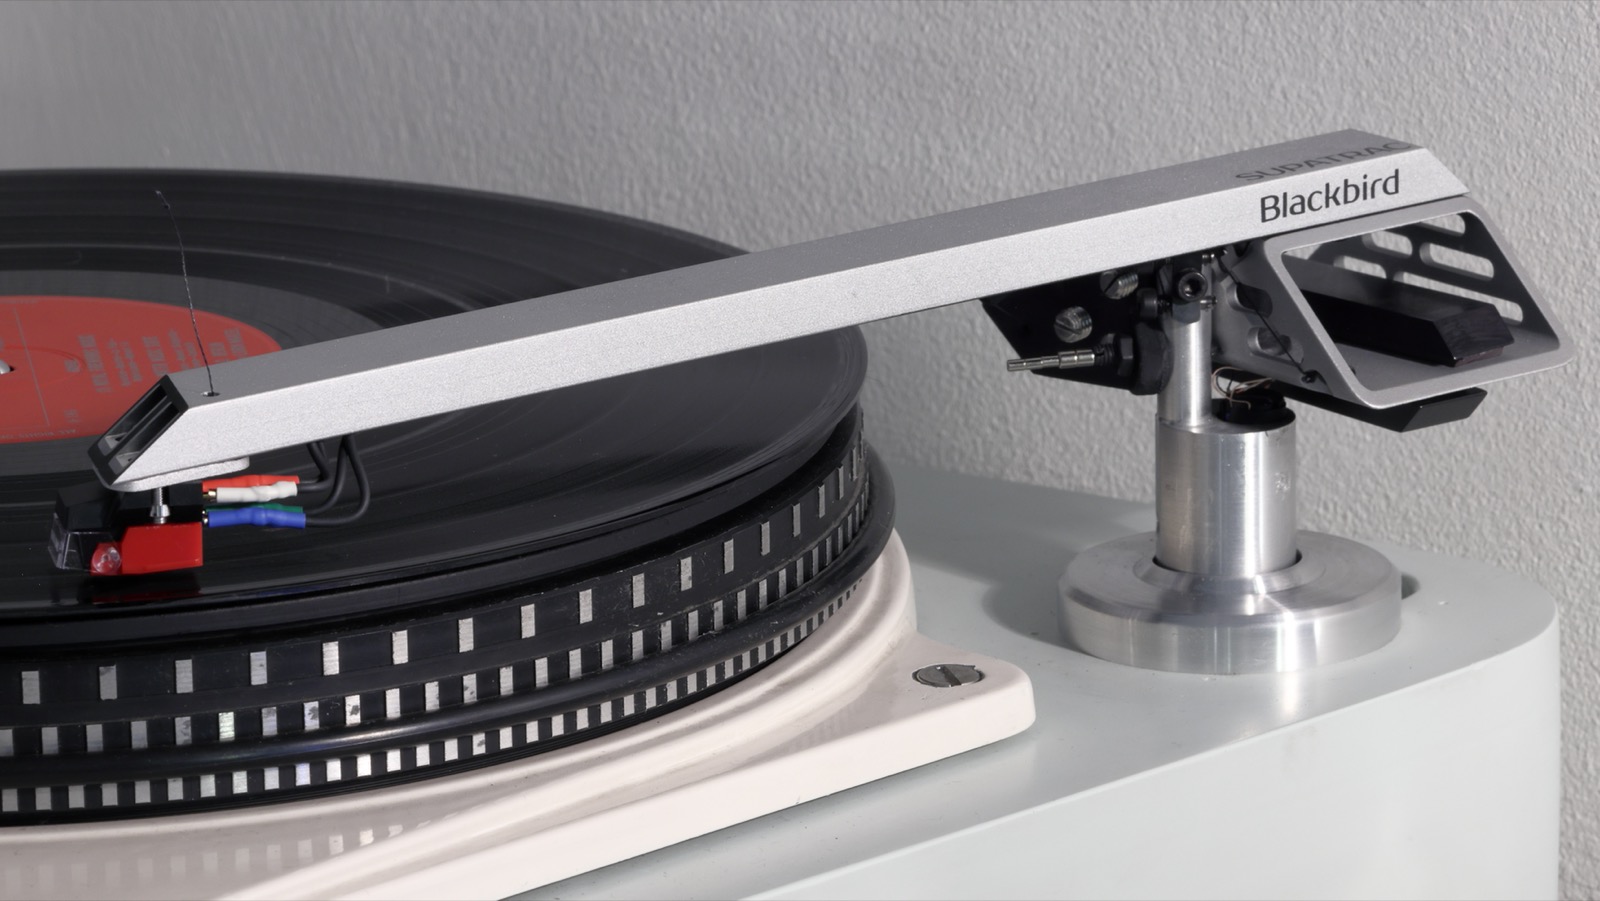
The first 'Silbervogel' is in service.

1.jpg


2.jpg


3.jpg


4.jpg


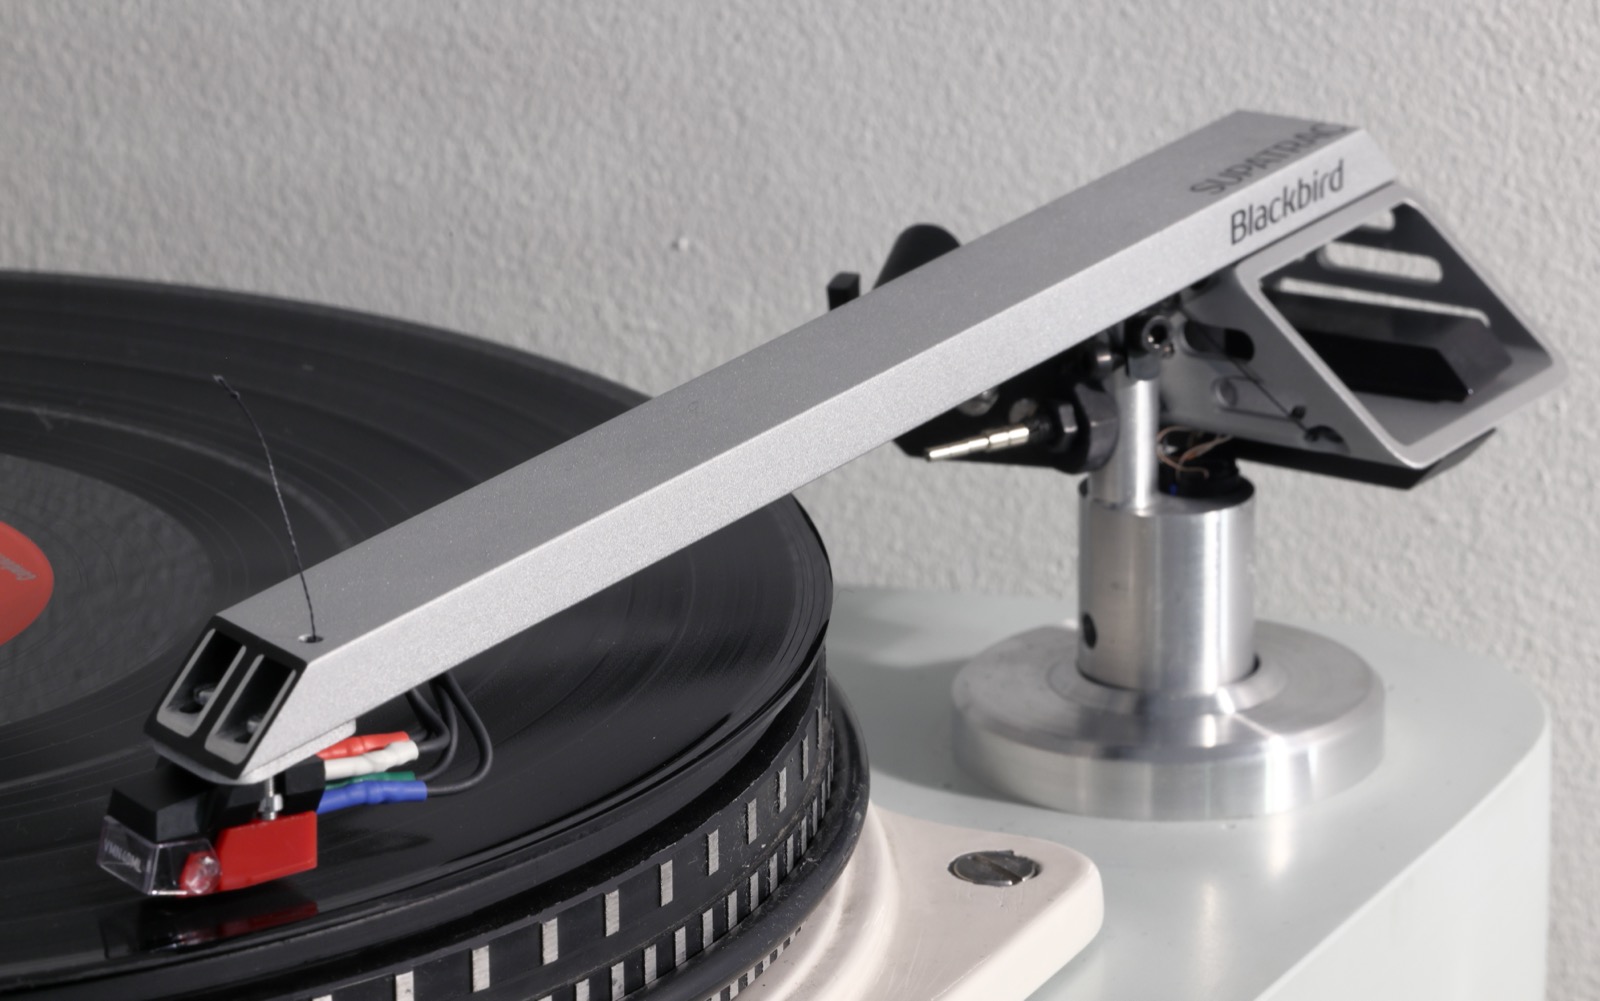
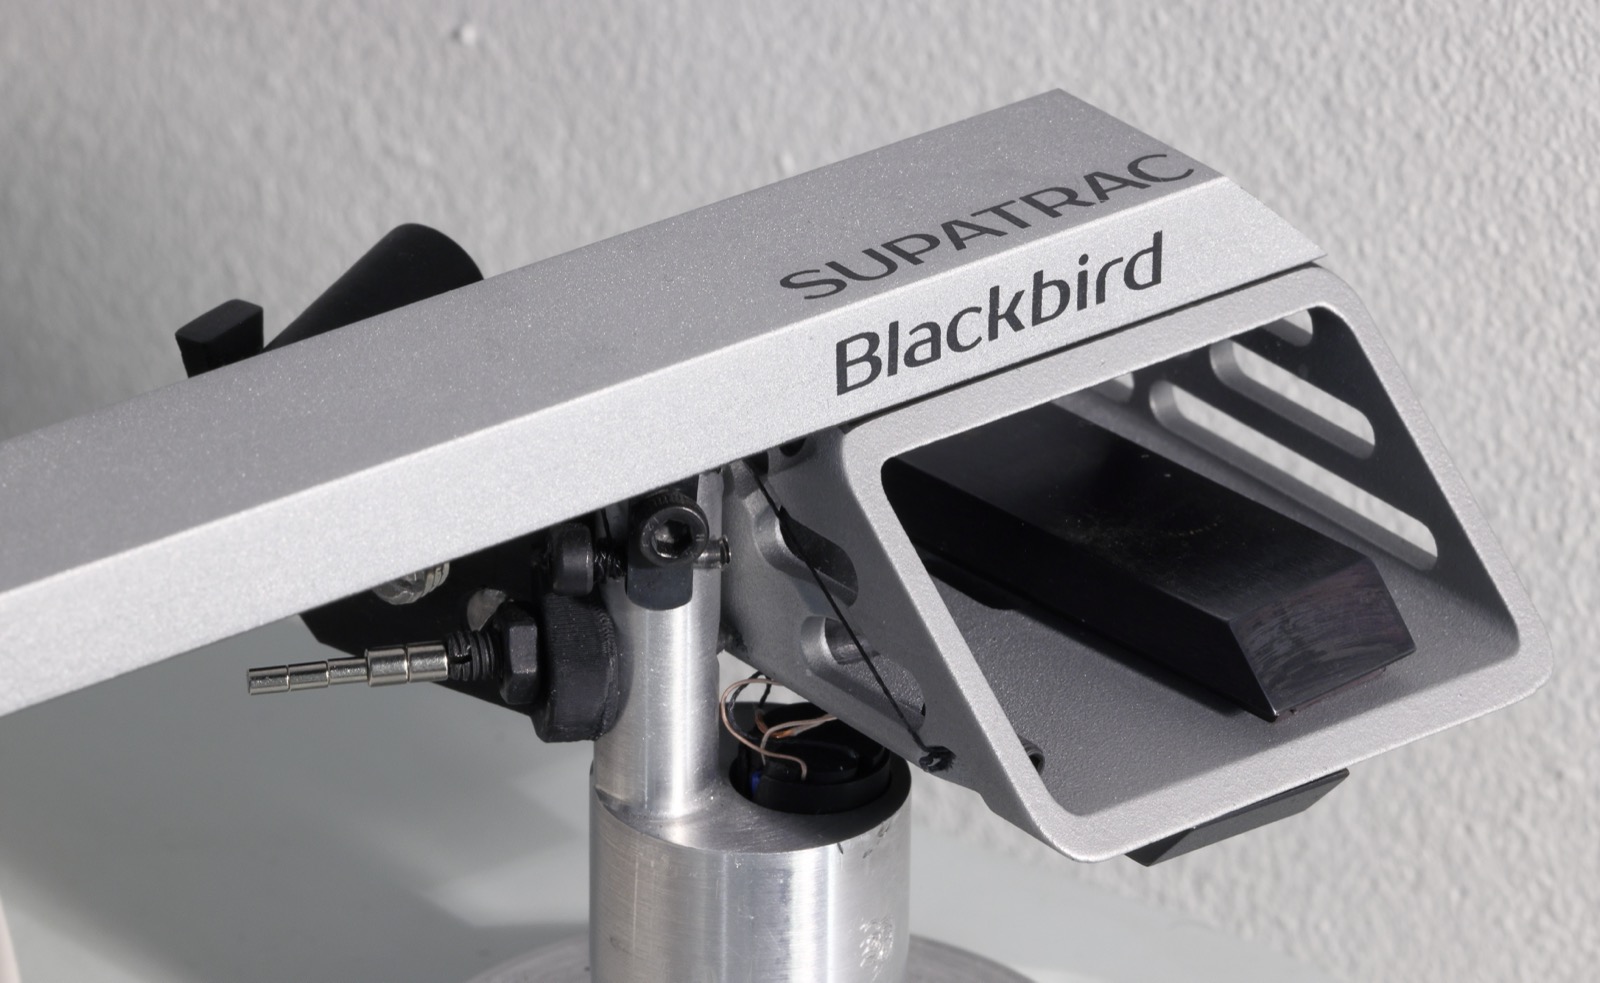
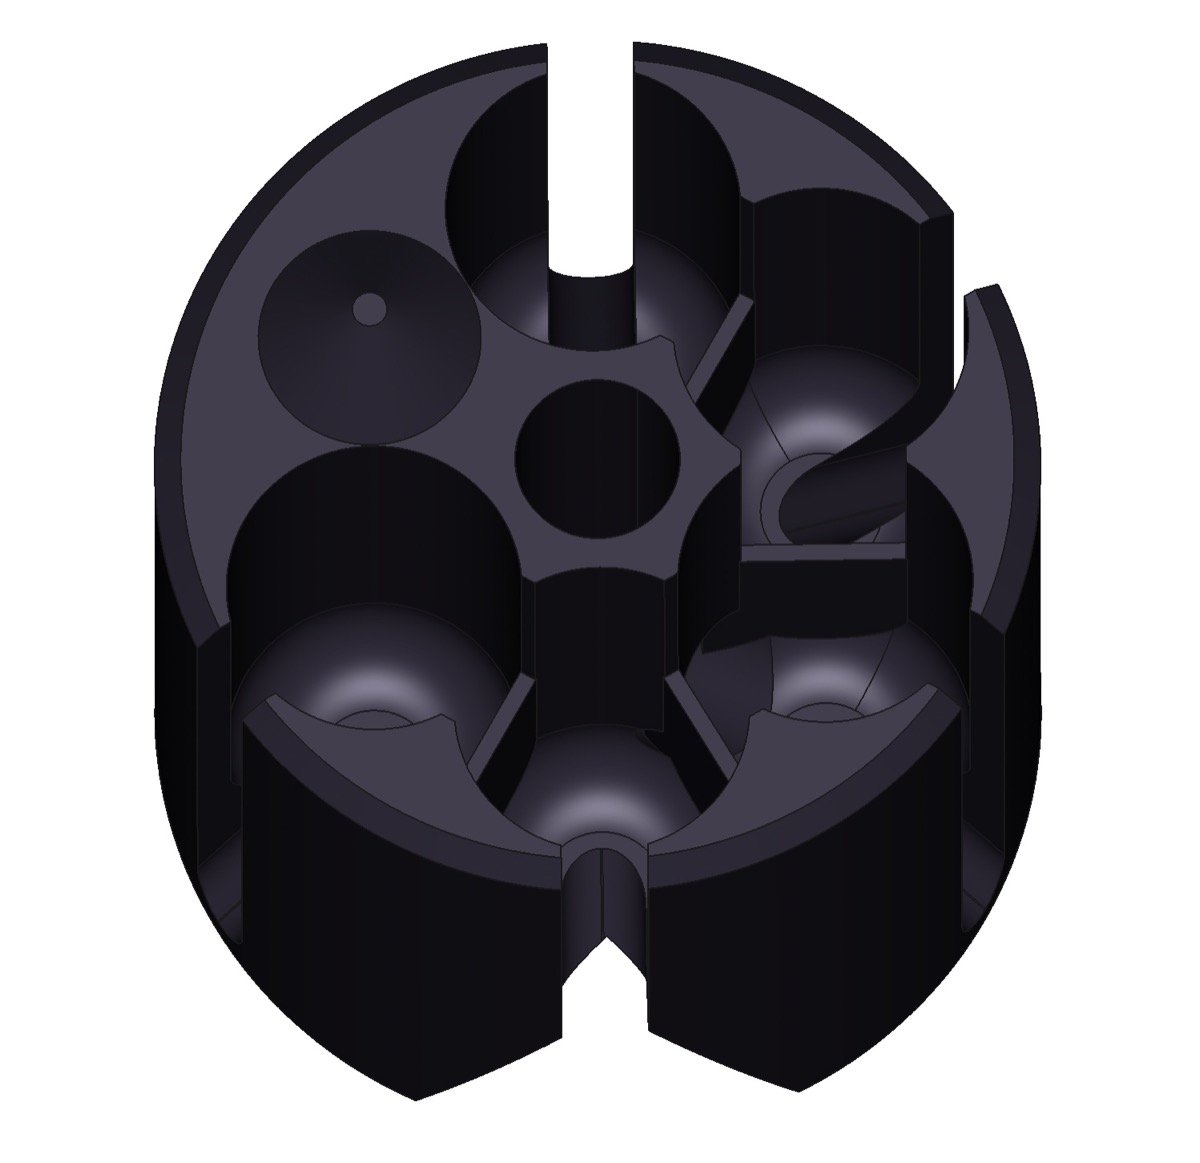
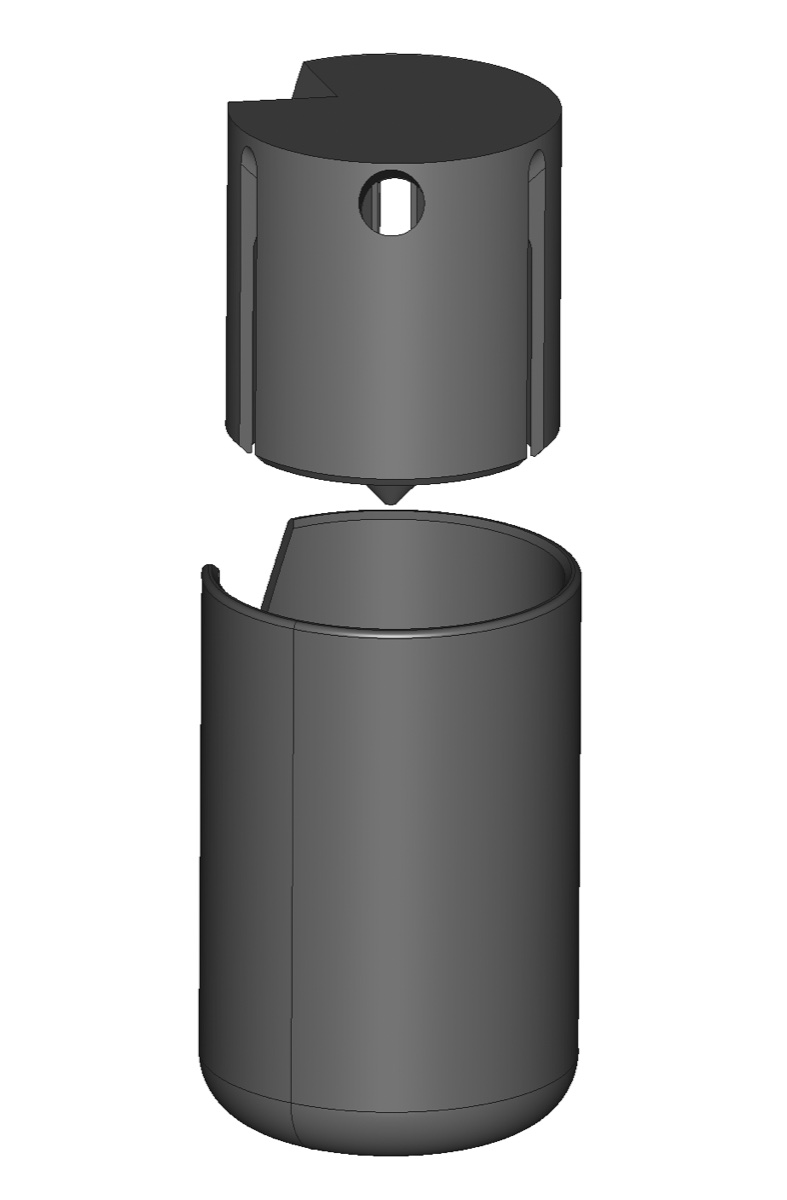
The pillar and base in these pictures are old ones. Current silver pillars are a grit-blasted aluminium finish which is very similar to the painted arm.

I expect that I will prefer further silver arms to be painted silver rather than polished at the headshell end, so the black carbon-fibre/aluminium sandwich will probably not be visible.

Counterweights will be silver too, unlike these.

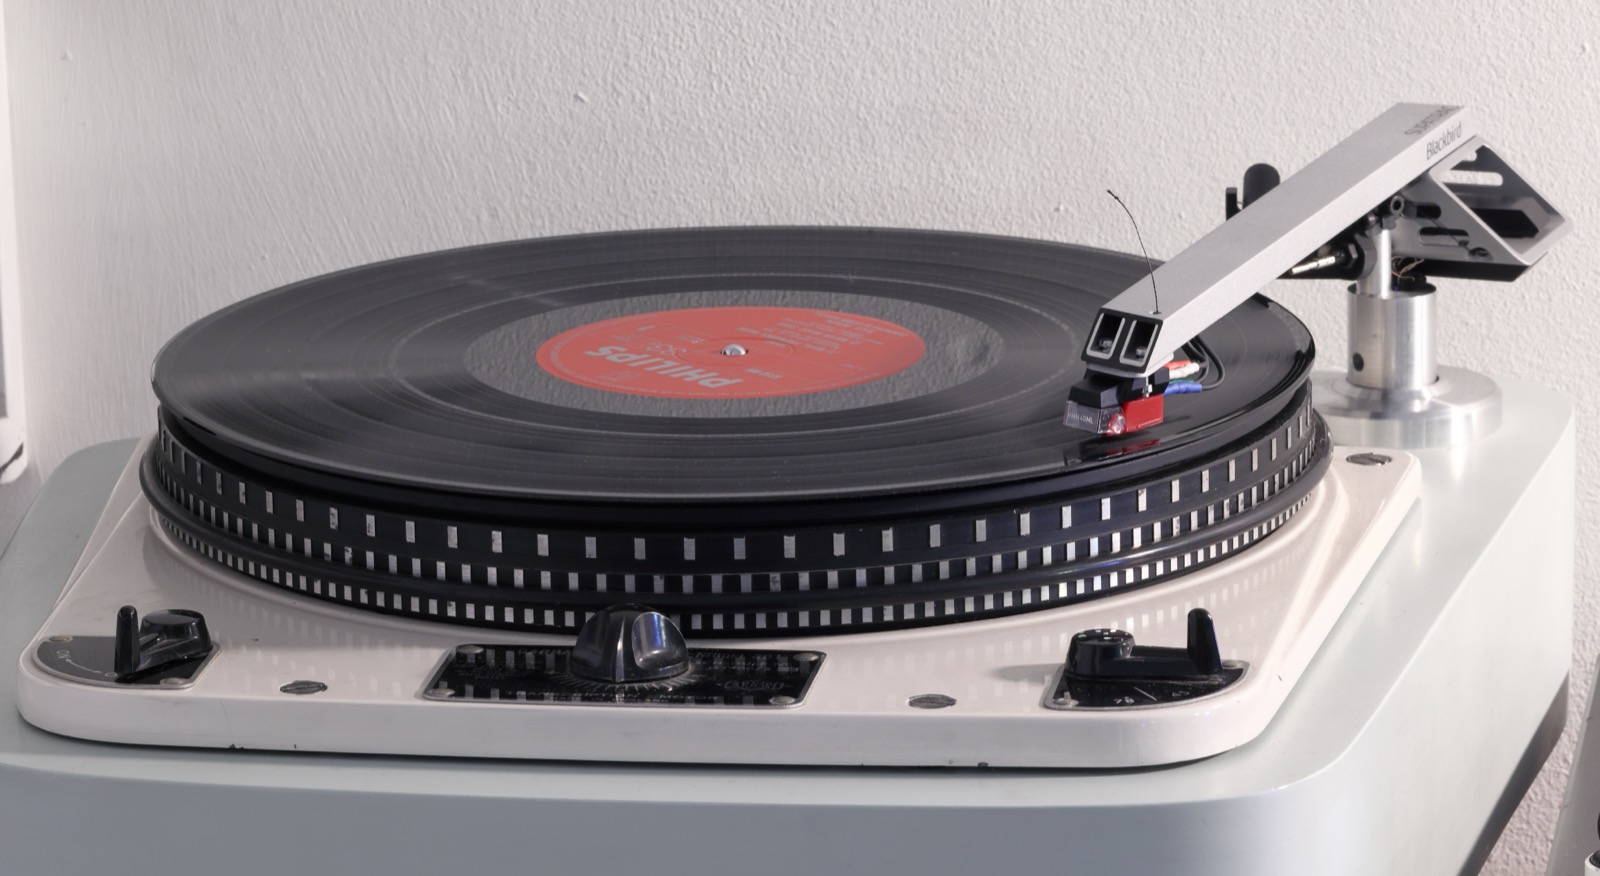
I think the 'Silbervogel' looks better than black on my Garrard 301 which has a bright colour scheme. I think it will also look quite smart on a black Linn arm-board. It may be that Technics 1200 users prefer silver and 1210 users prefer black.

I intend to offer custom colours using Cerakote colours or mixtures, but I will have to charge an additional fee, first to get the Cerakote in, and also for the one-off painting job.
 
Here is a little more info about the new DIN plug. You insert your existing arm electrical connection pegs into it and then screw it together.

1.jpg


2.jpg


3.jpg


4.jpg


5.jpg


6.jpg


...and here are a couple of videos showing that it takes only 30 seconds to mount or dismount the arm:

https://supasound.com/videos/mountarm.mov

https://supasound.com/videos/dismountarm.mov

As you can see, installing or switching arms isn't much harder than exchanging a headshell now.

That look excellent however I’d have a concern about the way the plug is removed as shown in the video. Unless I’m not seeing it correctly it looked as though you pulled on the fine cables to remove it and it appeared to require a reasonable amount of effort.

Would it be possible to design a recess of some kind into the plug to lever it out? Or is the printed material not strong enough?
 
Yes, there is a tunnel through the plug for the loop of braid, and I made that tunnel angled and large enough to insert a small Allen key, so you can either use the loop as I did here, or you can insert an Allen key and pull it upwards. If you look carefully at the video you will see that I did not strain the fragile Litz wires - I held the arm close to its normal position and pulled upwards on the loop of braid only. In the mounting video you can see the Allen key hole too. If you're careful I imagine that this should be safe for hundreds of operations, and no worse than fiddling with tweezers.

Here's an angle which shows the tunnel for an Allen key:
7.jpg
 
Yes, there is a tunnel through the plug for the loop of braid, and I made that tunnel angled and large enough to insert a small Allen key, so you can either use the loop as I did here, or you can insert an Allen key and pull it upwards. If you look carefully at the video you will see that I did not strain the fragile Litz wires - I held the arm close to its normal position and pulled upwards on the loop of braid only. If you're careful I imagine that this should be safe for hundreds of operations, and no worse than fiddling with tweezers.

Here's an angle which shows the tunnel for an Allen key:
7.jpg
Excellent, that sounds perfectly practical. Sometimes it’s hard to get a feel for the durability of something until you’ve done it yourself!
 
Developing this part has been a painstaking process, often requiring adjustment of part dimensions by a tenth of a millimetre to make the difference between capacitous enough, strong enough, and printable. It is a fragile part and must be handled with care until it is assembled.

If I were in a position of needing to produce thousands of arms in short time I would have these parts injection moulded, but the set-up costs are quite steep, so I don't know when that opportunity will arise. At least the 3D printed parts do work, even if they can look at little scruffy at this scale.

Once printed, the parts have to be machined and hand finished. For instance, the printer does not have the resolution to put nice countersinks around a 1mm hole, so I have to put those in by hand. They help the plug to find its orientation on the pins once you're near enough. Bear in mind that the part is only 11mm in diameter.

A surprising number of design features were needed, for example, note the v-shaped recess to enable the plug to get past the pivot point on arms where the pivot is extended a few extra millimetres for spindle-to-pivot leeway or for accommodating long cantilever cartridges. The plug also has to give room for the counterweight when it is configured close to the pivot with light cartridges. There was a lot more to getting this part right than meets the eye at first, partly due to the need for backwards compatibility.

Have no fear about the loop of braid - it is bastard-strong and will cut through your fingers given enough force. The ABS will give up first. I use a double figure of eight in the American climbing tradition, not the infamous 'European Death Knot' ('reef knot') which is claimed to have killed an unknown number of climbers!

If you damage the plug in a mishap, I can supply spares cheaply and promptly.

Early on in the arm development process some kind soul recommended the LEMO plugs as used by Well Tempered Labs. I did not use them because I could not devise a way to fit even the smallest ones into the column while providing access to the plug-release grip which would be down inside the conduit. This custom plug is low tech but more practical given all of the other contraints. I wished to avoid a flying lead going to a separate connector. This solution is much neater and involves a much shorter unshielded run.

I'm pleased with how this part has turned out because it makes arm installation about ten times easier. Something had to be done about the messing around with tweezers.
 
Yep, I did badly with the tweezers and had to be rescued! This looks much better. Now, about that cueing mech...
 
About the cuing mech: whenever I have a free moment I turn my mind to devising a simple, effective easily-made cuing/lifting mechanism. I don't usually get far before all aspects of the brief point me towards a short vertical piece of string at the headshell. It's as if I designed the first wheel and the priests told me to go away and make it square so that rolling could be more like walking.

I'm still working on it and praying for a Eureka moment.
 
Developing this part has been a painstaking process, often requiring adjustment of part dimensions by a tenth of a millimetre to make the difference between capacitous enough, strong enough, and printable. It is a fragile part and must be handled with care until it is assembled.

If I were in a position of needing to produce thousands of arms in short time I would have these parts injection moulded, but the set-up costs are quite steep, so I don't know when that opportunity will arise. At least the 3D printed parts do work, even if they can look at little scruffy at this scale.

Once printed, the parts have to be machined and hand finished. For instance, the printer does not have the resolution to put nice countersinks around a 1mm hole, so I have to put those in by hand. They help the plug to find its orientation on the pins once you're near enough. Bear in mind that the part is only 11mm in diameter.

A surprising number of design features were needed, for example, note the v-shaped recess to enable the plug to get past the pivot point on arms where the pivot is extended a few extra millimetres for spindle-to-pivot leeway or for accommodating long cantilever cartridges. The plug also has to give room for the counterweight when it is configured close to the pivot with light cartridges. There was a lot more to getting this part right than meets the eye at first, partly due to the need for backwards compatibility.

Have no fear about the loop of braid - it is bastard-strong and will cut through your fingers given enough force. The ABS will give up first. I use a double figure of eight in the American climbing tradition, not the infamous 'European Death Knot' ('reef knot') which is claimed to have killed an unknown number of climbers!

If you damage the plug in a mishap, I can supply spares cheaply and promptly.

Early on in the arm development process some kind soul recommended the LEMO plugs as used by Well Tempered Labs. I did not use them because I could not devise a way to fit even the smallest ones into the column while providing access to the plug-release grip which would be down inside the conduit. This custom plug is low tech but more practical given all of the other contraints. I wished to avoid a flying lead going to a separate connector. This solution is much neater and involves a much shorter unshielded run.

I'm pleased with how this part has turned out because it makes arm installation about ten times easier. Something had to be done about the messing around with tweezers.


I suggest you look at a resin 3D printer
 
About the cuing mech: whenever I have a free moment I turn my mind to devising a simple, effective easily-made cuing/lifting mechanism. I don't usually get far before all aspects of the brief point me towards a short vertical piece of string at the headshell. It's as if I designed the first wheel and the priests told me to go away and make it square so that rolling could be more like walking.

I'm still working on it and praying for a Eureka moment.
I hope your praying pays off some time soon. I thought cueing with an Aro was hairy, but this thing as it stands redefines the word precarious, IMHO of course. If ever a piece of equipment told you what records you could play, this is it. 7" singles are out, albums of a least an hour a side are in.
 
I hope your praying pays off some time soon. I thought cueing with an Aro was hairy, but this thing as it stands redefines the word precarious, IMHO of course. If ever a piece of equipment told you what records you could play, this is it. 7" singles are out, albums of a least an hour a side are in.

Have you tried cuing with a tress? Blackbird owners and reviewers have had no complaints. As far as I'm aware only about 2% have bothered to switch to the supplied stiff lifter.
 
I suggest you look at a resin 3D printer

I'll look into that - thanks. I use ABS because it's light, resilient and has a good reputation for longevity. I can vouch for that as I have some Airfix models from my childhood which do not seem to have deteriorated. I expect to experiment with 'Onyx' (carbon fibre enriched filament) at some point.
 
Watch out for conductivity with any carbon fibre content. This may affect the connections electrically.

Resin printers are slow and generally have small bed areas, but superbly accurate with a good finish. Could be ideal for something like this.

POM (delrin) would be good and many printers can print that.
 
I hope your praying pays off some time soon. I thought cueing with an Aro was hairy, but this thing as it stands redefines the word precarious, IMHO of course. If ever a piece of equipment told you what records you could play, this is it. 7" singles are out, albums of a least an hour a side are in.
Have you used a Blackbird tobermory, or are you basing that on the way it looks? I haven't used an Aro, but I've used Hadcocks and occasionally other unipivots. The Blackbird handles more like a gimbal-bearing arm than a unipivot, so I'd expect the Aro to be a bit trickier to cue by hand, if anything. The tress is fine, and I've used the Blackbird with it for months without incident, but my wife doesn't like cueing by hand , and won't use a deck without a cueing mechanism. She can't be bothered with the 'faff' of the trough and clamp on my Townshend Rock either, but she likes playing records.

Sometime in the next few years there will probably only be space for one turntable in a new house and living room, and my wife will need to be able to use that deck. Presently I expect it to end up being either the Bardo, or the SP10/II currently being refurbished, along with the Blackbird, but it'll need that cueing mechanism, otherwise the future is probably SL1200G-shaped! While I'd prefer something designed specifically for the arm by Richard, I'm sure I can knock up a suitable support for a Rega mech if needs be.
 
Watch out for conductivity with any carbon fibre content. This may affect the connections electrically.

Resin printers are slow and generally have small bed areas, but superbly accurate with a good finish. Could be ideal for something like this.

POM (delrin) would be good and many printers can print that.

Good point, and thanks for the advice. I should have thought of that because the Blackbird relies on the conductivity of the carbon fibre arm tubes for earthing/ shielding.

I'll definitely look into resin/delrin printers.
 
It seems to happen quite a bit that people assume that a SUPA is laterally unstable like a conventional uni-pivot. As toaster says, it handles much more like a gimbal arm. As you cue it there is no sense of lateral wobble because that mode of motion is constrained by the hoist trapeze and bearing. There are two fixed points on the bearing's vertical (yaw) axis. I suppose it's not until people actually use a SUPA that they realise it just isn't like previous uni-pivot designs and has more in common with a Kuzma 4point.

The tress allows you to lower the stylus onto the intro band so that it can engage with the groove before you let go. This means that if it slips off the side of the record it will not drop to catastrophe. That is why I suggest that it is safer than a lever lift. Once you have practiced the lower-listen-let-go technique a few times I think it becomes intuitive and reassuring compared to nervously watching a lever lift arm descend in the hope that it will not eject the arm and risk cartridge perdition. Especially with 7 inch singles.

This all said, it's important to me that toaster's better half is as happy with his tonearm as he is, so I will try to design a viable lever lift, or eventually resort to an expensive bought in part.


advertisement


Back
Top