advertisement


Any Cambridge Audio CD2 owners here?

Make sure the boards still fit without the new caps touching the next board...they look a little larger...ask me how I know :)

Interesting too that CD2 DAC boards are different from CD3, at least in layout.

Edit to add: just checked, DAC boards appear same between CD2/CD3...sorry
 
Thanks for the warning about the spacing but it looks fine on the CD2 with those caps. I guess the boards must be spaced slightly further apart.

I'll try to get a bit more time on the CD2 today.
 
More updates..

The display board is nearly finished. I've already replaced one of the NSM4202A display units with a new old stock one picked up from ebay.

P1100923 by Michael Pickwell, on Flickr

A well known problem with the CD2 is that they have a tendency to burn out the NSM4202A's because the player runs them too bright. Pin 4 of the display goes to a current limiting resistor which on the CD2 is 2R2. On Philips players this is 3R3 so I have taken the opportunity to up the two current limiting resistors to 3R3 on my CD2. Hopefully that'll help the new displays to last longer.

P1100924 by Michael Pickwell, on Flickr

I've also replaced the two axial 47uF caps and the small 10uF on the remote control infrared sensor.

I've purchased a cheap Philips CD371 from ebay which I'm going to use a donor player. It'll give me another working NSM4202A as well as a spare CDM4/11 and spare TDA1541 plus other assorted useful spare IC's.
 
Earlier I mentioned that I would cover the topic of voltage regs in more detail and here's why....

When I bought this unit it was described as having a working digital output but no analogue output. In fact when I tested it wouldn't read discs either but ho hum..

Anyway I've discovered at least one reason why there's no audio output. Some muppet has replaced the 7915 reg which supplies the -15v to DACs and op amps with a +ve 7815!! No wonder it doesn't bloody work!

I've now refitted the correct part.

P1100925 by Michael Pickwell, on Flickr
 
I finally have a copy of the CD service manual thanks to a kind forum member over on diyaudio. Ruud, if you're reading this - thank you!

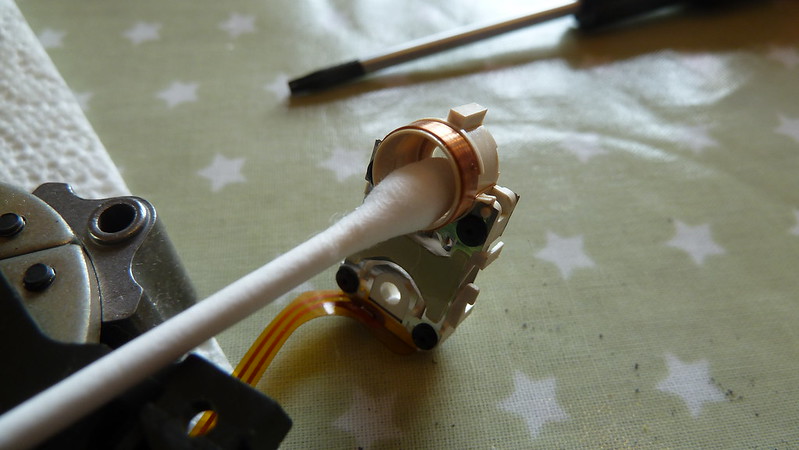
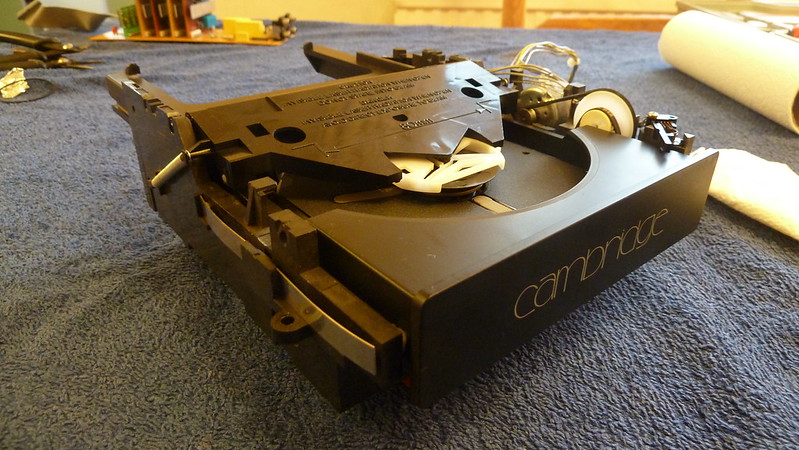
I've made quite a bit of progress over the last few days fully stripping, cleaning and rebuilding the CDM4/11 laser mech. After a good scrub clean in the kitchen sink with some degreaser and hot water the plastic bit came up like new.

Here's a pic of the quality brushless motor. I'm cleaning out the old grease from the lower bearing and putting in some fresh synthetic grease.

P1100935 by Michael Pickwell, on Flickr

The pivot ball bearing need cleaning and regreasing too.
P1100933 by Michael Pickwell, on Flickr

Carefully cleaning the laser optics.
P1100932 by Michael Pickwell, on Flickr

All finished with a new rubber belt too.
P1100931 by Michael Pickwell, on Flickr
 
The original laser in my player wasn't working well so I purchased a Philips CD371 from ebay as a donor and have taken the laser from it for the CD2.

Now that I have a copy of the service manual I can go about making the laser current and focus offset adjustments that are necessary after a laser transplant.

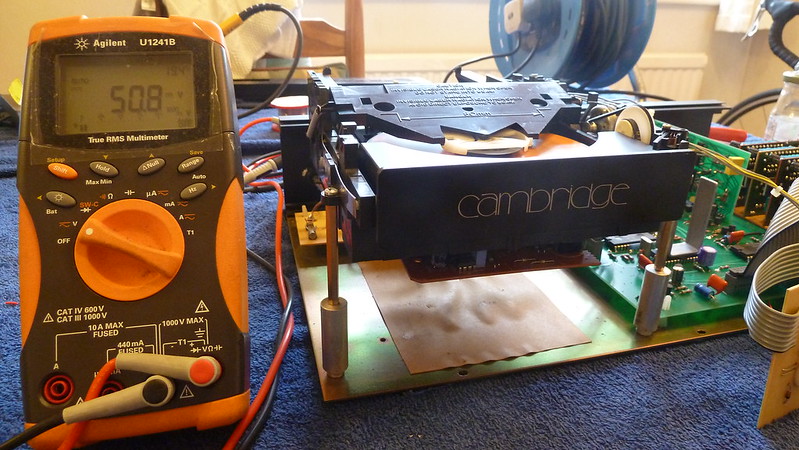
Here I'm in the process of setting the laser current. By lifting the mech up on 50mm standoffs it gives access to the trimpots on the PCB that's slung under the CDM4.

P1100936 by Michael Pickwell, on Flickr

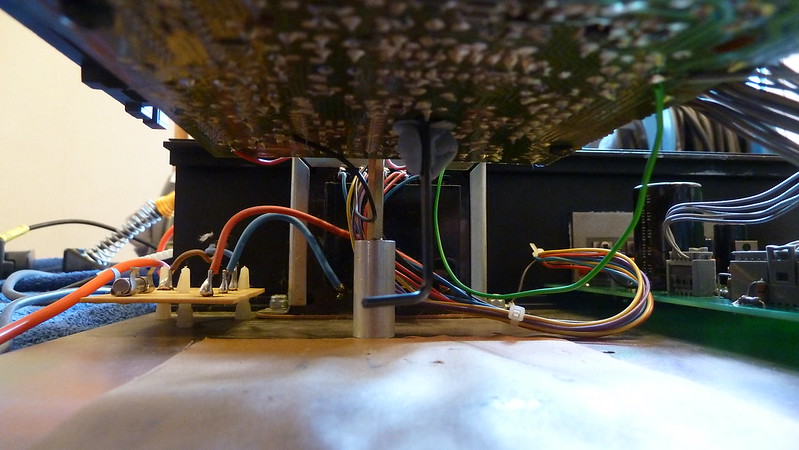
The underside of the PCB showing the small hex key used to turn the trimmer. Blu-tack stops the hex key from falling out.
P1100937 by Michael Pickwell, on Flickr

Note the various wires temporarily soldered onto the requisite test points.
 
It's ALIVE! Whoop Whoop!

Temporary lash-up and connected to my dining room system and it is making music with no distortion.

P1100938 by Michael Pickwell, on Flickr

The CDM4/11 still isn't reading brilliantly well but hopefully I can sort that with a bit more fine tuning of the focus offset but before I can do that I need to wait for the second NSM4202A display module to arrive from Germany. I'd hoped to take the NSM4202A from the CD371 (which was part of the plan) but the one in the Philips already has a segment out and since I've come this far it makes sense to splash out on a new one.
 
Great work Mike - you’ve shamed me, I did nothing more than clean the lens on my CD3 rebuild :)

Do you have the Manual in electronic form? I’d love a copy please.
 
The CD2 is getting better and better after running it for a few hours. I'm happy with my adjustment of the laser current but I'm still a bit unsure about the focus offset adjustment.

Does anyone else here have experience of adjusting the CDM4?
 
You will need "Test Disk 5" to complete this procedure.
Hi Darmock, I believe I can just do it using a small selection of factory CD discs in good condition and then just set it for an average value across the various discs. I regularly do a full laser alignment on Sony machines and I've never found it necessary to use the special YEDS test disc that referred to in the service manuals. Test discs just have a guaranteed known quality/reflectivity etc.

Actually it's quite remarkable how much CD discs vary in their reflectivity.


advertisement


Back
Top