
Mike P
Trade: Pickwell Audio
Yes the first one. Aha! Glad it’s gone back to original.
my second question - would you restore to a custom colour??
I like the original colours myself but yes I could do it, provided I can get the paint mixed. For example if you wanted a specific car colour that'd be easy to do.
Earlier this year I visited English Acoustics and saw their Stereo 21C painted in all sorts of colours and to a very high standard too.
 ST20 rear showing chassis damage
 ST20 screw holes on side of chassis
 Chassis blasted
 ST20 chassis dent
 Hammer and dolly
 ST20 hole filled ready for solder
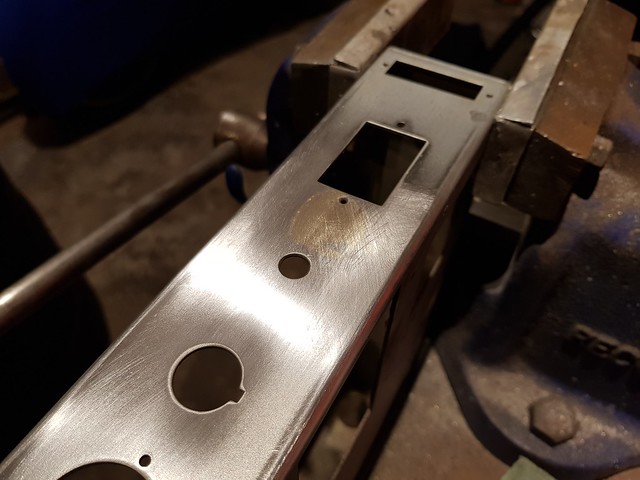 ST20 chassis repair
 ST20 screw holes filled
")
 Transformer cases painted
 Transformer case imperfections
 retaped transfomer
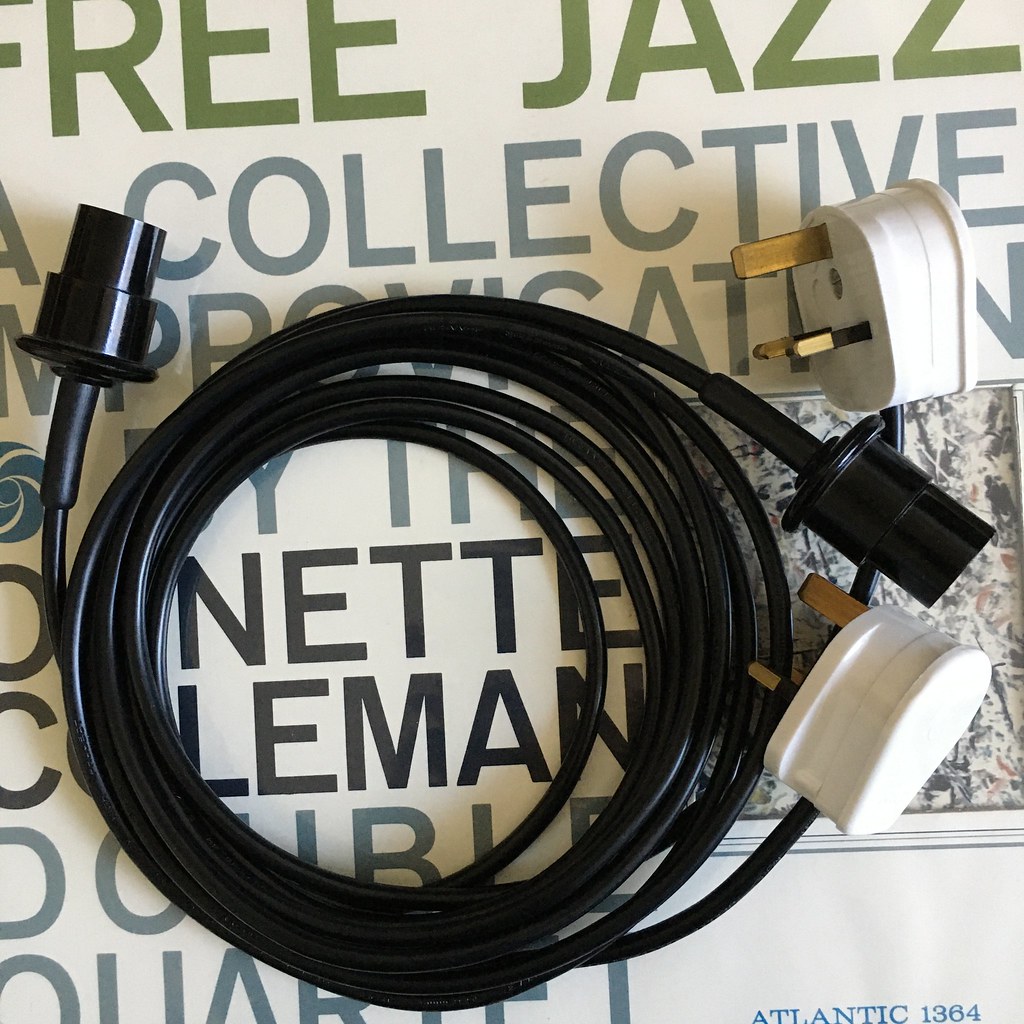
 ST20 loom
 ST20 6 chassis painted
 ST20 6 date code
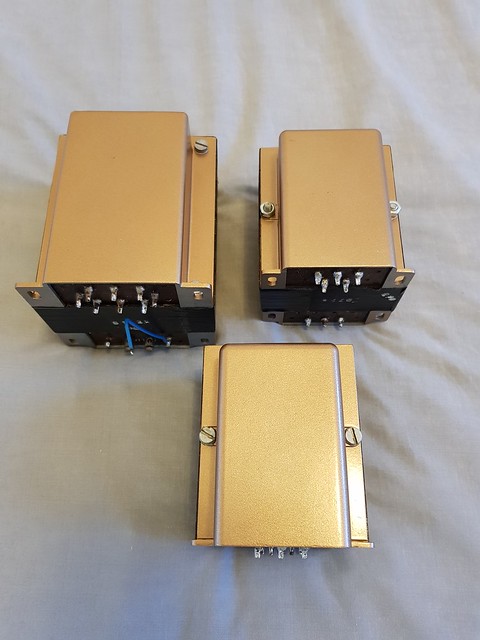 ST20 6 painted transformers
 ST20 6 angle
 ST20 6 top
 ST20 6 underside
 St20 6 rear
 ST20 6 board side view