Seanf
pfm Member
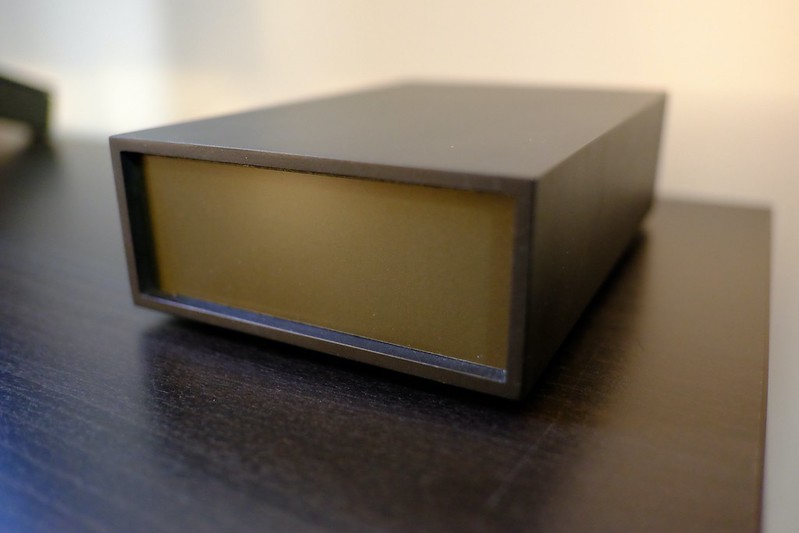
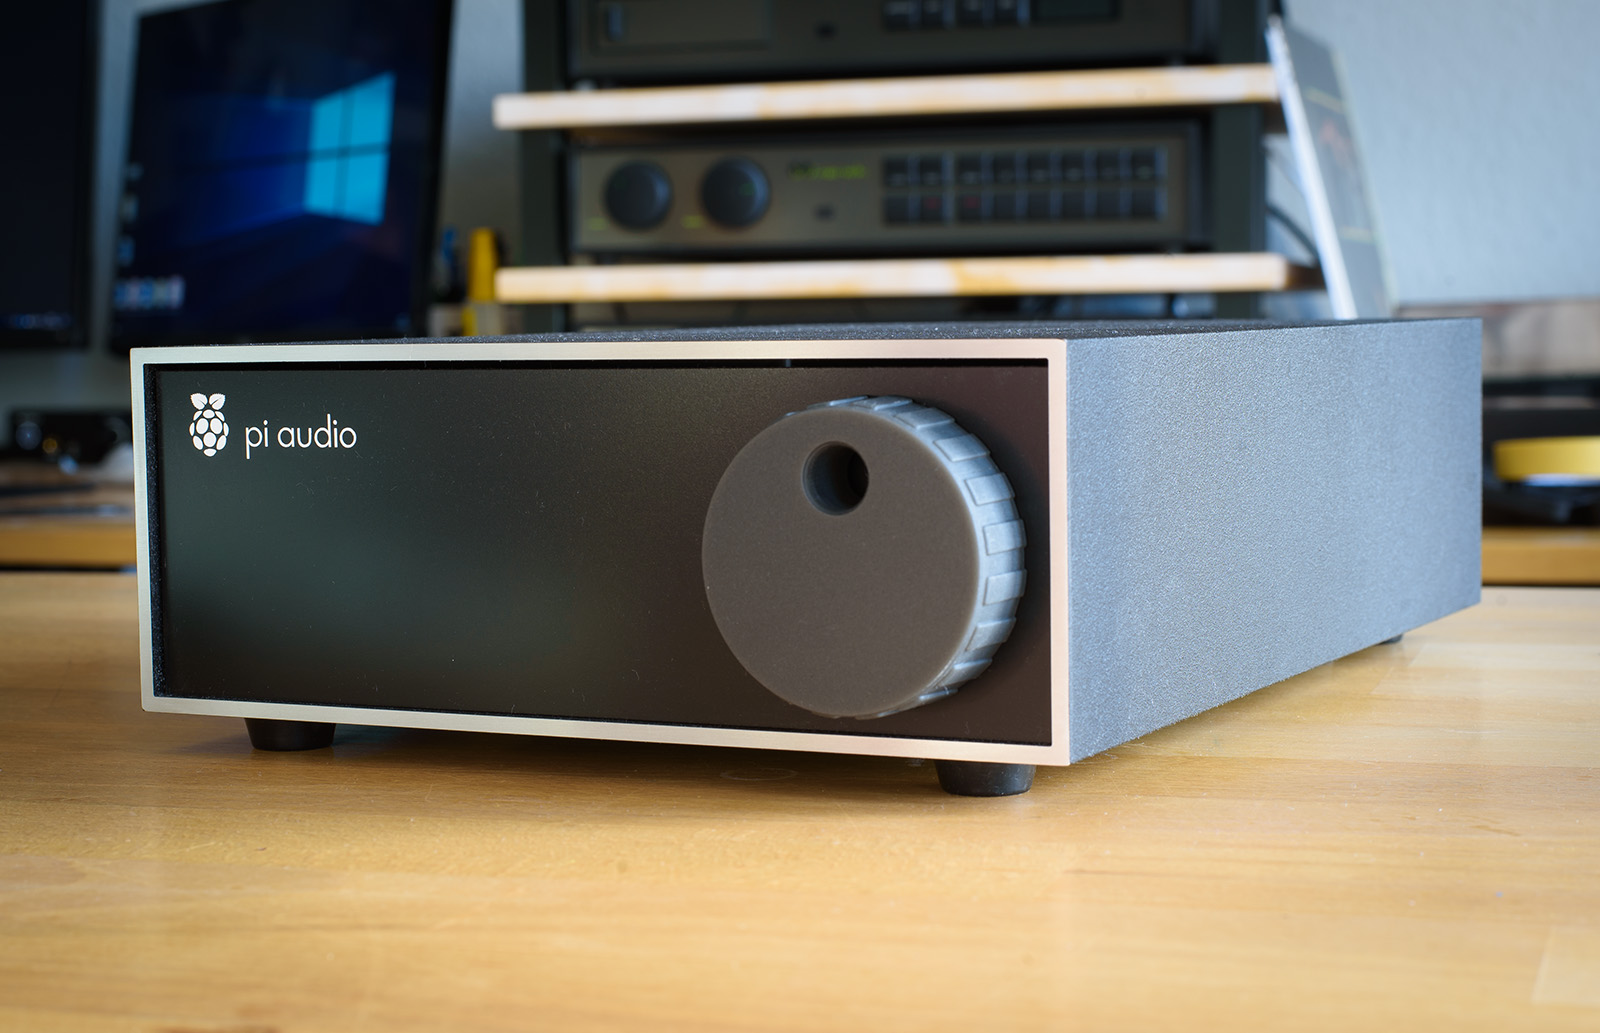
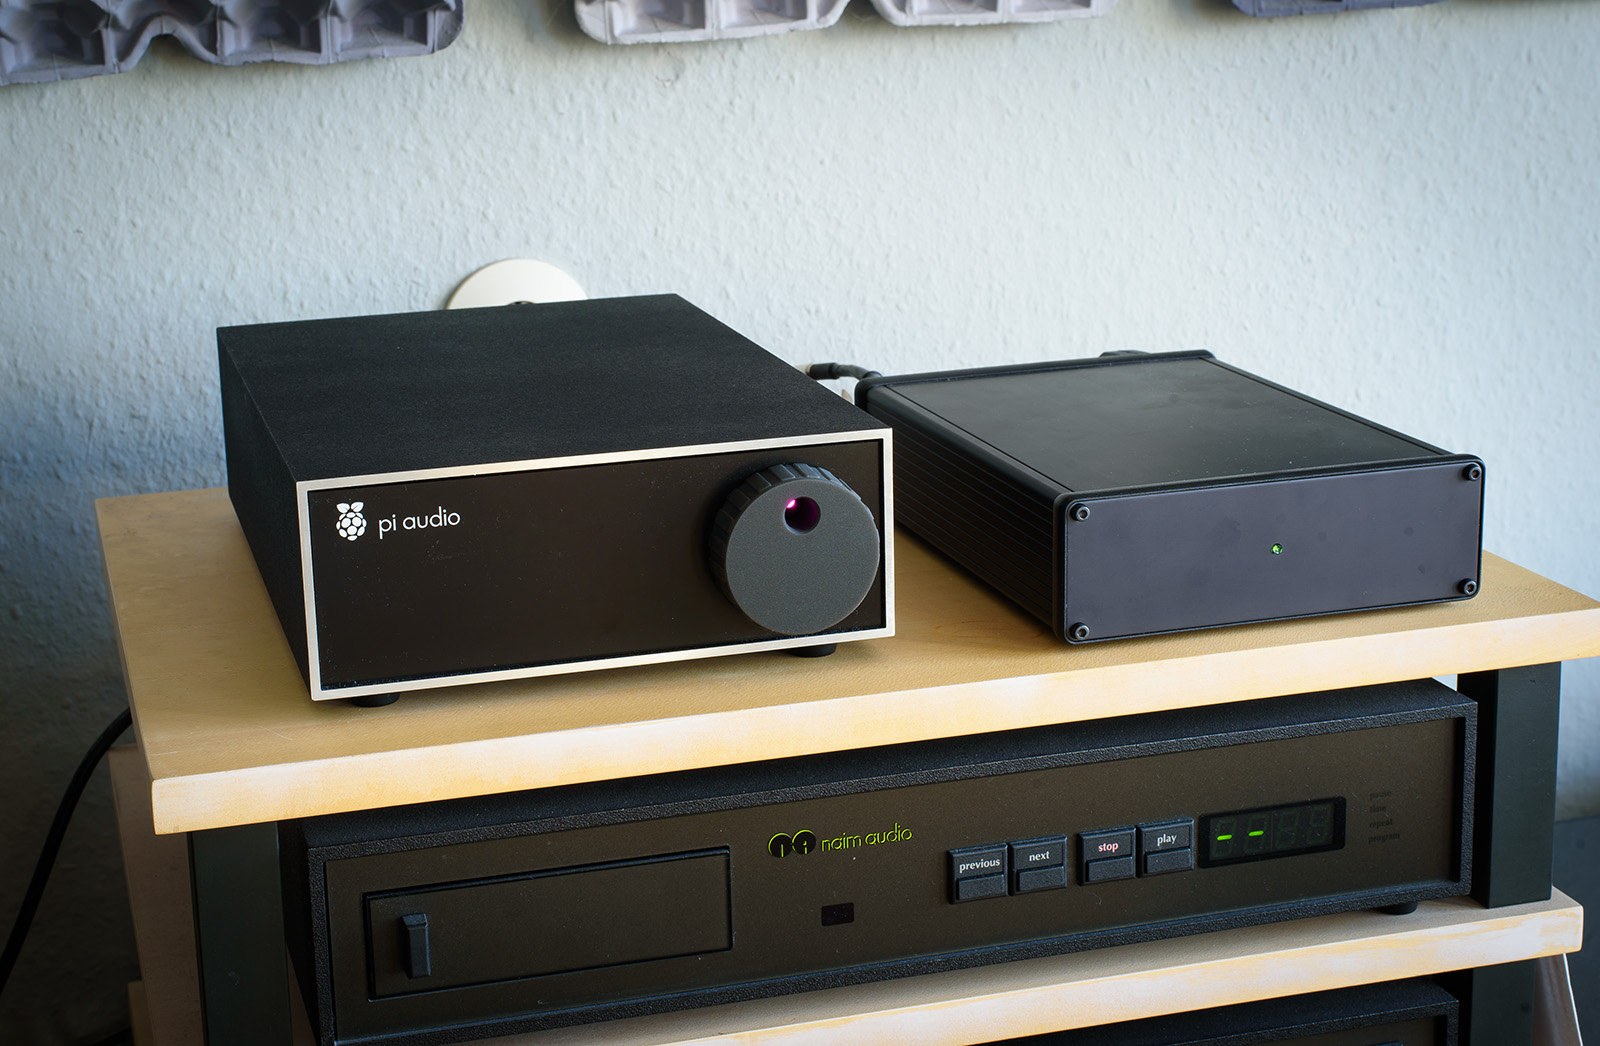
This is it – something I’ve been dabbling with on and off for over a year. I wanted to build a case to house my Raspberry Pi streamer. My gear is mostly olive Naim but I have a soft spot for the look of the chrome bumper series.

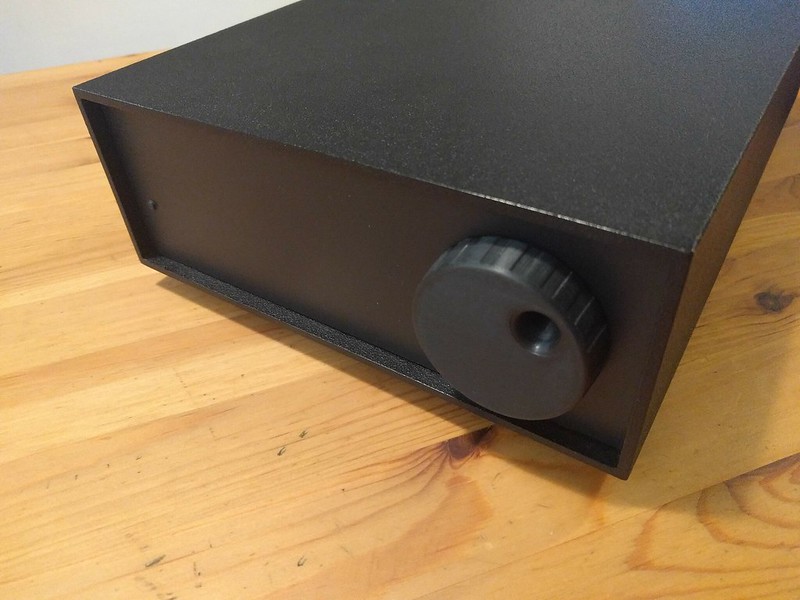
I bought the sleeve and sled second hand on ebay Germany. It’s not the real thing, just a lookey-likey. It was originally all black so I sanded the front edge down to the bare metal. The knob is of course. home-made and 3D printed.
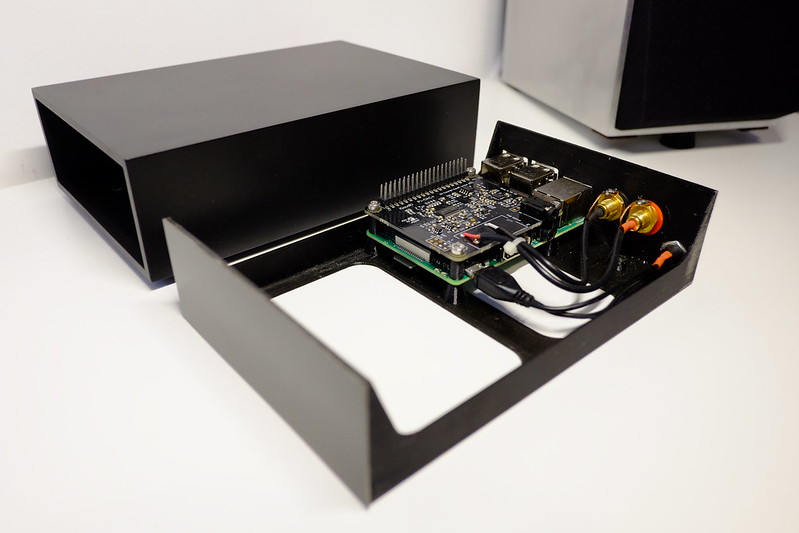
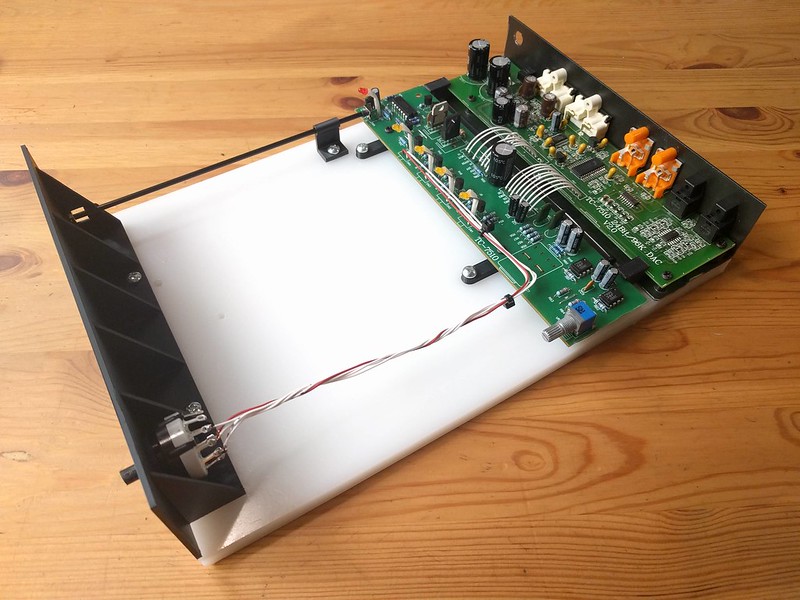
Under the bonnet is a Raspberry Pi 3B with HifiBerry Digi2 Pro HAT, powered by an Allo Nirvana SMPS. A 500gb HDD is currently connected for local FLAC files. Software is PiCorePlayer.
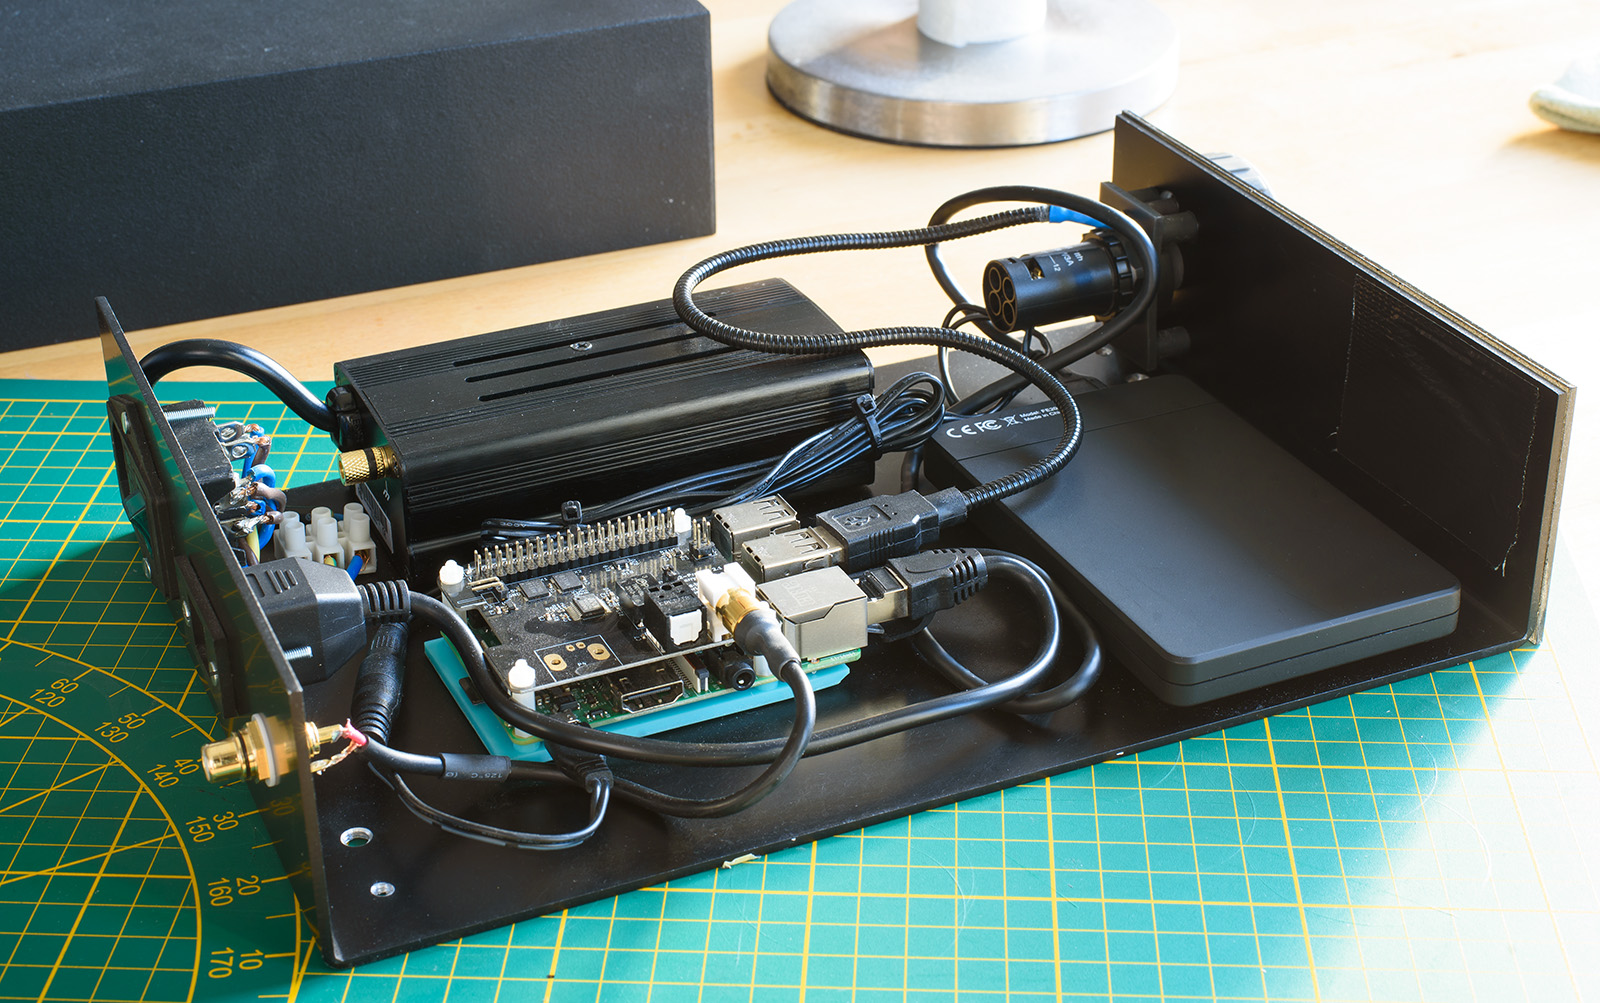
I’ve extended the inputs and outputs of these internal devices so that they can be connected and controlled from the main case.
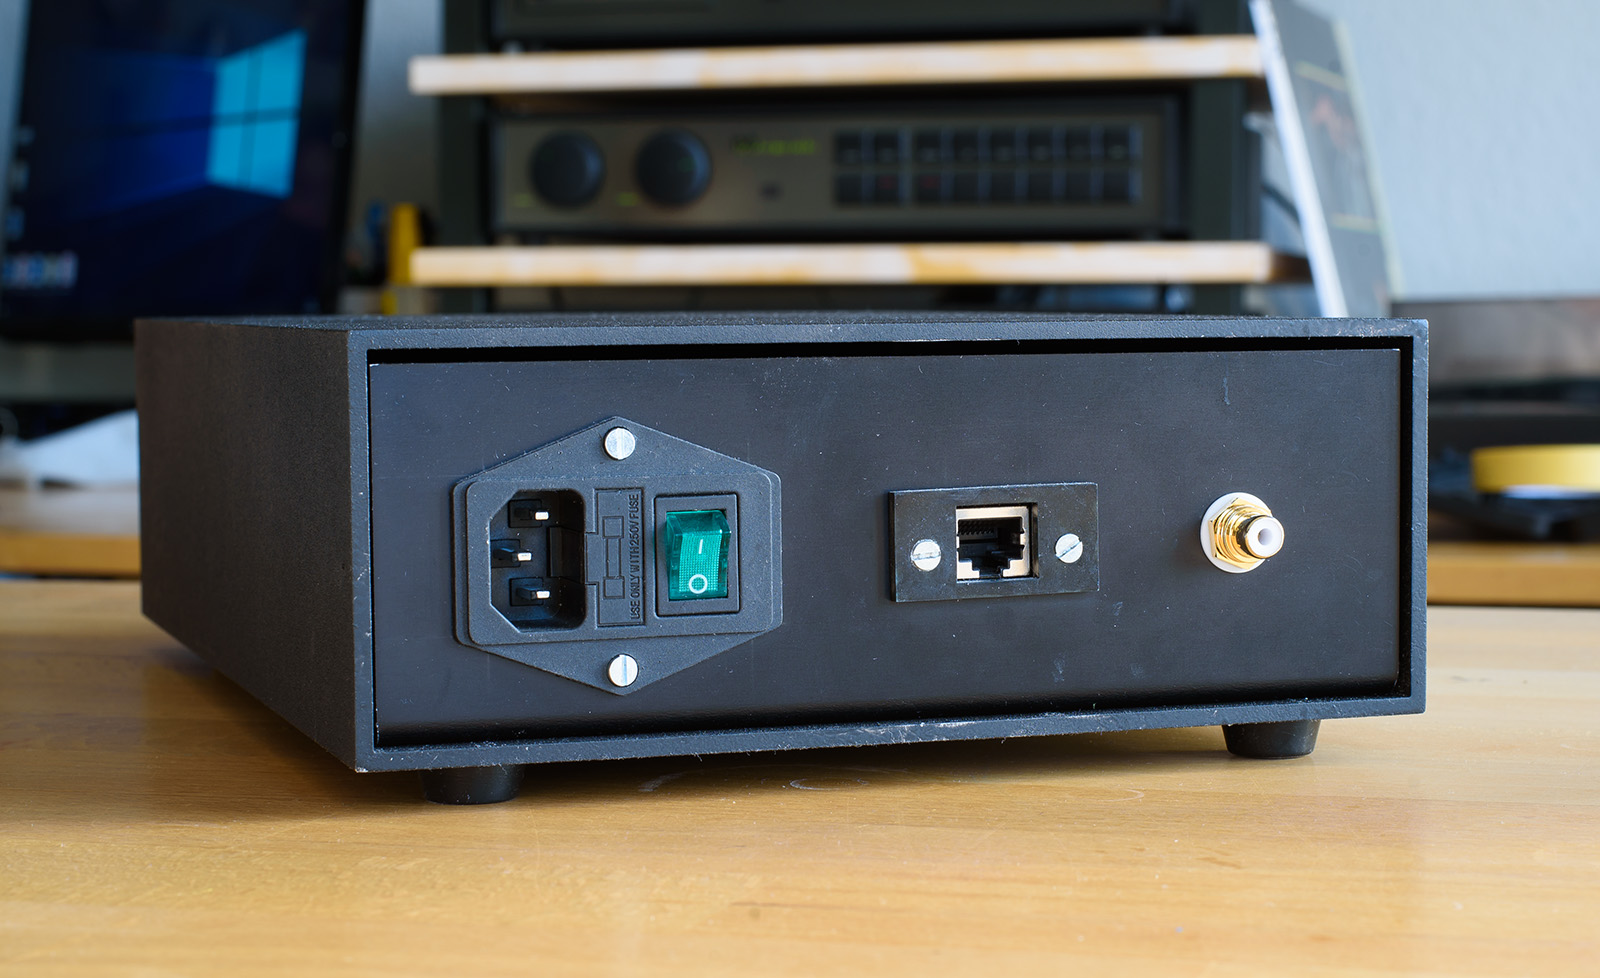
The mains input for the Allo Nirvana has been hooked up to a female IEC, so a power cable can be connected from the outside.
The LAN connection has also been extended from the Pi, though WiFi is also enabled so not totally necessary.
Digital output from the HAT is via coax, which I also extended to the back of the case. This runs directly to my RME ADI 2 DAC, then into my Naim 82/180.
The back panel is a bit messy, I might remake it eventually.
I ran the 5v output cable from the Nirvana through a simple rotary on-off switch on the front, just so I could use the ‘tractor wheel’ knob that I’ve been working on for some time, and have finally almost perfected.
There is also a cheap LED running from a Pi USB slot to the fascia, which shines through a blob of pink resin.
The switch and LED are held in place by a self-made 3D printed bracket.
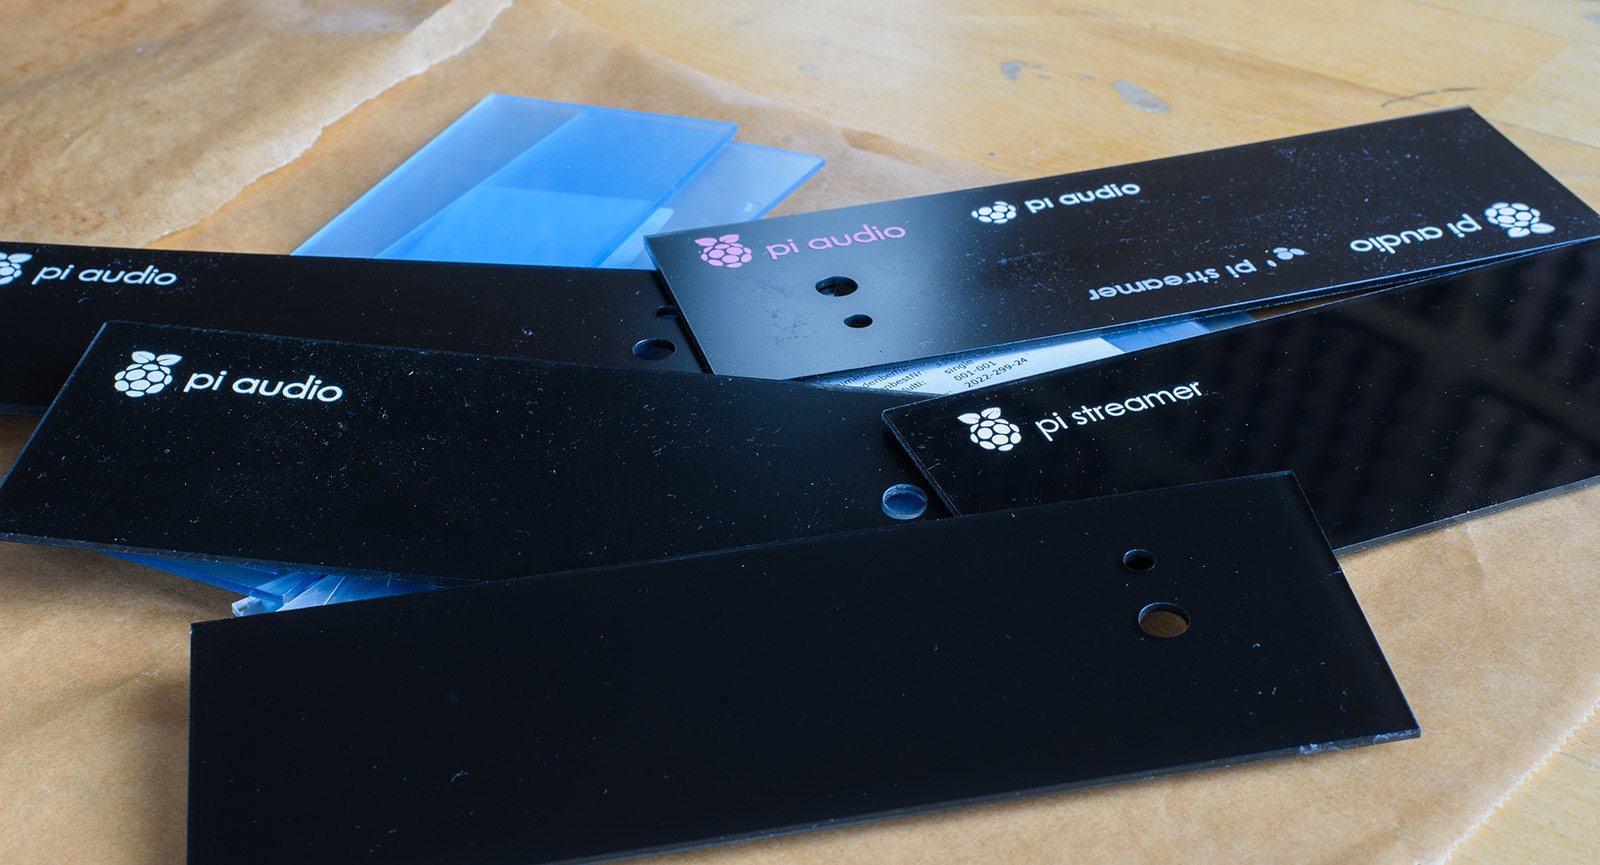
The fascia looks simple but took a lot of thought and trial and error. It had to be perfect, especially the logo. It is a piece of anti-reflective 2mm clear Plexiglas, which I ordered online, cut to the exact size and with the holes for the dial and the LED. I spray painted the back, so that from the front, the finish is perfect, with no blemishes.
The logo is cut with a plotter that I have. I was very impressed with the fine detail it can cut (right down to the serrations on the leaves). I used t-shirt heat-transfer vinyl as the material as it is easier to ‘weed’ than sticky-back vinyl. This meant it had to be ironed on, but at a rather low temperature and for just a short time, to avoid damaging the Plexiglas (I ruined a few fascias in the process).
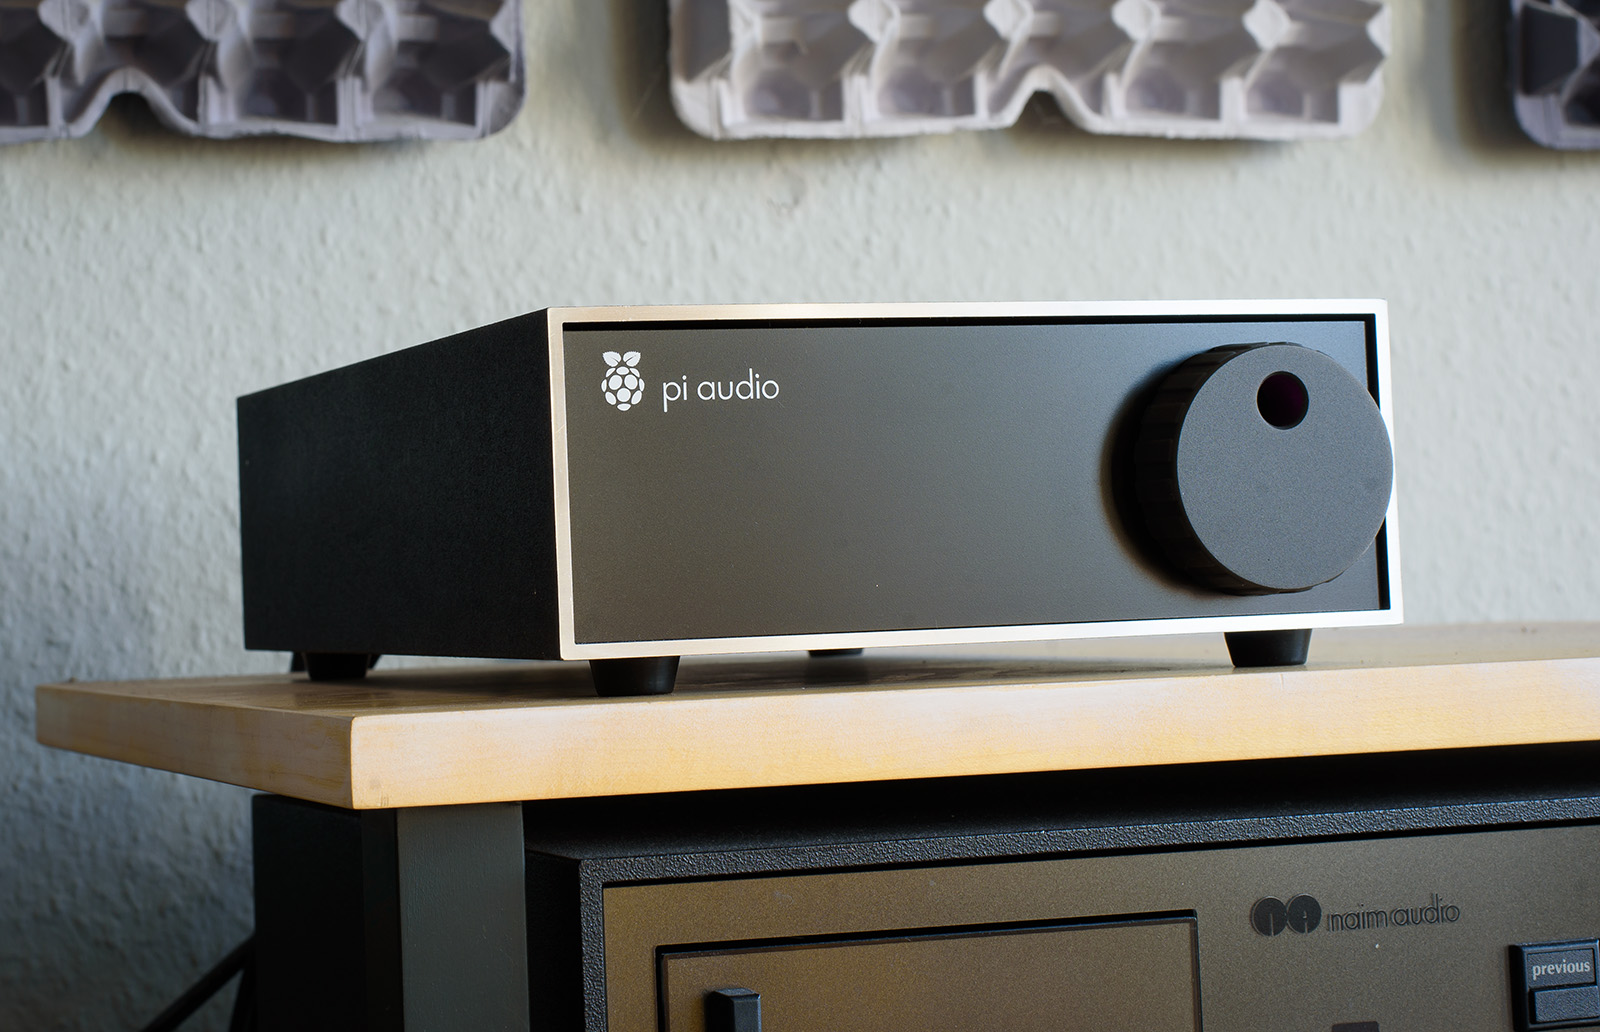
I’m very happy with the outcome, it has far exceeded my expectations!
I bought the sleeve and sled second hand on ebay Germany. It’s not the real thing, just a lookey-likey. It was originally all black so I sanded the front edge down to the bare metal. The knob is of course. home-made and 3D printed.
Under the bonnet is a Raspberry Pi 3B with HifiBerry Digi2 Pro HAT, powered by an Allo Nirvana SMPS. A 500gb HDD is currently connected for local FLAC files. Software is PiCorePlayer.
I’ve extended the inputs and outputs of these internal devices so that they can be connected and controlled from the main case.
The mains input for the Allo Nirvana has been hooked up to a female IEC, so a power cable can be connected from the outside.
The LAN connection has also been extended from the Pi, though WiFi is also enabled so not totally necessary.
Digital output from the HAT is via coax, which I also extended to the back of the case. This runs directly to my RME ADI 2 DAC, then into my Naim 82/180.
The back panel is a bit messy, I might remake it eventually.
I ran the 5v output cable from the Nirvana through a simple rotary on-off switch on the front, just so I could use the ‘tractor wheel’ knob that I’ve been working on for some time, and have finally almost perfected.
There is also a cheap LED running from a Pi USB slot to the fascia, which shines through a blob of pink resin.
The switch and LED are held in place by a self-made 3D printed bracket.
The fascia looks simple but took a lot of thought and trial and error. It had to be perfect, especially the logo. It is a piece of anti-reflective 2mm clear Plexiglas, which I ordered online, cut to the exact size and with the holes for the dial and the LED. I spray painted the back, so that from the front, the finish is perfect, with no blemishes.
The logo is cut with a plotter that I have. I was very impressed with the fine detail it can cut (right down to the serrations on the leaves). I used t-shirt heat-transfer vinyl as the material as it is easier to ‘weed’ than sticky-back vinyl. This meant it had to be ironed on, but at a rather low temperature and for just a short time, to avoid damaging the Plexiglas (I ruined a few fascias in the process).
I’m very happy with the outcome, it has far exceeded my expectations!
")