advertisement


A valve line pre amp for the DIY fishy

The answer for me seems to be in increasing amount the negative feedback by reducing R5/11 down from 180k. 47k was suggested earlier in thread with 100r added at the output. This has clearly sharpened everything up. I've now put another 47k in parallel, which I think is a touch better still. I'm not sure how far I go with this as I don't really understand negative feedback yet, so I'll spend my Sunday afternoon reading up and keep playing.
 
The answer for me seems to be in increasing amount the negative feedback by reducing R5/11 down from 180k. 47k was suggested earlier in thread with 100r added at the output. This has clearly sharpened everything up. I've now put another 47k in parallel, which I think is a touch better still. I'm not sure how far I go with this as I don't really understand negative feedback yet, so I'll spend my Sunday afternoon reading up and keep playing.
I've set feed back to about 82k, a couple of resistors in parallel. I'm going to, when I can be bothered because the preamp sounds far too good to tinker with, drop this to 68k as my amps are very sensitive.

A big change for me was swapping out the output caps. Out with the bog standard polypropylene film cap from RS and in with a 8.2uF Mundorf EVO oil capacitor. All caps sound the same, but not in this case to my ears.

Good news that you've got it all hum free now :)
 
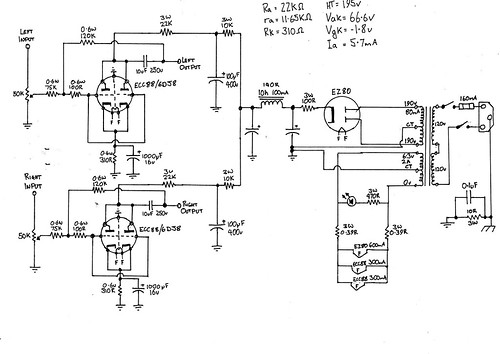
I think I'm finally finshed with the circuit. I wanted to see how far I could take things and have added a second E88CC in parallel. I'd got pretty close working the circuit out by trial and error, just measuring and listening, but finally had to give in and learn how to calculate the biasing properly. I'm now both really happy with the sound this pre amp makes as well as how much I have learnt since first starting the project.

Is it worth adding a second parallel E88CC; Yes, I think so. Adds a lot to the dynamics as well cleaning up the bass, which I felt was a little muddy in my single valve version. I wonder though, had I understood how to properly bias when building the single valve version I might of been able to dial it in better, so not an enitrley fair comparison.

Only job left is to build this up into a nice case, and as I do so will treat myself to some quality output caps.

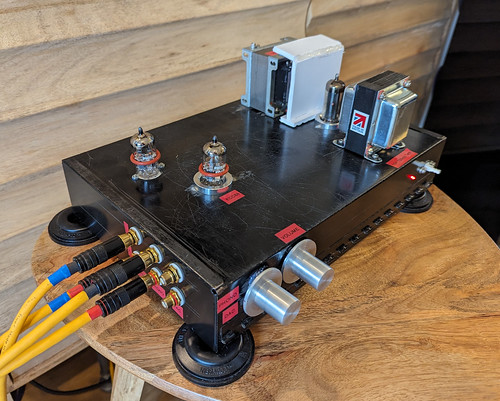
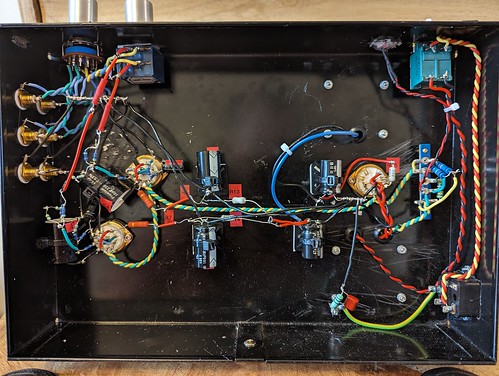
[url=https://flic.kr/p/2pdL2yP]PXL_20231103_122158553 by Adam Peacock, on Flickr[/URL]

[url=https://flic.kr/p/2pdKqR6]PXL_20231103_140309570 by Adam Peacock, on Flickr[/URL]
 
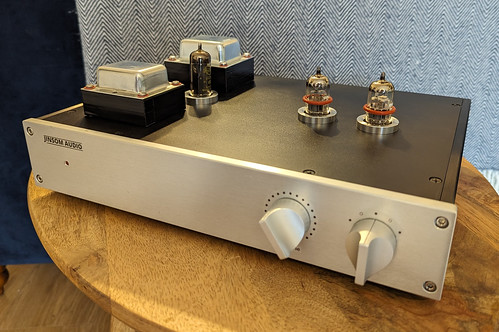
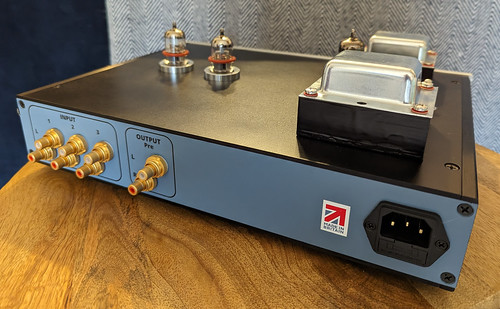
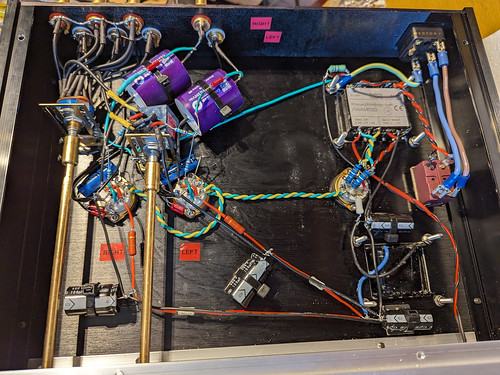
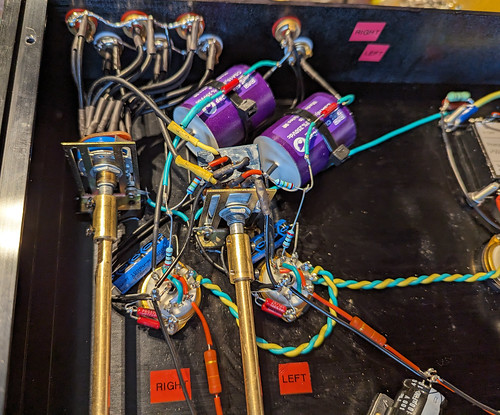
And I'm finished. I couldn't be happier with the result, I've made a preamp that sounds absolutely brilliant, and I think looks really good too. I've also learnt a huge amount over the last couple of months and looking back , I'm so glad it didn't work well on my first attempt as I'd of had a good amp that I didn't really understand and learnt nothing from. Thanks for your help everyone!

[url=https://flic.kr/p/2phNLHm]PXL_20231123_113256468 by Adam Peacock, on Flickr[/URL]

[url=https://flic.kr/p/2phLsPA]PXL_20231123_113331510 by Adam Peacock, on Flickr[/URL]

[url=https://flic.kr/p/2phMBfZ]PXL_20231123_112731367 by Adam Peacock, on Flickr[/URL]

[url=https://flic.kr/p/2phNLKF]PXL_20231123_112746020 by Adam Peacock, on Flickr[/URL]
 
That's a super build Adam. It is an amazingly simple, in parts, circuit. I like the way you have doubled up the triodes...plenty of food for thought there.

How did you add the volume and selection marks on the case? I have a few sheets of printable water decals that I need to pull my finger out and try for front panels.
 
They're done with water decals, and when you look close you can see the clear boarding edges, but if cut neatly still looks good. It took a lot of attempts to get the sizes right, just printing off loads of different sized versions until I was happy.


advertisement


Back
Top