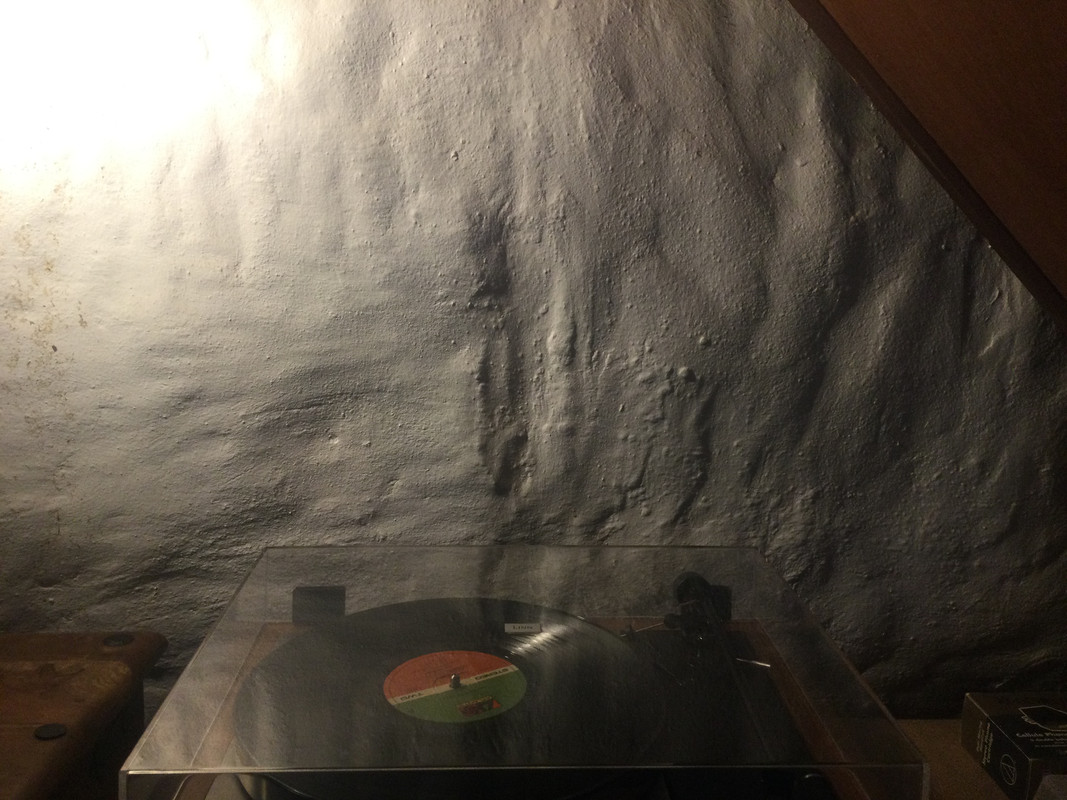
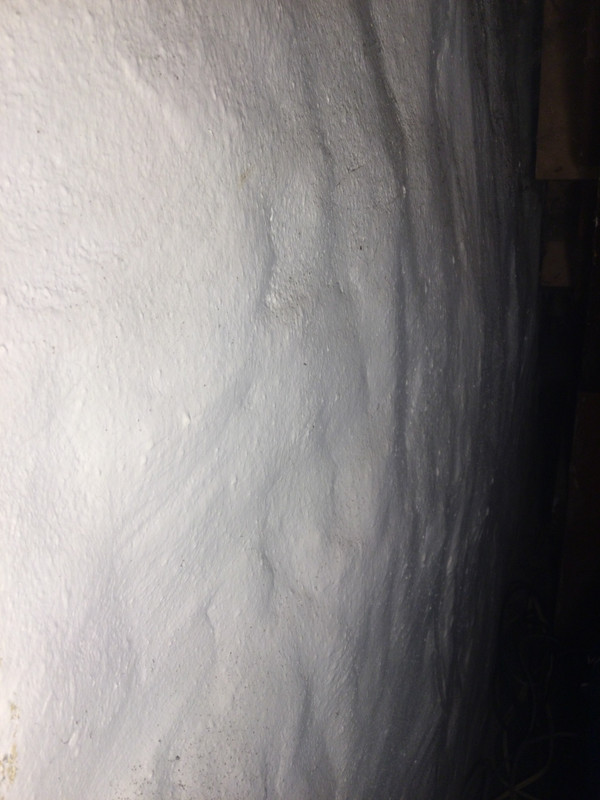
Finish: hmm tricky to know, I think it's some kind of thick masonry paint onto slate stone & earth 'mortar': non-breathable paint, ideally the whole cottage inner shell needs stripping of it & a breathable limewash done.. but logistics of doing so are WAY too huge to contemplate.
The same paint on exterior too: so at lowest 3 ft I see evidence of/ can sense some damp is trapped in the 2ft thick walls. Again logistics of stripping off & redoing, are emormous, so I kinda put up with a dose of lower corner damp in this one large shell main room.
Thanks, Capt
Provided you own the property (as opposed to rented) this is the first thing you should sort out. It's a bit of a messy and dirty job but well worthwhile doing both for your health and the 'health' of the building.
You don't necessarily have to use limewash, there are great products, primer and paints from a company called 'Graphenestone'. I've used them recently on our (1680 )basalt stone cottage .
If you think the damp is coming up from the ground then strip off any skirting and remove the bottom 2" of plaster, this should make a break and stop damp from travelling upwards.Then you can put your skirting back on.
When it comes to mounting anything on old walls it's useful to know what they're actually constructed of some stone is very , very difficult to drill and will blunt any bit apart from a diamond tipped (water cooled) bit, even then basalt will strip these sometimes. Then sometimes you could find quite the opposite where the material fractures or is too soft to give any real support, slate and lime mortar/plaster can be quite soft materials. I work with stone, mainly building steps nowadays.
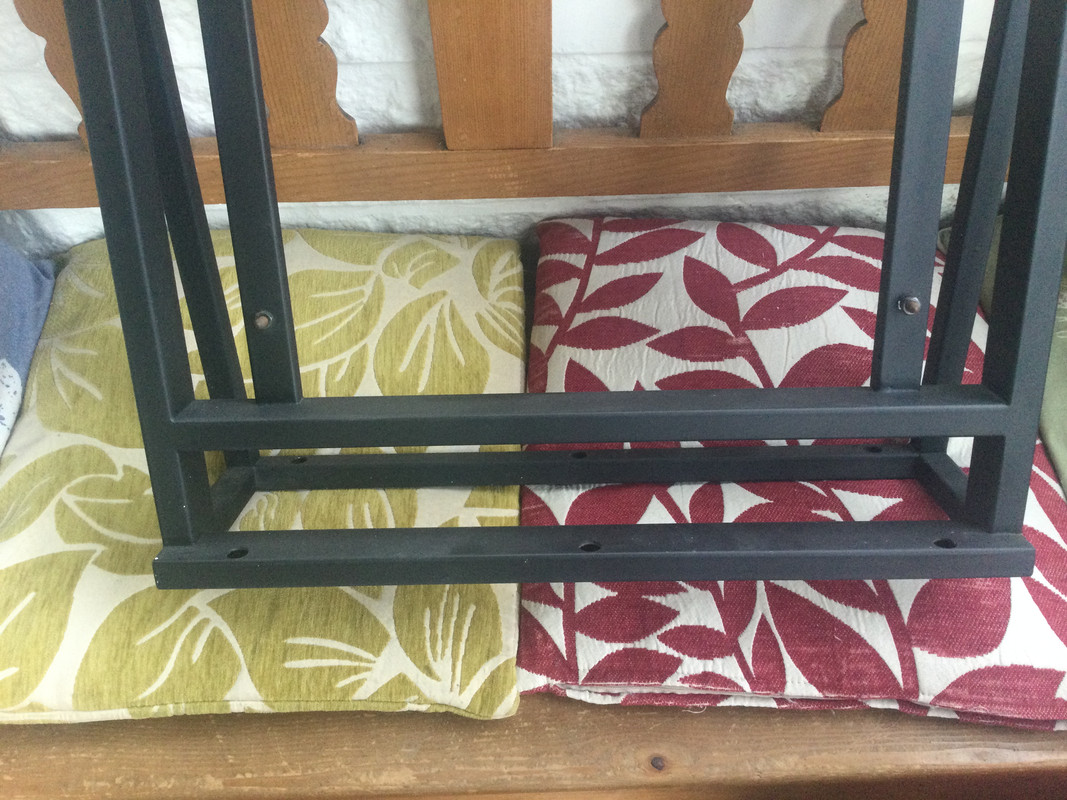
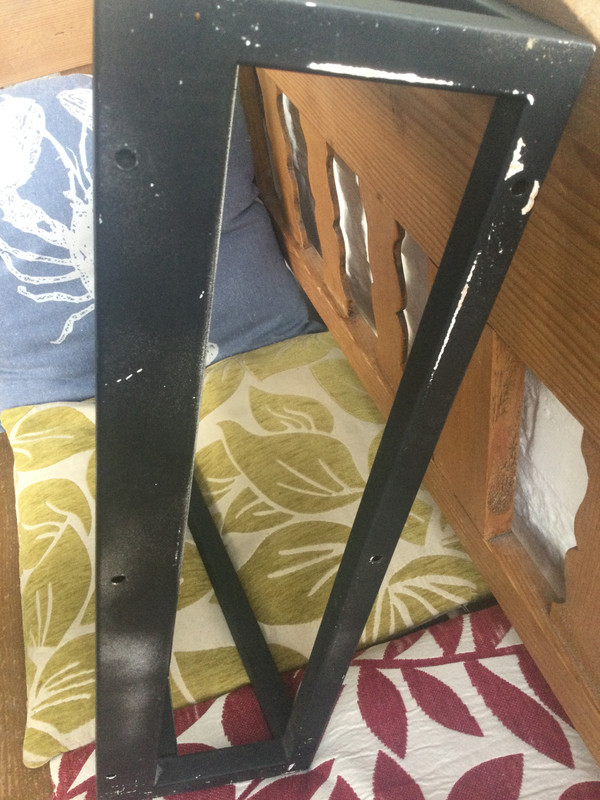
If you really want to use a wall shelf to mount your record player, I would recommend stripping back a rectangle slightly larger than the wall shelf on the existing surface, once you have it stripped back until you find a hard surface , then build it out until you have a flat and plumb surface. Hempcrete make strong easy to work with products for using in stone Buildings. You could then fix your wall shelf to the flat surface of wall or fix a piece of material to the wall, shuttering Ply or birch Ply would be preferable to MDF, then fix your wall shelf to this. Due to the very irregular nature of natural stone building , drilling can be a bit hit or miss, one fixing could be into the middle of a stone and the next one into a mortar joint or worse just at the edge of a stone, glancing upwards downward or sideways making it a right pain to get a straight fixing.
I know this may sound like a bit if work but it would be worth it if you wish to live there and maintain your property. I'd be inclined to sort the walls and use a piece of furniture for the record player, whether you use a sideboard, table or dedicated hifi table I guess is down to personal preference.