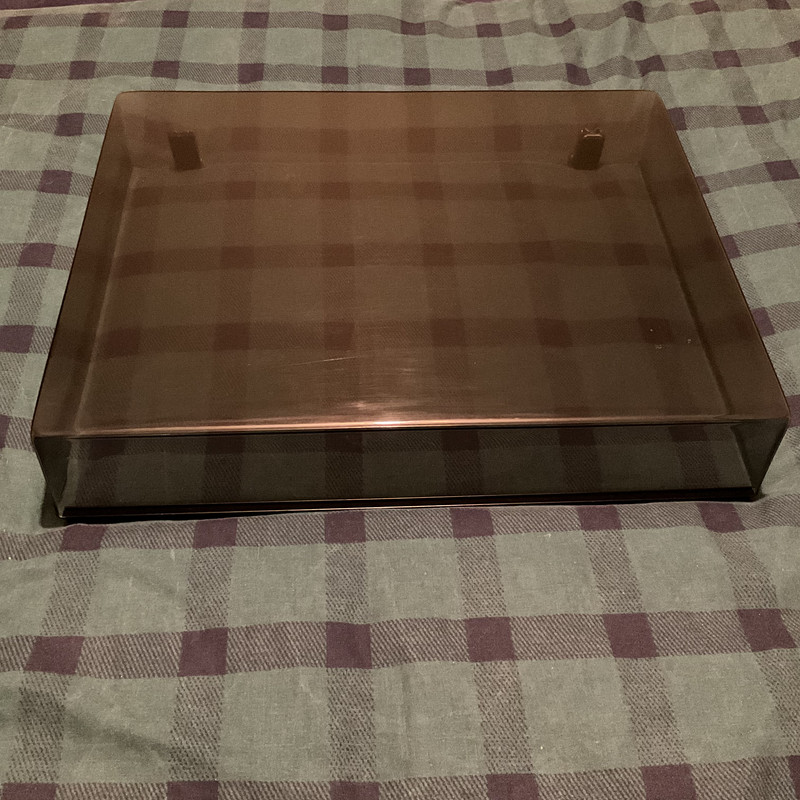
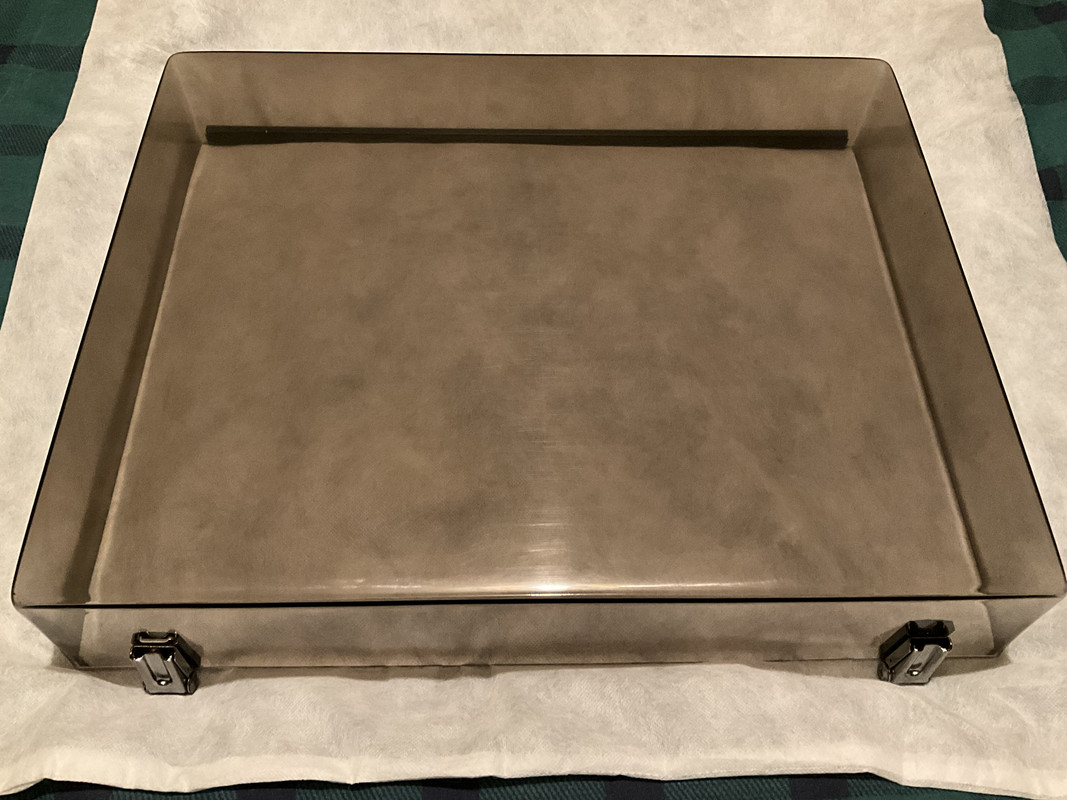
I recently bought a very nice Garrard 401 in an SME 2000 plinth. It looks the business in that plinth with its non-improved 3009 s2 arm but the acrylic/Perspex cover has a few marks on it which I would like to polish out. Has anyone done this and can recommend a suitable product and technique to get it looking good? Would make a nice Sunday afternoon project.
Thanks.
Thanks.