advertisement


Re-Entry: An Active Accomplishment

Sakurama

Active Member
I've always found some good advice here on this forum. I recently wrapped up a project and since I enjoy sharing the process I thought I'd do a thread here that covers my journey. I got into hifi when I was in college in Colorado and met Rick Duplisea at Audio Alternative. His approach to hifi gear - that it was in fact a meritocracy - resonated with me and after the initial purchase of some Rotel gear I ended up spending a few years working at the shop. It was one of the best times of my life.

i-BhzPCzN-X2.jpg


Fast forward 40 years, a dozen apartments, two kids...

I've moved my collection of LP's across the country twice - from Colorado to NYC and up and down the stairs of countless walk ups. In the mid 2000's I gave up on vinyl and tried a few times to sell or give away the albums as I just couldn't take moving them again. Luckily they were worthless and they made their final move to Oregon where my partner insisted they remain in storage. We needed the space for dishes.

i-k5dJSX4-X2.jpg


One day after my divorce my daughter asked me what all those things in the shed were. "Records" I answered. What do they do? "They play music." How? "A tiny needle, grooves..." Show me? "I don't have a record player anymore..."

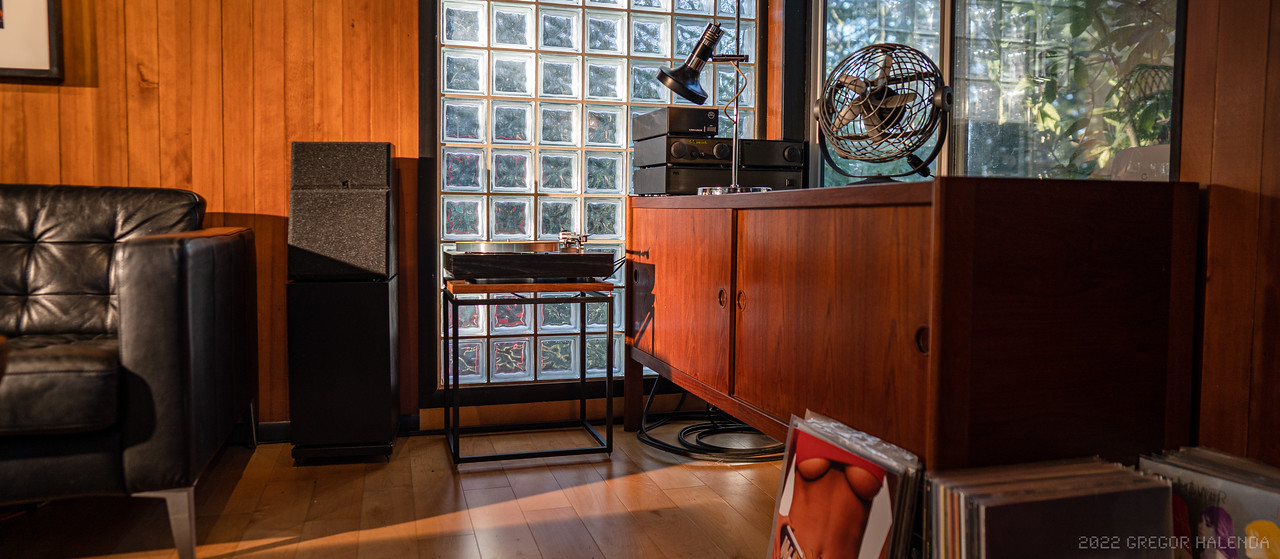
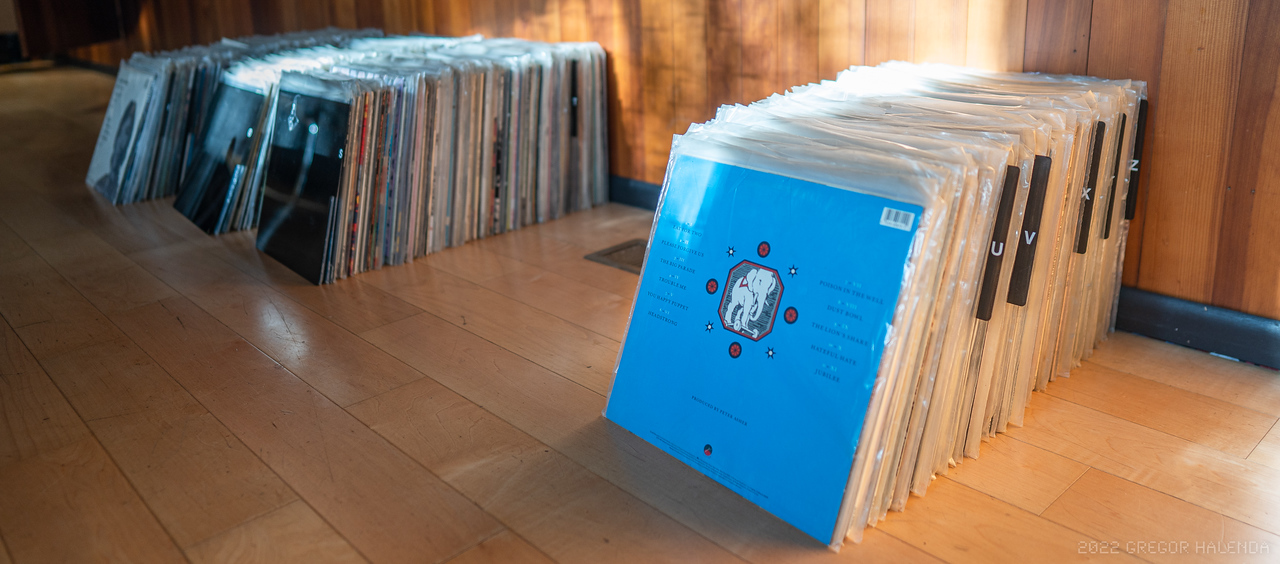
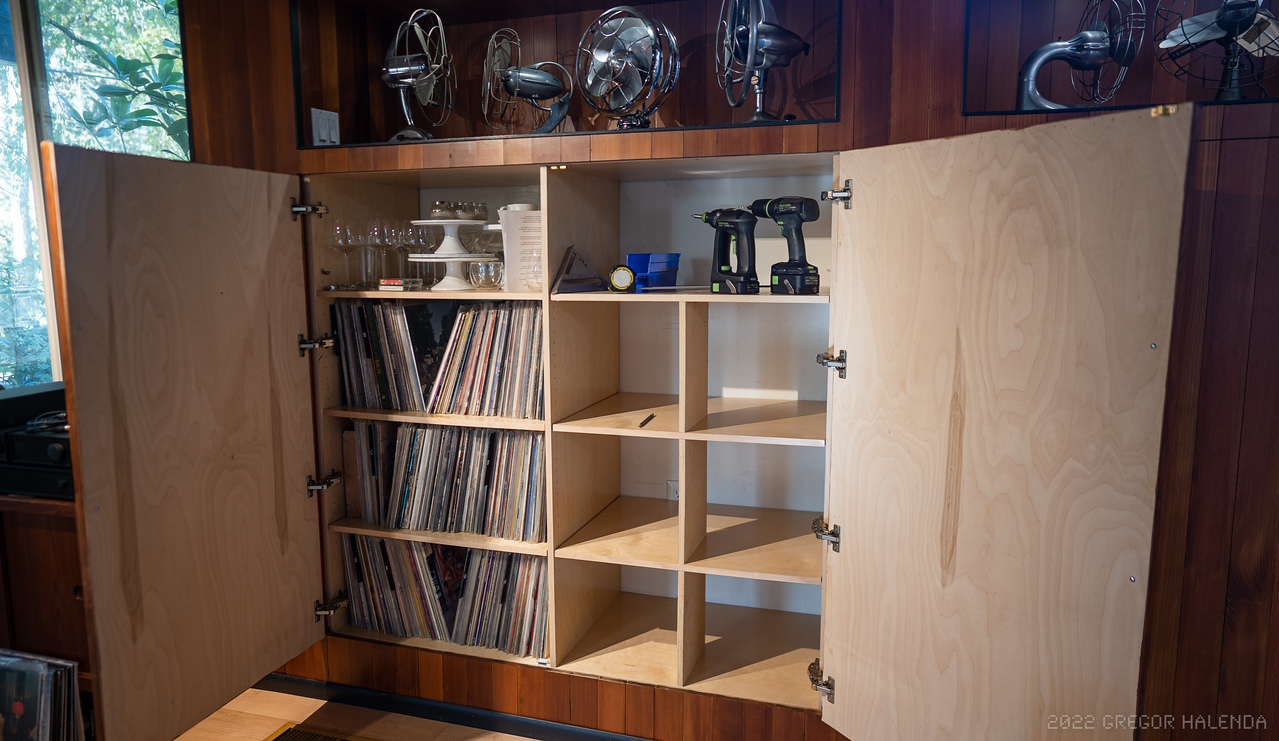
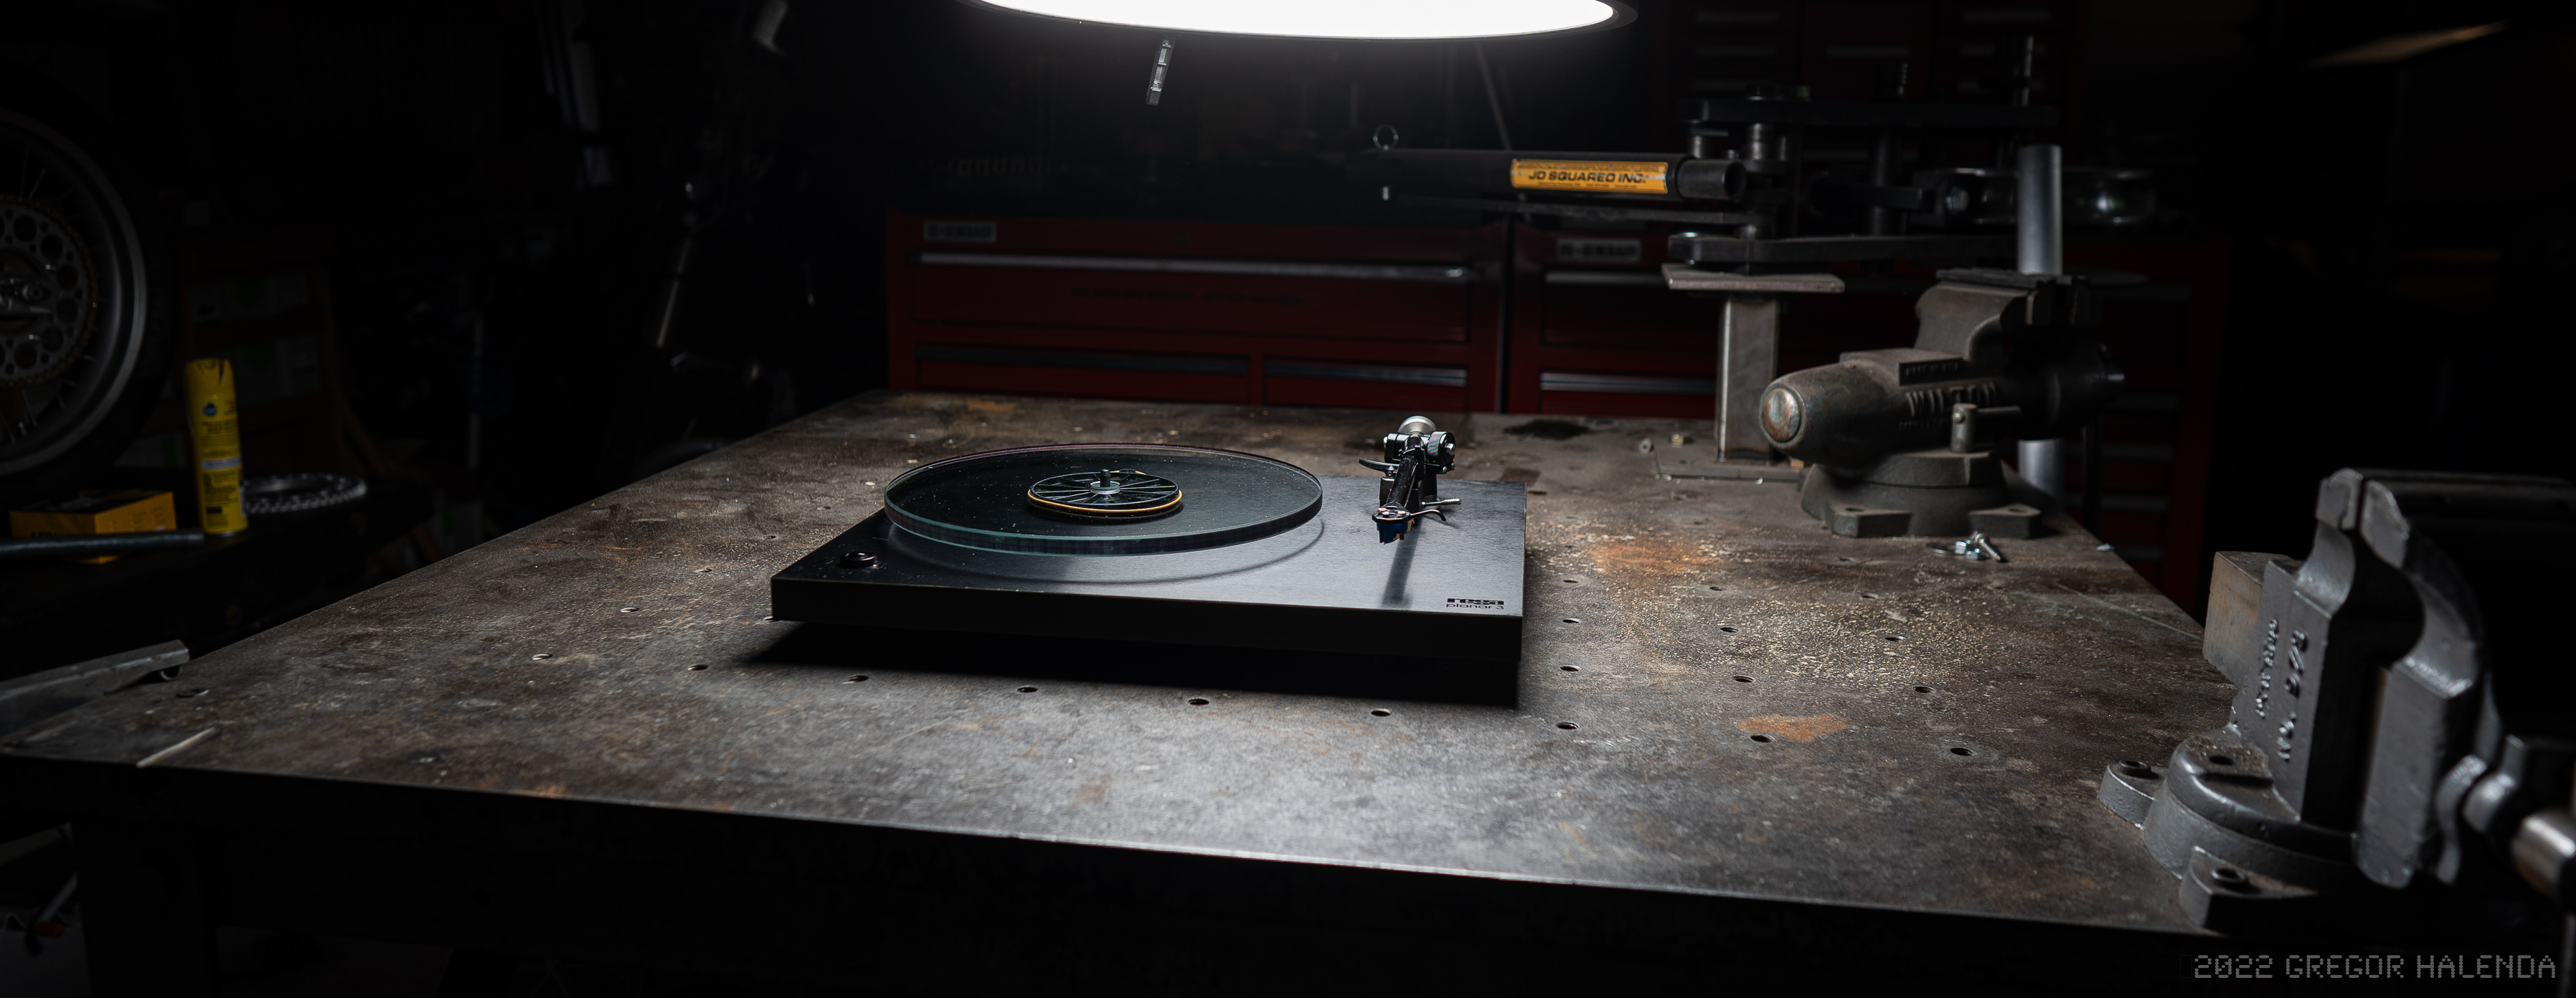
I'd sold my LP-12 when I lived in NYC but I found a Rega 3 locally and we brought the records into the house and spent a week alphabetizing them and then clearing out a cabinet that once held serving dishes.

i-Pjb7Srw.jpg


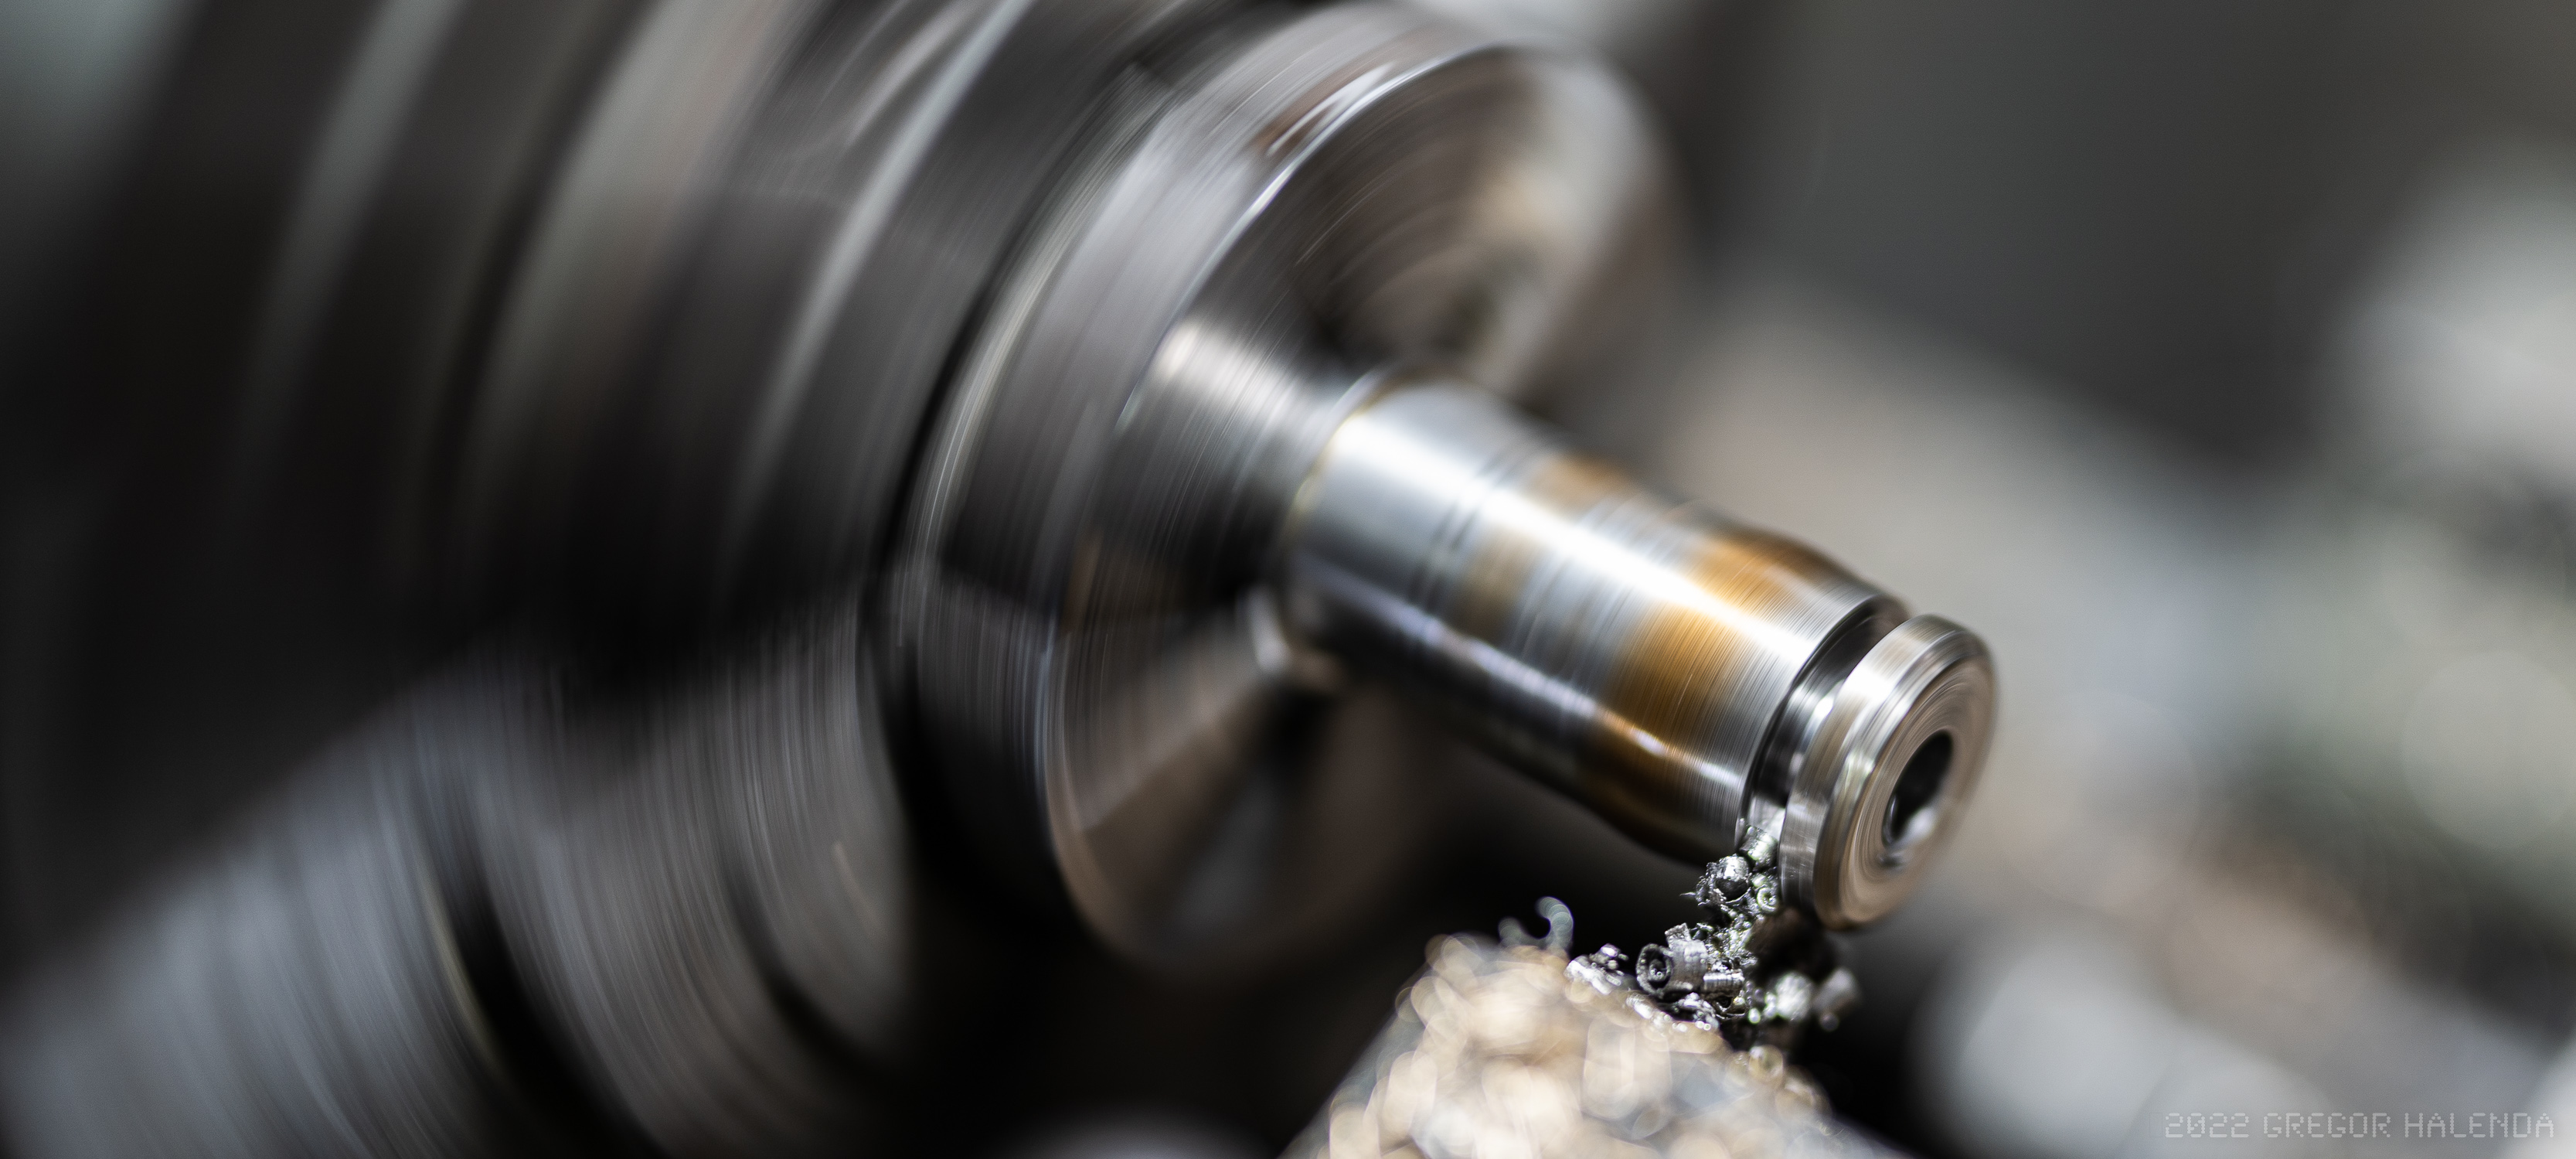
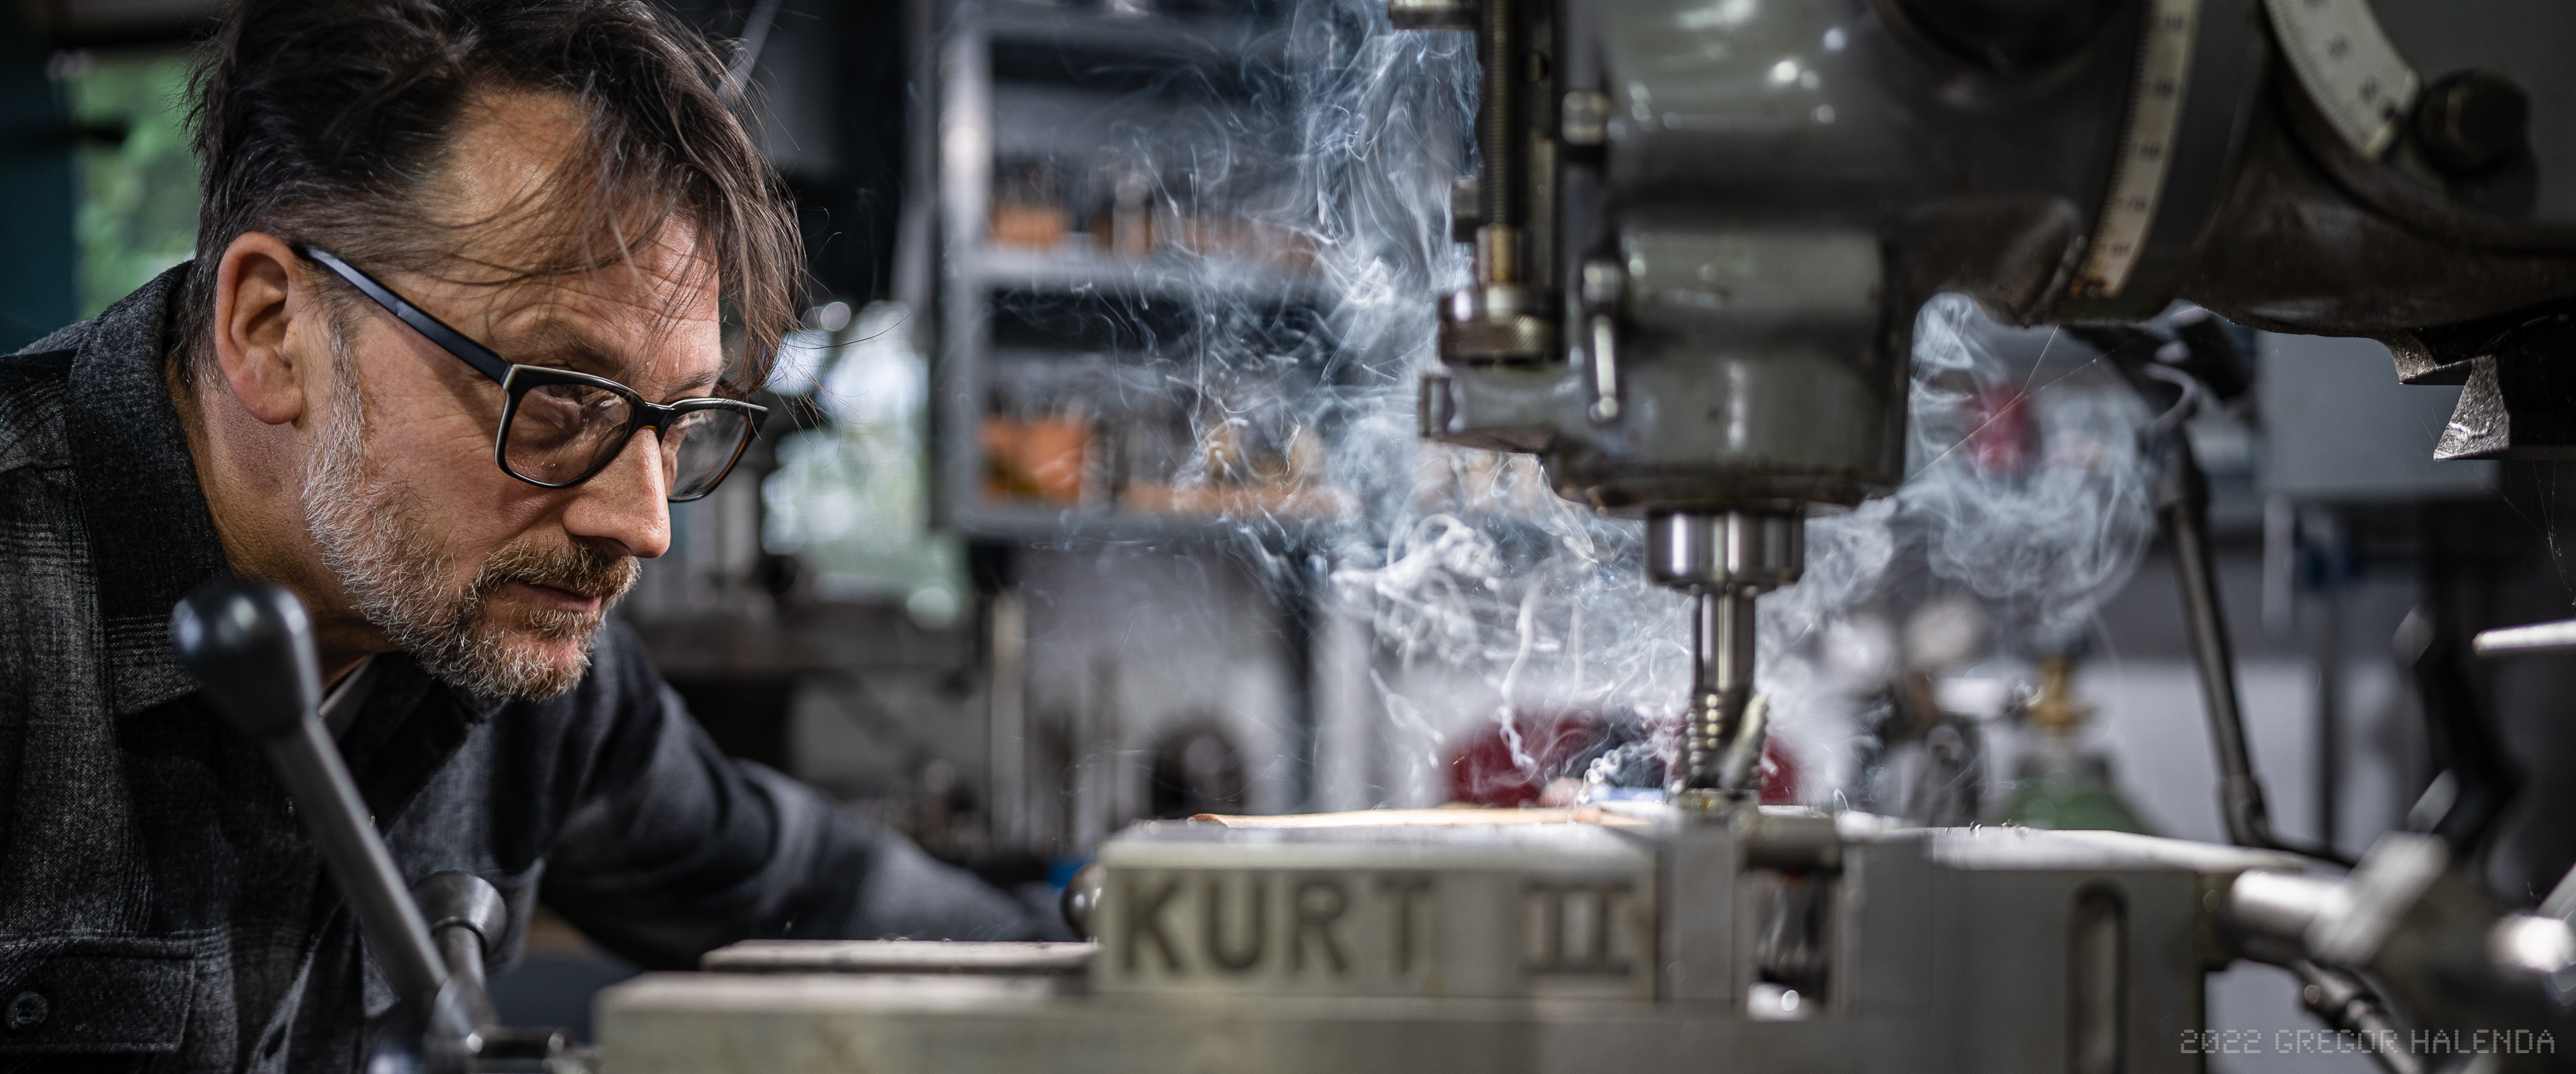
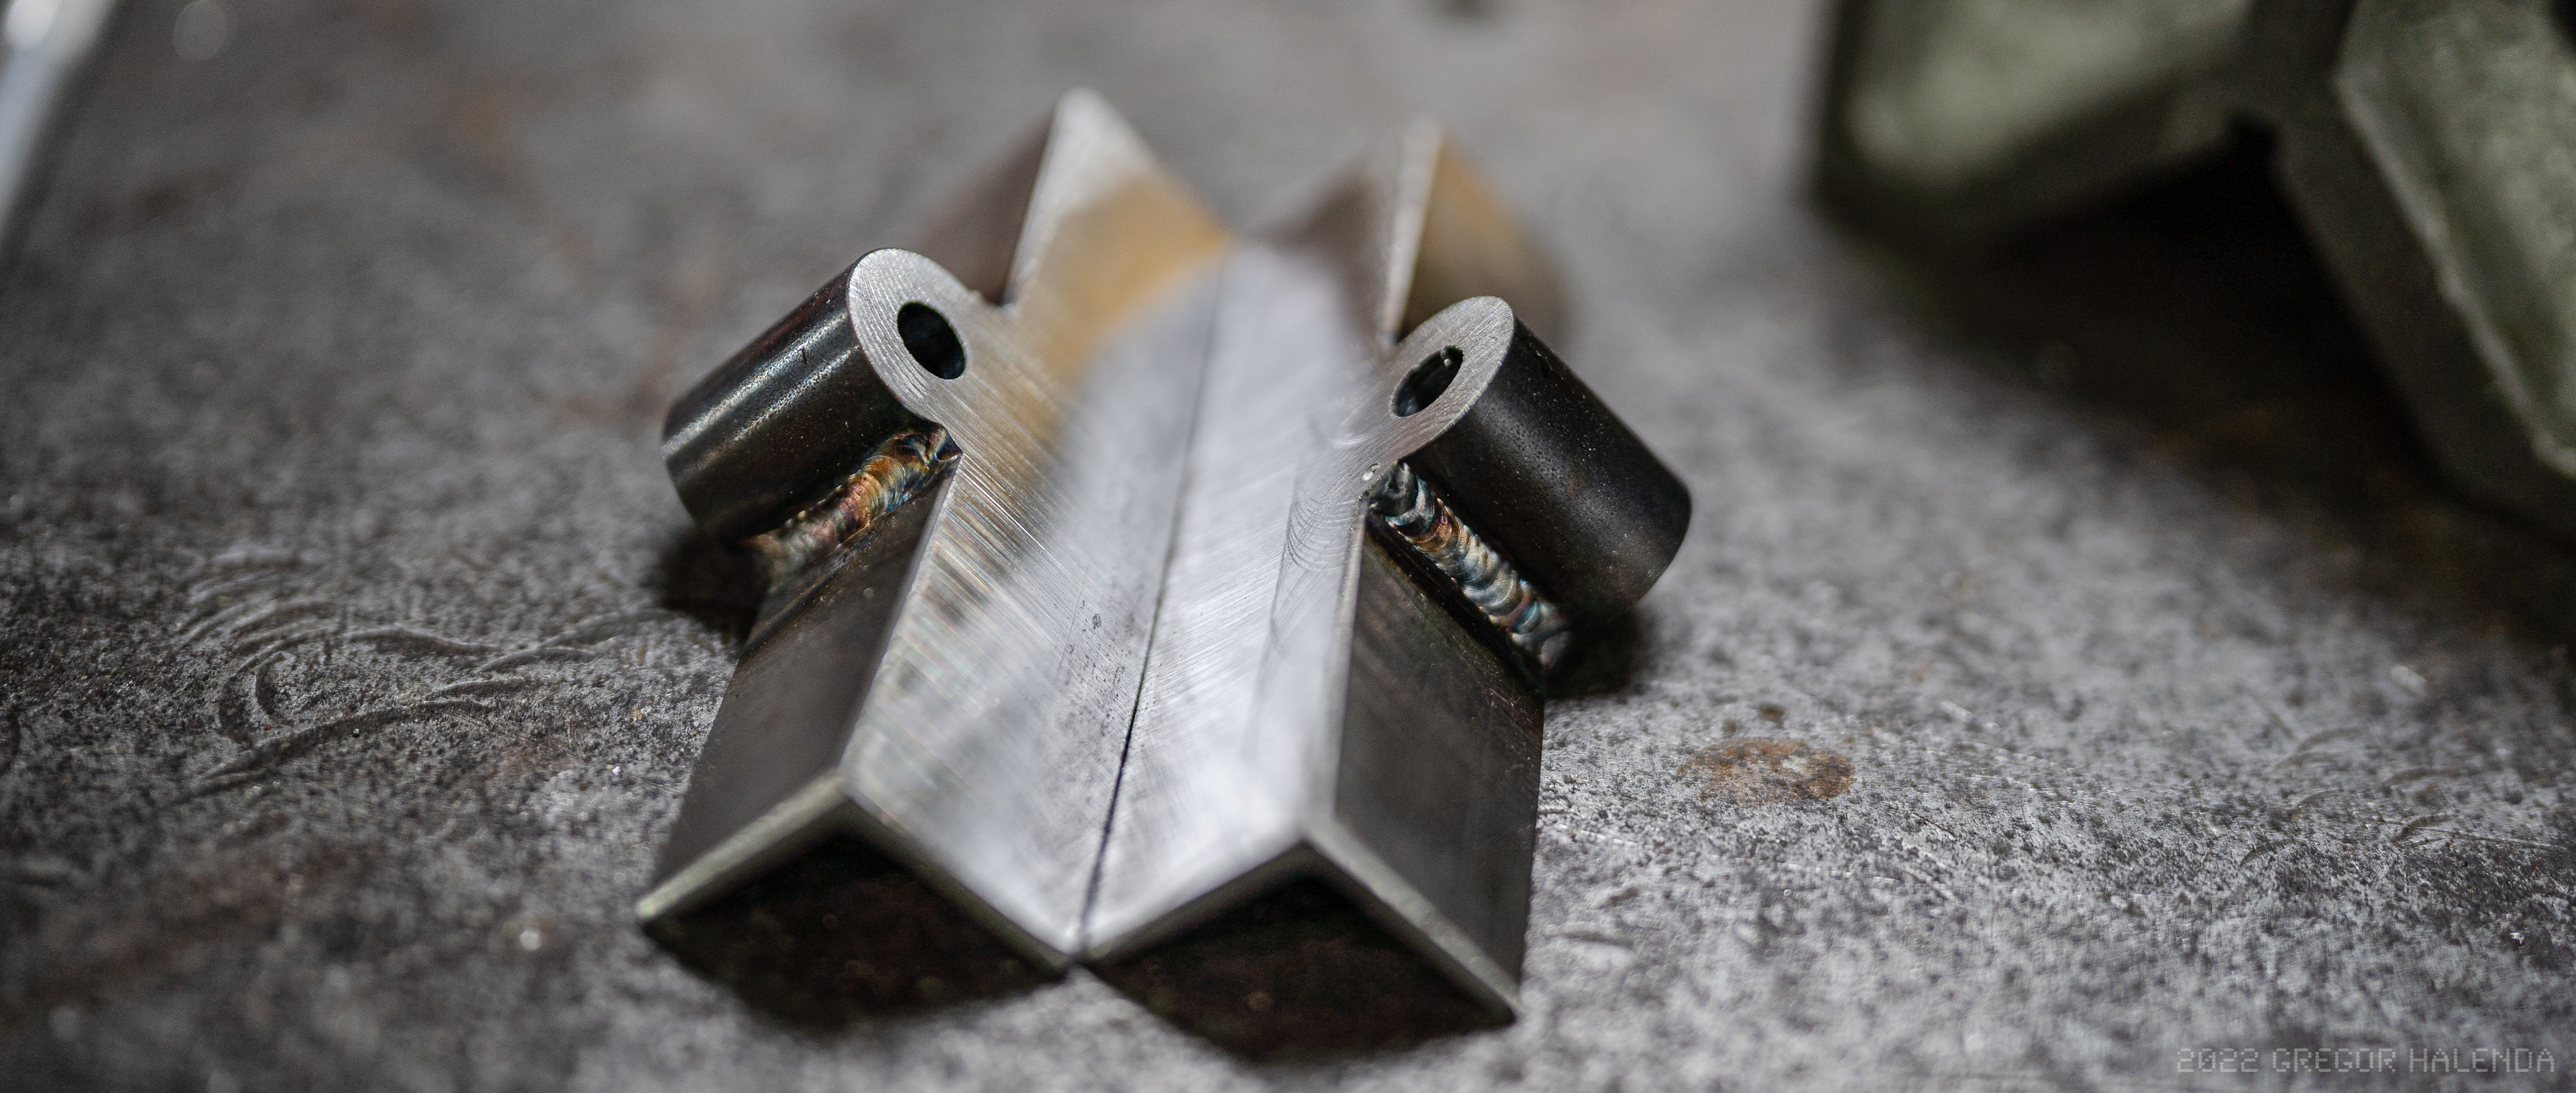
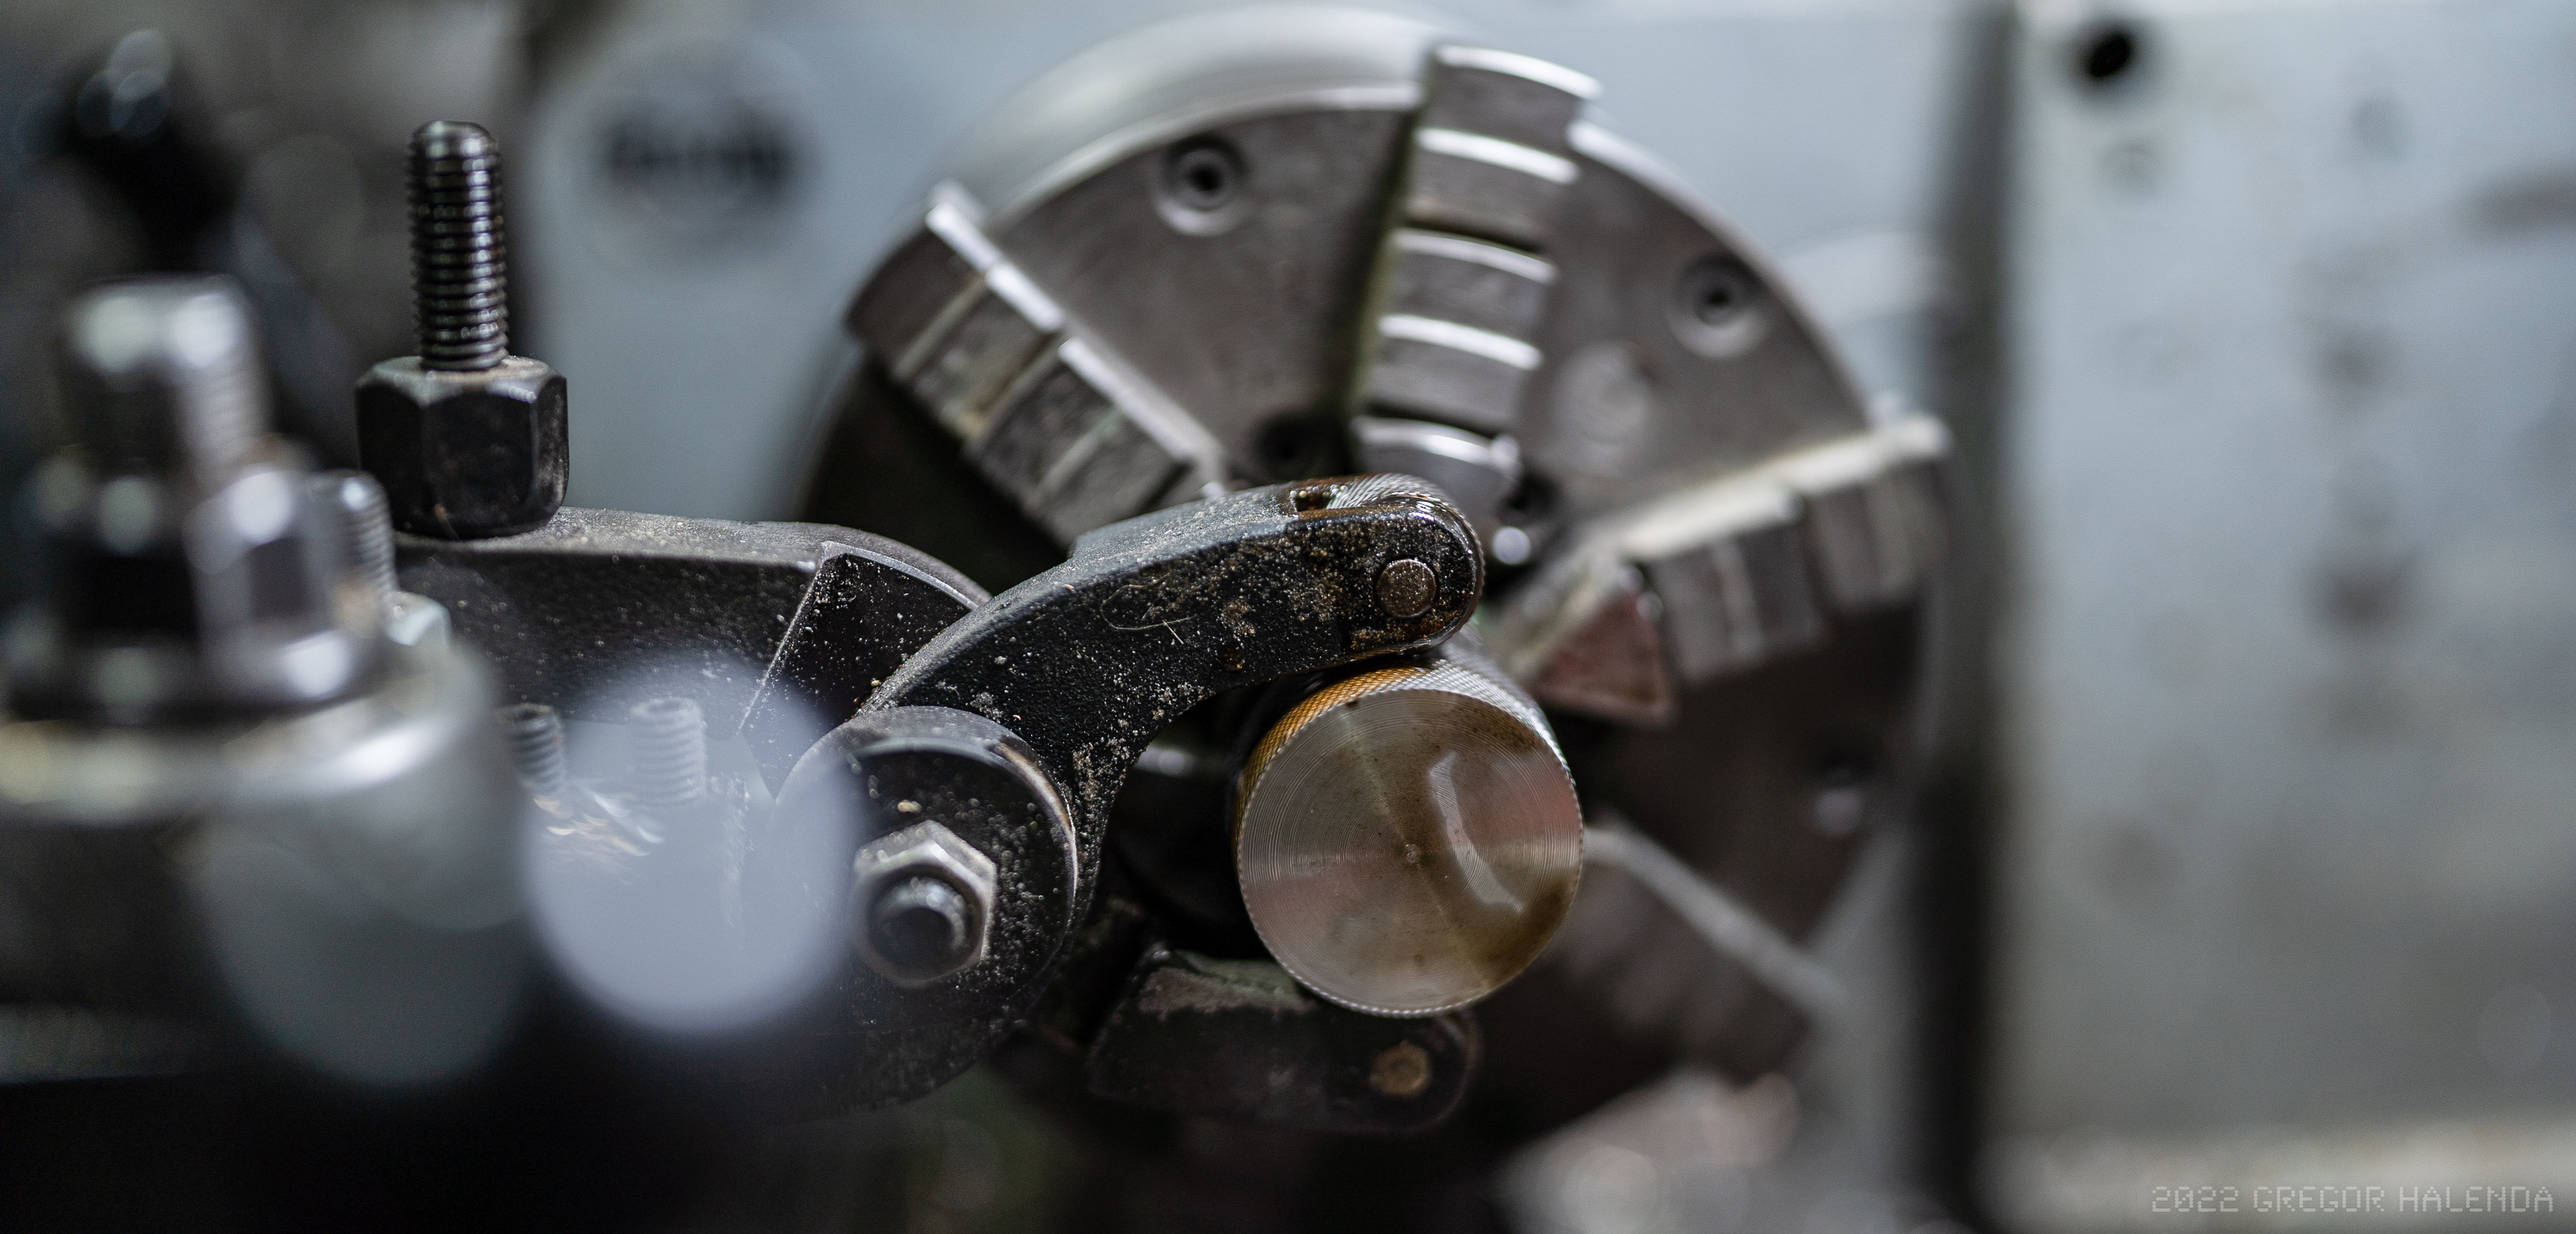
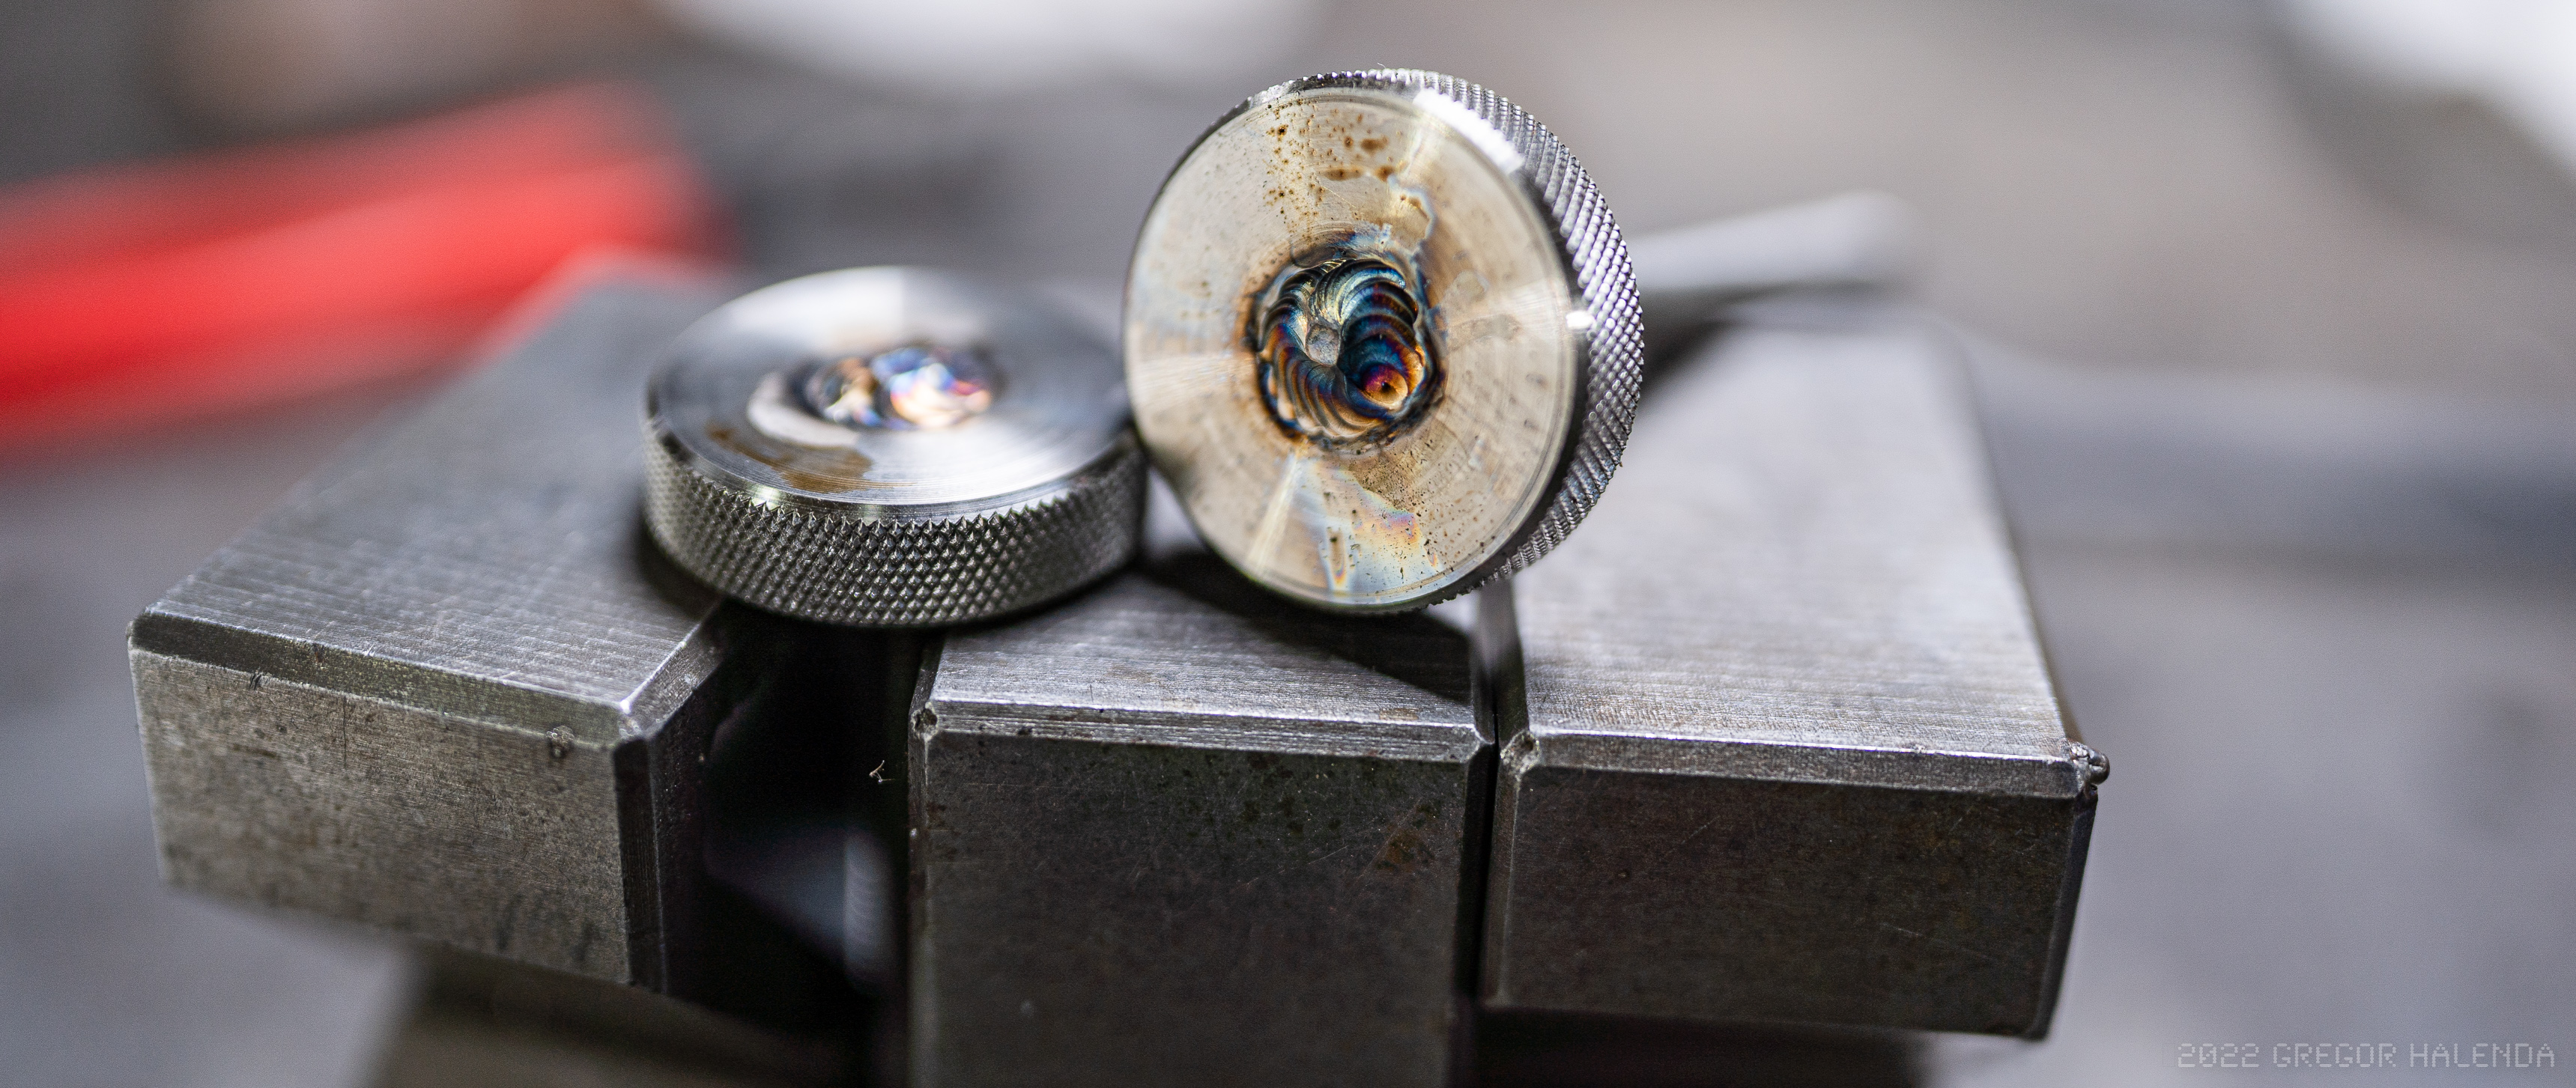
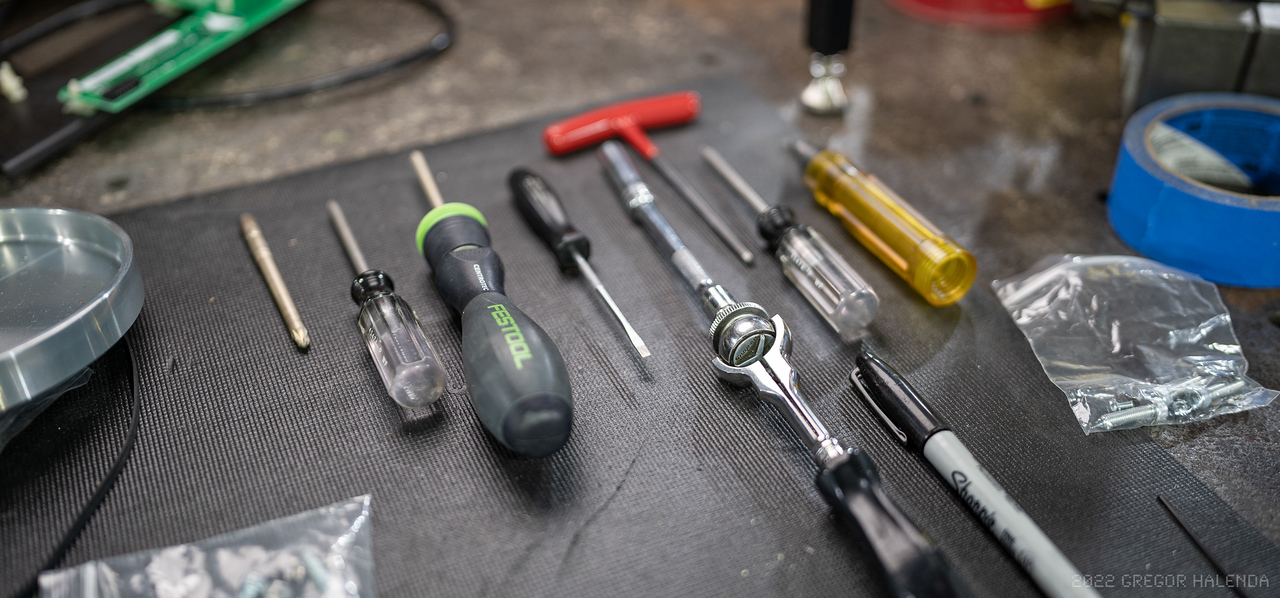
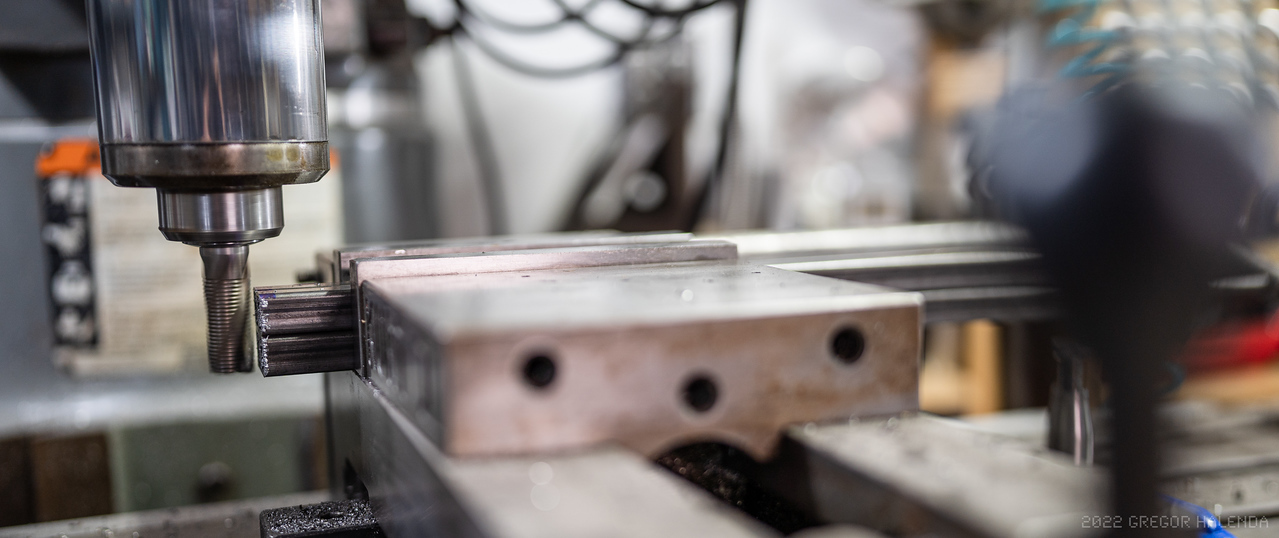
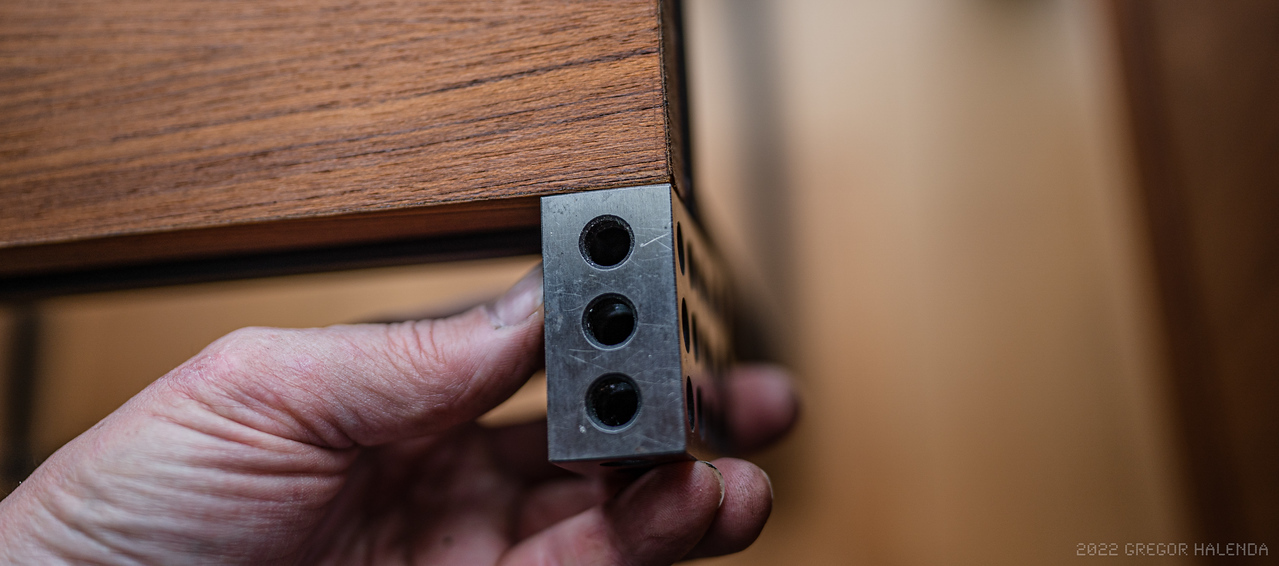
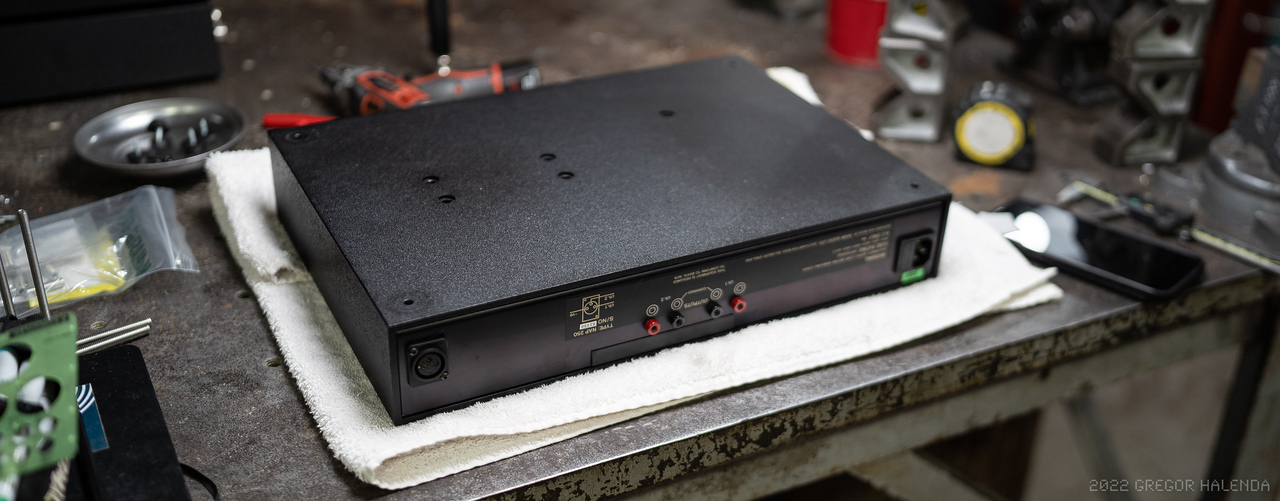
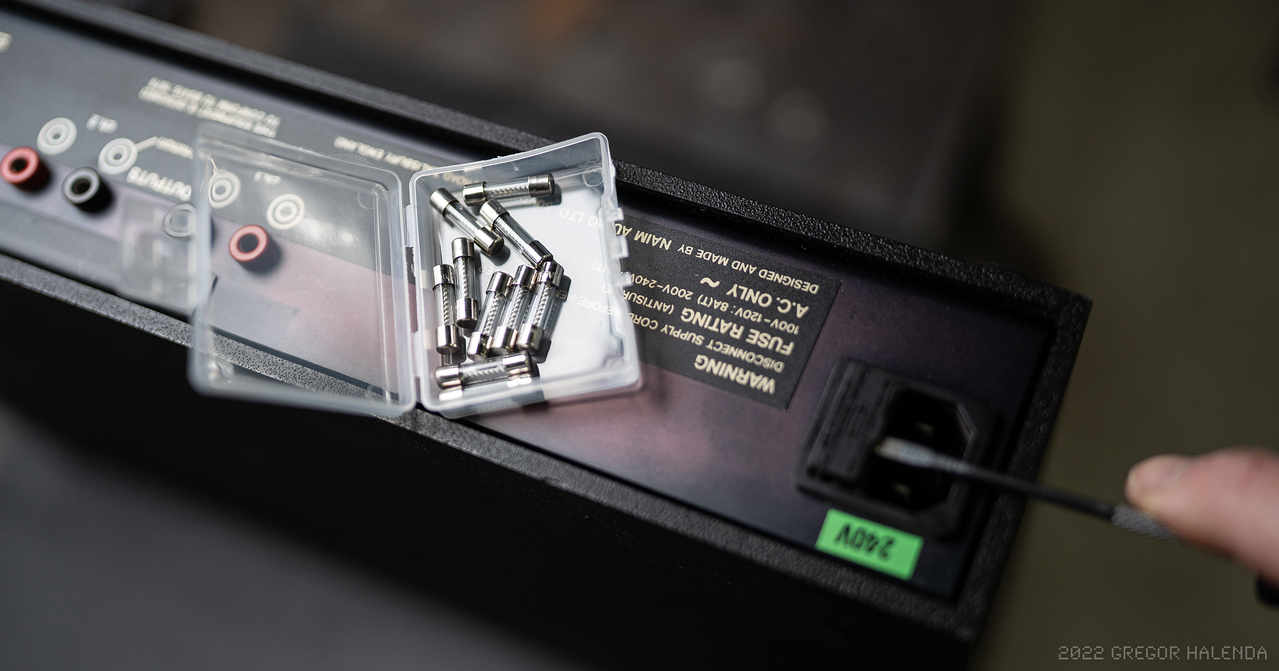
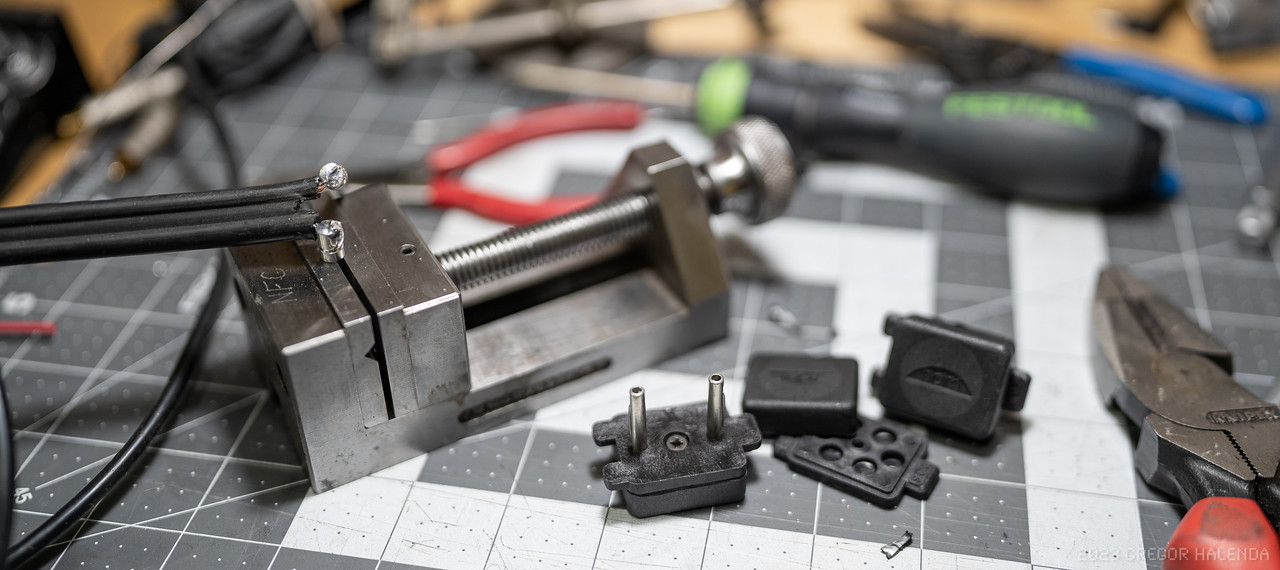
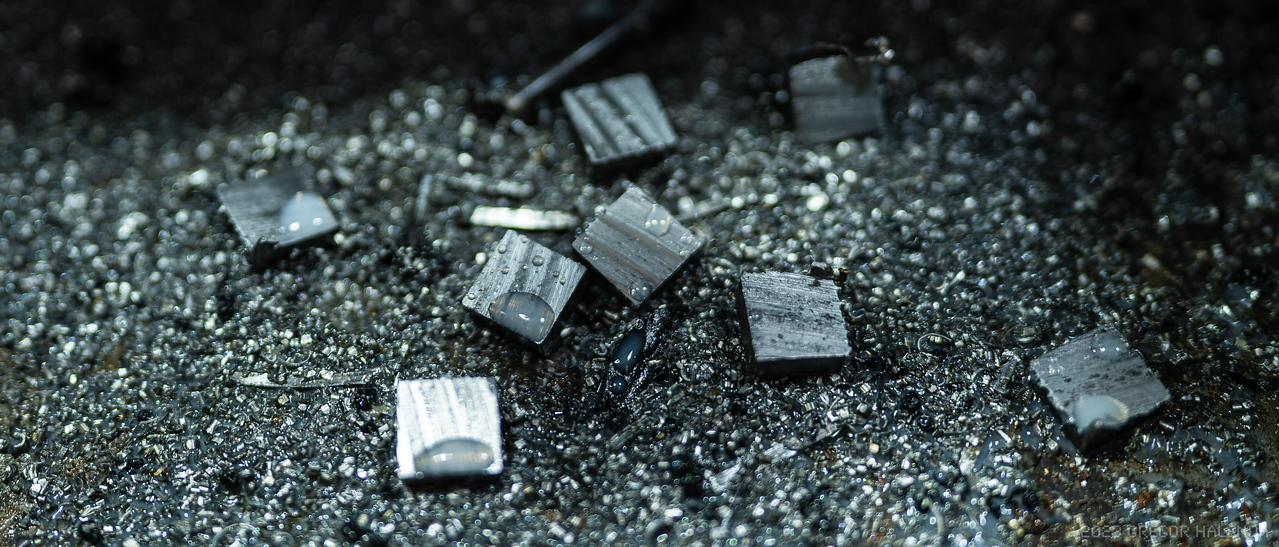
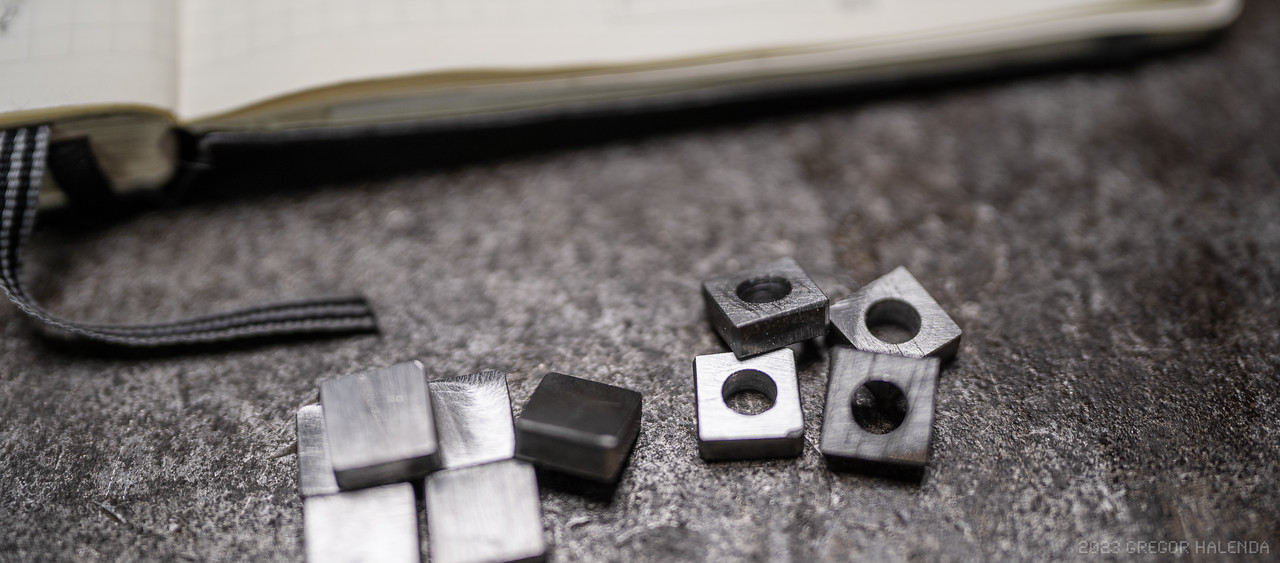
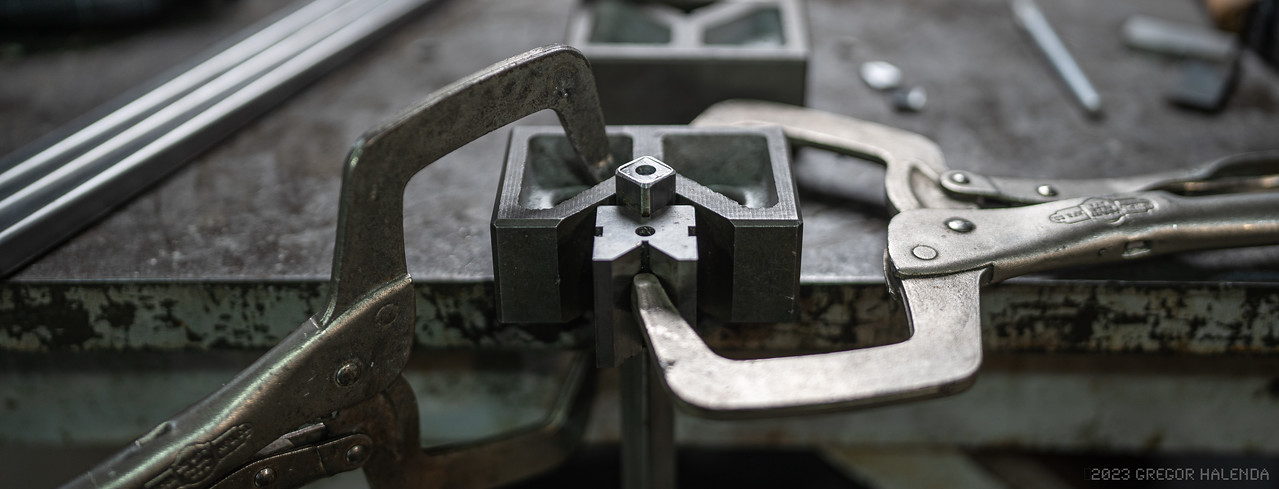
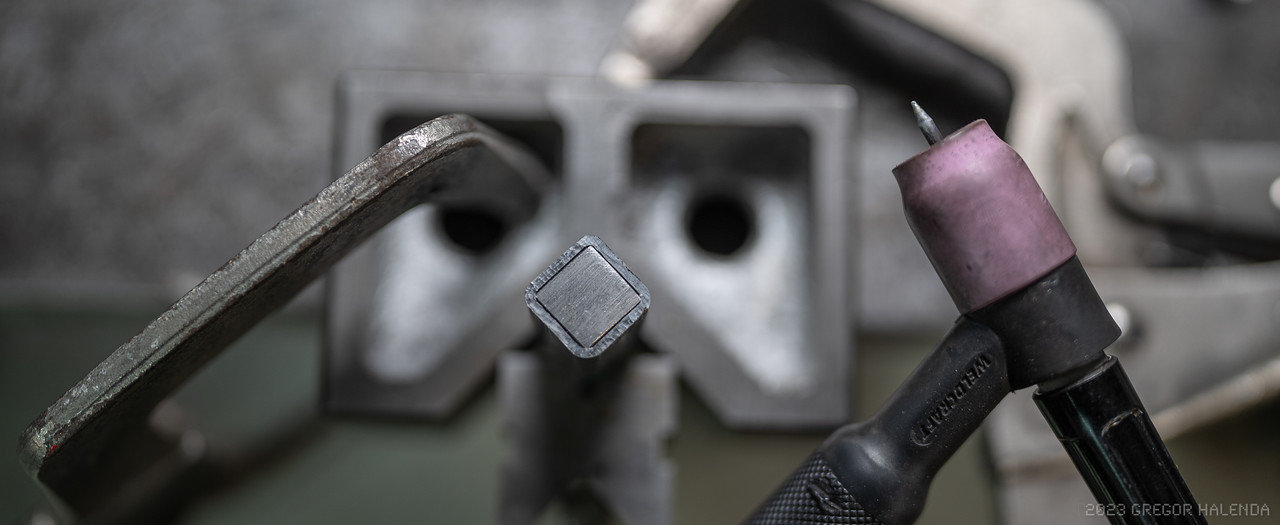
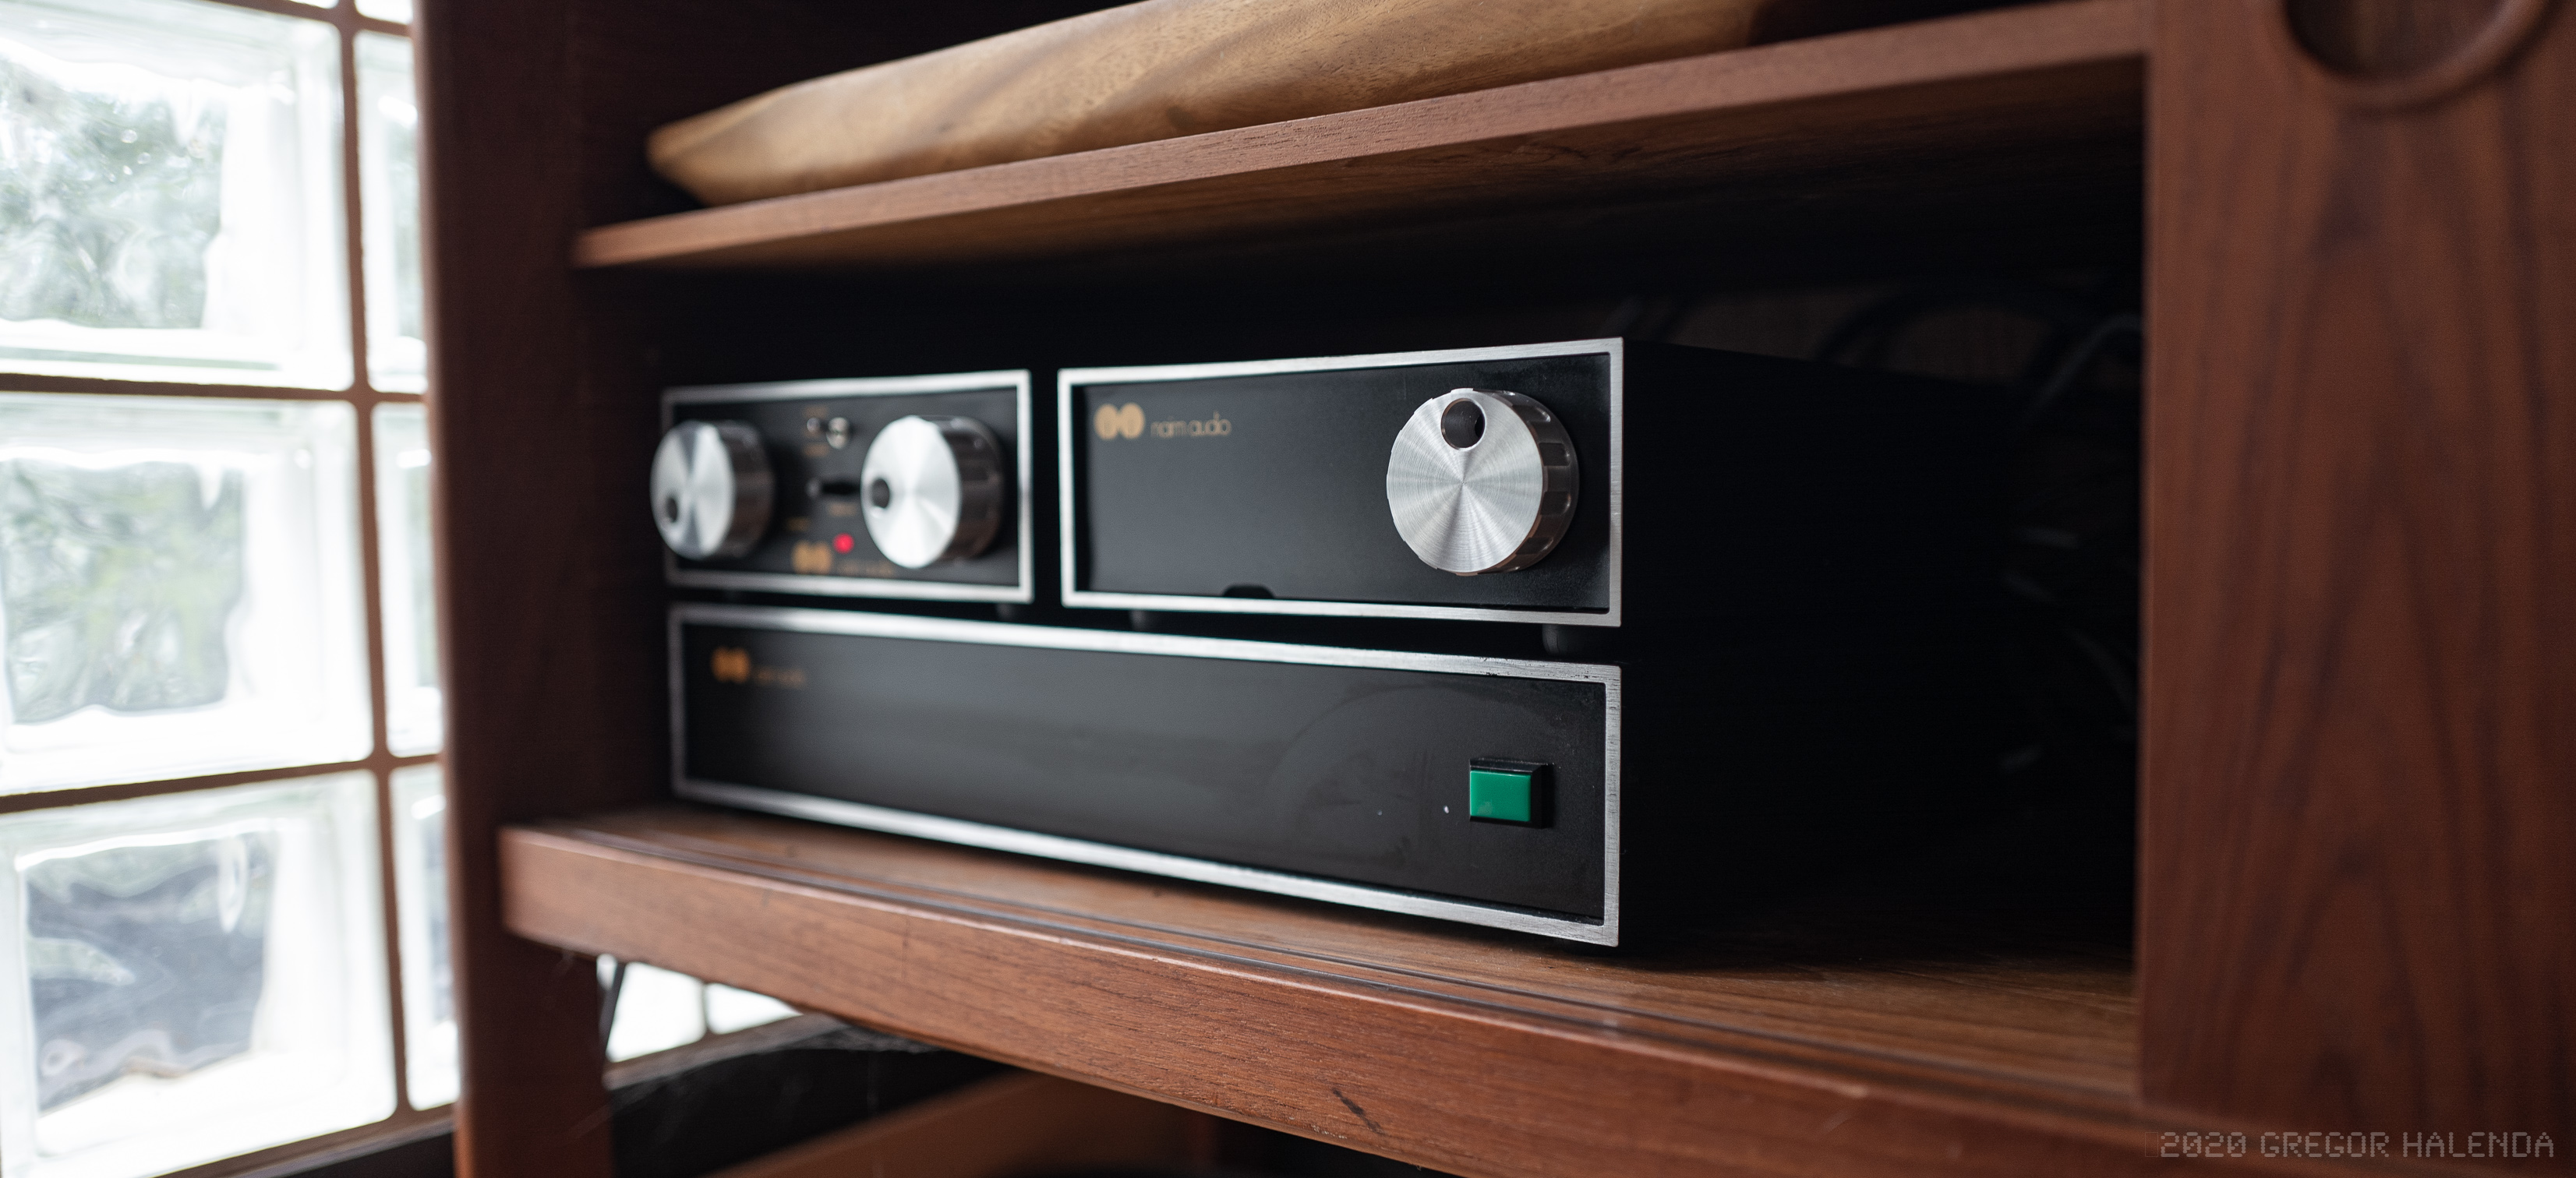
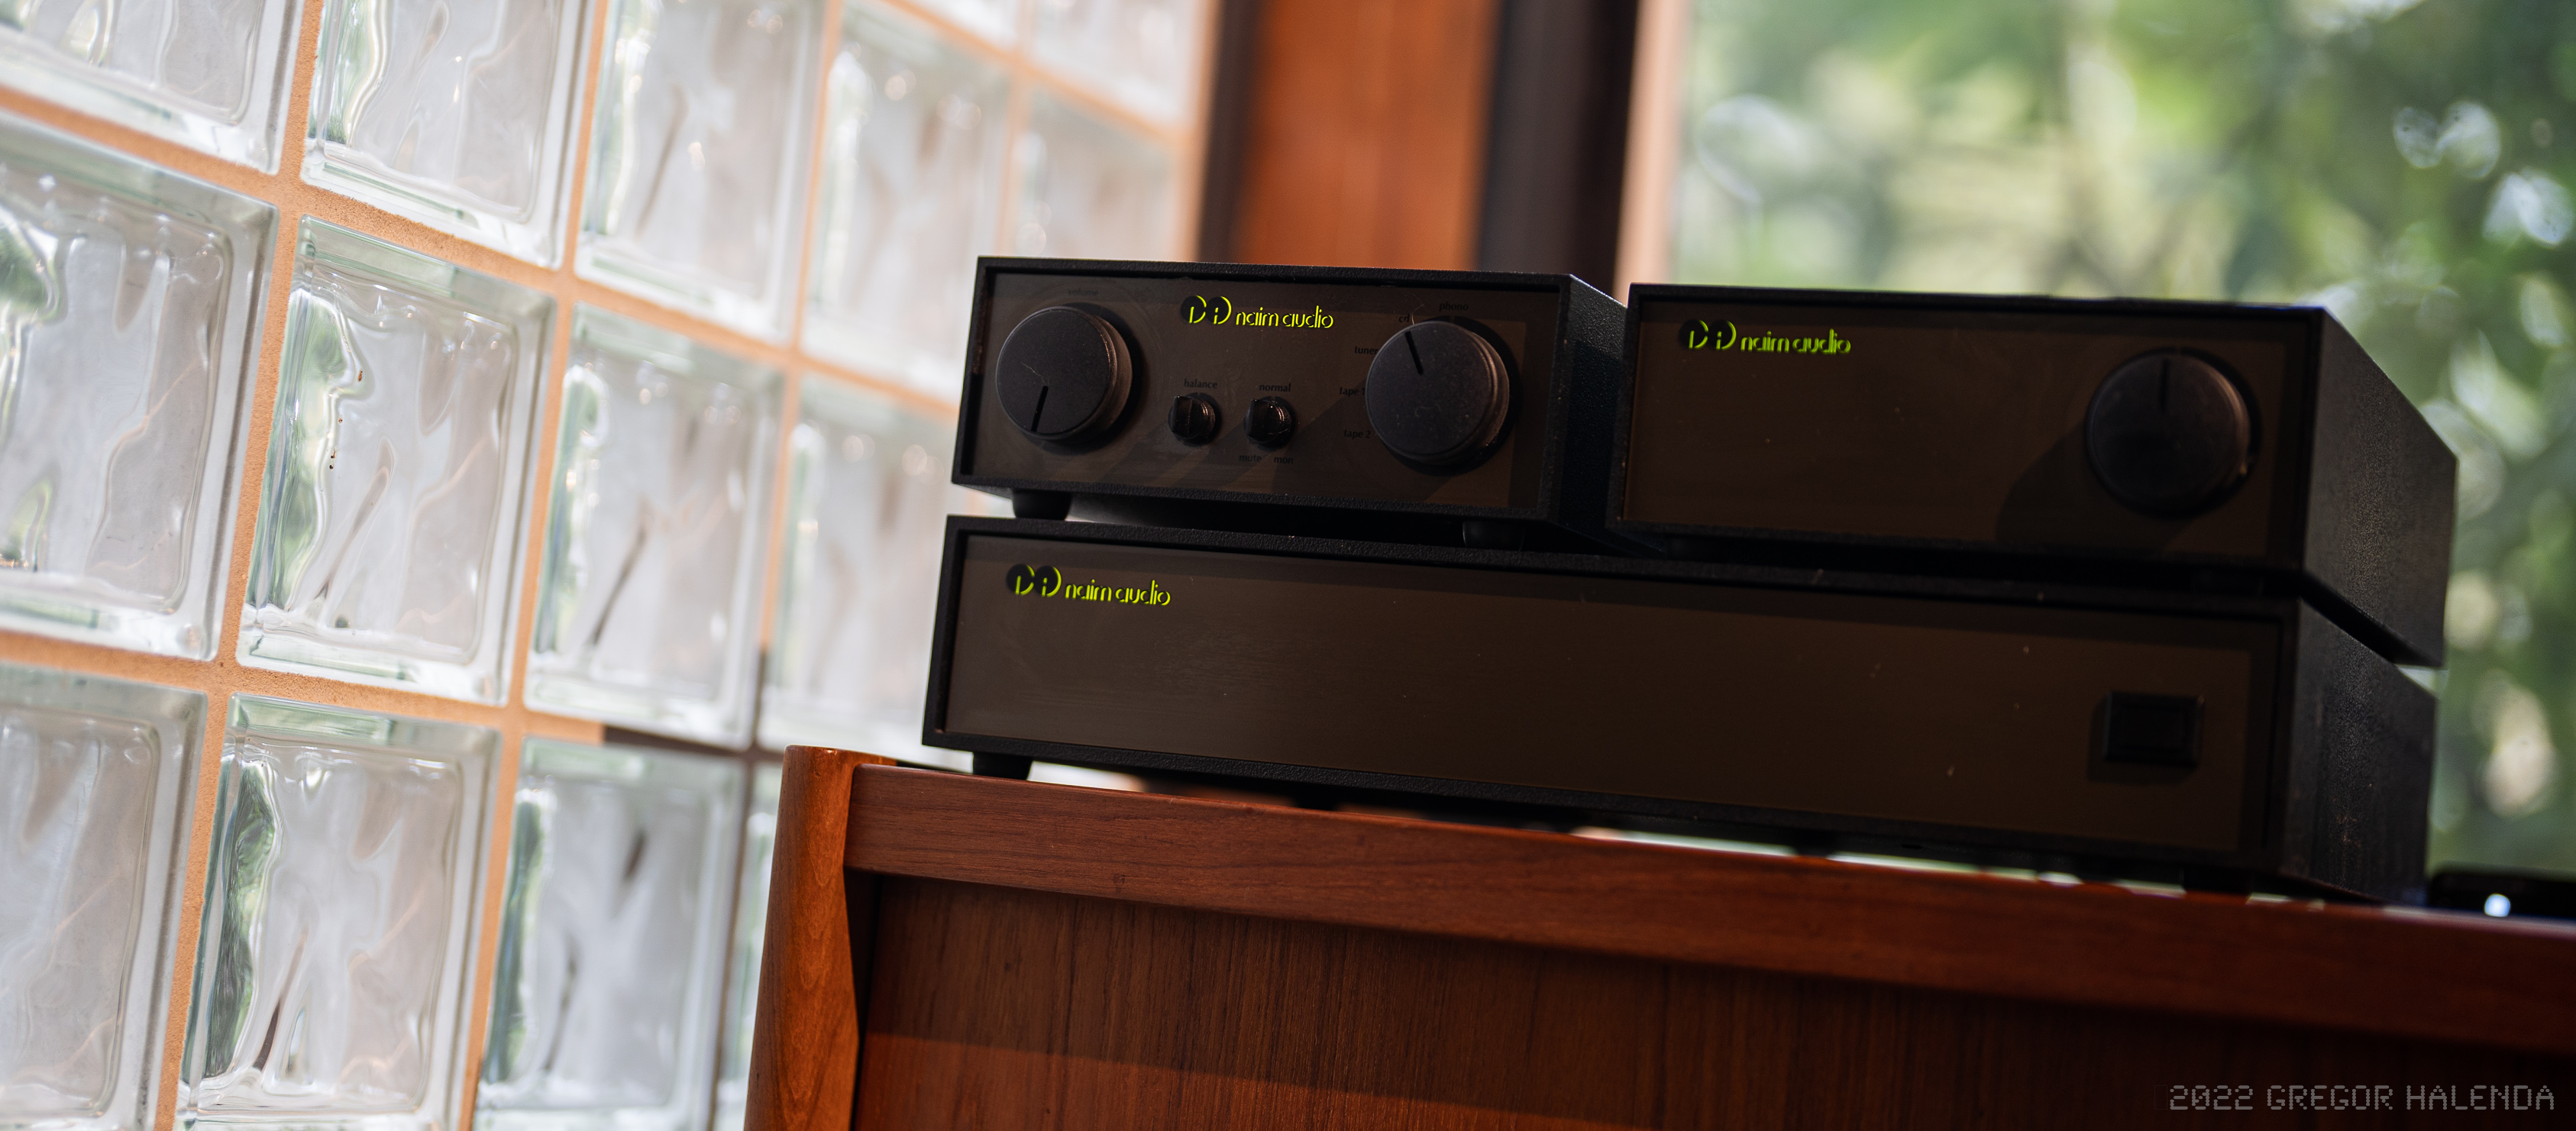
I still had my old chrome bumper 42, Hicap and 250 - it has simply been my streaming system with a set of Credo's. One of the knobs broke and I machined new ones from some billets of aluminum.

i-49VGHNF.jpg


i-VvN3Qzb.jpg


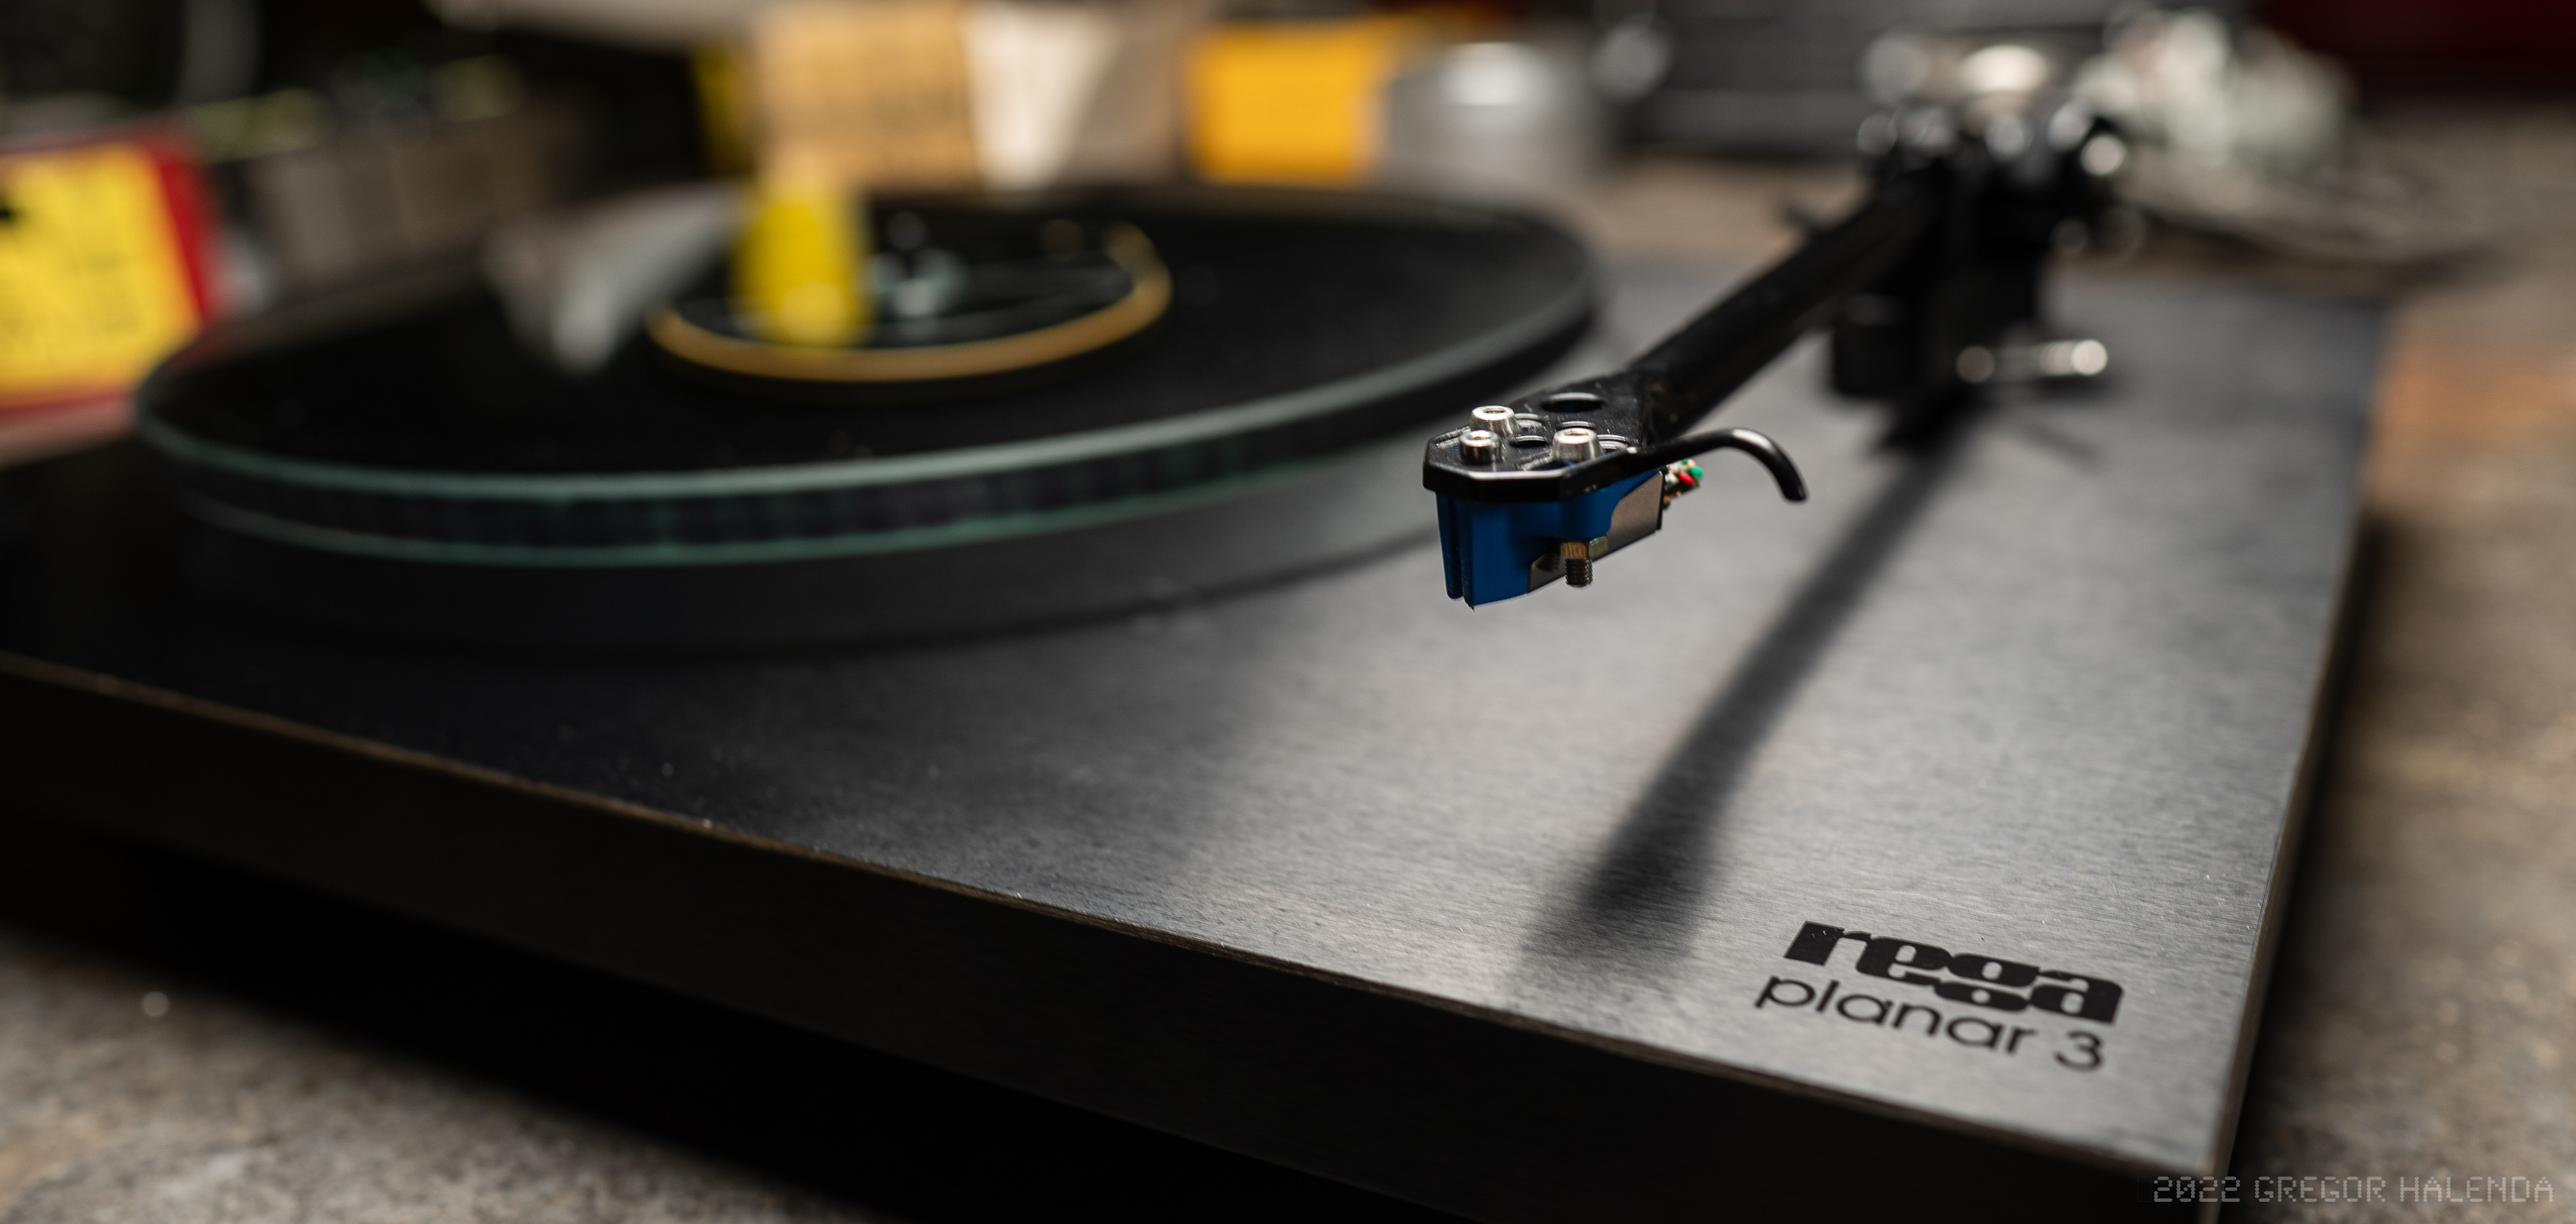
I always remembered the sound of the Rega to be honest and engaging but honestly it was disappointing. Flat, thin and awful.

But not to my daughter. She absolutely loved playing the "record game" and spinning vinyl. "Number and letter!" she'd shout.

S-32. Simple Minds

And we'd listen to a side. The game never got old and she discovered a lot of fun music. I was unmoved by the sound but happy to accompany her on a musical discovery.

i-4V84rXq.jpg


Fast forward a few months and a friend is looking for an espresso machine. He has some newer olive gear and wants to trade and brings it to the house. I am not exactly interested because I don't think that the olive gear is much of a jump but we hook it up.

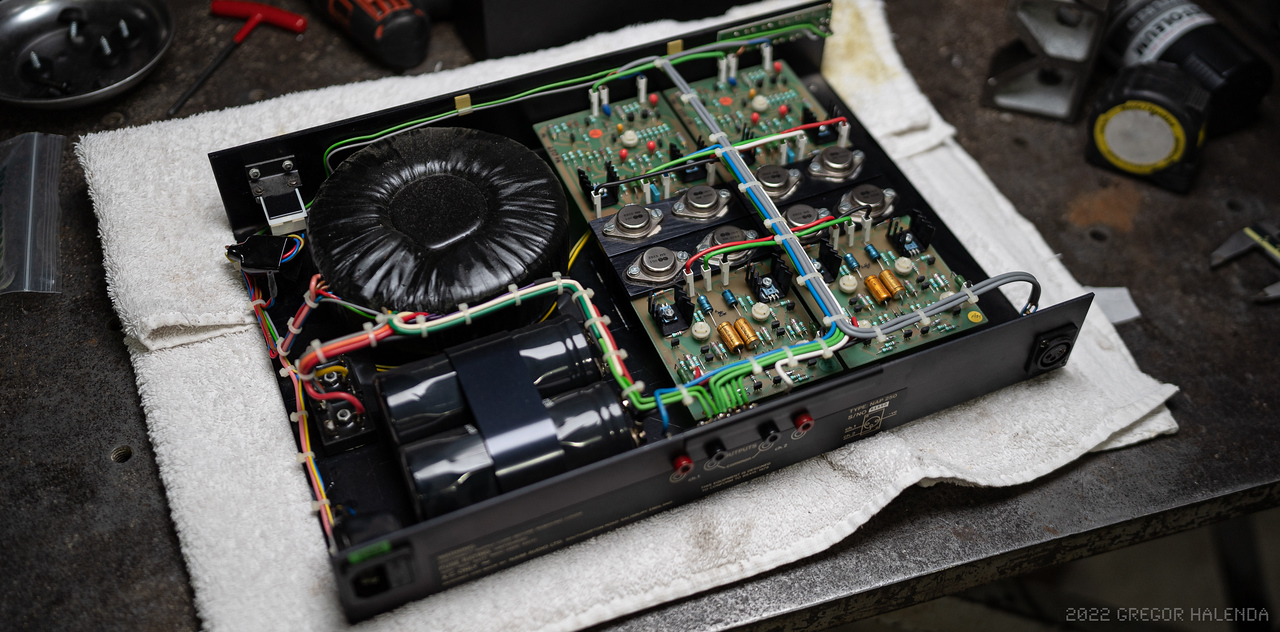
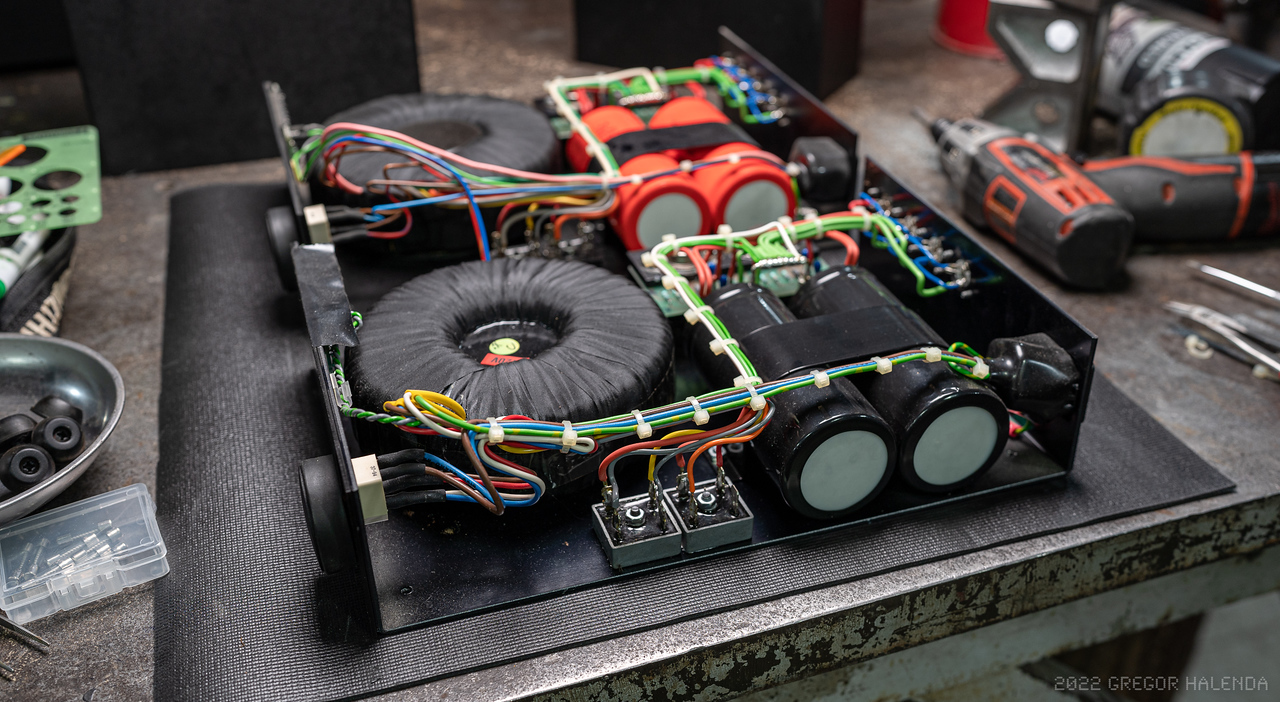
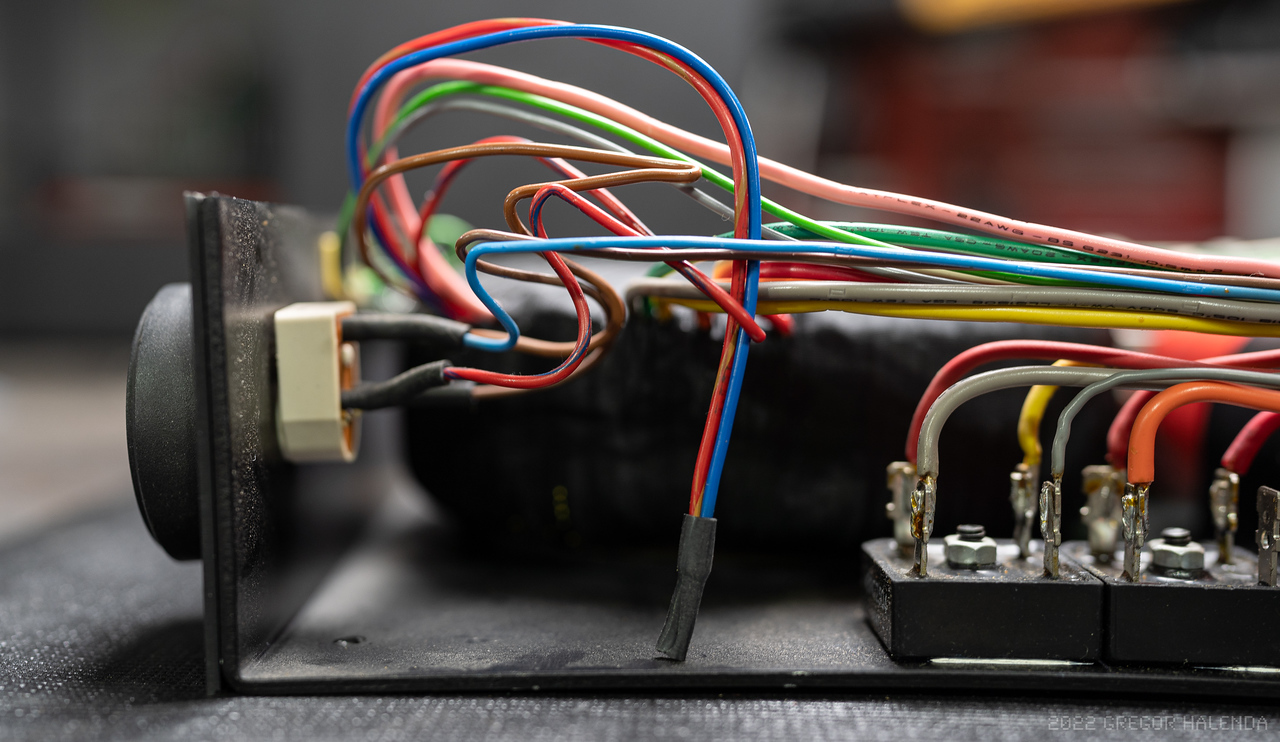
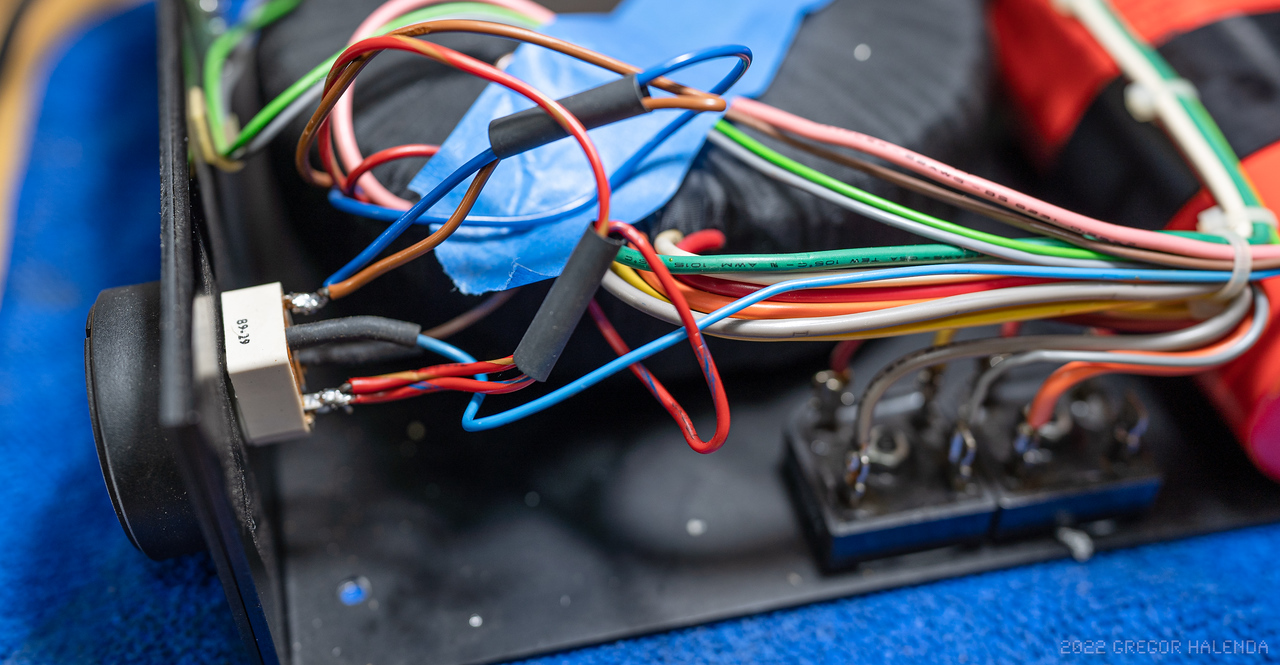
I knew my chrome gear was probably in need of a recap but I wasn't prepared for the improvement. Night and day. On reflection I think my old phono boards were bad and I was blaming the Rega. The Rega now sounded like I remembered - engaging, rhythmic and fun. We made the trade.

All my records now sounded amazing. I began to listen to music again. I began to buy albums again. I began to go to shows again. When the kids went to moms house I'd shut the lights out and listen. Just like when I was in college. This was good.

I began to deeply regret selling my LP-12. I began to look on ebay. I began to fall down the rabbit hole.

i-HrfVLtp.jpg

i-HpVsVbQ.jpg


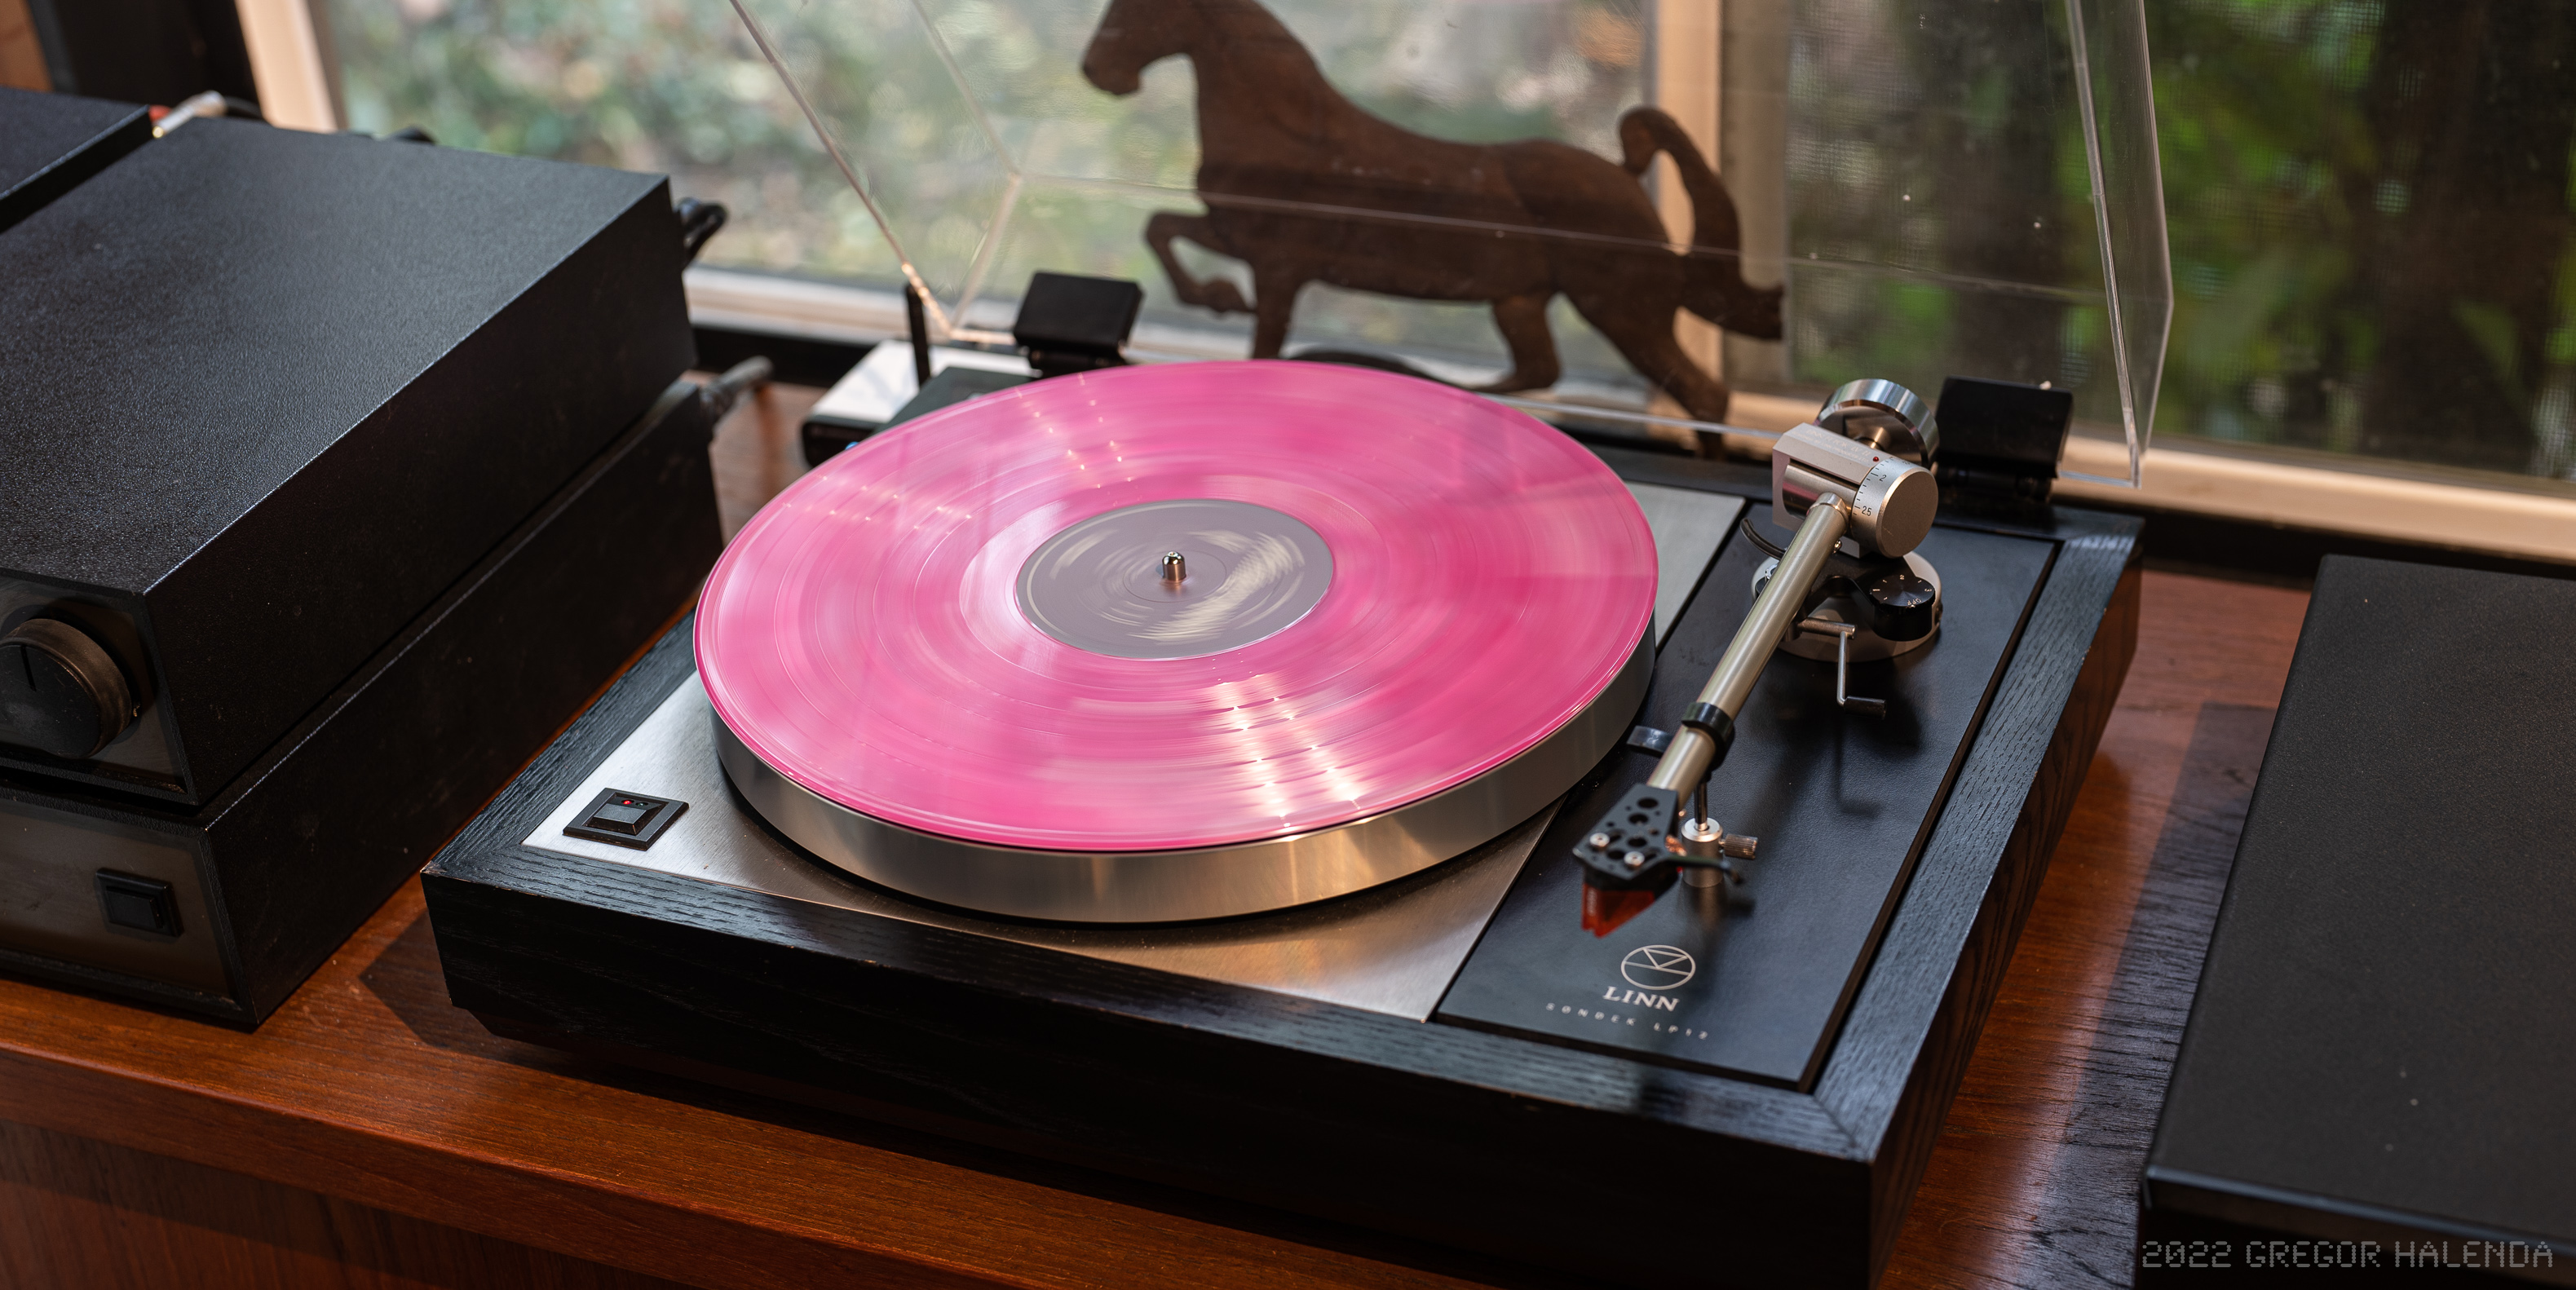
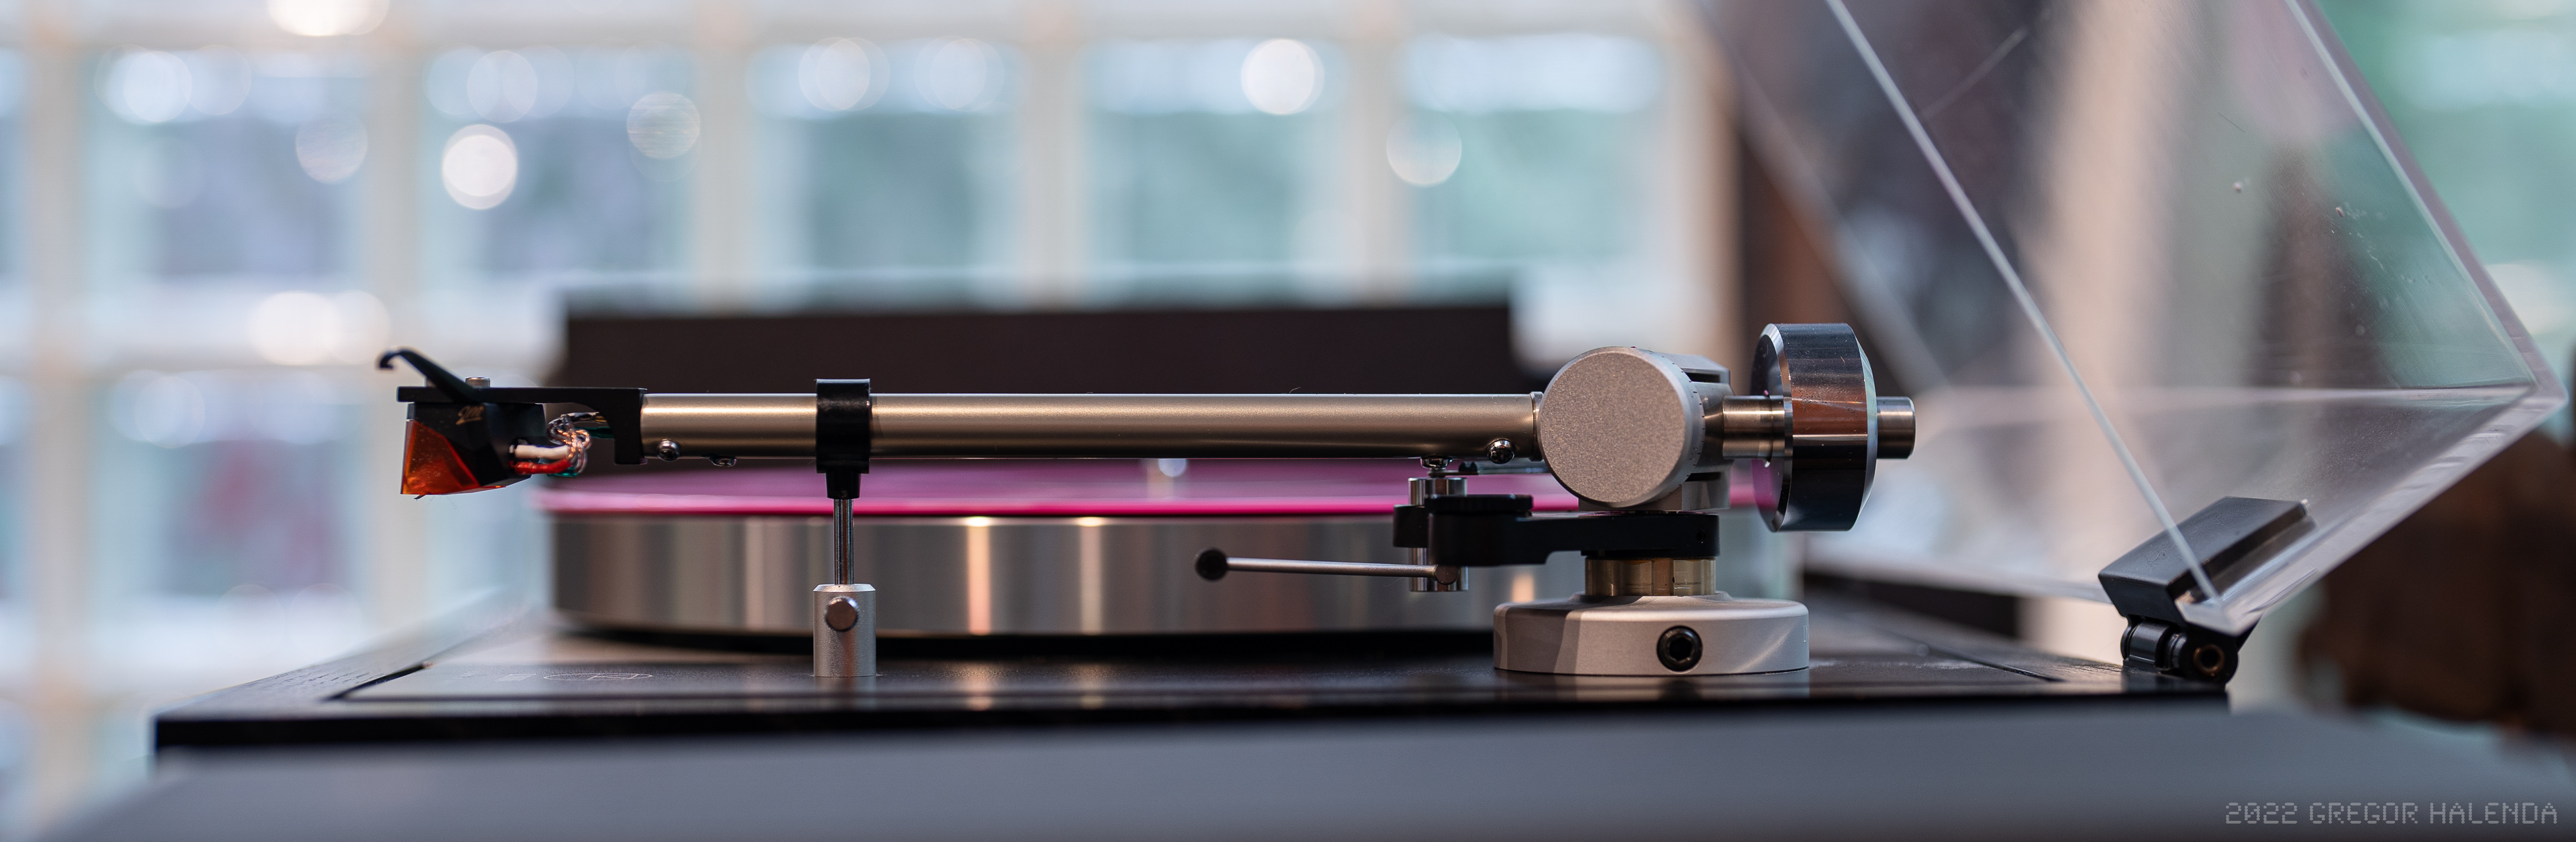
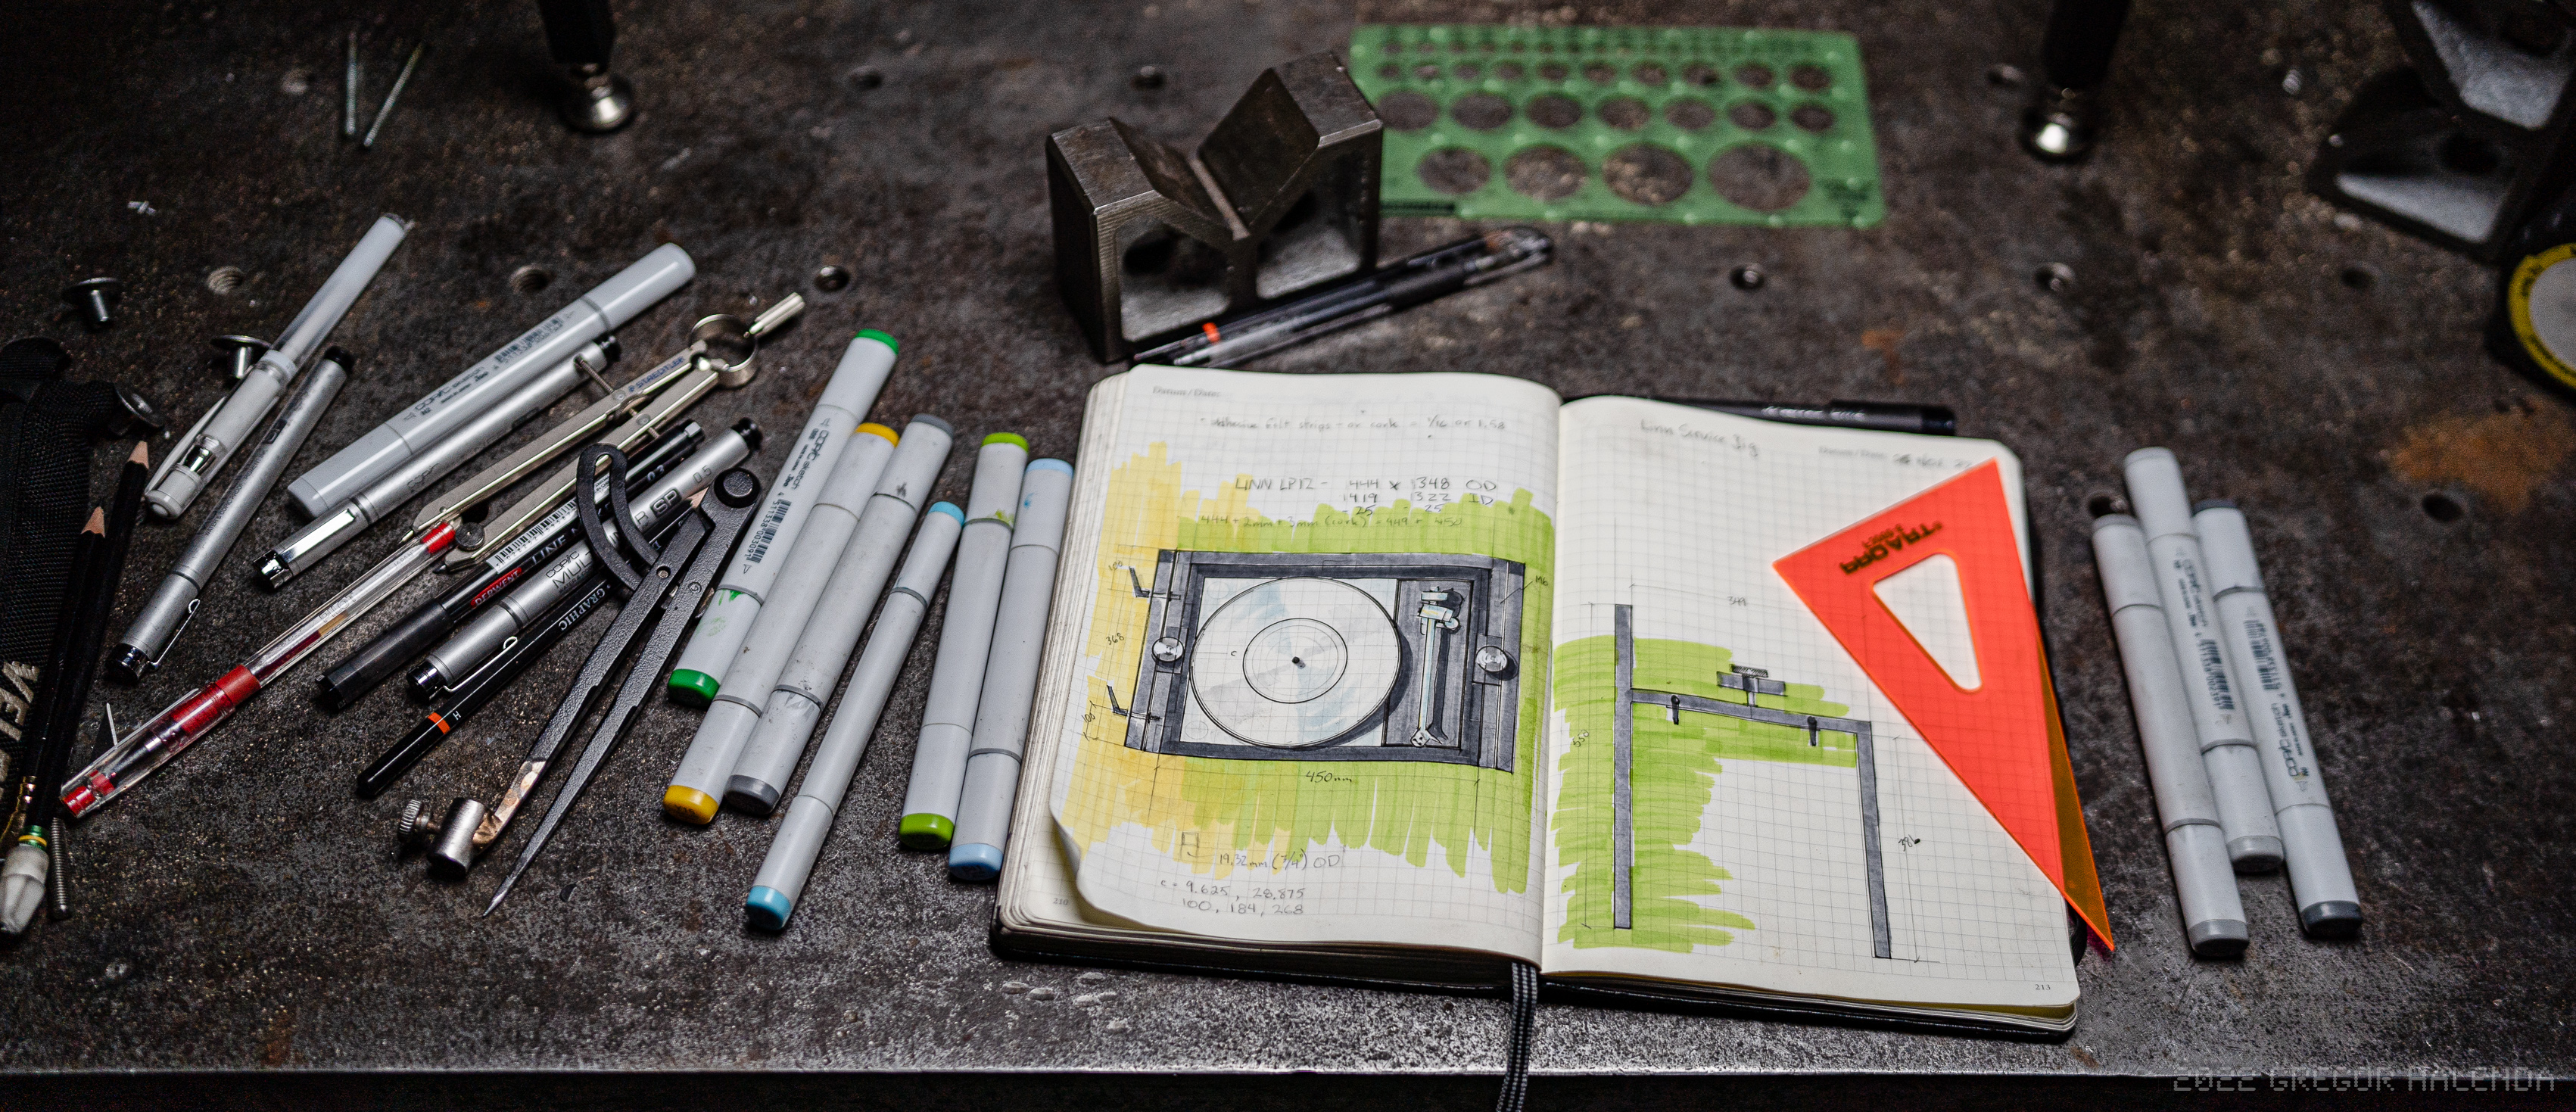
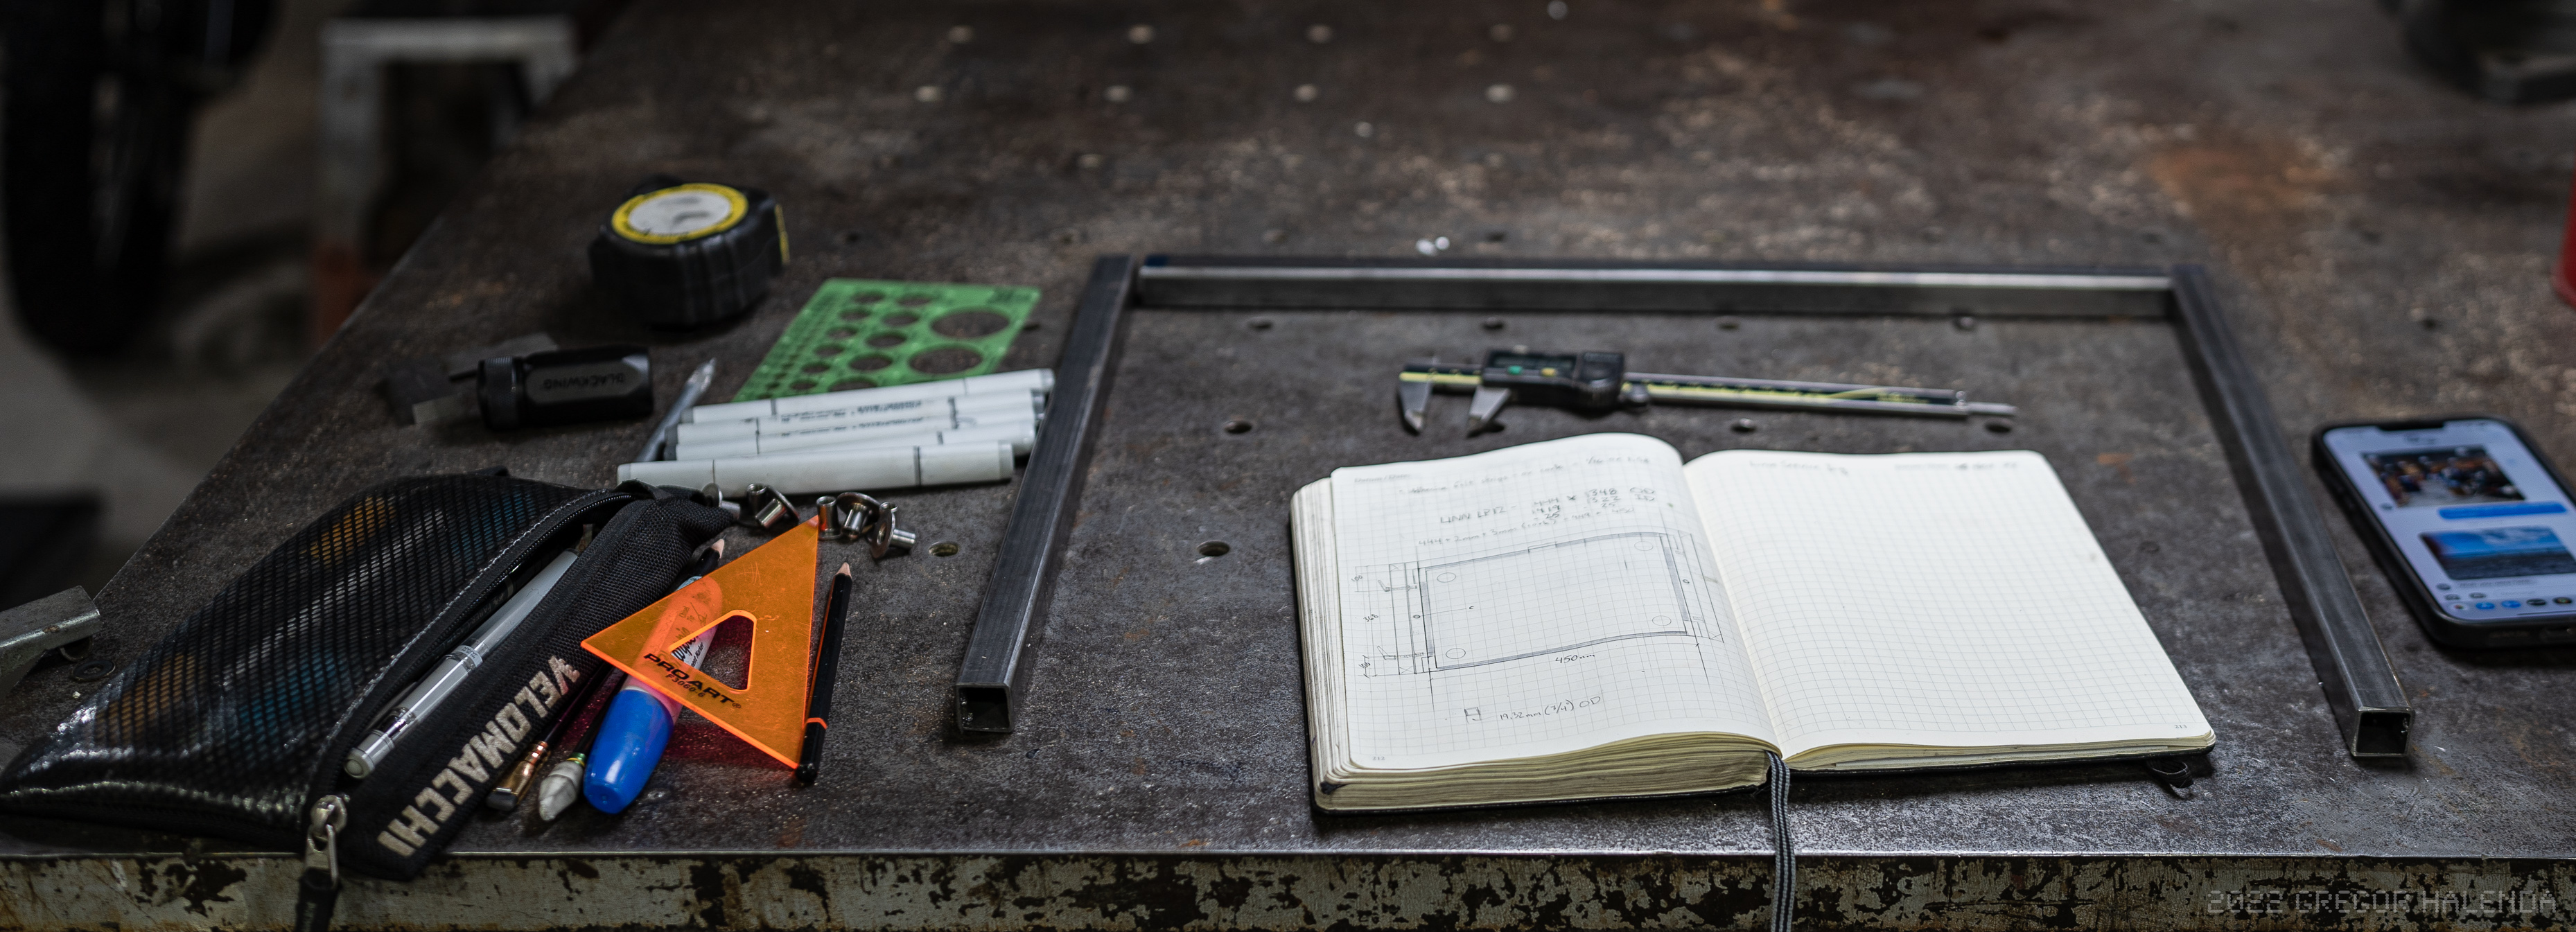
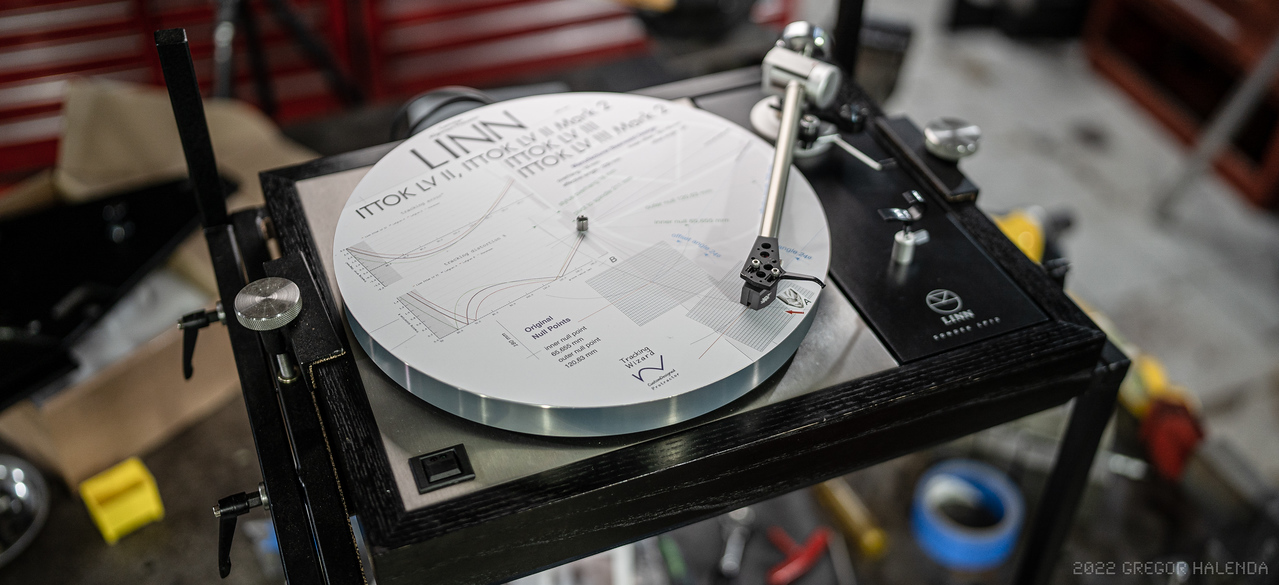
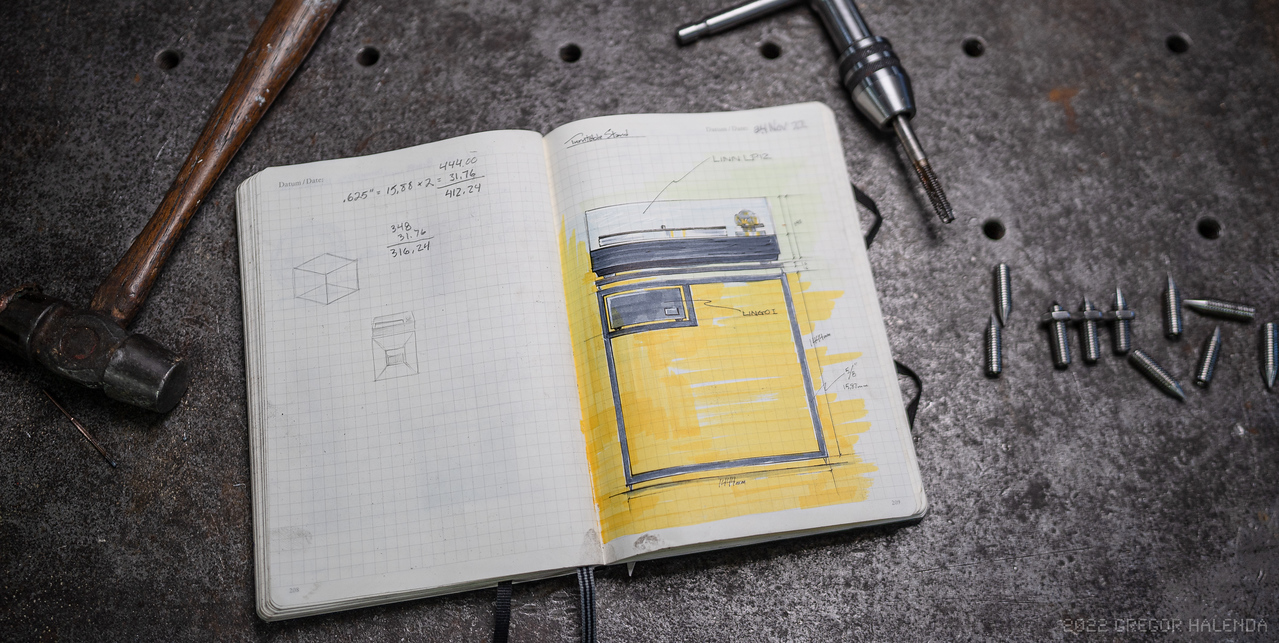
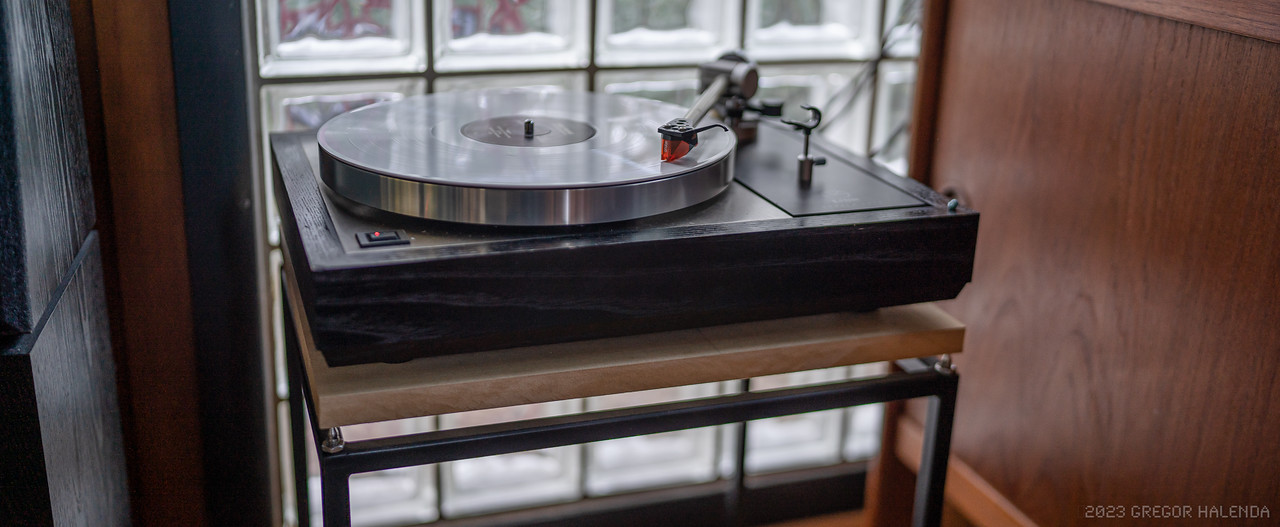
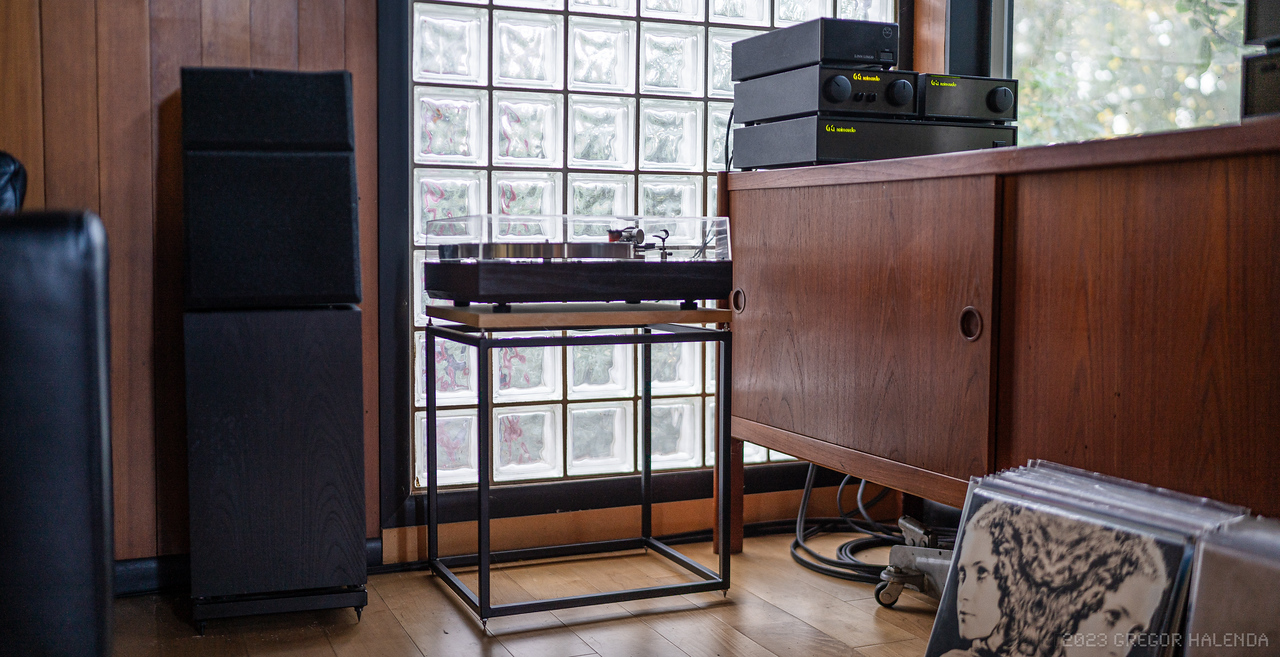
And then I found an identical LP-12 to what I'd had: black ash, Itokk and a Cirkus upgrade but with a Lingo. The jump in sound was just like I remembered - immense. Detailed, engaging, rhythmic, fun.

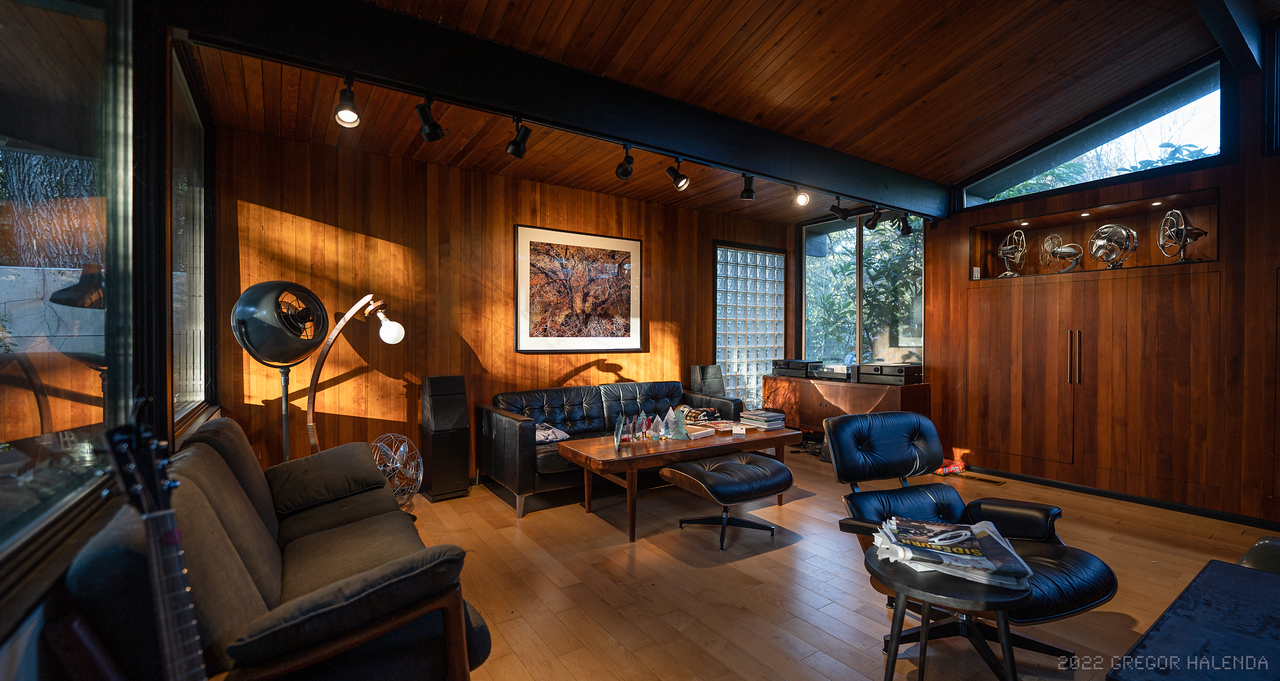
The Credo's were fine speakers and they sounded fine but that's it. They were never "the thing." The "Thing" was a system that I'd helped install for one of our regular customers, Brian, who had an active SBL set up. We installed all sorts of amazing systems including active DBL's with a six pack of 135's but for me it was Brians system - that was the grail.

One of the great parts of getting older is that there's very often a lucky intersection between what you once coveted and couldn't afford when you were young, its declining value and your increasing income. Can I find myself a set of SBL's?

i-GqDLdVZ.jpg


My black ash Mk2 SBL's came all the way from England. This gear is old, outdated and doesn't really hold much value outside of its sentimentality so they were surprisingly cheap and thanks to ebay shipping was less than it would have been within the state. Again, the sound was dramatically improved.

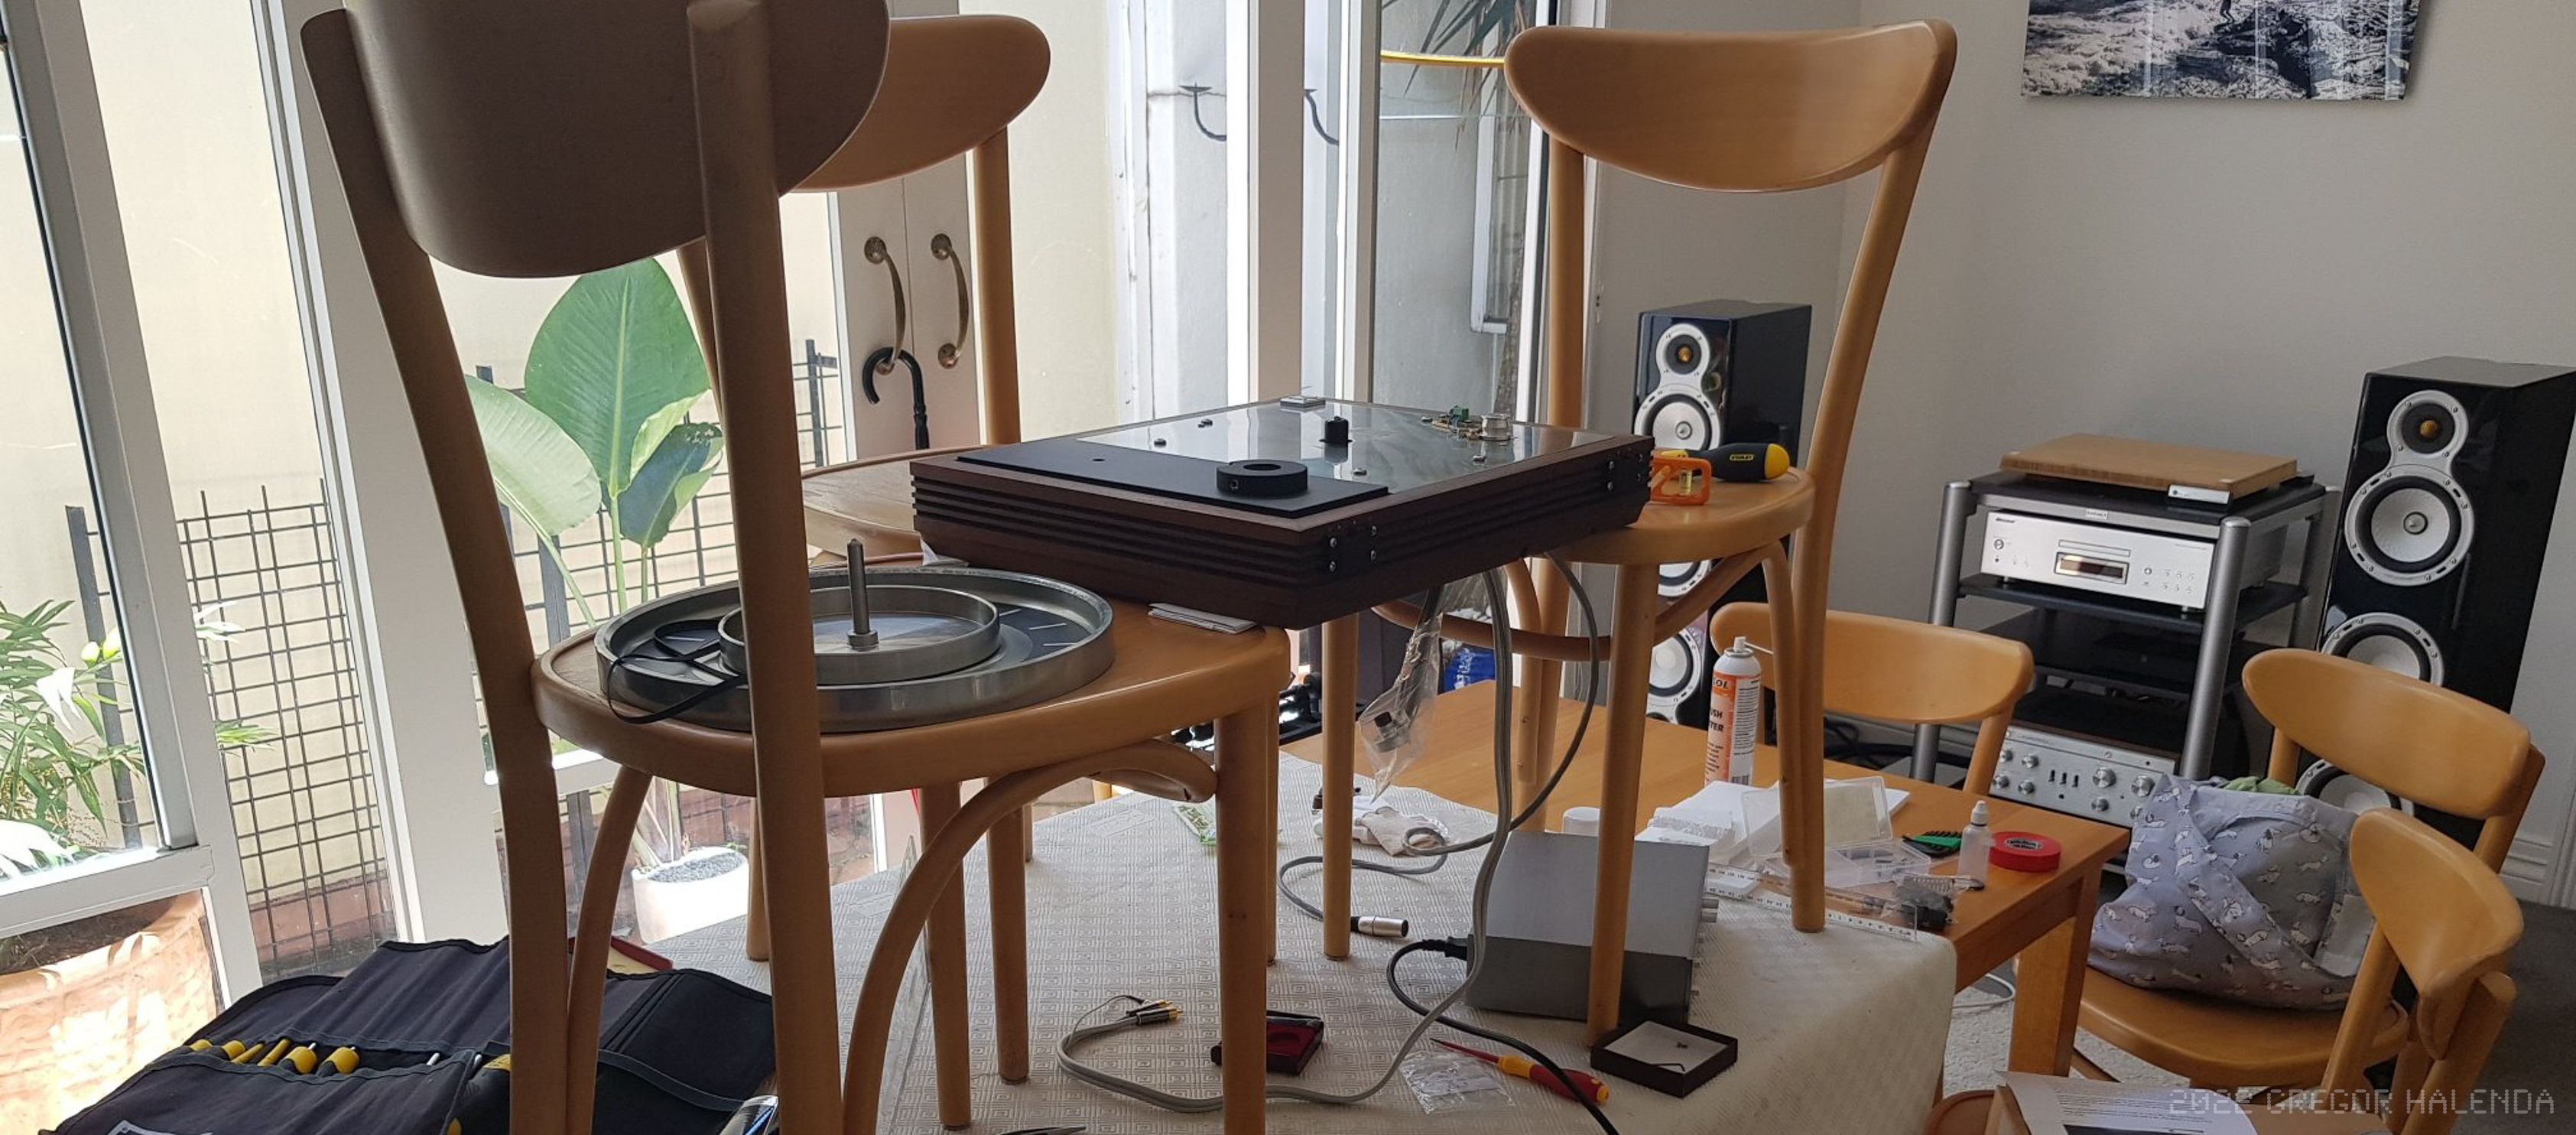
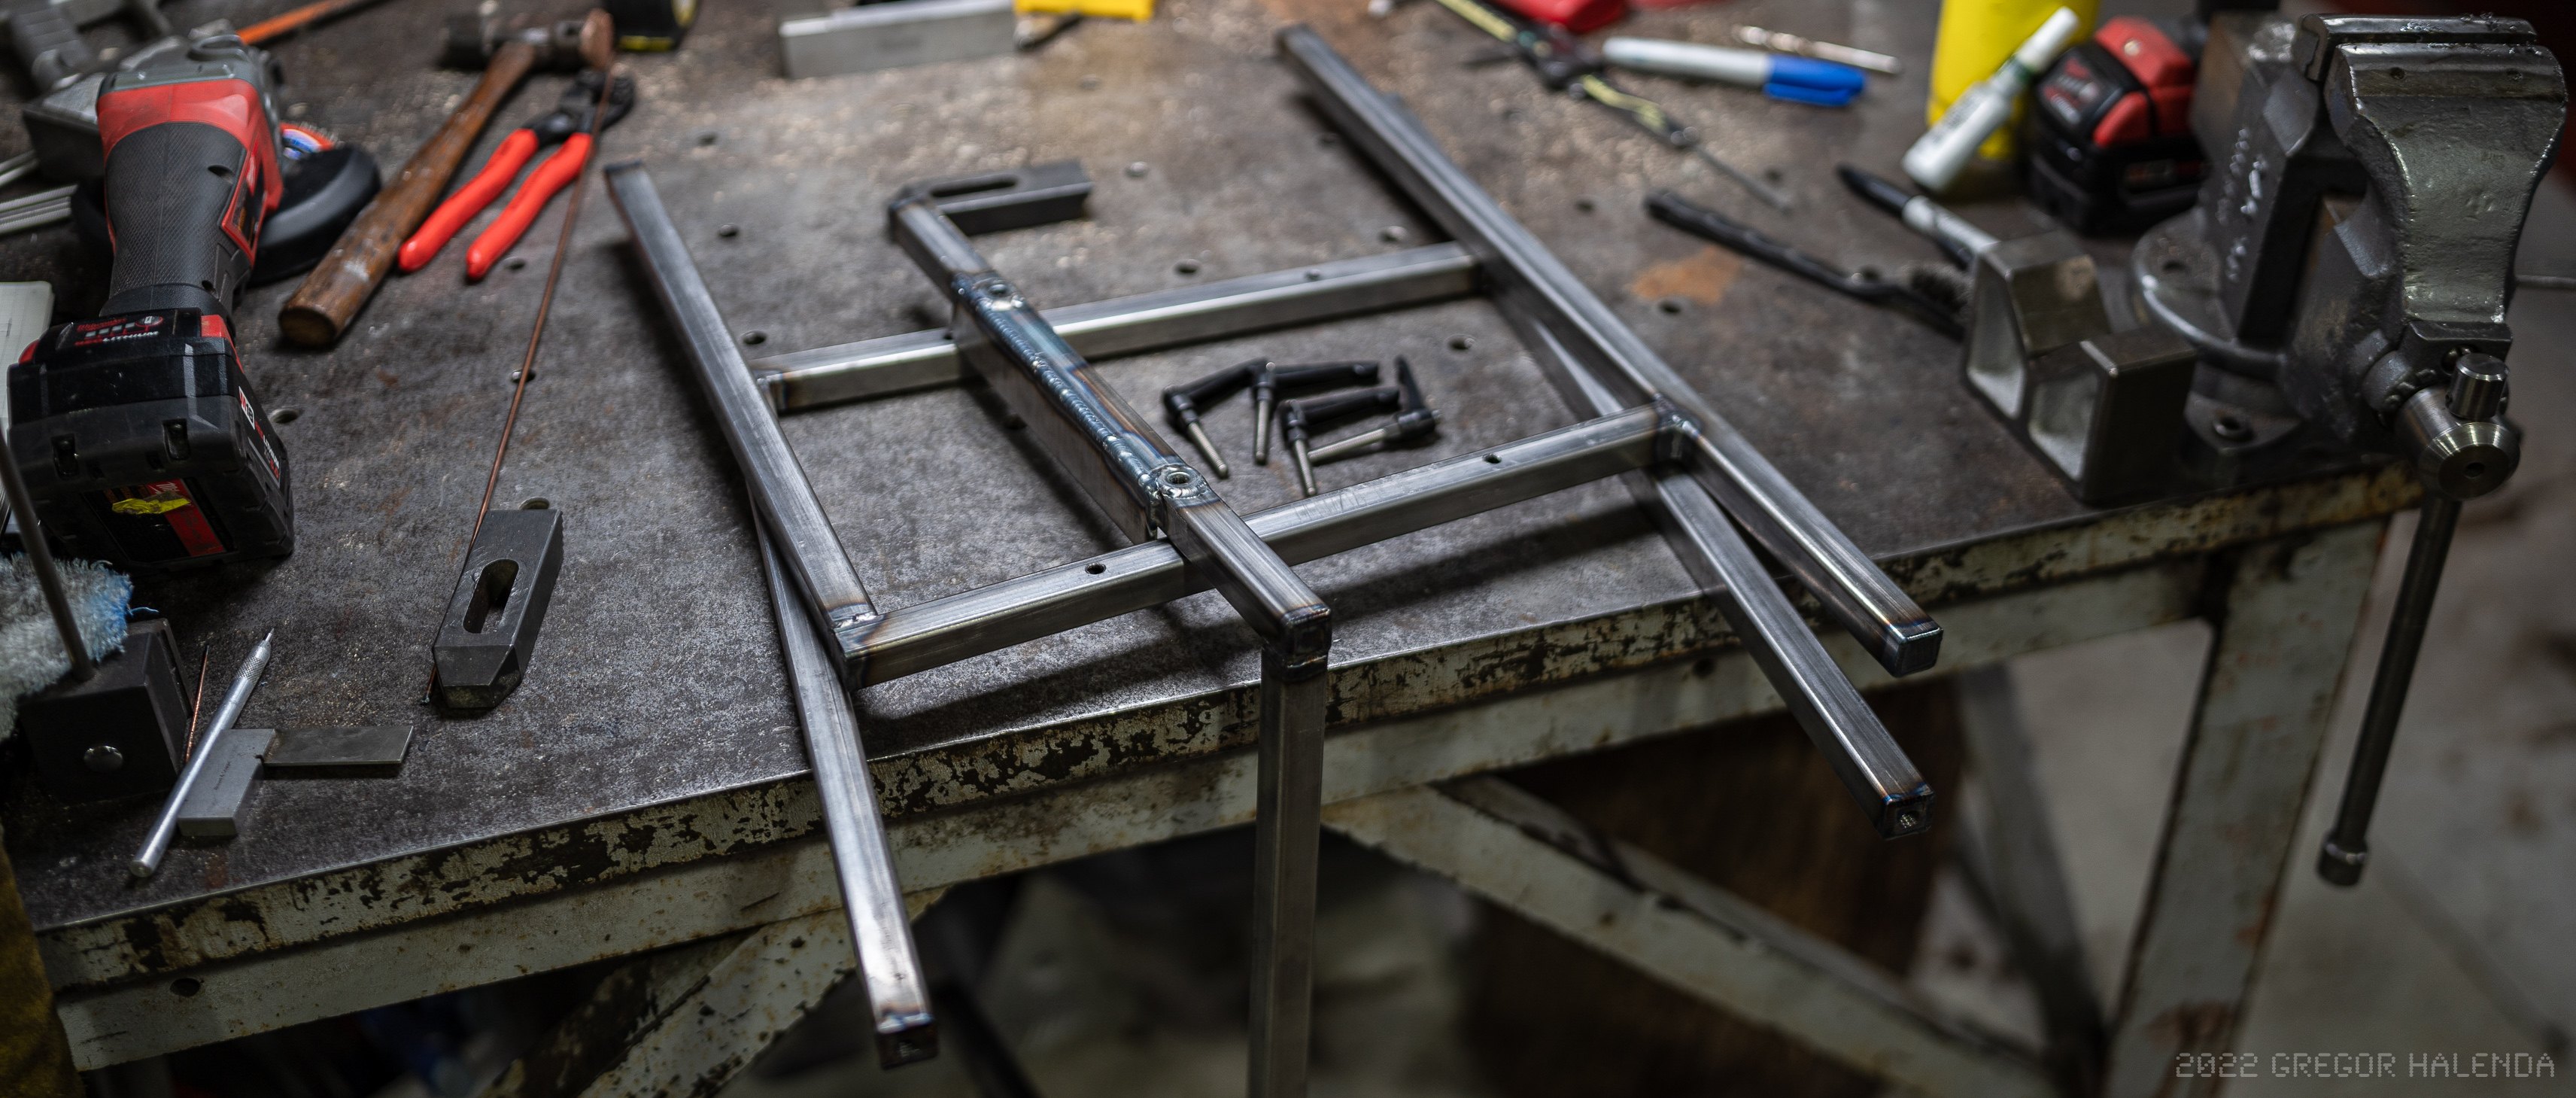
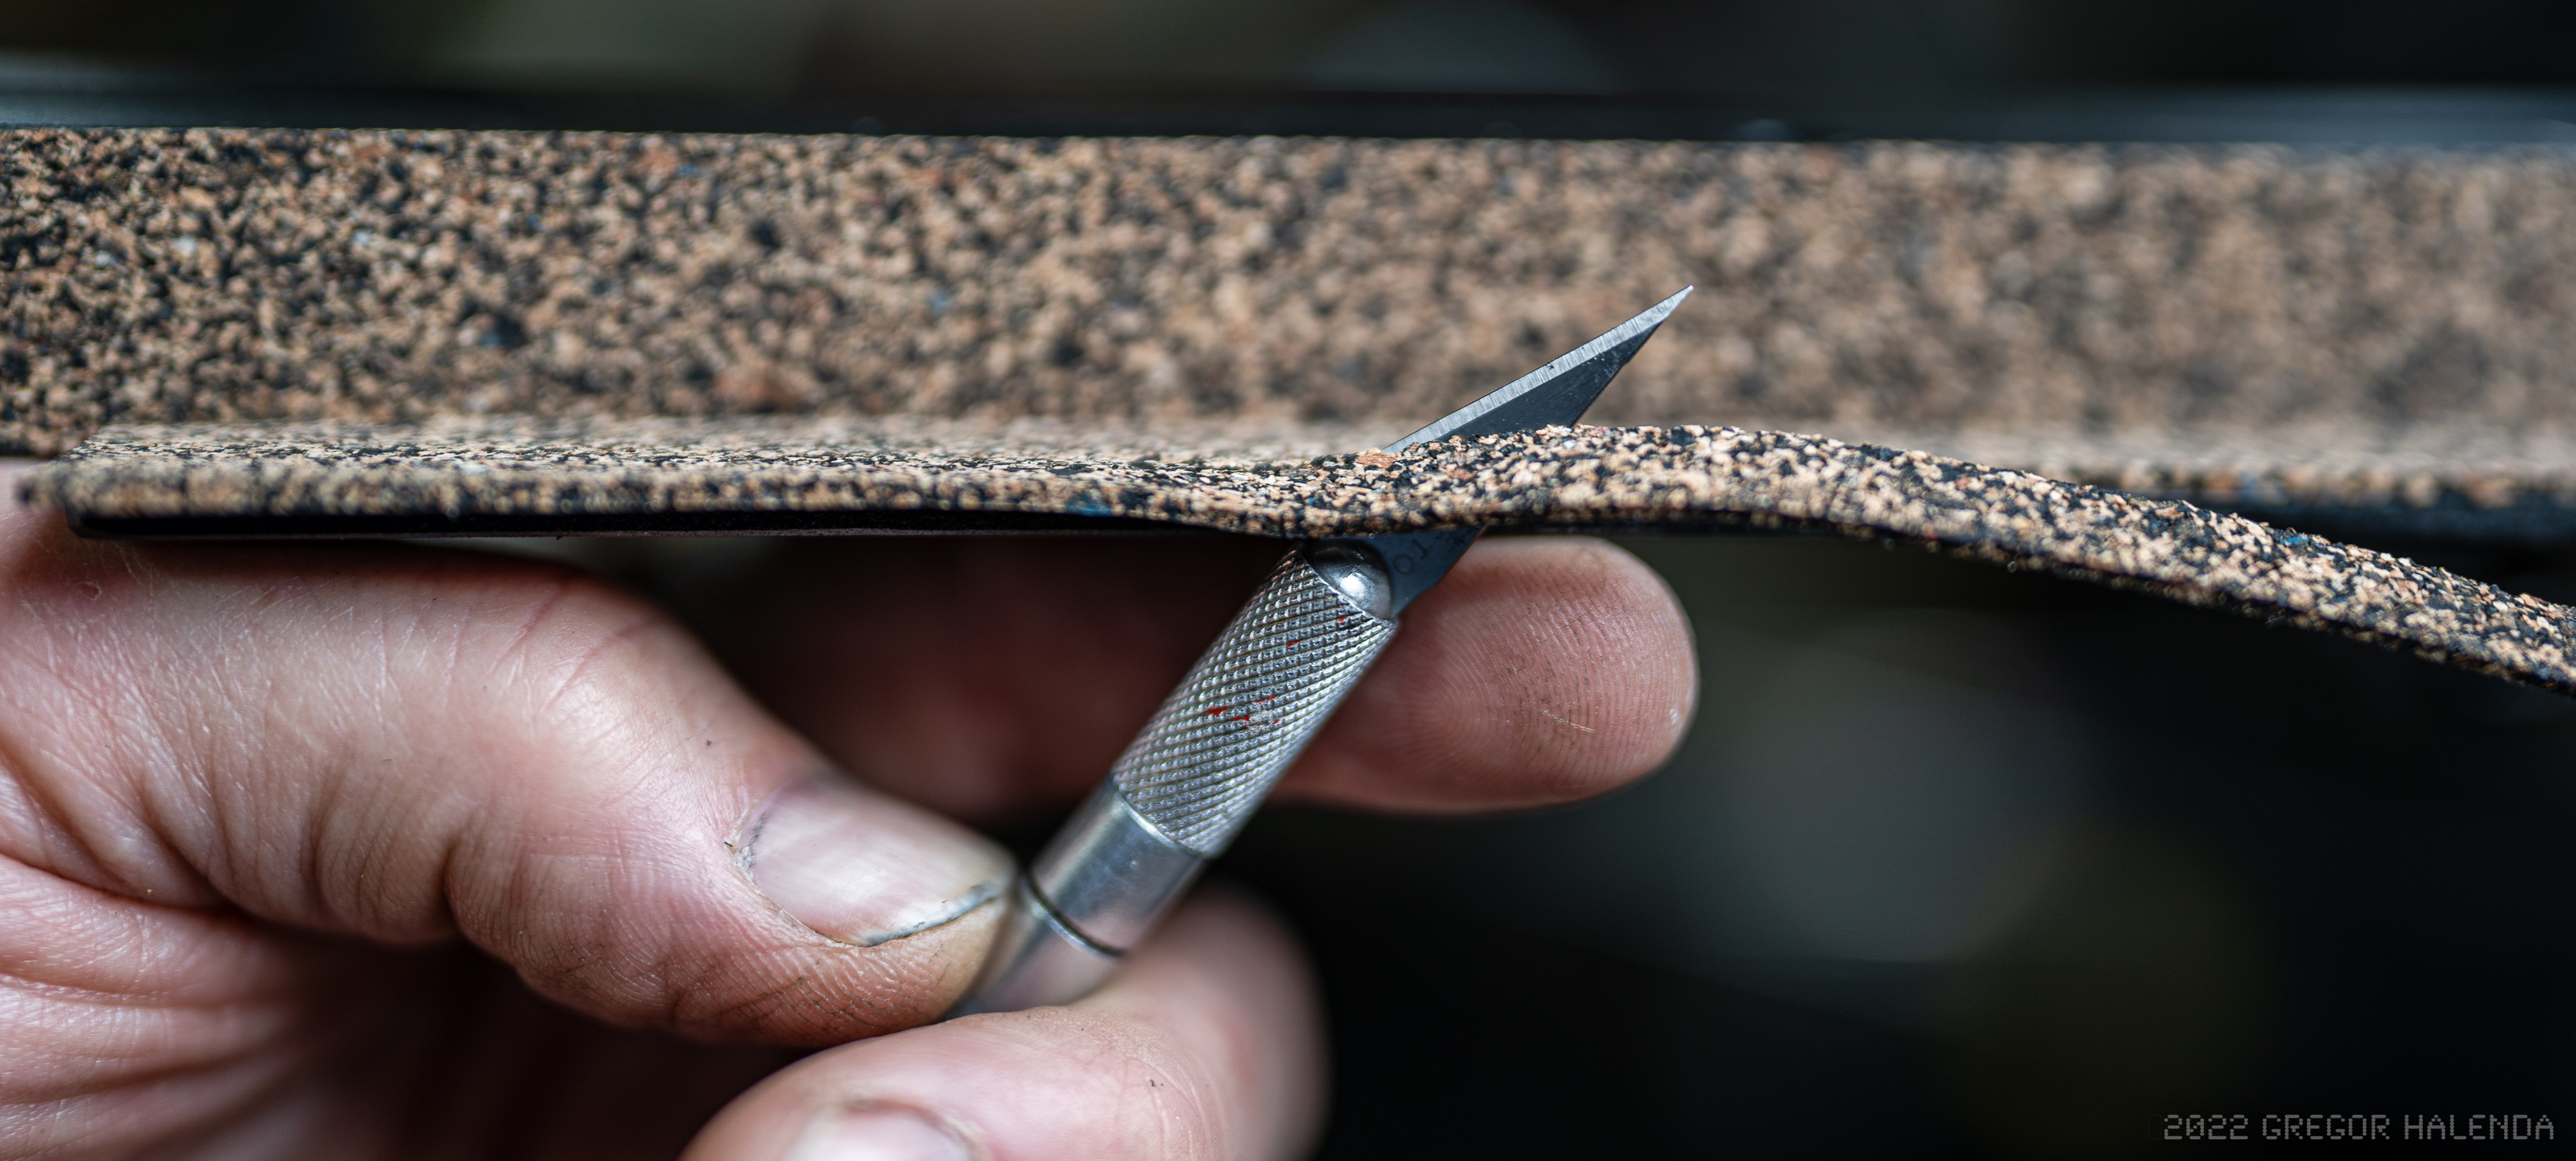
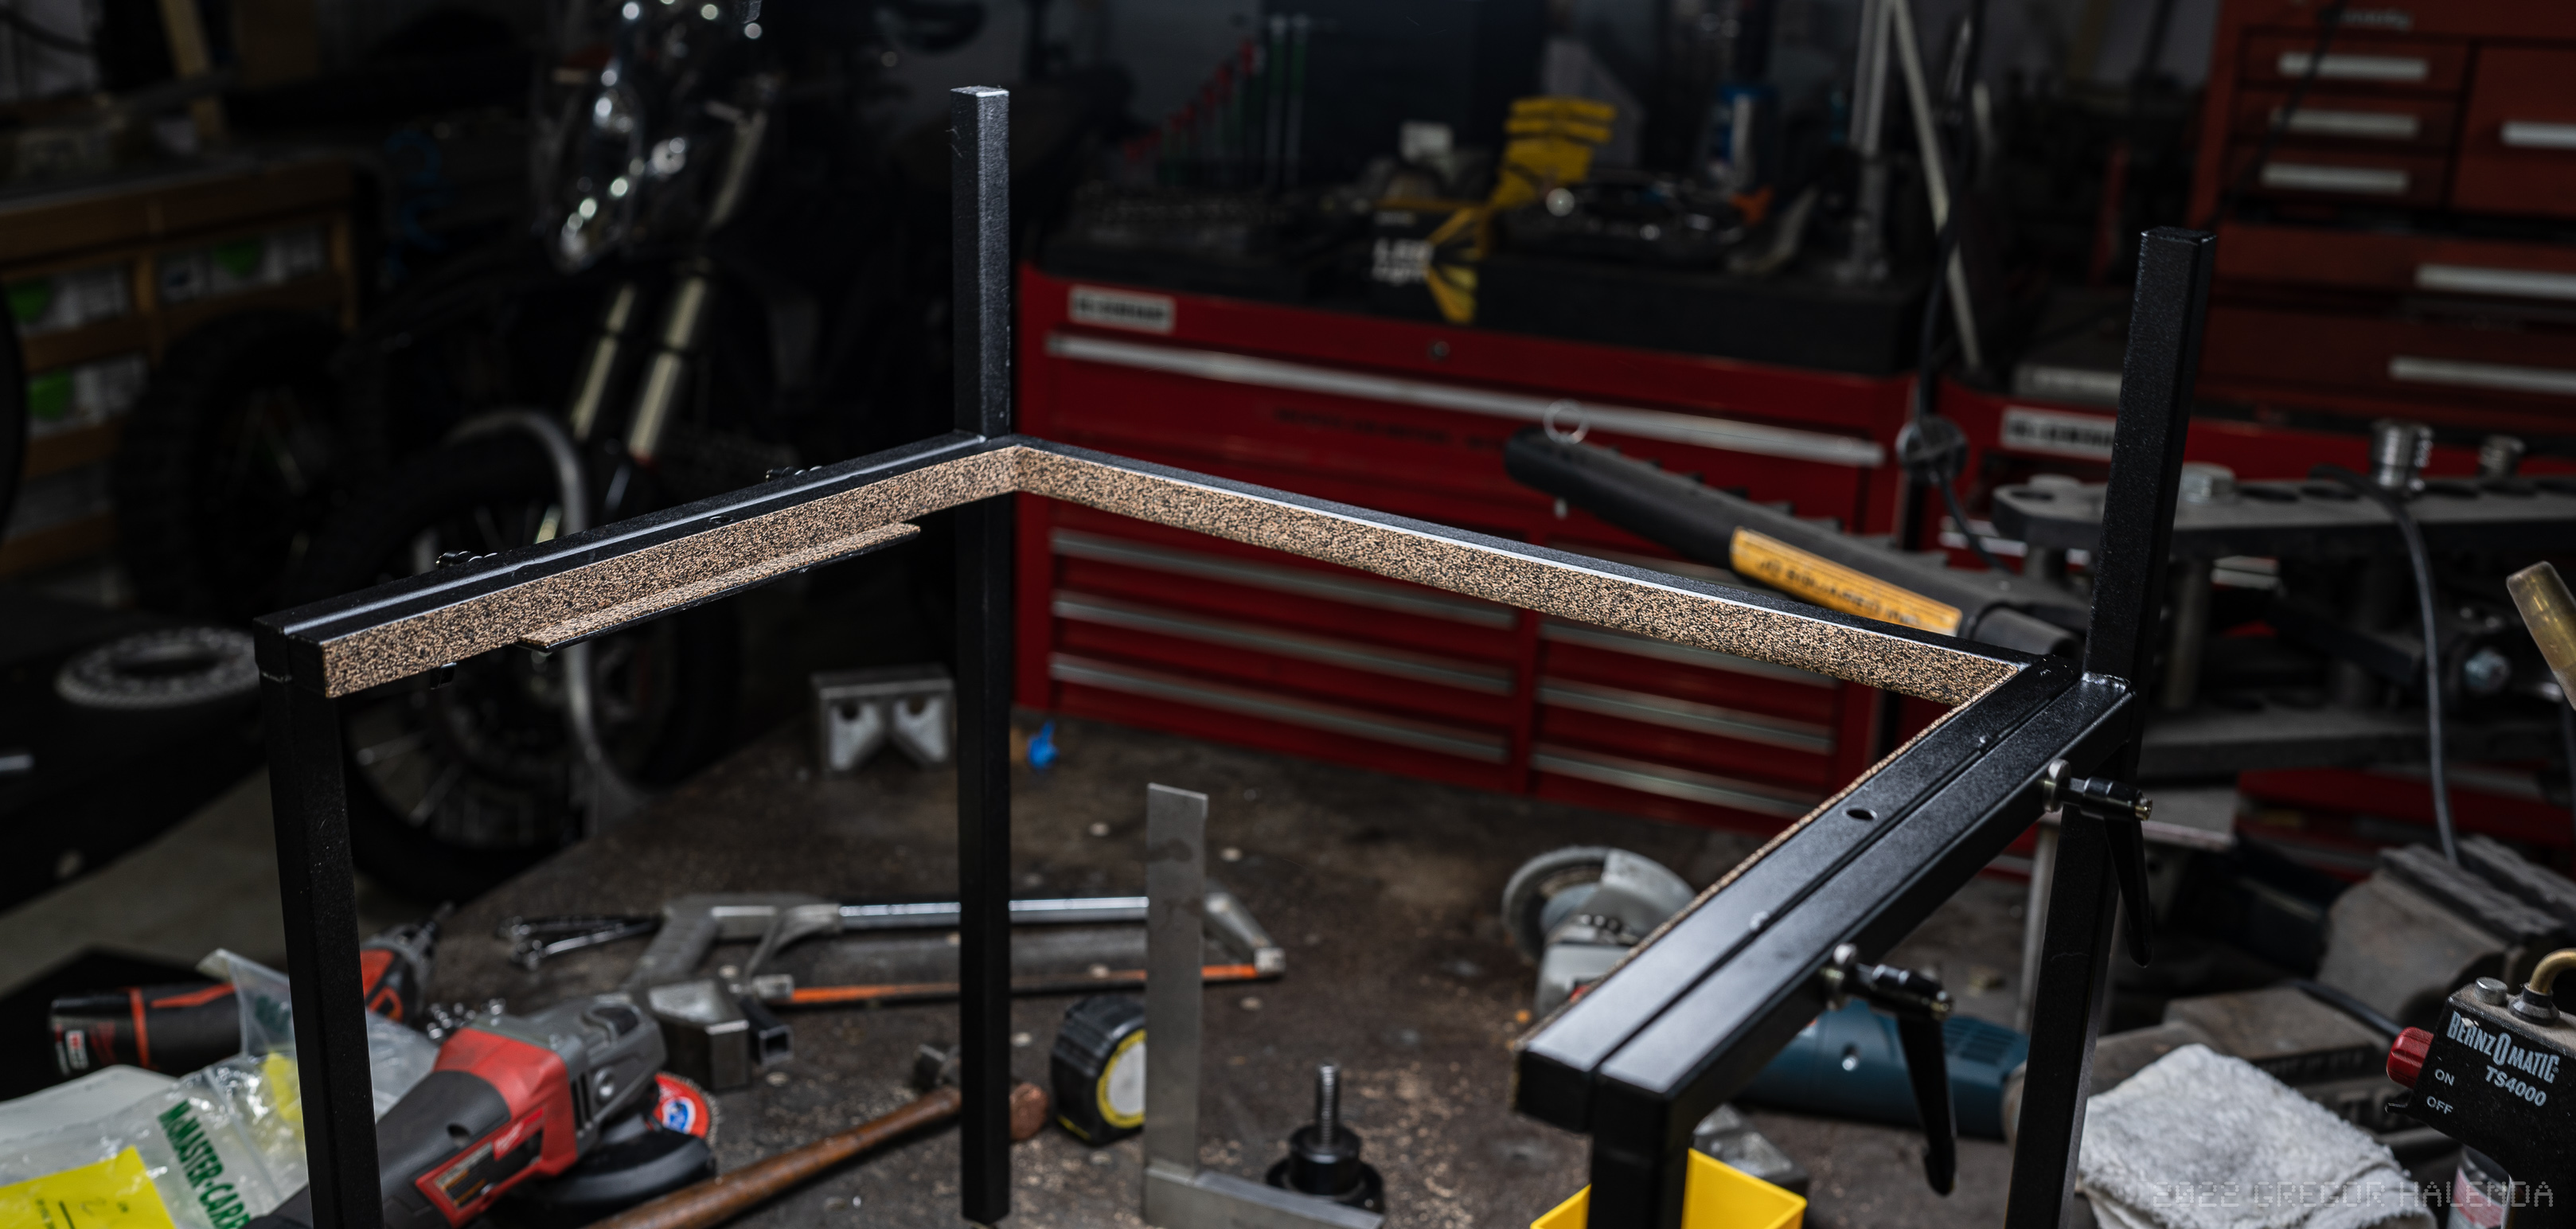
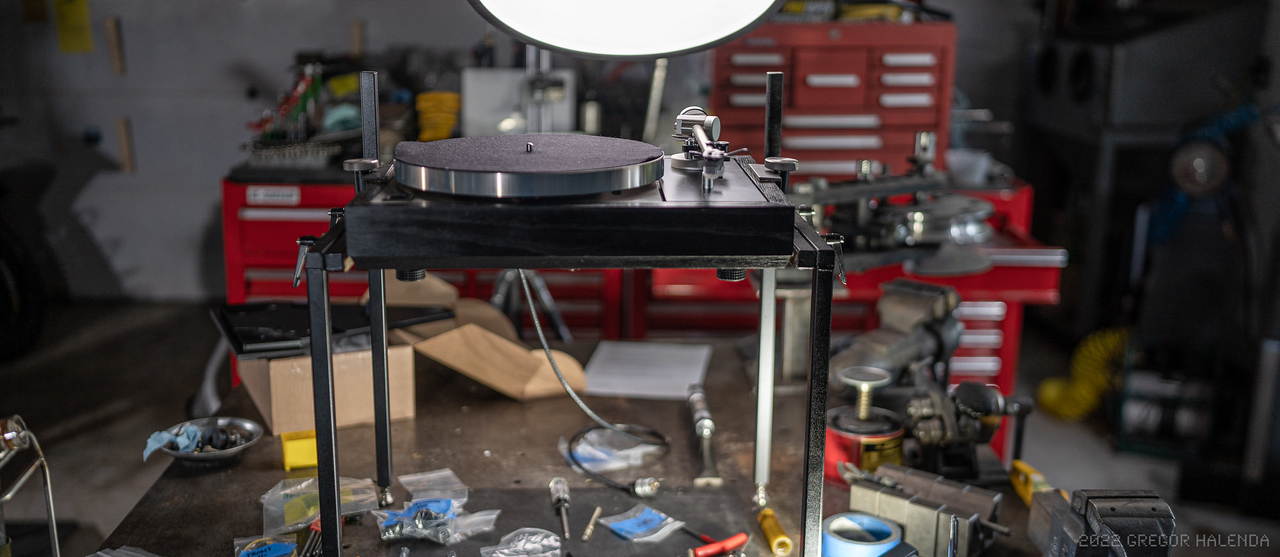
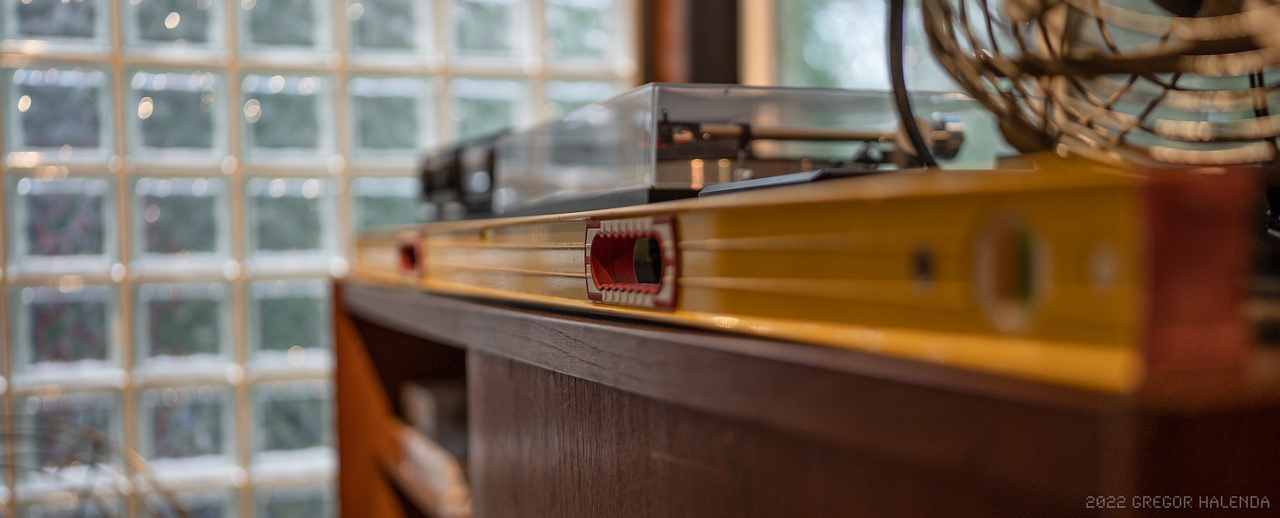
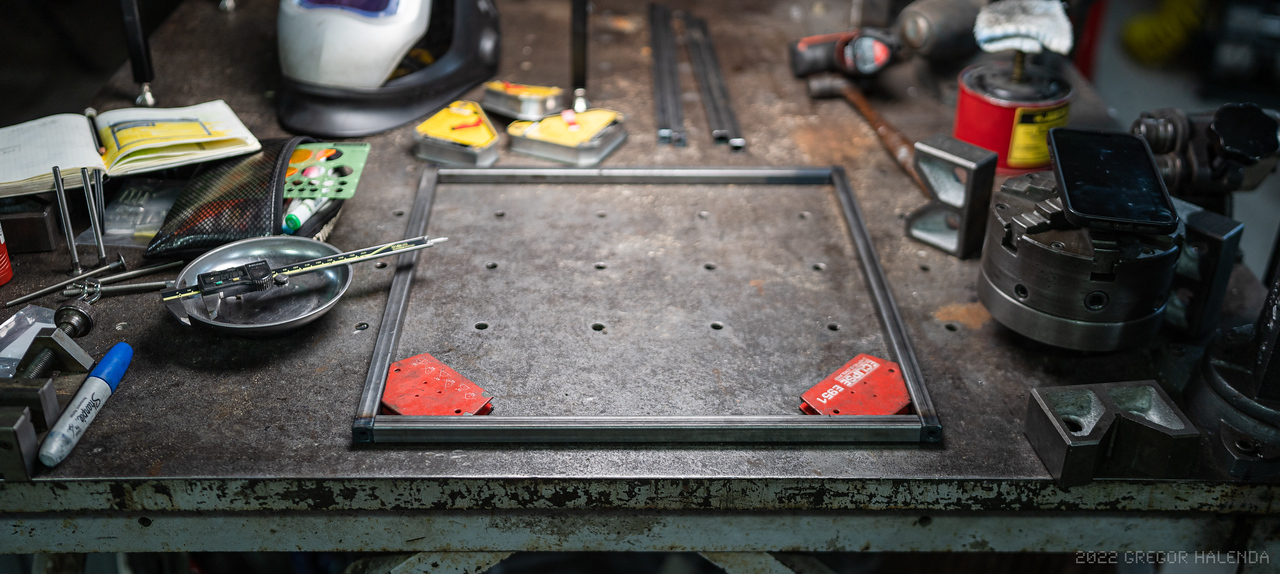
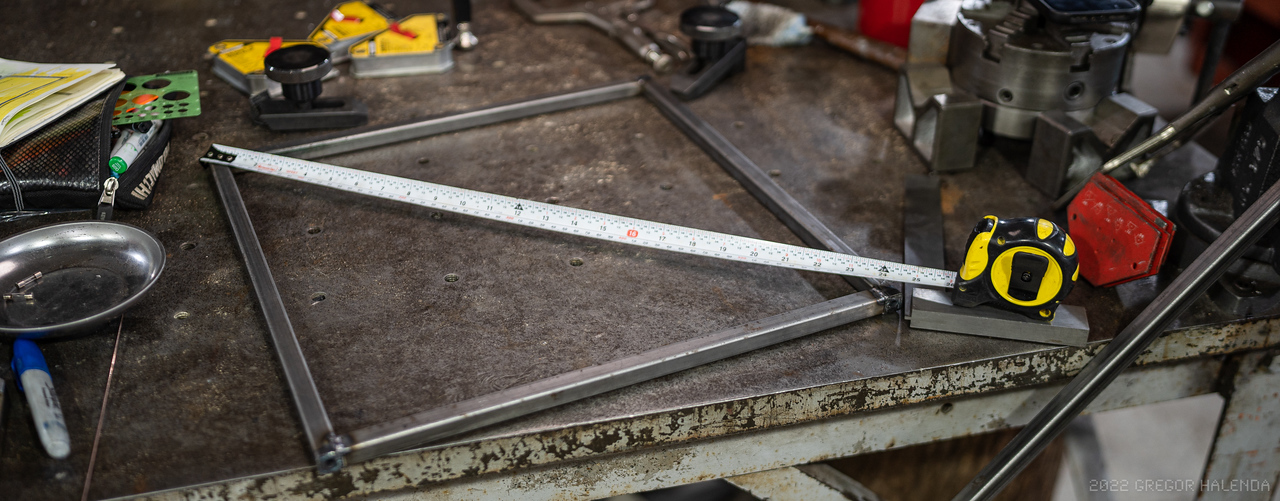
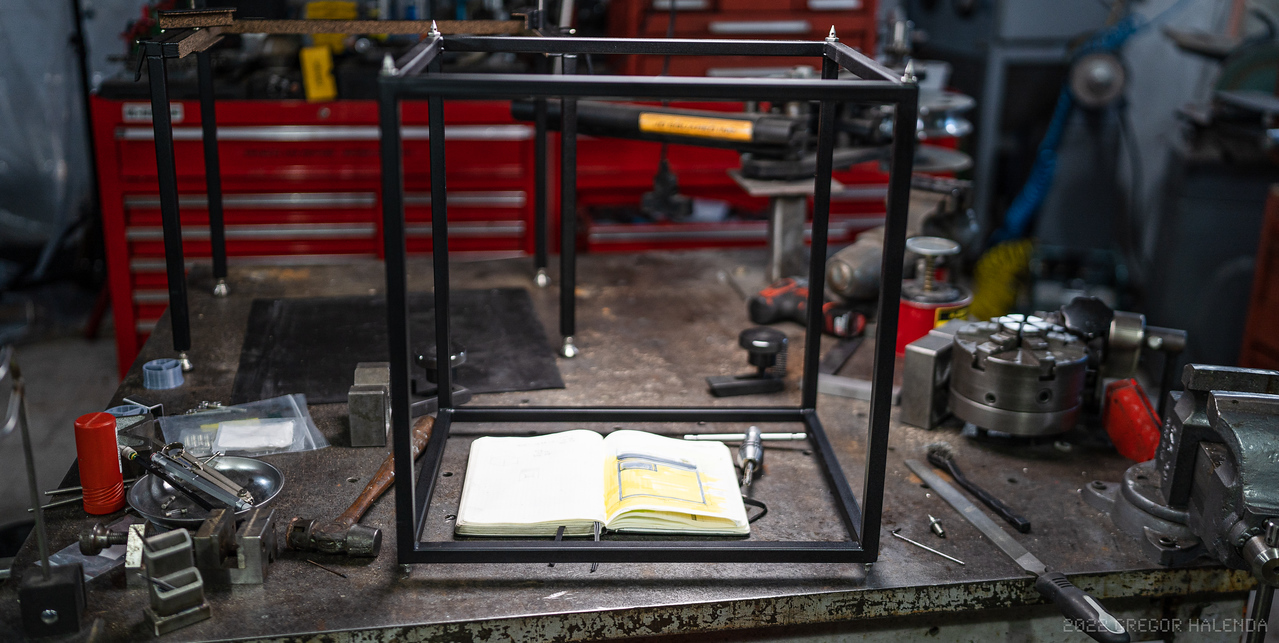
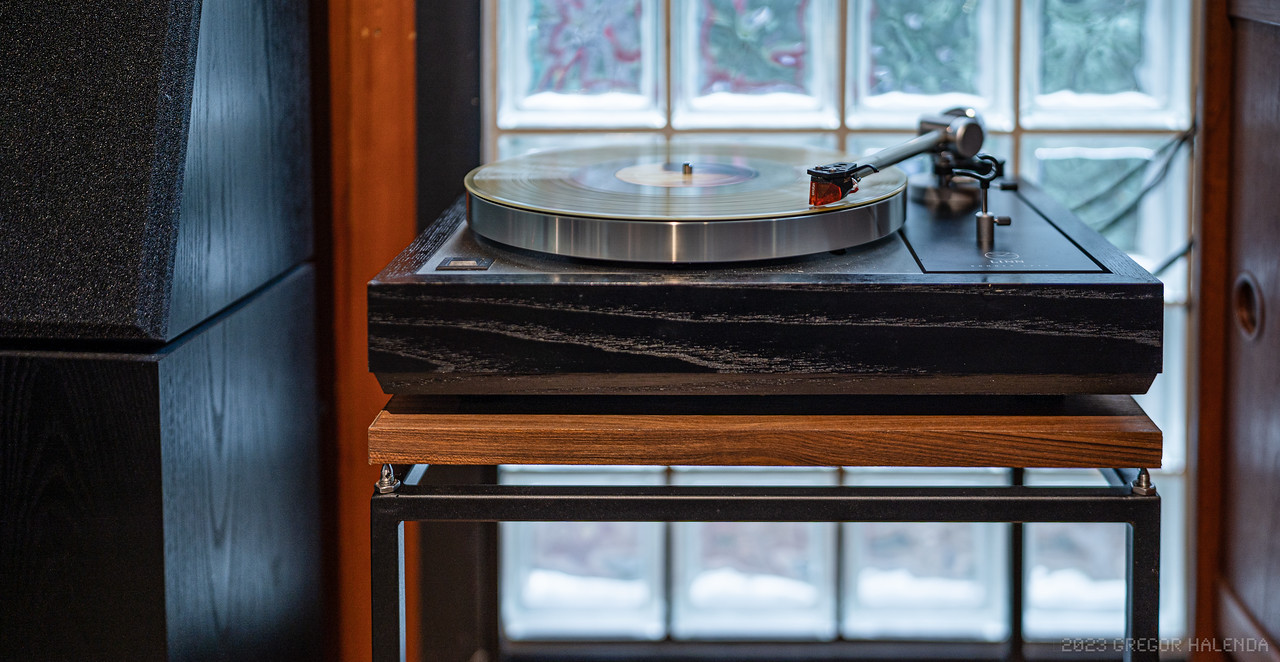
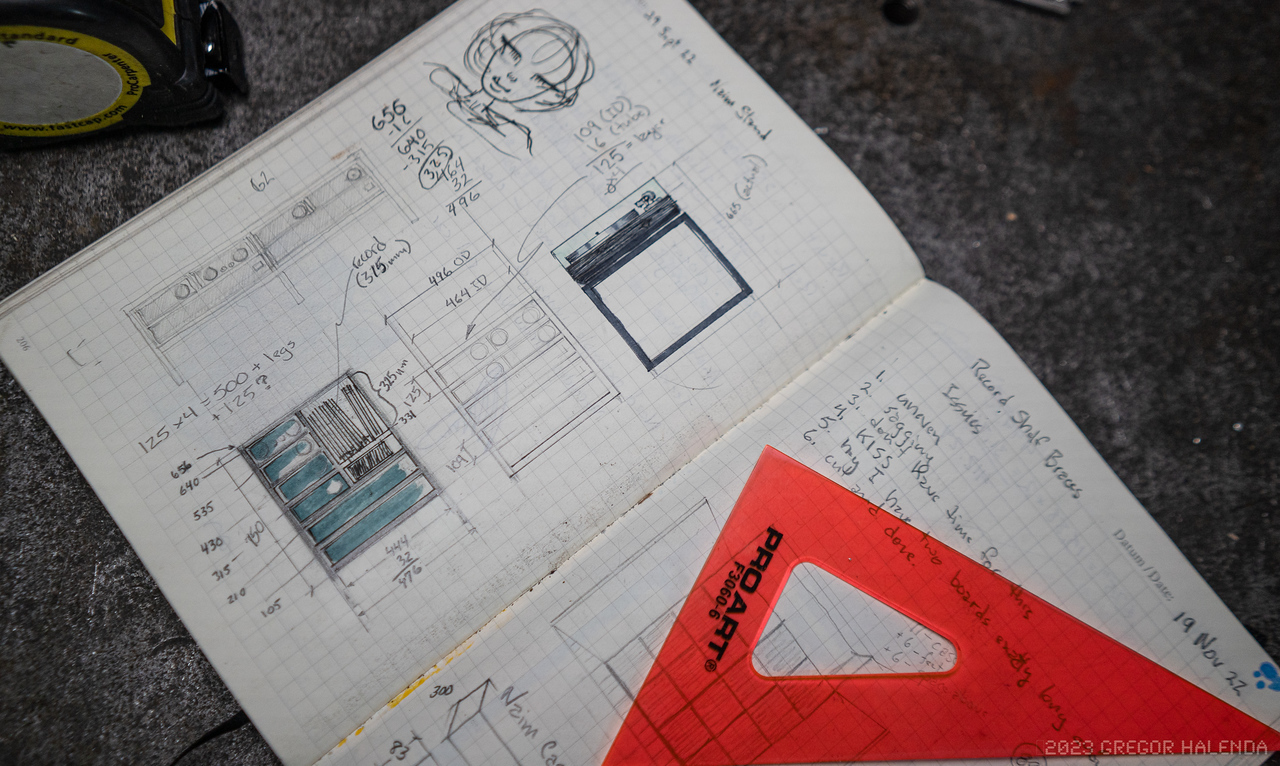
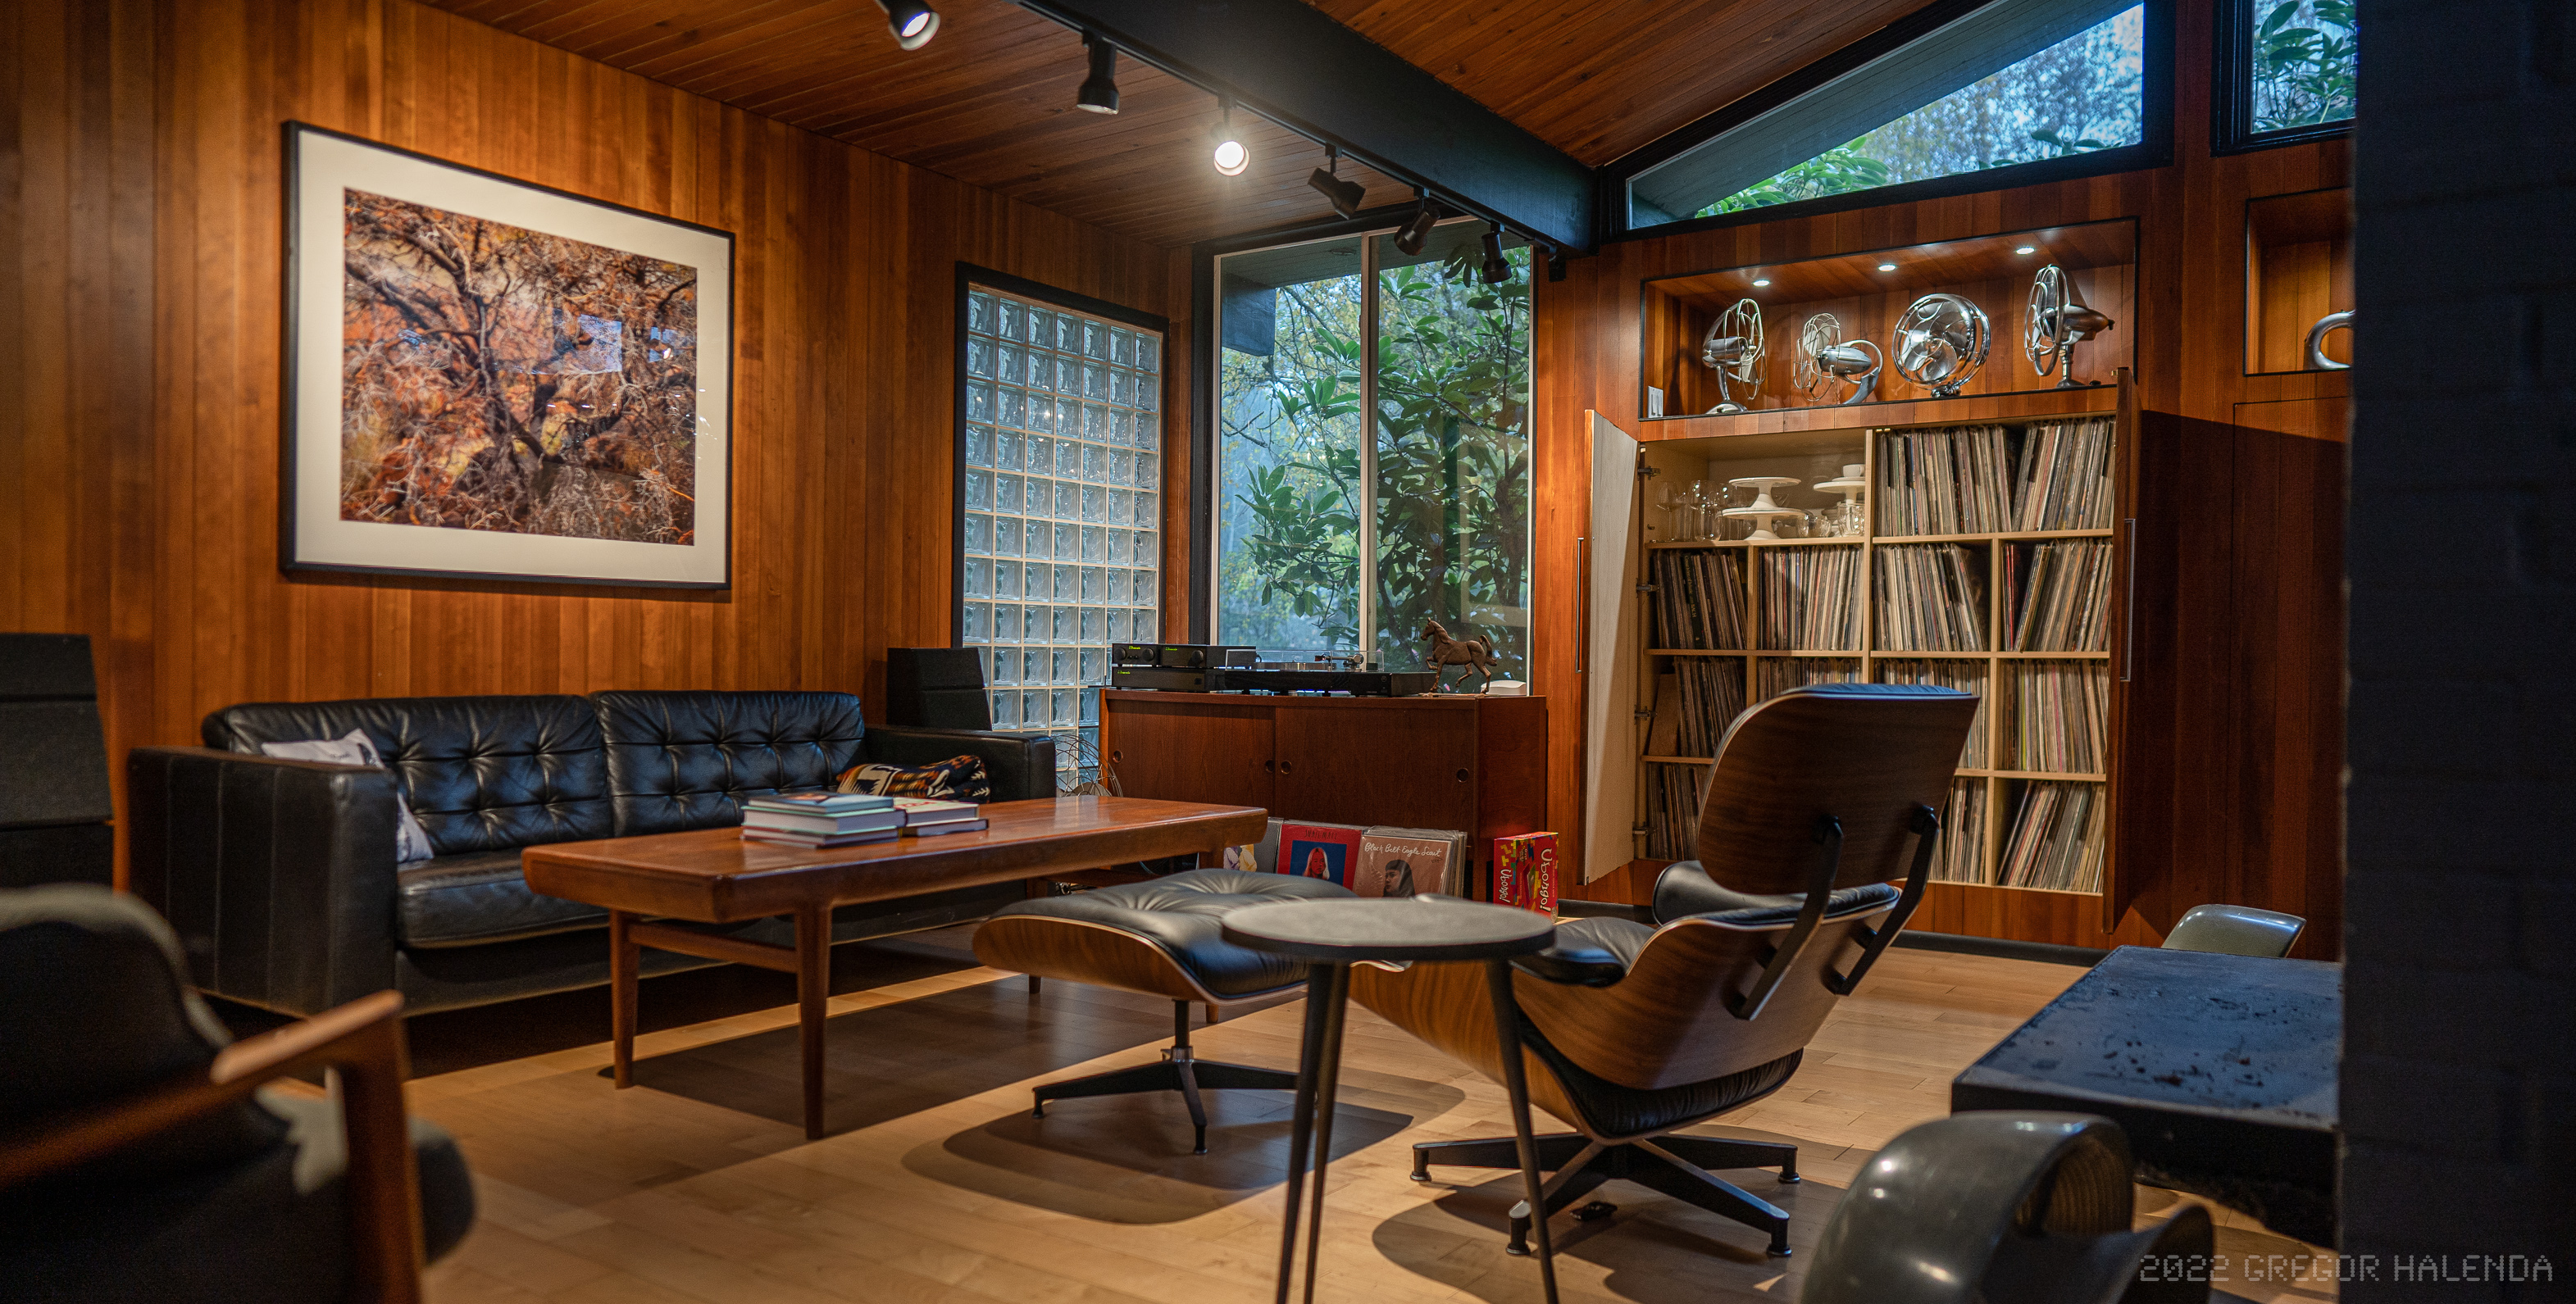
Despite the fact that the turntable is still sitting on a vintage credenza.

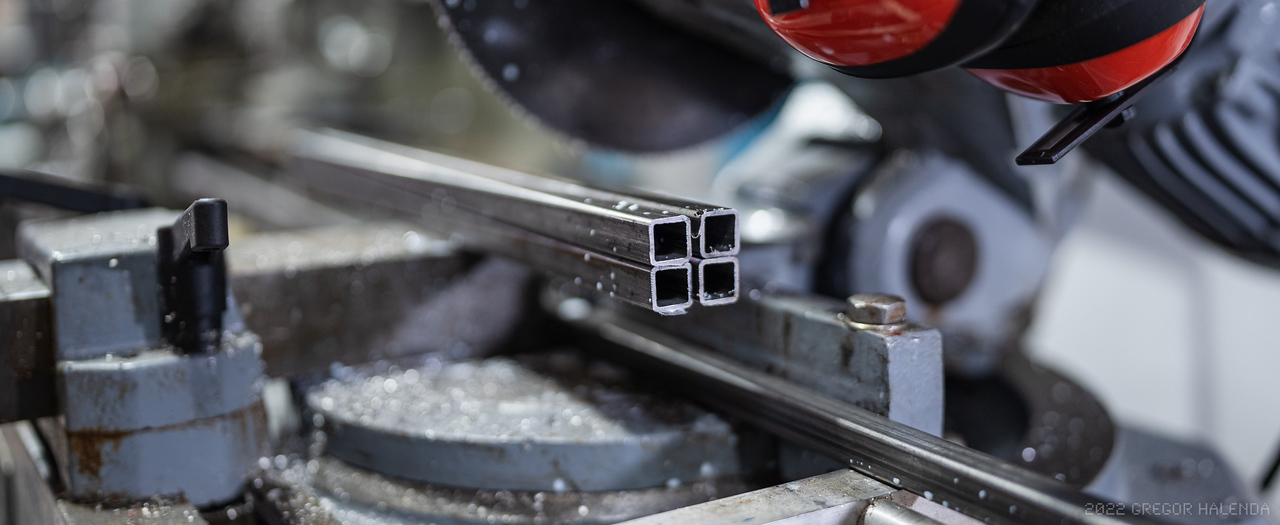
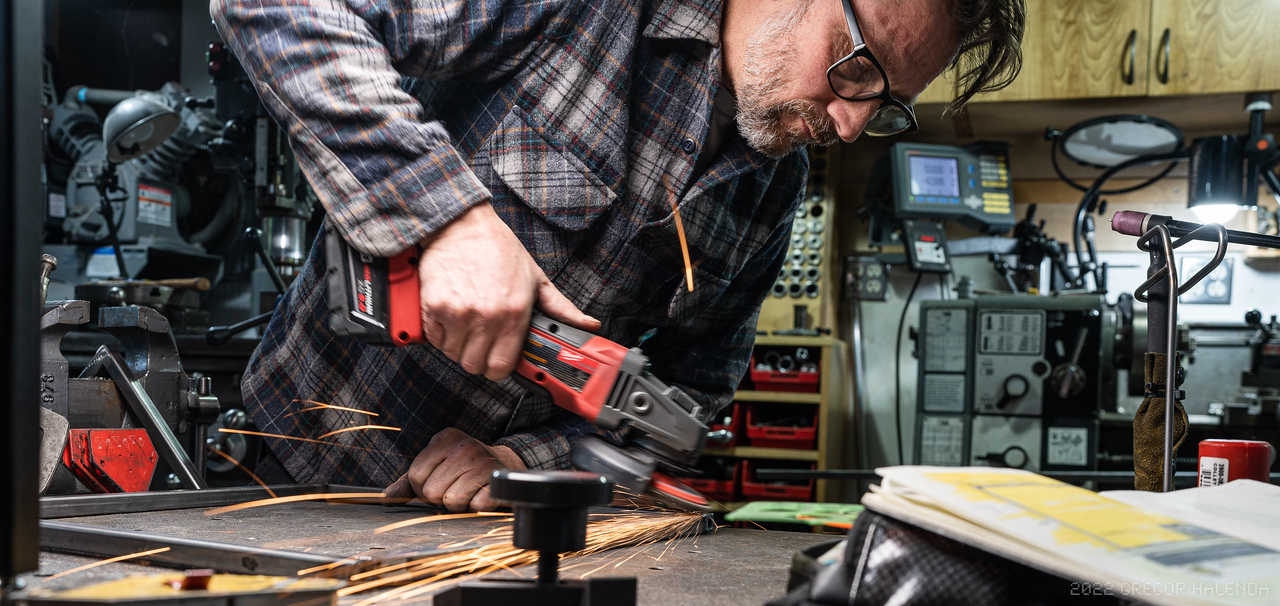
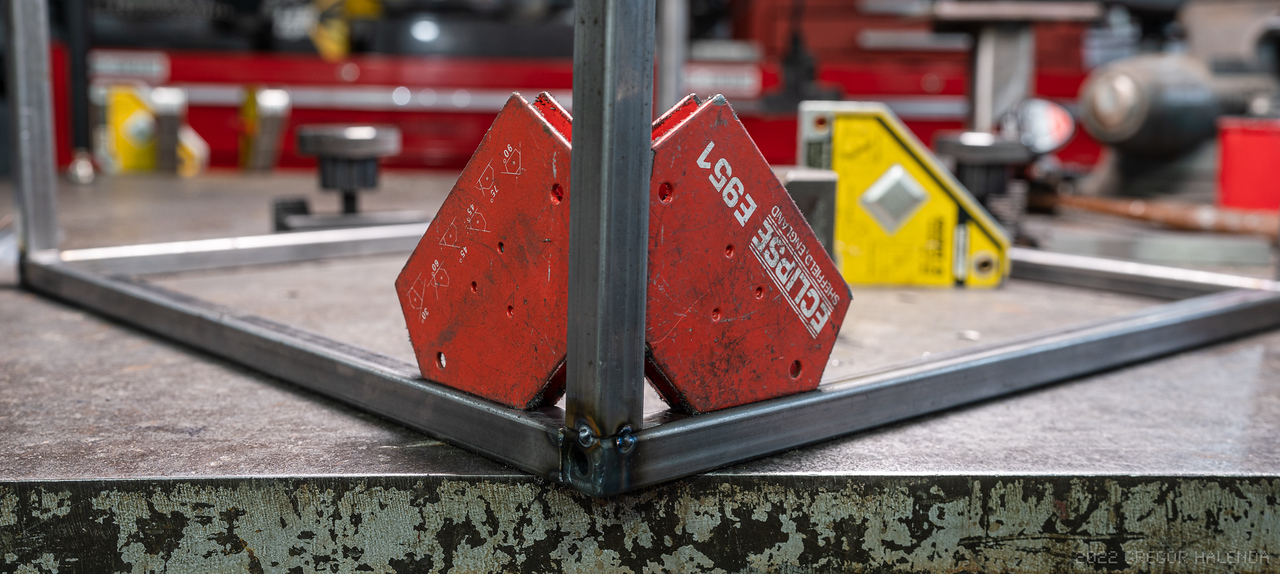
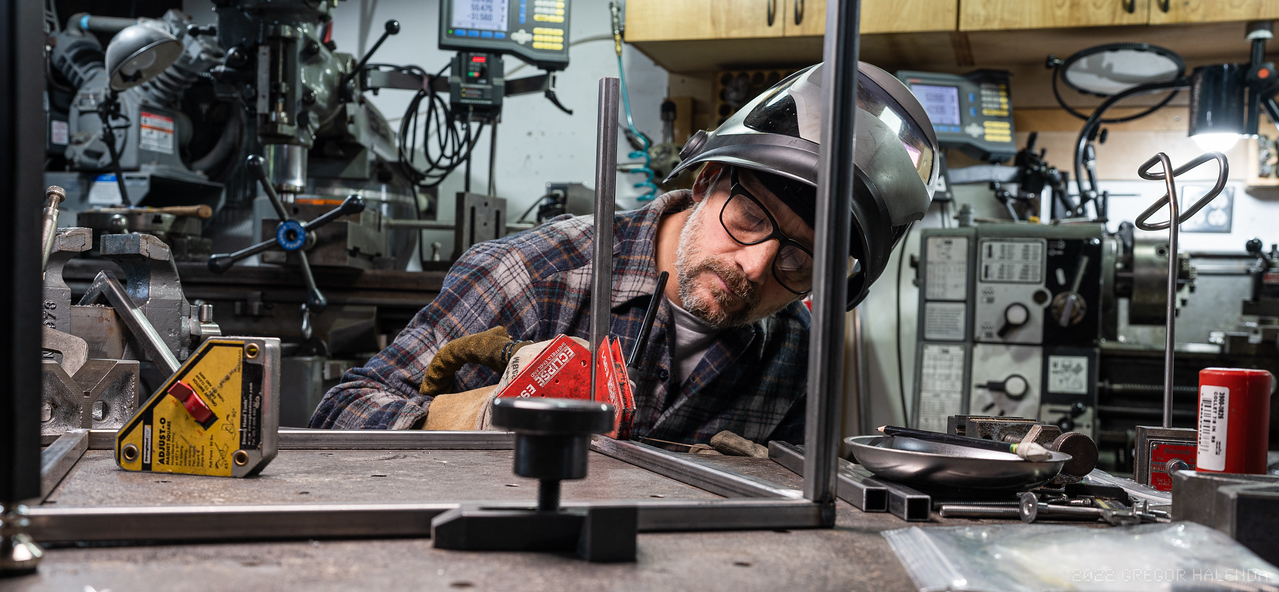
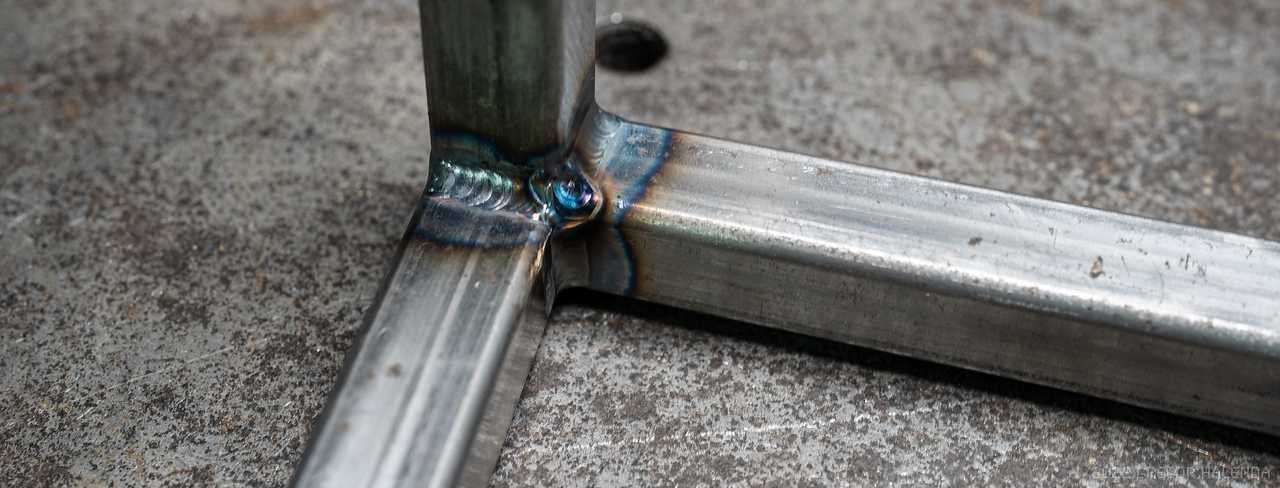
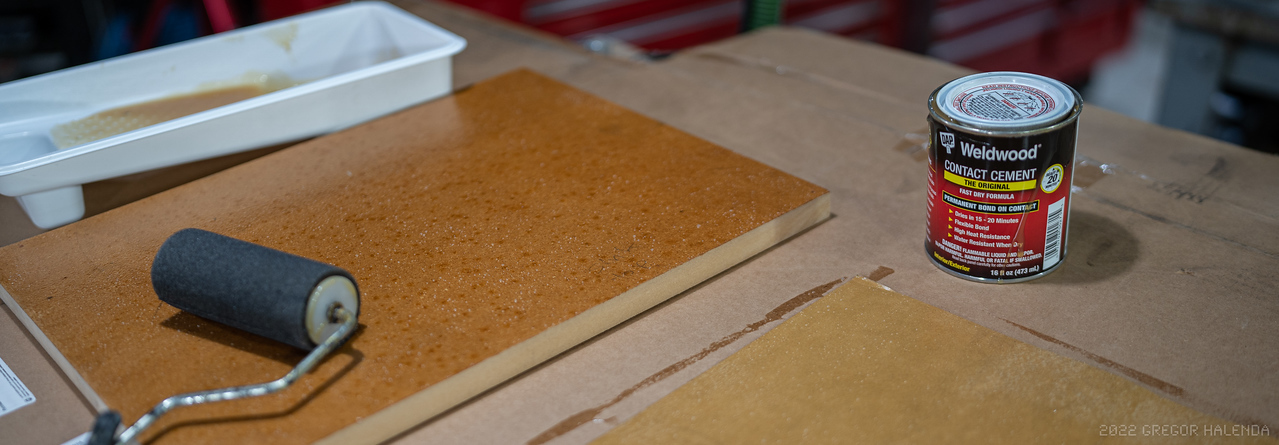
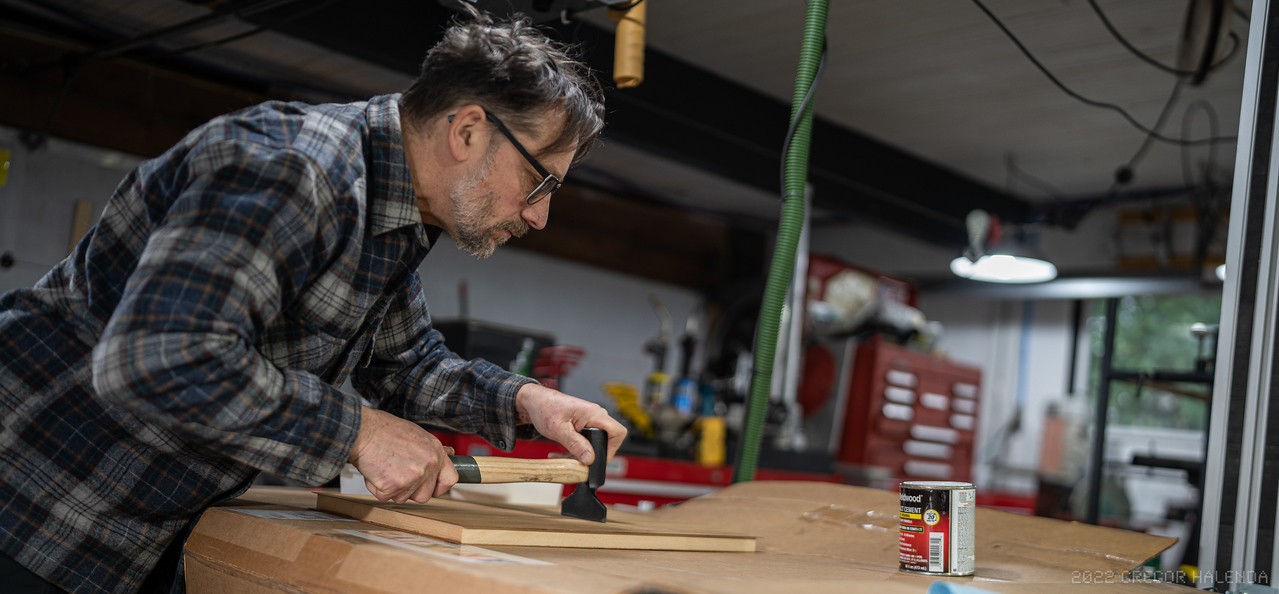
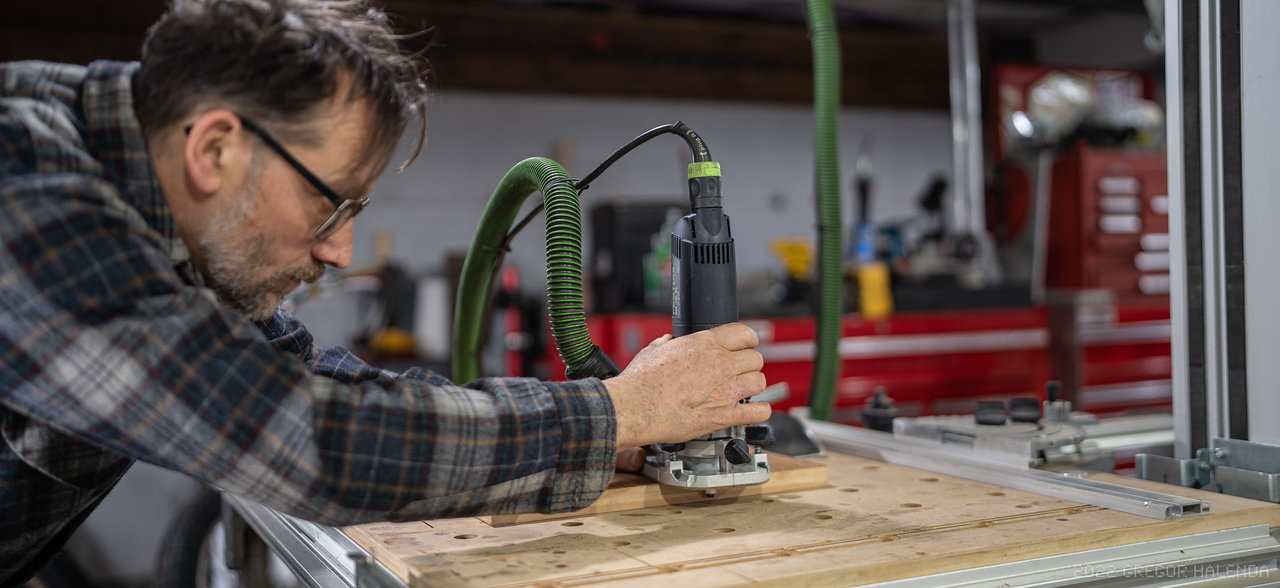
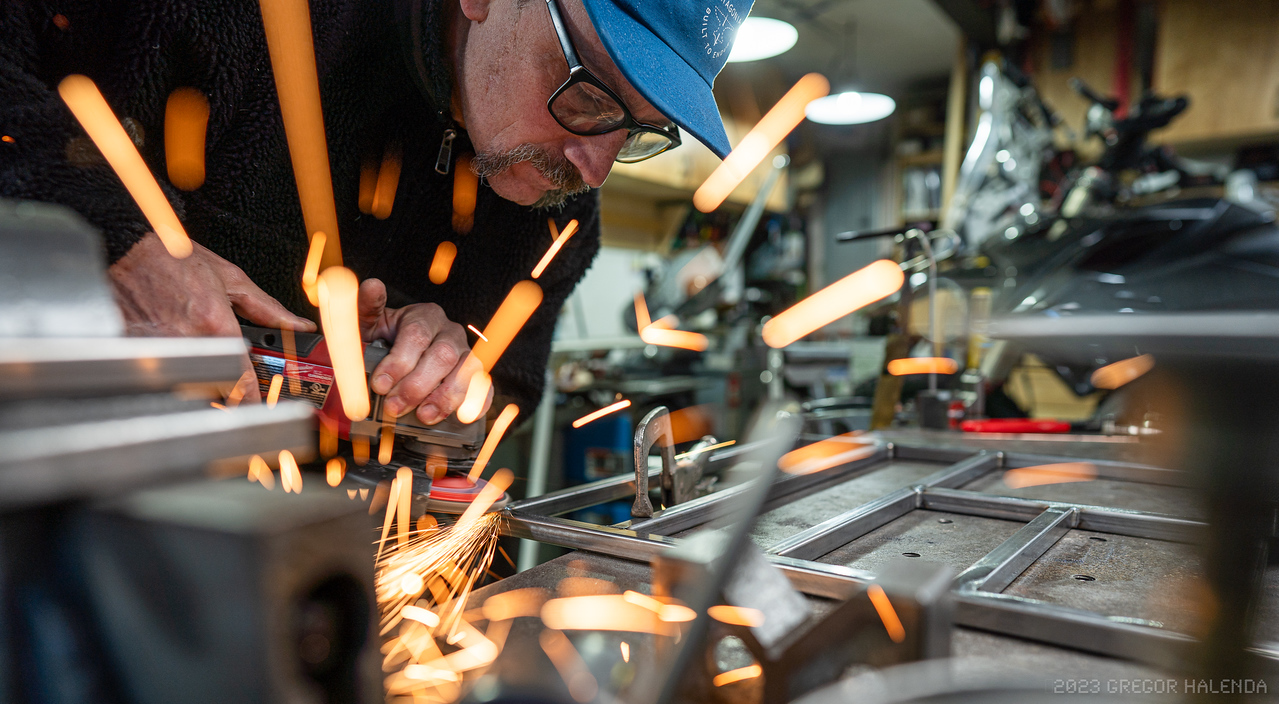
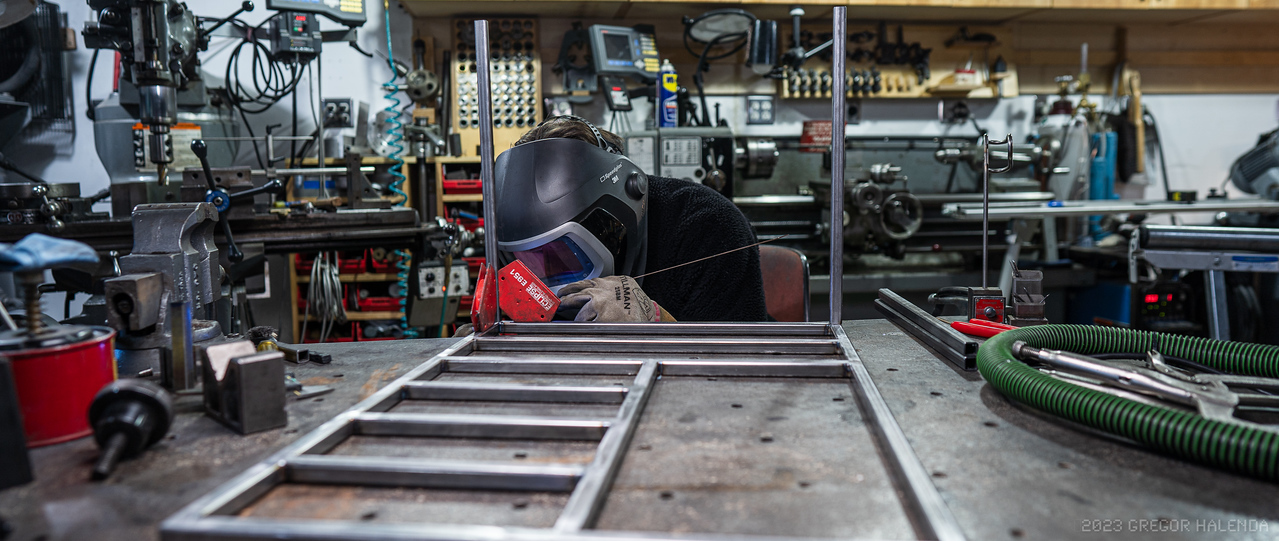
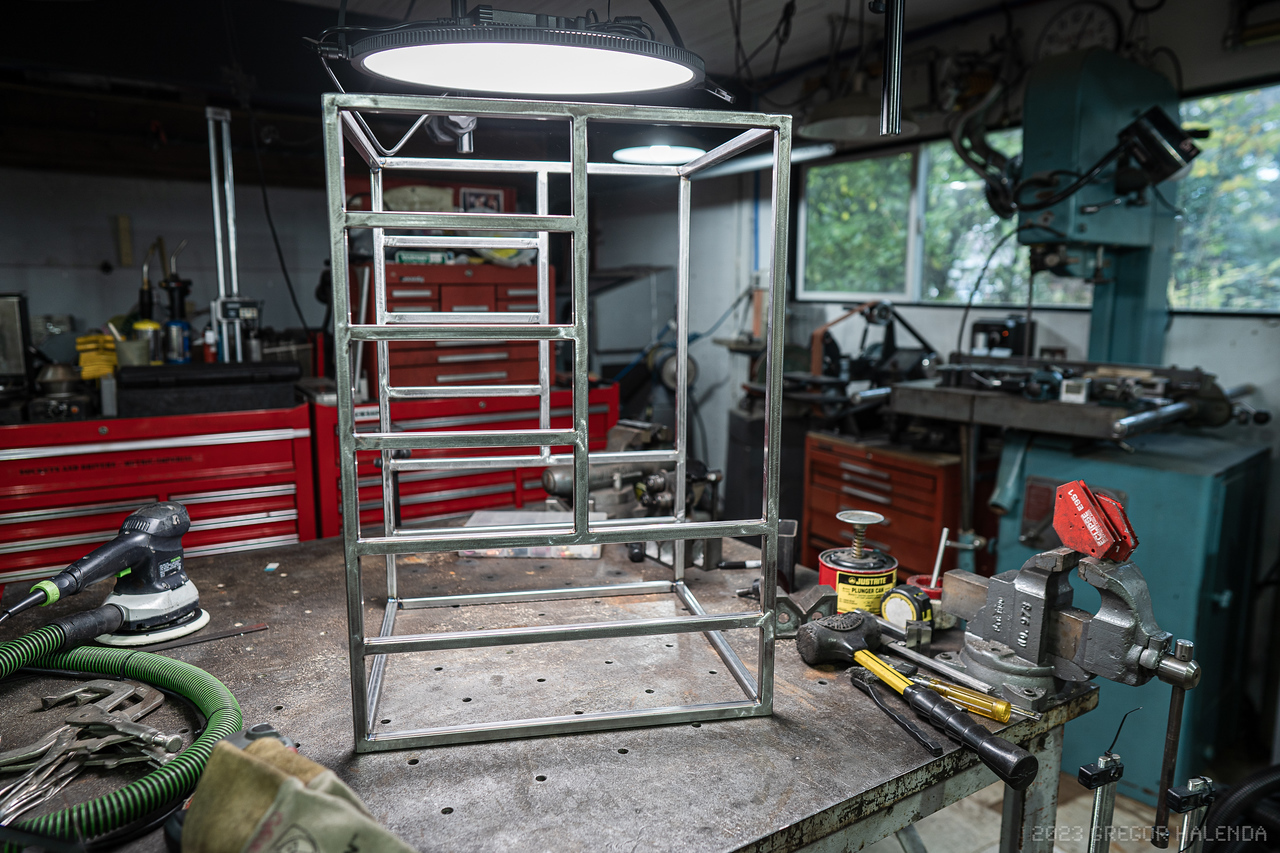
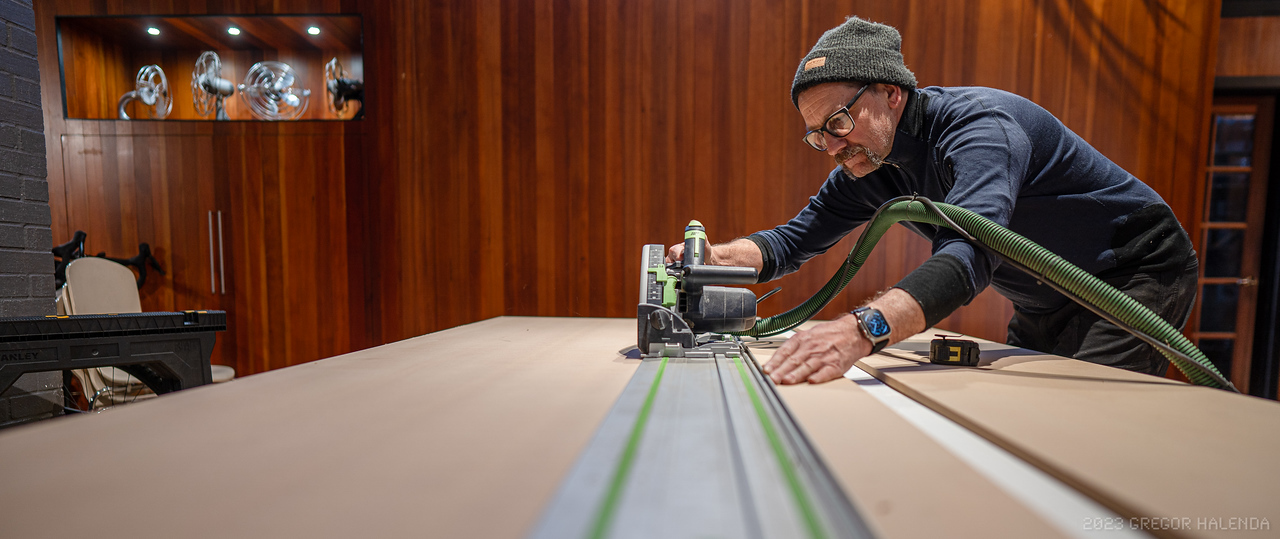
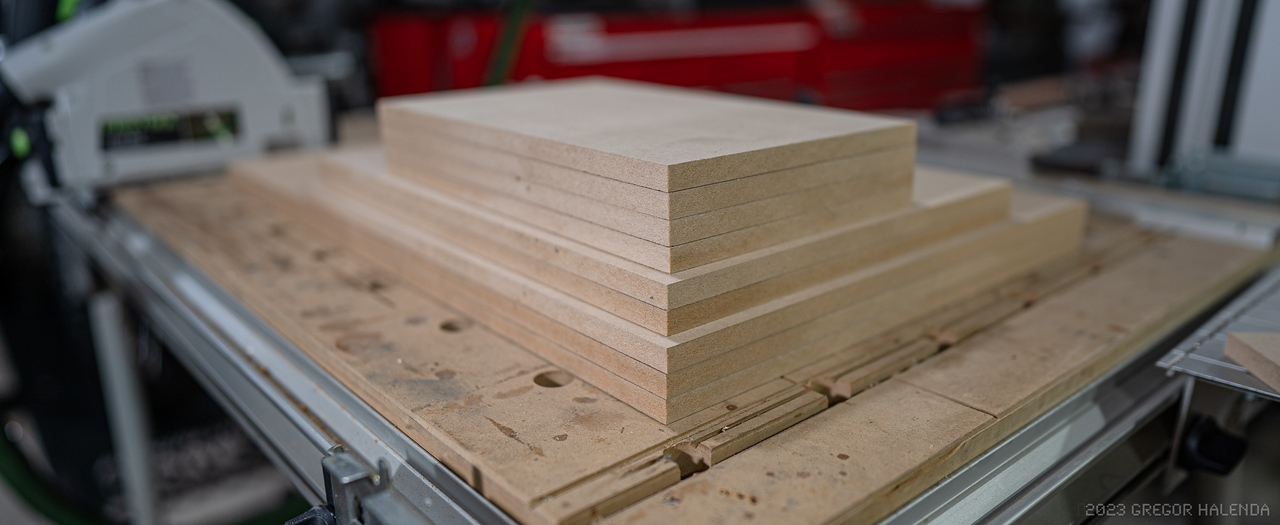
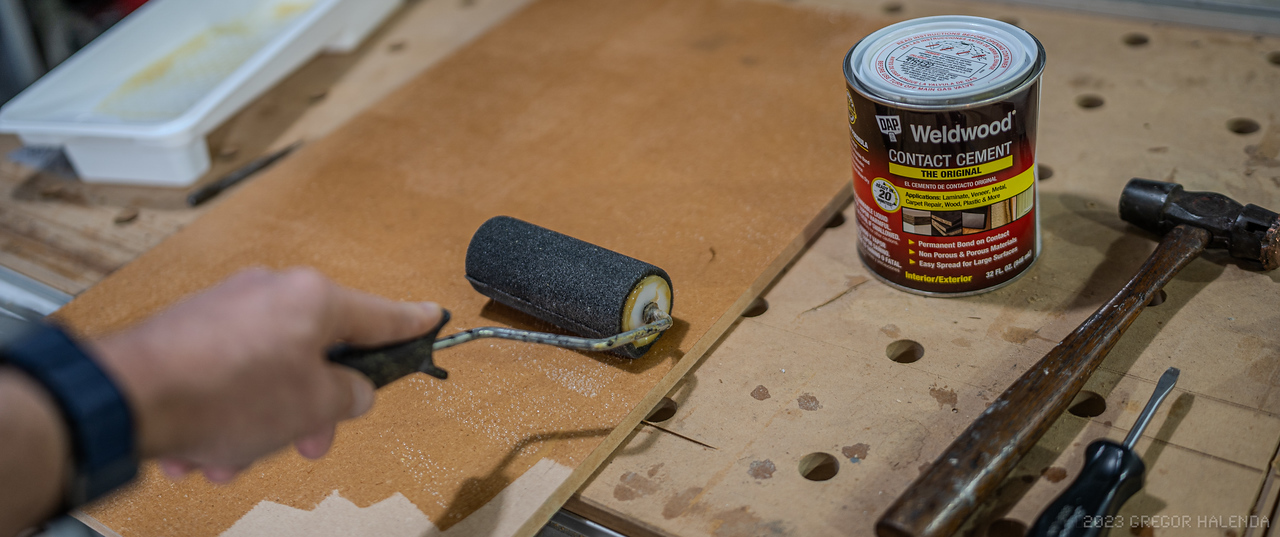
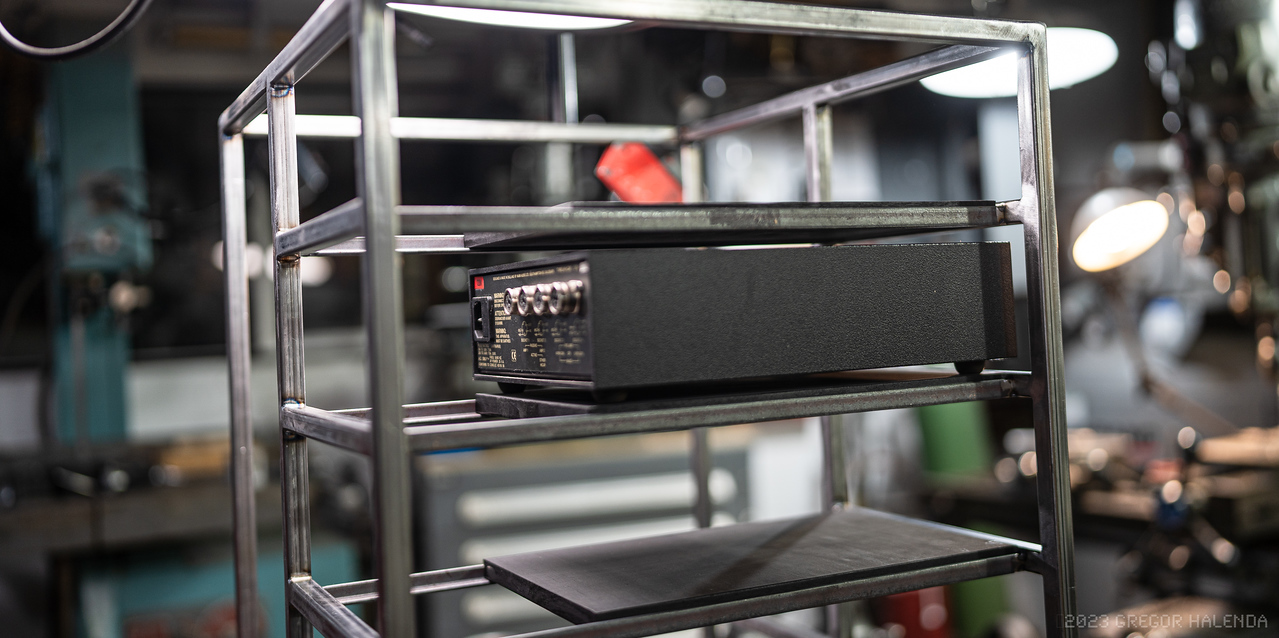
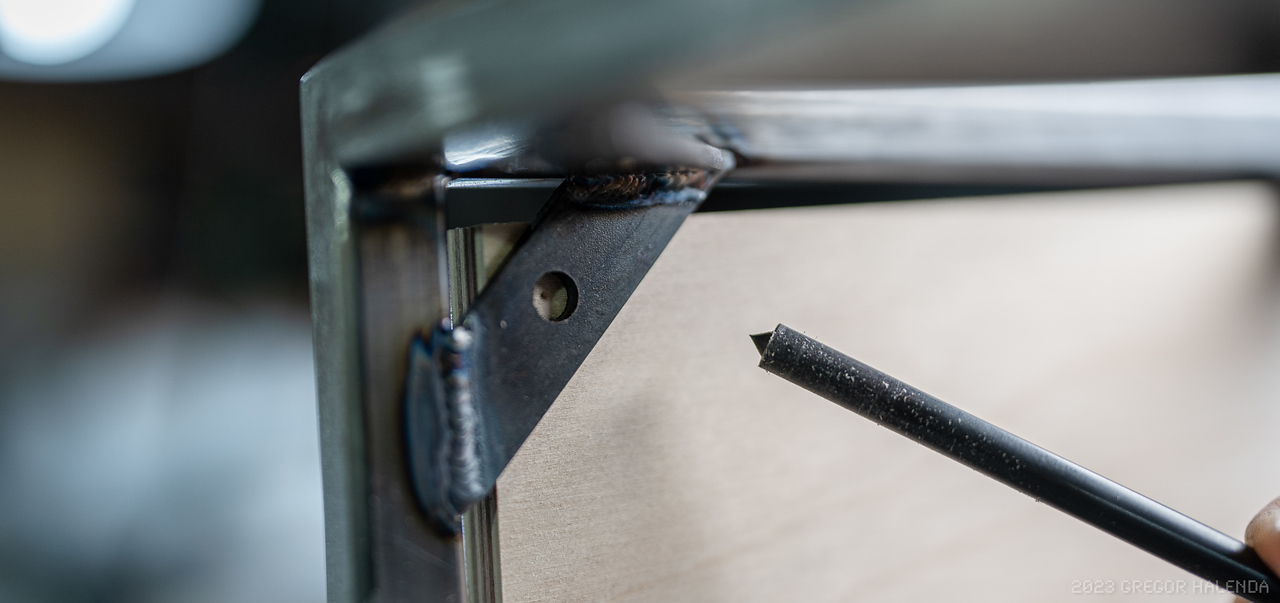
I'm going to break this up into a few segments so we'll deal with the credenza next.

Gregor
 
Really like your story too. What resonated with me, was not only your 80's olive naims (32.5 & olive 140 myself) but your aiming for a goal, & your contentment having achieved it.

Similar to me: saw & heard a Lp12 with a 140 in 1986, & smitten: loved the look & sound of the naim, stunned at the Lp12.. & aimed someday for similar.. & huge contentment getting there 15 yrs later. And no desire to change both since too (25+ years ago now). Quite simply- fabulous, timeless (UK) design.

Tell me, does your daughter go "wow" sitting there, listening to your Lp12 & olives? Or kinda "meh"?
Can she tell a difference between the chrome naims/ rega, & the higher spec Lp12/ olives?

Regards from west Wales, Capt
 
Lovely story, and lovely room, looks like a great listening space. Nice collection of fans too :)

Really like your story too. What resonated with me, was not only your 80's olive naims (32.5 & olive 140 myself) but your aiming for a goal, & your contentment having achieved it.

Tell me, does your daughter go "wow" sitting there, listening to your Lp12 & olives? Or kinda "meh"?
Can she tell a difference between the chrome naims/ rega, & the higher spec Lp12/ olives?

Regards from west Wales, Capt

Thank you.

The fans, like the hifi, were a long time project. Eventually I figured out what I loved and drilled down to find that.

My daughter actually has a great ear. Probably better than mine at this point if I were honest. But while my hearing is still decent I can pick things apart and enjoy them. What I loved was her description when we A/B'd the turntable; devoid of hifi terms but succinct in her description.

"Before it felt like we were listening to the band with the audience but now it feels like we're on the stage with them and surrounded by all the instruments" was her comment.

I liked that. It was accurate and free of the hifi verbiage that seem to pervade the online world.

Gregor
 
So I hadn't yet come around to trying to build my "grail" system because, well, it was a silly idea. I didn't need it and the sound was great. But my friend Michael who I respected and trusted and helped convinced me to get another LP-12 continued to tell me that the Karousel was, "the best upgrade he's ever made" to his system. I was unmoved as I never wanted to fall down the rabbit hole of hifi mods. The friend I traded the olive gear had fallen into this was buying and selling gear based on Youtube videos and I don't think you come back from that.

I called up Rick to see if he'd sell me a Karousel. While it's been years I was very good at setting up LP-12's and if Rick trusted me then I'd consider it.

i-Smr5jpJ.jpg


But if I was going to rebuild the LP-12 then I'd need to do it properly. Which meant building a work stand. I tried to find one used but couldn't and steel, while no longer cheap, is certainly cheaper than a rare, coveted stand and I figured it was a good warm up project to building a proper stand.

i-Gmf6T9K.jpg


This was what I wanted to avoid. Sorry if this is someone's here but everything about this is scary and wrong.

i-JJkmS3K.jpg


I drew up some plans and started to build.

i-43hLfrQ.jpg

i-6ng6JhW.jpg

i-hv8FhN5.jpg

i-Fb96QwK.jpg

i-HzbkC3K.jpg

i-JZqvkD5.jpg

i-HnZkShd.jpg


I mostly copied the Linn jig but made mine stronger and without a view to cost cutting. I made it "correctly" in a way of speaking. My fabrication skills come from 20 plus years of building and restoring motorcycles (Saku-Moto for more) and I had good teachers over the years. I try to strike a balance between attention to detail and getting something done.

i-CgK25Qw.jpg


Since I knew this was something I'd only use 2-3 times in my life I made it so it would break down and store easily. I used adhesive cork all around because that felt better than the Linn solution.

i-drJtmbt.jpg

i-XstLjn8.jpg


Base is done - now for some clamps.


i-vch5sq3.jpg

i-bKTSqKq.jpg

i-CqG4R3k.jpg

i-H7M2S8V.jpg


I like my knobs to have weight, heft and good grip so I use stainless and knurl them.

i-C2vHtTg.jpg

i-vmNjhcg.jpg

i-Jr3hFPg.jpg


Now we can start to get serious about the turntable. And that dumb credenza it's sitting on.

Gregor
 
So based on recommendations and a conversation with Rick about the difficulty of installing a Karousel I ordered the kit from Rick. I don't think you're usually allowed to do that but as a former employee I got a pass. I'd also found a used Linn Kore sub-chassis in Canada and decided to screw the incremental upgrades and just do it all at once. I didn't feel it was worth the cost of the Keel but a used Kore seemed about right.

i-NVVRH8w-X2.jpg


Manufacturing, materials and tolerances have improved greatly since the Linn was invented and its upgrade path has generally hewed along with these increasing rigidity and reducing tolerances. It's hard to justify the price of the bearing or the sub-chassis because once you start down this road it's just you, your ears and your wallet. Buying this stuff without hearing it wasn't, for me, much of a leap because I trust my friends.

i-pbmmzPH-X2.jpg


I started with the stand on the bench and got it level in both directions.

i-SKHttdB-X2.jpg

i-ZJLqQB3-X2.jpg


Peter's set up volume was printed to serve as a refresher and needed tools were laid out.

i-PtRjc58-X2.jpg

i-7RnSfPS-X2.jpg


And the turntable was slowly stripped down to its base.

i-SK4STLc-X2.jpg


At this point I can't recall why I had to drill the sub-chassis - it might have been for a different arm than the Ittok or some other reason but I did that.

i-6zP5gmp-X2.jpg


I got the bearing installed in the sub-chassis and then proceeded to collect all my springs and measure them.

i-H9jztps-X2.jpg


I measured each spring by pressing them down onto a scale with a set displacement of 2mm. The strength or number isn't really important but their relative strength is. I wanted them close together with the strongest one in the back. In the end it doesn't matter if you get the "bounce" balanced. With the springs measured I turned to the tonearm and new cartridge.

i-PbX9hGb-X2.jpg

i-CNGsGJL-X2.jpg


Easier to install with the tonearm out. I trust Rick so I just asked what he recommended in the $500 range and he suggested the Mobile Fidelity MasterTracker. I'd typically used Rega cartridges as the best bang for the buck but I've been out of touch and had no desire to research or try different ones. I went with trust.

i-nf8825p-X2.jpg


I flipped the whole thing in the table and installed the motor, springs, cords and boards.

i-dsXJPhJ-X2.jpg

i-PgpcfJP-X2.jpg

i-h52rtrL-X2.jpg


Flipped back over and then checked for level again with my machinists level after which I added the oil and installed the new inner platter. Unlike the old bearing the new one does not take forever to expel the air and settle. Now it's time to get the springs set. Honestly I was sort of dreading this. I remember it being like some sort of voodoo dance and Rick was one of the best.

i-b4XWjsM-X2.jpg


But perhaps because when I worked at the shop my mechanical abilities were slim and now they're pretty deep I get springs and I have a lot of patience. Also, I was very good at setting up suspension on my motorcycles when I raced them so my "feel" is much better. Whatever the reason it didn't take me very long to get the whole chassis to bounce evenly and decay slowly with no wobble.

i-TQKT9HG-X2.jpg


I got one of these doohickies to set up the cartridge.

i-J4LGVwT-X2.jpg


And that was that - it only took a few hours and the whole thing went perfectly. My first listen I was very surprised at how quiet the whole thing was - it was a surprising improvement.

i-tSnRVwG-X2.jpg


Now I had a perfectly upgraded and set up LP-12 sitting on a sagging mid-century credenza. There was low hanging fruit to be had there and it was of course a shame to invest in a turntable and let it sit on a mushy surface.

Next up is a proper stand for the LP-12.

Gregor
 
I used to have a AudioTech (or was it Target?) stand for my LP-12 back in the day. I liked it. It was the defacto stand that the shop sold and its simplicity was elegant and its effectiveness was obvious from A/B demonstrations. I looked around for one but couple I found were asking higher than new prices. But at this point you know I really wanted to make one.

i-pdPwd2K-X2.jpg


Since my system is all Naim the Lingo is the odd box out. Longer than the Naim gear and narrower too. I wanted to separate it since "One of these things is not like the other" was one of my favorite games as a kid and I've been playing it my whole life. My initial design considered mounting it inside the box of the stand. What I didn't like about this was that by building a box that fit the Lingo I was pretty much guaranteeing that something else would come along that wouldn't fit.

Better to keep it simple.

i-Jwn6xZ4-X2.jpg


I remember the Target stand being made from 3/4" (or so) square tube but I decided I wanted something more delicate and bought some 1/2" and 5/8" tube to compare and see which I liked better. In the end I felt 1/2" was just a bit too small and that 5/8" (just under 16mm) felt right.

i-F4wzP7v-X2.jpg


My plan was to basically make a box the exact same footprint as the LP-12 and that whatever the front length was that would be the height so it was a square. While making a box seems simple it's the simple things that are tricky. So my goal was to make a "perfect" box that was perfectly square. It's harder than it seems so to make sure my tubes were exactly the same length I used the mill to size them as a group.

i-54kttbC-X2.jpg


Next I used 1/2" square rod and cut slices and then drilled them and beveled them so they could be welded into the ends of the vertical tubes for the spikes. I know there's been this movement away from spikes to all sorts of things but frankly I've heard the differences and I am still firmly in the "spikes are better" camp.

i-C5JRP8P-X2.jpg


Metal is not rigid or solid but a very strong yet flexible material and it can contract or expand. When you weld you're melting the steel and then adding more steel to the gap. When the steel melts it expands and when it cools it contracts. These small contractions need to be balanced to cancel each other out or you get a warped structure. Modern manufacturing uses jigs to help maintain the accuracy but if heat isn't balanced you can still have warps. Also, I'm using tig welding which is done by hand whereas nearly all manufacturing, even small scale, is typically done with mig which is less delicate but faster.

i-pNPFPVW-X2.jpg


The test is to measure diagonals to check if the square is just that. I'm good here to less than 1mm. The face also lays flat so it's not warped. I have two squares so now it's time to make a cube.

i-BV2wSWJ-X2.jpg


I grind down my welds so the faces are smooth.

i-rXtqBnr-X2.jpg

i-FsrgqvW-X2.jpg


And I use these magnetic squares to hold the tubes in roughly the correct place. If you've ever built an engine or put on a wheel you know that you have to gently snug the bolts in a pattern. It's the same with welding. If I were to simply weld a corner it would pull it way out of square - beyond fixing - so I do small tack welds all around as I build the structure.

i-FK4XsfP-X2.jpg

i-Wfzx8kx-X2.jpg


This is tacked and from here I check squareness on all dimensions and begin welding on opposite corners one section at a time. Balancing the heat will allow me to keep things square without the use of a jig or introducing the stresses that a jig might introduce.

i-Z5TbCmf-X2.jpg

i-5p3p8DZ-X2.jpg


Unlike most commercial stands I actually weld all the corners inside and out. It will create greater rigidity and strength. The inside corners don't need to be ground or finished but the outside ones I grind flat since this is furniture and I want it to look nice.

i-HrQBXrV-X2.jpg

i-FLqLht7-X2.jpg


Orbital sander and then paint. I use a black primer/paint first and then a satin textured paint for the final.

i-LMMnwm9-X2.jpg

i-d7xq7JD-X2.jpg


I make my own spikes from stainless M8 set screws which I then repoint on the lathe to something sharper but not too sharp. I think this was a 30 degree but I can't recall. After I drill them with through holes so they can be held while tightened.

i-6cGfXjF-X2.jpg

i-K2x9LrH-X2.jpg


And that is my stand part 1. If I recall it's 444mm square in the front and the identical dimension of the LP-12 for depth but now I need a table like my Target stand had. There's a 20 photo limit for each post and since I take a lot of photos there's a part 2 I guess.

Gregor
 
Now this - this is a wonderful way to contribute to pfm DIY here!

Great stuff & HNY @Sakurama
Thanks! Sometimes info can be thin on the ground and I like to give back.
The photography is also awesome.

It really is, I'm in danger of not reading the words and just looking at the pretty piccies

Thanks. To be fair I'm a professional photographer (gregorhalenda.com) but when I built my first motorcycle I took photos and described the process as a way to keep my friend who was doing most of the work motivated. It reminded me of my time as a photojournalist - taking photos and telling a story - and I really enjoyed it. Plus I like to share knowledge. So I enjoy doing these things.

Also, for me this is "personal" work. I'm not trying to please a client. I have no one to impress and I'm free to explore angles and gear and experiment. Sometimes the shots go a bit into left field but having fun with this keeps me fresh and interested in the career I've spent my entire life doing.

For the gear heads:

I shoot Sony now. I was a Hasselblad Master and was sponsored by Hasselblad for quite a long time. I had two systems - a medium format Hasselblad and a full Canon system for action. A friend bought a Sony RX1 ages ago and loved it and let me borrow it. Much like hifi gear I'm not particularly interested in specs but rather how the gear feels and if it meets my expectations. The Sony captures surprised me - the warmth of Hasselblad and the speed of the Canon. I bought an RX1 and used it for a year and then sold all my gear and bought a Sony system. My "personal" camera was a Leica Q for a while but it's now a Sony A7C and I use my fast primes for this stuff; a 24 f1.4 and a 35 f1.4 mostly. No strobes but I have decent light in my shop.


i-8r5S6Qp-X2.jpg


I have woodworking tools but I honestly don't really enjoy "woodworking" per se. I like plywood and engineered wood and my methods and techniques are more akin to how I work with metal. Once I started treating wood like soft metal it went better for me.

I had some leftover MDF from the cut out of the kitchen sink from the house restoration and it was just large enough to be used as a base for the turntable. It's thicker than the AudioTech table but it's what I had. I think it's about an inch or maybe 3/4?

My plan was to laminate it with some black formica so it was just like what I remembered but then I stumbled onto a sheet of leftover teak veneer that I'd used in a Garrett Wade shoot. I love teak and it would match the midcentury "feel" so I decided to consider it.

i-SPc8T9N-X2.jpg


First though I wanted to check the stand and try the base to make sure I didn't just spend a lot of time on something that made things sound worse. That would suck.

i-jzDnv8c-X2.jpg


Roughly leveled and in place it sounds great. Also, I'm now realizing that I might be out of order. It's possible that I built the stand and then did the Karousel conversion after finding out how great it sounded. It will all come out in the wash - this was one year ago. Nonetheless the first record with the turntable on the stand was a wild improvement. Night and day. Which we'd hope for but I think we always cross our fingers right?

i-SHFNfCQ-X2.jpg


I think it was this photo that I looked at and thought, "You know... teak would complement and break up the black of the turntable. I never liked the fancy woods for the LP-12's and much like my wardrobe when I lived in NYC I generally prefer black. But I'm living in Oregon, my house is filled with beautiful warm wood and I'm nicer and more patient...

i-c6rFZsN-X2.jpg

i-DTwq5hw-X2.jpg

i-jKxpfLK-X2.jpg

i-whf338W-X2.jpg


I decide to make use of this small scrap of teak and veneer the MDF. I'm still not convinced but if I don't like it when I'm done I'll just stain it black and pretend it never happened.

i-v97zBMV-X2.jpg

i-mxfpfmp-X2.jpg

i-3XVF82t-X2.jpg

i-xB7tkkD-X2.jpg


There is no such thing as teak edge band so I use strips of edge band adhesive and cut strips of the teak from the sheet. I always cut "edge grain" strips for the ends because I like taking the lie of veneer to its logical conclusion. At this point I'm still not sure if I should stain this black or not...

i-dQRvk2F-X2.jpg

i-ChwSKzT-X2.jpg


...until I lay on some satin polyurethane and the warmth and grain just explode and now I'm wondering if I've really screwed up. It's a bit dramatic.

I'm going to set in place and see...

i-grvR6Z2-X2.jpg


I use some 1-2-3 blocks to lightly align the top to the edges of the stand - you get one shot to make the alignment perfect and then you press down on the spikes, create your forever divots and you're locked in. Screw up this alignment and my OCD will forever be offended!

i-vJxn7Jt-X2.jpg
i-TDNtWPj-X2.jpg


And I decide that I love it. It breaks up all the black with some needed warmth. Hifi gear is very black and visually heavy - especially Naim gear so this detail feels nice. It helps to make the stand midcentury friendly. And the sound is night and day better than a sagging credenza! Everything is tighter and more focused.

I think it was this point that convinced me to drop the coin on the Karousel. This was a tipping point to how good this system could sound. So then I got the bearing and then it was even better - which makes more sense.

So sorry for the timeline mix up. After the stand and then the Karousel, Kore/Keel whatever and the new cartridge I was just blown away. I'd spend hours listening to music. It was magical. I could safely say that it was as good as it was going to get.

I'm done.

Except I'm not. Because in the back of my mind I keep thinking, "If it sounds this spectacular wouldn't it be even better active?" I'm so close to what was the system that I always dreamed of.

Gregor
 
I learned from a friend that the way to find good deals is to set up an automatic search and be patient.

i-CRQZ5Rg-X2.jpg


Snaxo 2-4's don't show up very often but I had search on for one worldwide. It appeared on ebay for 500 GBP and I just hit the buy-it-now button. It could be months before another shows up.

Surprisingly, after several months of waiting for a Snaxo I found a great deal on the second 250 and Hicap from the same seller a week later. They all came from England where used Naim gear isn't as sought after. And because they're wired for 240v so most bidders in the states will skip over them. I wrote the seller and asked to combine the 250/Hicap and he wouldn't so I took a chance to snipe them both and won.

I knew the Euro gear could be rewired to 120v but I couldn't recall how. I think that's how I ended up finding this forum as I was looking for instructions on how to do it. Naim will happily rewire a Euro NAP for $295 but I also knew it wasn't a big deal.

The thread I started for that is here. There's also a few more photos of the chrome bumper knobs in there.

i-XQxnKS6-X2.jpg


Thanks again to Craig who generously explained the process. More detail is in that other thread but I'll recap (no pun intended) the rewiring here. Shot above is amp upside-down and feet off and screws out.

i-jNZ4MWP-X2.jpg


Honestly this is one of the reasons I fell in love with Naim gear. Careful attention to detail that is never seen is something I've learned is a bit like a secret message from one OCD person to another. In building or machining there's all sorts of small details that a normal person will miss but that someone who understands the process will see and realize that the builder cared enough to attend to a detail that will never be noticed.

i-LwNzhmh-X2.jpg


Inside this loom Naim hides a pair of soldered together wires that run the transformers in series for 240v. If they are cut and separated and then wired to the switch they convert the transformers to run in parallel and thus split the 240v to 120v.

i-b4MqprJ-X2.jpg

i-6pSJ2BT-X2.jpg

i-HRk6CcF-X2.jpg


For a more detailed explanation check that other thread. You have to be decent at soldering so as to not put too much heat into the switch and melt it but that's not too hard. Simply and designed by the factory for just this thing.

i-M5J5Ws2-X2.jpg

i-MtSXJ7j-X2.jpg


Last thing to do is double the amps on the fuse which it even tells you on the label.

i-MrRsHV2-X2.jpg


The second Hicap showed up a few weeks later and it was the same but different wires and a different switch. Old 120v Hicap in front and new 240v Hicap in back with the loom partially undone.

i-BQT6gB4-X2.jpg

i-cKhVSW2-X2.jpg


The rotary switch is supposedly a bit more delicate so I desoldered the wires from the post, joined them and desoldered them quickly.

i-wJqXR8p-X2.jpg


All buttoned up and the fuse replaced with an 8amp slow blow.

i-wWMKLBQ-X2.jpg


I now had all the gear for an active set up. Almost. At this point I needed more interconnects and the wiring of an active system requires a double set of cables. I reached out to Rick who suggested that this was an old system and maybe I should consider getting newer gear since there's been a lot of advances. He's probably right. I ordered a second set of speaker cables anyway.

i-VLf3NGd-X2.jpg


The first set of cables came and they were accidentally much too short. Christmas came and went, the new cables arrived and I had the wrong interconnects. Finally after getting all the interconnects and speaker cables made up I nervously hooked up the whole system according to the only guide I could find:

i-LB3SMq9-X2.jpg


This single illustration.

Everything was correct and yet there was nothing coming out the speakers. There was also no smoke so I considered that a win. I was at a loss and finally reached out to Chris West who I'd known from my days at Ricks. He worked for a long time at Naim NA and then started AVOptions and is the service agent for Naim NA. He finally helped me realize that I was missing the Burndy plug on the back of the Snaxo crossover without which it didn't connect. He said he could order one but it should have come with it.

It was now 4 or more months past when I bought the Snaxo but I reluctantly reached out to the ebay seller explaining that the crossover I'd bought in Sept I just figure out in Feb that it didn't have the plug. I didn't expect a response honestly but to my surprise the seller apologized and said he'd order one and send it.

6 weeks later the plug showed up. 6 months after buying all this gear, rewiring the 250 and Hicap and getting all the interconnects and the second set of speaker wire I finally, 36 years after first hearing an active SBL Naim set up I put the needle down and heard music.

Honestly, after all that I'd done through I actually expected to be disappointed. But I wasn't.

i-8HktN4q-X2.jpg


Right after it was finally all set up my life took many turns. Suffice it to say I wasn't prepared and became a bit depressed and overwhelmed. I'd still listen to music but the system sat like that on the credenza, 100lbs of hifi slowly crushing itself and the credenza. The cords were a mess and the speaker cable was shoved under the couch. It literally sat like that for months.

i-z8pxhz2-X2.jpg


I'd started sketching the idea for a stand for this system right when I'd won that Snaxo. The date on that sketch is 29 Sept 22 and from my emails I didn't get the system running until March. My summer was busy with work and I hadn't gotten into my shop for months and shop time to me is therapy.

I decided that the thing I needed was an easy project that could get me back in the shop and the gear off the credenza. I found my old sketch and decided I had about a month before family was coming to visit for the holidays. Building this should only take a week I thought...

Almost done!

Gregor
 
i-2qn27LJ-X2.jpg


In the end this is what I came up with for a design. Since my plan isn't to upgrade to 135's and I've listened to the system for the better part of a year now and I'm happy - very happy with it - I wanted to make some way of holding the gear. Much like the turntable stand that was exactly sized to the dimensions of the LP-12 I wanted to make this for the Naim gear. I could have stacked the Hicaps and the Snaxo 72 and reduced the size but I also wanted to address something I'm sure you've dealt with...

i-ckfXZRK-X2.jpg


Oh Ween. My favorite cover ever.

You always have albums that you've just bought, haven't filed, pulled out to listen to and they end up scattered and leaning around your gear. I know I'm not the only one. Why not a solution for that? A limit perhaps? On deck records are important.

Since I'm building a completely custom cabinet I wanted to address that. Also, to be clear, I'm not thrilled with the Lingo. I was going to look for an Armageddon just to have the same boxes but I was told to stick with the Lingo - damnit! It really bugs me that it doesn't match...

i-b5s9L5K-X2.jpg


The first stop on the journey for a gear stand is my local metal supplier. It's like christmas - look at all that furniture yet to be! I see lamps, staircase railings, end tables... It's endless. But mostly, off to the very left in tiny pink squares is a cabinet for an active Naim SBL system in 5/8" tube. Can you see it?

i-ZkHSnMD-X2.jpg


Next up is to clean the shop. It's been unused for the better part of a year and that's a tragedy as it's my happy place. It's where the world makes sense.

i-mHSmzhG-X2.jpg


That is called a "cold saw" because it cuts without anger or heat - slowly with a flow of cutting fluid running down the blade. One of my favorite tools for it's perfect cuts.

i-hs5DFGk-X2.jpg
i-mLqqW6M-X2.jpg


We start with the ends. 1/2" square rod (rod is the term for solid steel) for the tops and drilled for M8 on the bottom.

i-WNvsR84-X2.jpg

i-hWcsq98-X2.jpg


1/2" square rod fits almost perfectly inside 5/8" square tube. See, the world here makes sense.

i-QLwQZPK-X2.jpg


Right up until my first welds.

Eight months without welding and I'm rusty. The first is the left, a hot mess, and then I warmed up and got my feel back. Not that it matters we're going to grind them down. Still, it's nice to see the skill set return.

i-DwnK9z7-X2.jpg


In order to build square and accurate you need to gang your material up and give a light pass on the mill so the tubes are all identical.

i-7jz57Zm-X2.jpg

i-hnWgc32-X2.jpg


These are the front and back. They're sized exactly for the Naim 250's (bottom) and the half sized gear (above) and there should be 10mm around each face. At this point it's all tacked lightly together and checked for square before final welding. You'll notice I didn't make a box for the Lingo.

i-RmvZrPf-X2.jpg

i-mtQKhdQ-X2.jpg

i-fJBbMTt-X2.jpg

i-DhLPgNJ-X2.jpg


Then it's carefully welded one small part of one joint and then on an opposing side with thought about how the weld will pull the metal. I'm feeling fine about my welds now - back in the groove after a bad start.

i-VmGfZTn-X2.jpg


The back or insides of both frames needs to be ground flush so we can start to fit the front to back bars.

i-xF6396P-X2.jpg

i-g8pHGH8-X2.jpg


Almost done!

Hardly. If those openings are 10mm larger than the Naim gear then we'll need shelves. I don't sign up to the three point suspension, Naim Fraim or what have you for electronics. Everyone needs a line in the sand and that's mine. I am happy chasing rigidity on a turntable that deals in micro vibrations but my electronics can sit on a shelf.

Which is what we need to make next.

Gregor
 
WOW,
I've just read the whole thread and linked threads.
I'm struggling to find adequate words to reflect my admiration and respect for your skill and dogged determination in setting out on, and "running" this marathon.
Thank you for sharing your journey and providing such a thoroughly entertaining, illustrated, enjoyable and educational narrative.

Thanks Graham!

Not being in the shop, combined with family events was making me pretty depressed. Making something, and in this case something that was just for me and not something I "should" be doing, is a way for me to recharge. Same with taking the photos and writing - things I do professionally but when done for me boost my mood. It's funny because 10 years ago when we bought this house I started a thread on Garage Journal and didn't expect much. I was mostly known for motorcycles builds but that thread is now 140+ pages and is a diary of sorts and covers so many topics.

i-q4SgJLv-X2.jpg


So. Shelves. I decided on MDF as it's the "normal" or standard audio/hifi material. I forgot how easy it is to cut. Much like the turntable I wanted the shelves to be exactly sized or actually a bit undersized - only large enough to support the feet. My idea was that air could flow on the sides - the amps would not be trapped in air tight boxes.

i-tfj5pzG-X2.jpg


i-TFCNk93-X2.jpg


I debated about black or wood grain but after the success of the teak on the LP-12 stand I decided to go for teak. I want the hifi to integrate into the house and not feel "single dude with hifi gear" but more tasteful. So teak would work, right up until I get to the lumber yard and find out that a sheet of teak veneer is $400. I was not prepared. I swallowed hard and bought a half sheet and a full sheet of birch to skin the MDF shelves and the back sides of the outer panels.

i-bkZpct5-X2.jpg

i-SBBdTHq-X2.jpg

i-n3Z7bxq-X2.jpg

i-BgGRhT5-X2.jpg

i-RnGJcst-X2.jpg

i-tTxfG9D-X2.jpg


I'm skimming here because honestly veneer is a bit boring and this became a more involved story. That GJ thread has much more detail (skip to the end) and dives into the merits of different edge trimmers.

I did not apply the teak veneer to the larger panels as I didn't want to risk getting black stain on it. All the amp shelves were veneered in birch, edge banded and then stained with "one-step" stain that wasn't because it sucked. In the end I got the shelves done but wasn't too happy with them.

i-KhDCvjg-X2.jpg

i-RS6Wqdq-X2.jpg

i-Pt8DLdc-X2.jpg

i-4VZD4C6-X2.jpg


My plan for shelves was to use 1/2" angle iron ("L" shaped steel) to cradle the shelves and run it front to back. The shelves would be narrower than the amps and also, and this is very important to the design, the entire cabinet is longer front to back than the amps.

This is was a super important element to my design to address something that has always bugged me: cables.

i-875bZn5-X2.jpg

i-9kSCqV8-X2.jpg

i-6JjXW2c-X2.jpg


Any hifi is a hot mess of inter-connects but an active system is double that mess. I've always tried to hide that mess. In my NYC studio I would build counters with hidden panels that would contain all the computer cables so outwardly things appeared clean. The sides and top of this cabinet will have panels while the back will remain open but all the cables will be contained inside the "walls" as it were. Viewed from the side there will be nothing protruding.

Anyway, that will become obvious. For now I needed to test fit a box to make sure I didn't egregiously screw up some measurement and so far I haven't.

You'll also notice I haven't dealt with the Lingo. There's a bit of flying by the seat of my pants here. I don't have a solution for it yet but I have an idea. But it's not a very well formed one and so I move onto other things.

Like the outside panels. I want to use the same material - 1/2" MDF - for those panels and I'm going to need a way to mount them. Because fitting wood into metal can be tricky I want to give myself some slack by including a gap around the panels. The other reason is air flow - while the amps don't crank out heat they do get warm so I don't want the cabinet closed off. Lots of open areas for air to circulate.

Outside panels next.

Gregor
 
So the outside panels would be black on the inside and then the teak veneer on the outside. As mentioned I wanted a gap but not as large as the space around the amps. I wanted it to be smaller so you weren't really looking in but large enough to disguise any square errors. In the end the sides of the frame are about 1mm out - a very small error but one that becomes very obvious if you're going for a 1mm gap or a perfect fit. The other part is that I like the gap - it's a look.

i-7gJD7bR-X2.jpg

i-pV2fWh5-X2.jpg


I use carpentry shims to wedge the panel into the frame and try to make it even visually.

i-J2qKPvb-X2.jpg

i-QVhHn2K-X2.jpg

i-5766tRR-X2.jpg


I make a small triangle of the 1/2" MDF that I veneer on both sides so its dimension is correct and place that on the bench and the bracket on top. Always, rather than measure, try to use physical devices to set spacing. The idea is that the panels are 1/2" and the steel brackets are 1/8" and the tube is 5/8" and so we want flush panels.

i-wQqZFSP-X2.jpg

i-xdxL9rg-X2.jpg

i-KRwgnCX-X2.jpg

i-FL7rcv9-X2.jpg


I don't want to see any fasteners so I'm planning to use threaded inserts to hold the panels in place. They don't need to be strong it's just a cover. Despite that I'm reminded of why and how much I don't like MDF when the test insert strips the MDF. While it's possible to have a good result with inserts in MDF this stuff and these inserts are too shallow. I scrap the idea of MDF panels and go to my safe space - baltic birch plywood.

i-Sg7Ndf8-X2.jpg

i-6dRwsPk-X2.jpg

i-MdxL77S-X2.jpg


That is called a transfer punch to accurately mark the center of a hole. The new baltic birch panels are far stronger and have no issue holding the shallow threaded inserts.

i-rDcJRSL-X2.jpg

i-x86Sz3q-X2.jpg


I use some strips of veneer to fix a cutting error of 1mm but otherwise the panels are done. The next step would be to paint and then veneer them. But it's also time to face the fact that I need to finally design the record storage part and finally figure out the solution to the Lingo box.

Gregor


advertisement


Back
Top