advertisement


And so it begins...

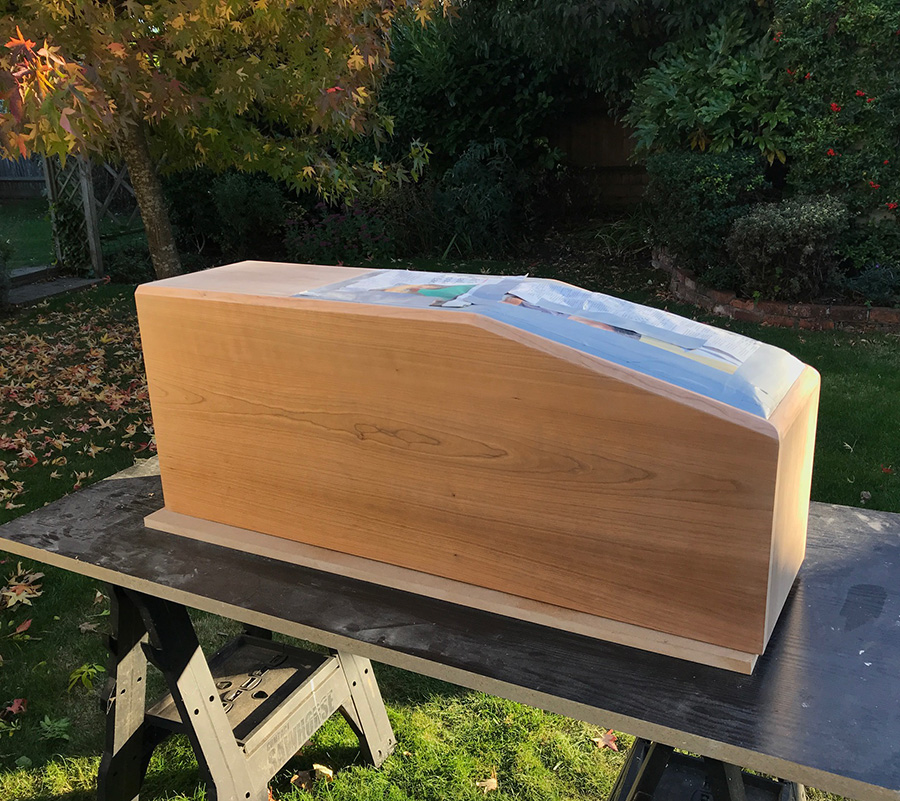
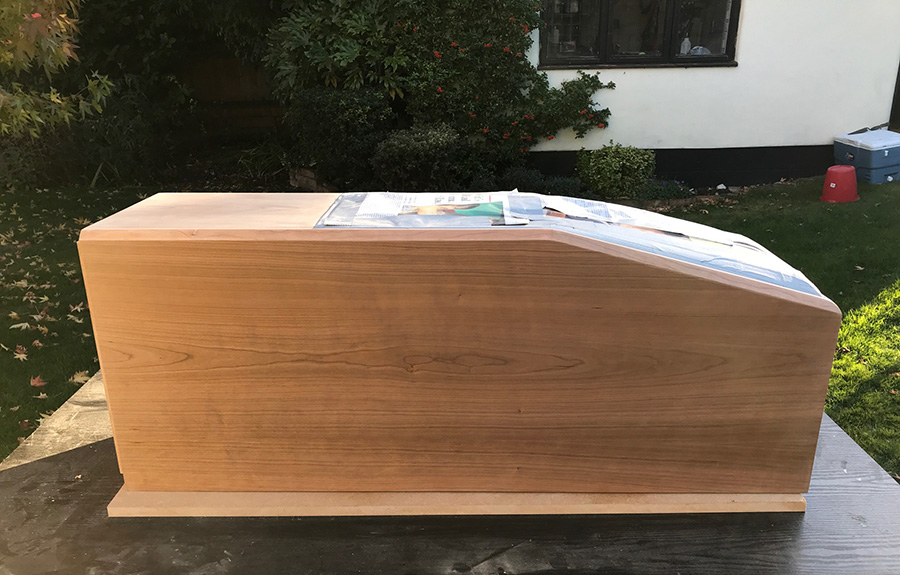
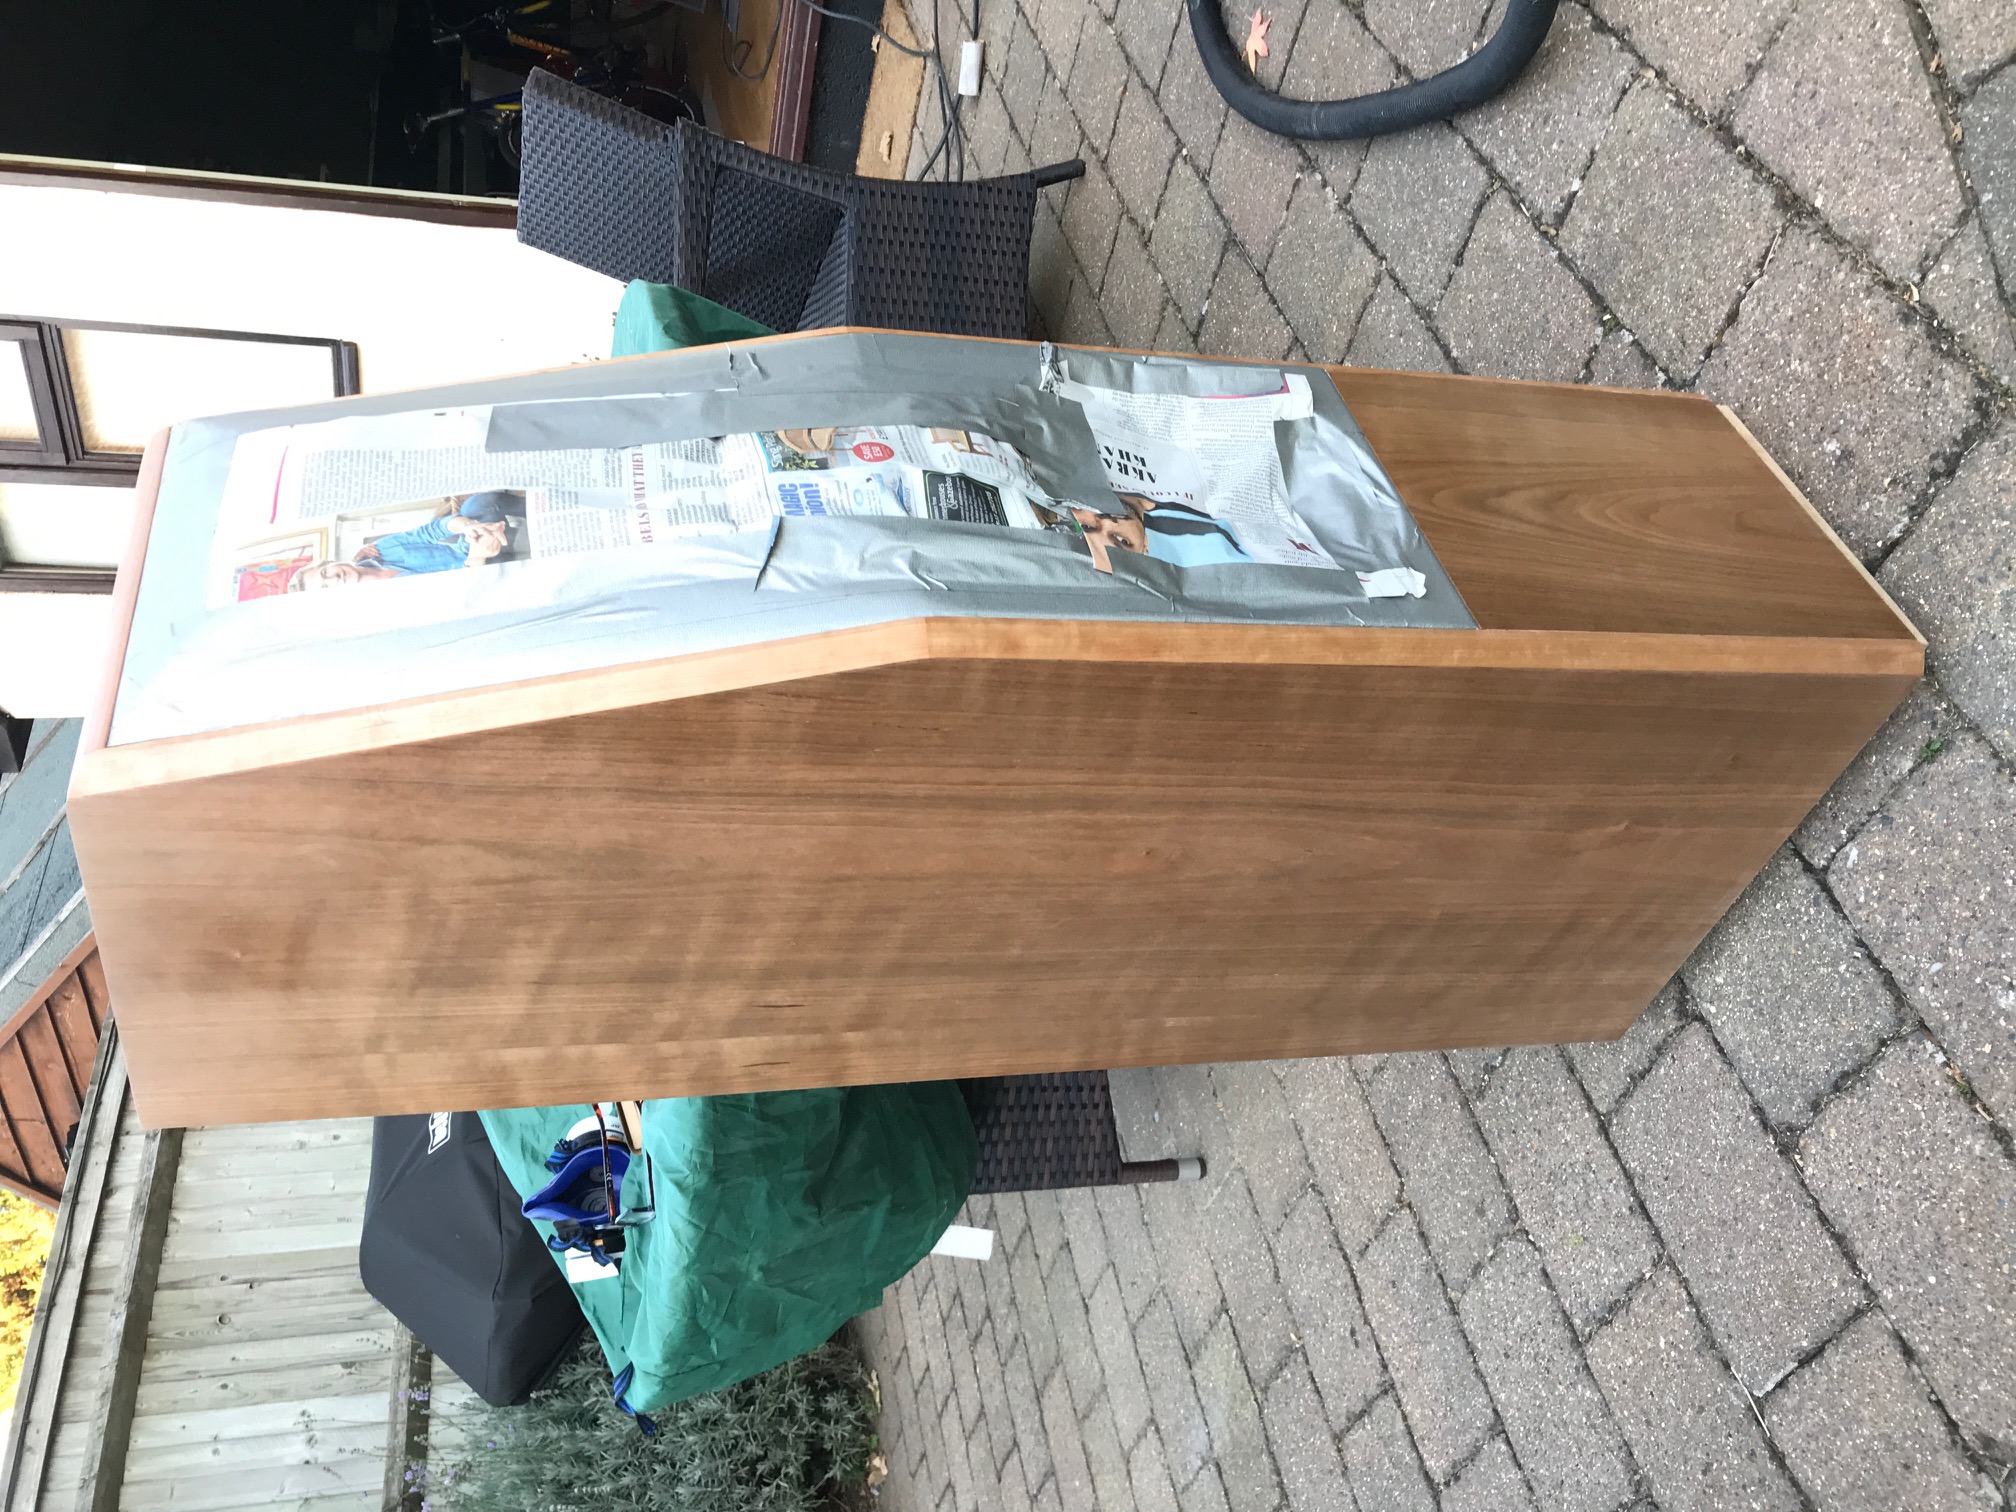
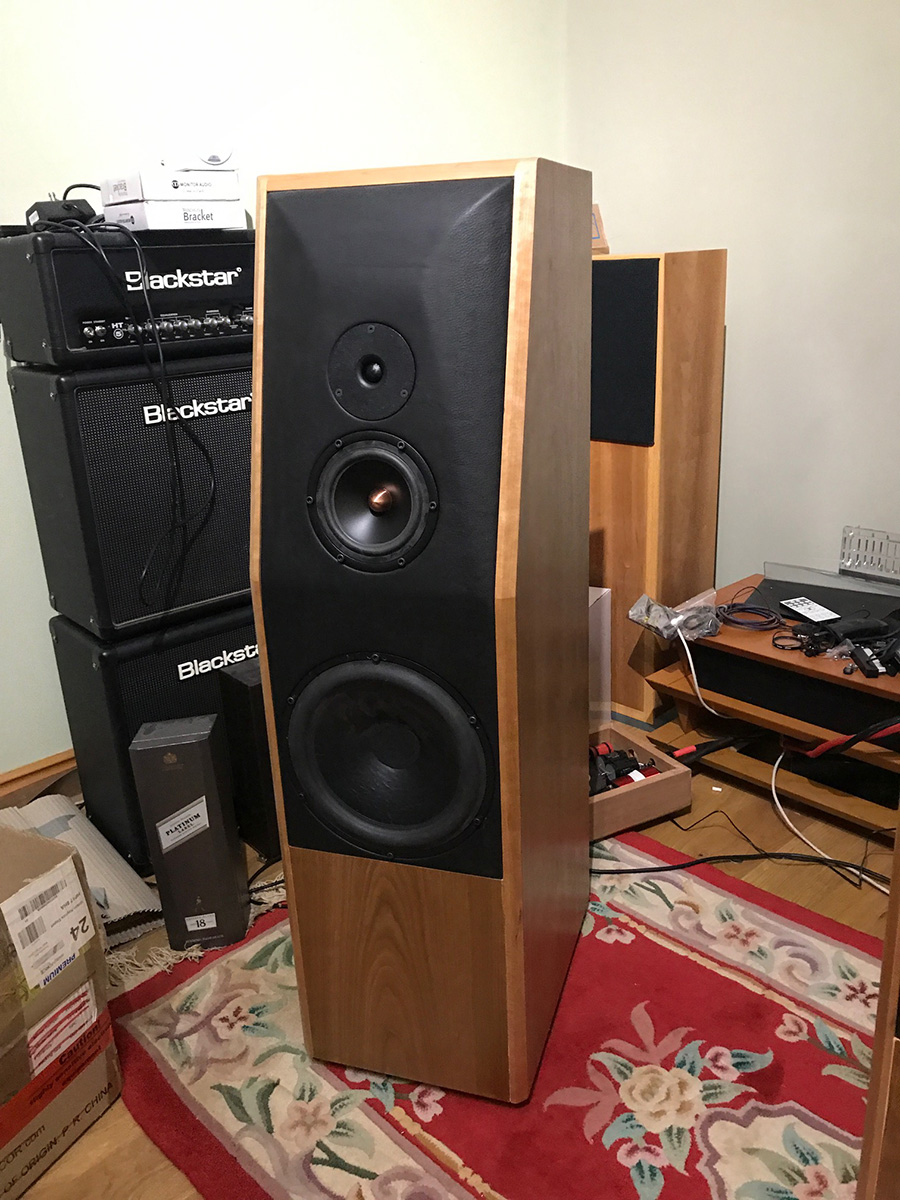
Both cabinets are now completely clad! Now begins the task of sanding in preparation for spraying. I’m going to use a dust-free system to get to about 320 grit and then to 500 by hand. If the weather holds I could be spraying at the weekend.

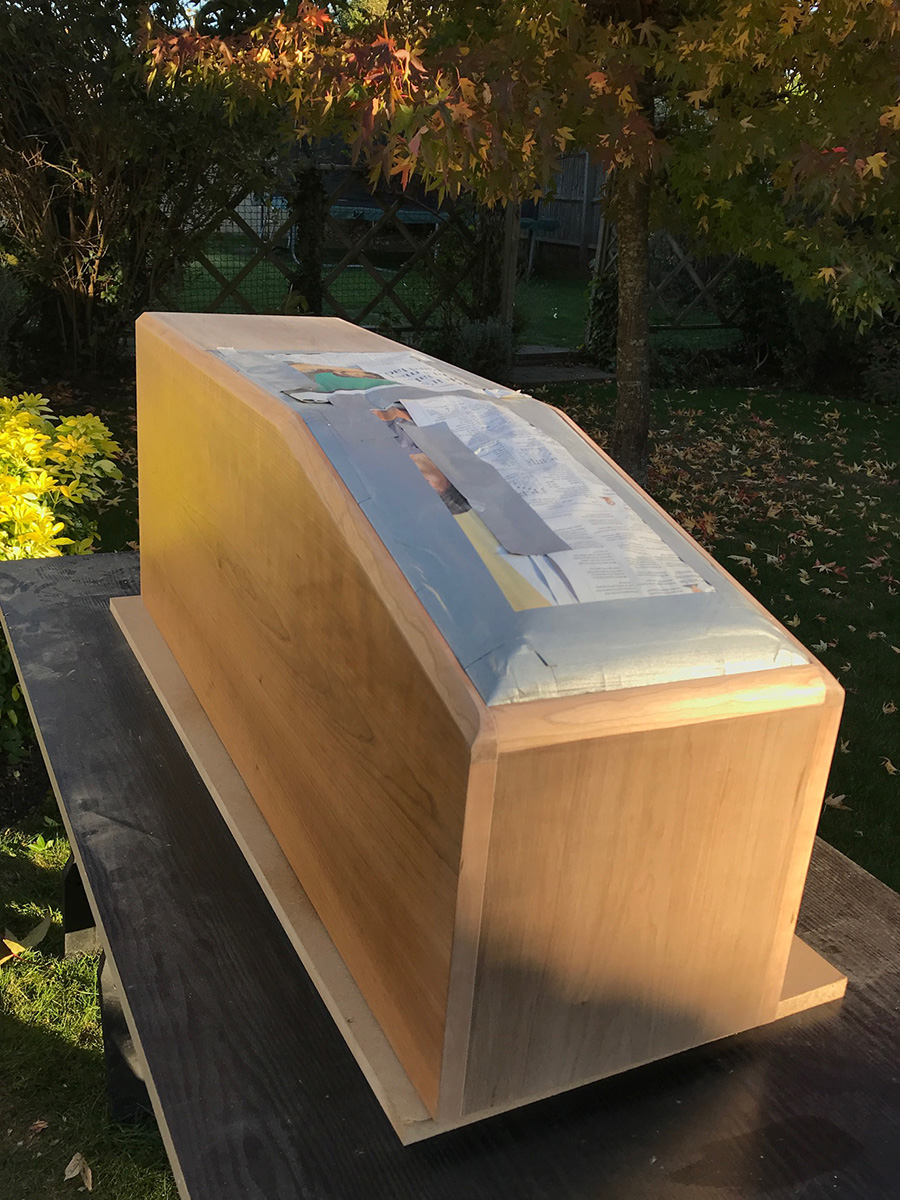
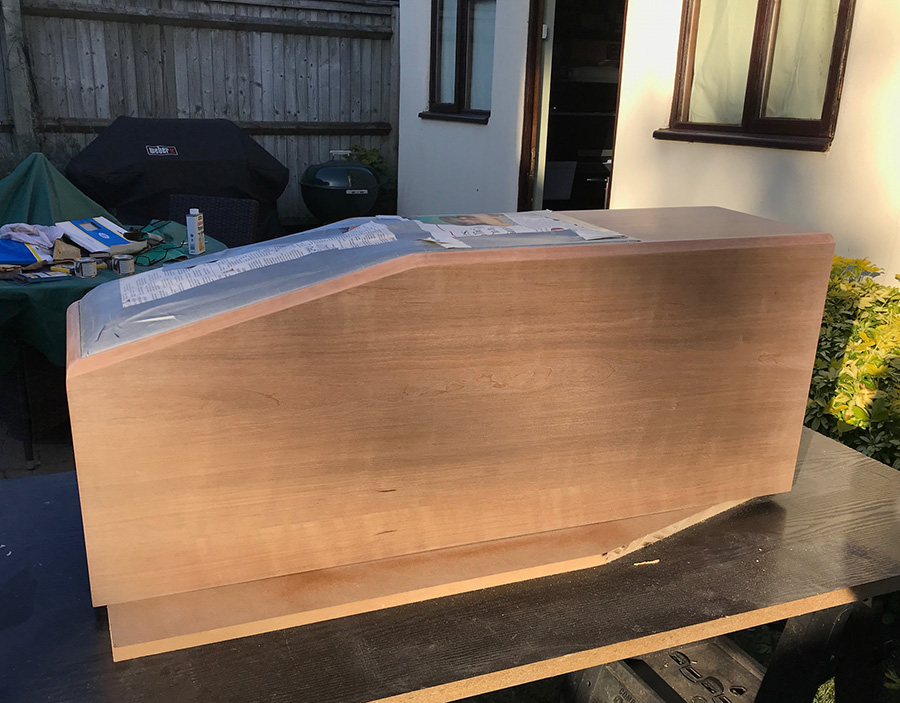
I still have the bases to complete, I’m toying with the idea of adding a little something to those for minor bling. We’ll see. Other than those there’s one more crossover to wire to the input / output sockets and an umbilical cable to wire up. These are going to done real soon!

Did I mention that they’re heavy?
 
Did I mention that they’re heavy?
Install the mid and woofer after you've lugged them into place. When I built mine, I had to carry them up a narrow staircase. The brace just behind the woofer makes a great handle (with your other limb cradling the back). Just watch your back.
 
Install the mid and woofer after you've lugged them into place. When I built mine, I had to carry them up a narrow staircase. The brace just behind the woofer makes a great handle (with your other limb cradling the back). Just watch your back.

That's pretty much how I've been moving them to date although once I've covered the leather for spraying that option will be gone. I'll definitely install the drivers after I've moved them into position and installed on the bases / spikes. Fortunately they don't need to go upstairs, that must have been a serious effort! At some point I'll weigh one of the beasts as I'm curious to know just what they actually do weigh.
 
Brief update - both cabinets have now been fully sprayed with Nitro and I'm pretty pleased with the results. I used 2 light coats effectively as a sanding sealer and then rubbed down again before a further 3 coats with rubbing down with 500 in between followed by one last coat and very light rubbing with 600 grit. It's a Satin finish lacquer and it feels super smooth to the touch. The bases are being worked on, they are in two (upper / lower) parts presently until I've finished 'operation bling'. I'll hopefully have them ready to fit by the end of the week, until then the cabs are on temporary bases that I made purely for working on them. Pictures to follow when I get some time.
 
By the way I weighed one of the completed cabinets. Without drivers it tips the scales at 41kg. They actually feel heavier than that but that's probably due to the fact that they are not easy to get hold of.
 
By the way I weighed one of the completed cabinets. Without drivers it tips the scales at 41kg. They actually feel heavier than that but that's probably due to the fact that they are not easy to get hold of.

I felt the same about the DBLs.....I suggested to Naim that all future models come equipped with 'coffin handles' mounted on the sides to facilitate lifting, moving and to add a bit of aesthetic relief.
 
Here's a few pictures of various stages in cabinet prep:

img_0269.jpg


img_0270.jpg

img_0271.jpg

img_0272.jpg

img_0273.jpg

img_0274.jpg

img_0275.jpg

img_0276.jpg
 
I'm hoping to move the Ergos into the house this weekend but I'm waiting on a set of M12 spikes before I can do that. If I stand them directly on carpet I think they'll forever leave an imprint! I'm also finishing the bases - I've been messing around with something that wasn't in James' (or anyone else's for that matter) build to add a little and hopefully subtle bit of bling. If it's not suitably subtle then it will be disabled and be invisible to all intents and purposes. This photo suggests it's possibly not so subtle but it looks differently in real life and I'm working on it...

img_0310.jpg
 
For some really subtle bling you could always power the bases with a tasteful disco sound to light supply :eek:.

PS the cat looks like he's thinking "Now that I've finally got your attention, any chance of some food". Pretty sure that's what my cat thinks most of the time :D.
 
For some really subtle bling you could always power the bases with a tasteful disco sound to light supply :eek:.

PS the cat looks like he's thinking "Now that I've finally got your attention, any chance of some food". Pretty sure that's what my cat thinks most of the time :D.

Gender aside you're dead right re the cat. Funnily enough the LED strip I've installed does have a sound to light function but I'm not vaguely planning to use that. James would never forgive me and rightly so. My goal is to set them on their lowest level and get a uniform glow emanating from the small gap between the lower part of the base and the main speaker cabinet. Whether that's possible remains to be seen but it's a bit of harmless fun even if it doesn't turn out to be possible. The problem is how to even out the concentration of light from each individual LED cluster so that there's an even spread, so far I've not solved it yet.

I've been told my Track Audio spikes should be with me tomorrow so it's looking good for a weekend install if I can get the bases finished in time.
 

Believe it or not the LED strip in the photo already has strips of 2mm opal acrylic epoxied over the top. The problem is that I really need a sizable air gap before the diffuser layer but I don't have any room to do that. I'm going to try to reduce the light concentration in the 'hot spots' with some masking tape or similar to see if that works. My original plan was to have strips of 10mm thick clear acrylic flush with the outer edge of the base that would act as light guides but I think that will only exacerbate the problem by 'focusing' the bright areas. I guess I could try some strips of a similar thickness opal acrylic but I was hoping to have a clean and clear finish in the gap whereas opal would show as a whitish line with no lights on.
 
This site contains affiliate links for which pink fish media may be compensated.
Sand off the tops of the LEDs, I did it with my display on my Starfish to even out the light, well I cut the tops off on the bandsaw.

Starfish preamp by Pete Maddex, on Flickr

Pete

Your Starfish is much prettier than mine! That sounds so wrong.

I could have done that I guess as even the LED strips have a small lens on top of the R, G and B LED clusters but it's too late now as they're epoxied to the upper part of the base. I might give it a go with some spare strip I've got left over just in case it's super-effective and I'm tempted to rip out the original strips. I do think though that even after doing that you'd still get hot spots with anything placed in direct contact with the LED strips.
 
How you have the patience to muck about with LEDs when there's new speakers to be listened to is beyond me! I know I wouldn't be able to :)

They look great.
 
I've. Made quote a few stage lights with these strips
You.need to face them.backwards, paint what theypoont at white. And then pit white frosted perspex in front.


Sorry about all the. Typos, I've broken myphome. Hope.it.makes sense...
 
That's brilliant! I need to replinth mine (along with in boarding the XOs). Now that's given me ideas.


advertisement


Back
Top