advertisement


Micromega Drive 3 Mech

Hi daveofbradford,
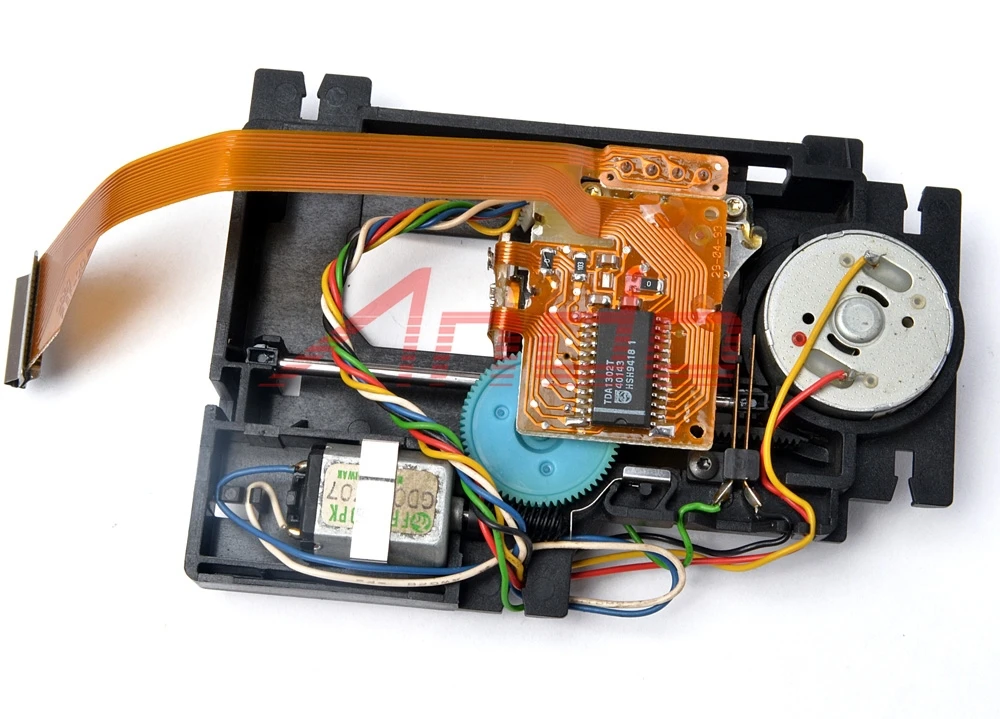
Had a good google round and seem to be able to confirm the cdm12.4 in the stage players, but if memory serves its also a linear mech in the drive, not a swinging arm like the cdm9.
I need to take a peek I think!
Seen a stage 2 on e-bay and was going to buy for:
a) spares for my drive 3, and:
b) use the case-work with a new front-plate to install my NCC200s as I can't find a decent looking case at reasonable money and these boards were completed btwn Xmas / new year. Was going to make one from 10mm marine ply but too much hassle to cut accurately and I don't have a circular-saw bench. The only cases I have seen that I like are to A-tech round-fronted ones- tooooo expensive.
Thanks,
AP
 
Hi AP
I have over the years replaced quite a few 12.4 mechs and they are run on a straight bar and the cdm9 is I believe a swinging arm.
Regards
Dave
 
Hi Dave,
Yeah, I have been looking on e-bay and the photos on there confirm this.
Will be opening the drive3 tomorrow to have a look. May have to remove the player front-plate or the mech though as the label is on the front of the mech on the cdm12 variants and is thus hidden.
Thanks again,
AP
 
Had a look inside today and my drive3 has the cdm12.4 mech.
Found something whilst inside that explains why these players perform better with packing under the front feet to "lean" the player backwards. The case indent which the back foot of the mech fixes to is too tall. My mech sits about 3mm higher at the back than the front, equivalent to about 1.5 degrees angle. Removing the foam rubber washer from under the back foot has reduced this angle and my player has performed faultlessly for the last 6hrs (8 discs.) This includes a battered disc which is quite scratched, and a CDR. I may also put some thin card spacers under both front feet as well because the metal face-plate sits slightly below the centre of the cut-out, and can be lifted a further 1/2mm.
I will see what happens and report back in about a week.
Best,
AP
 
The known problem with the 12.4 mechs is that there was a large batch made by philips which had the wrong grease applied. It hardens with age, leading to the sled sticking to the rails and general skipping /non-read issues result (esp. struggling to read towards the end of 'long' albums). Micromega was particularly affected by this IIRC (small manufacturer, 1 bad transport batch... = reputation tarnished)

Cleaning the sled rails and gears with a q-tip and alcohol can help dramatically in some cases, followed by the merest suggestion of silicone grease (has been discussed before here, the search button may help you further )
 
Thanks Martin,
Yes I have read some threads here and on google searches regarding this.
I will see how things progress with back washer removed and thin card spacers under the front feet of the mech (added last night).
If anyone tries this be aware that the tray only clears the transformer by about 2mm, but seems to work for my mech so far.
Thanks again guys and I will report back in about a week.
Best,
AP
 
Right,
I have only managed to put about 16hrs on the Drive3 in the last two weeks.

No "Err" and one "No disc" which was caused by incorrectly installed disc that was sitting up on the front lip of the tray recess. Not bad for about 18 discs (used to play-up about 1 in 5).

5 glitches ie skipping for a second or two but some of these discs had a few large dust particles on the read side on examination, and others have dreaded perforations in the reflective coating. In future I am going to dust all my discs before playing and see what effect it has, if any.

Thanks again for your input guys, and hope this may be of use to others.

Best,
AP
 
if you do find that you need a new mech, replacements are readily available for around £18 ex vat and delivery from grandata making the total price around £25 deliverd, be aware that the ribbon cable that connects the laser to the servo board is tricky to re connect as it is onlt short and the board sits directly below the mech making it awkward to get your fingers in. i can fix these players for around £50 not including postage, though i'm pretty sure you know what your doing :)
 
Hi linnfomaniac83,
Thanks for your comments.
Yes, the ribbon cable is a pain in the back-end:D
Trying to source some no-rot grease from a guy on e-bay. After my last post I had to switch it off after 20 mins use - skipping like a boxer on acid!!!!
Will see how it goes with getting some no-rot grease and with his permission I will sign-post on here.
Best,
AP
 
Hi AP. I have repaired lots of stage players and I use a heat resistant silicone grease spray which was from Maplins, quite cheap for a big tin.
Regards
Dave
 
Hi daveofbradford,
Thanks for the info.
Should be getting some no-rot grease from a guy on ebay who sells spare CDM9 drive gears with grease. He has agreed to send me some grease only.
Will bear your source in mind if something doesn't work out with this grease.
Cheers,
AP
 
Very interesting thread beacause for me because I`m the owner of Drive 3 so I decided to bring a new life to it.
Please could anybody explain me how and there I need to put the silicone grease?
 
Following on from what Martin mentioned in post #7 above, Fig. 1 shows the underside of the mech in which the sled drive motor is to the lower left. You will notice a black plastic worm gear on the motor which engages the blue cog. The blue cog has a smaller diameter cogged extension on the other side which moves the optical pickup assembly along by engaging a linear toothed rail that is part of the pickup assembly (long black strip on left in Fig. 2). The pickup assembly slides along the metal sled rail but is also guided/supported along the opposite side of the chassis via a metal guide tab that moves along a slot in the chassis plastic (bent metal tab seen on right side of pickup assembly in Fig. 2). All of these gear faces, the metal guide tab and the slot on the opposite side of the chassis should be thoroughly cleaned. The metal guide rail should also be thoroughly cleaned along its length and, as Martin noted above, re-lubed with a very minimal amount of silicone grease. I prefer to also lube the worm gear, pickup assembly guide tab, and the plastic chassis slot that the guide tab runs along, with a light lithium grease.

WARNING: Be extra careful when handling the optical pickup assembly as static discharge can kill it. Before attempting work, short-circuit the terminal surface of the ribbon cable by placing a bare metal paper clip across the width of the cable near to the circuit board connector end.

Fig. 1
584768822_987.jpg


Fig. 2
Free-Shipping-Original-CDM12-4-Optical-Pick-up-CDM-12-4-CD-Laser-Lens-VAM1204-VAM.jpg
 
Craig B,

You can`t even imadgine how I gratefull to You! Thats my second attempt with the Micromega stuff, first was Stage 2 which I sold and when I saw the Drive 3 I can`t resist and bought it.


advertisement


Back
Top