advertisement


Leak TL/12 Plus / Point One Plus

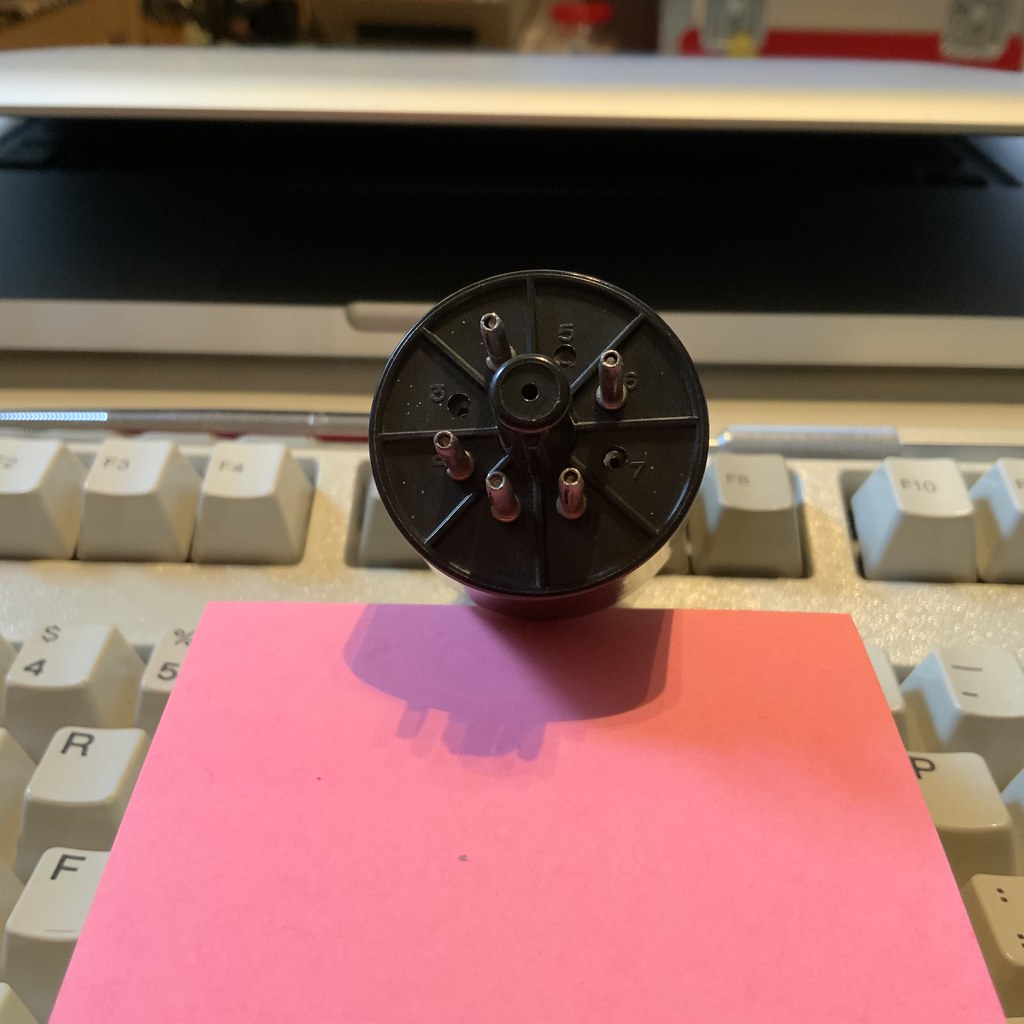
According to the Mullard book all the unused pins (1,3,5,7) are NP or NC so it doesn`t matter which you use. Sounds like a sensible mod and can do no harm.

Could be applied to any valve rectifier.....
 
51058991283_516eec621c_b.jpg


Here’s a Mullard GZ34. I guess it doesn’t matter as there is no pin either side of 4 & 6.
 
On the Dynaco GZ34 diode mod, I seem to recall the diodes were between pins 4 & 5, and 6 &7, with each HT wire moved to pin 5 and pin 7. Guess it makes no operational difference so long as the unused tags are just that. Want to make sure I get it right on my Stereo 20 too.
That is correct, the published yellow sheet does use pins 5 and 7. And as you say pins 3, 5 and 7 on the GZ34 should have no pins on the valve base. So it does not matter.
But on the Stereo 20 it is just neater to use 3 and 5 as the wires approach the valve base on the left hand side. On the TL12+ it can be either left or right hand side so up to you as to the neatest.
 
Good to know, I'll go with pins 3 to 4 and 5 to 6 then. As you say it makes for a slightly neater wiring without having too stretch the wires so far!
 
I cannot remember what is inside, wax I think, but drop it into boiling water for a few minutes before trying to extract it usually works for wax and pitch.

Just thinking about this... have you (or anyone) actually tried boiling Leak caps? I can see this would be a huge benefit for softening the wax, though I’m worried about damaging the paintwork. There are a fair few videos on YouTube about restuffing caps and the ones who don’t heat look to have a nightmare job dealing with rock solid wax or tar etc, though I’ve not yet seen anyone do a painted cap yet. Given how hot Leak transformers can run I’m sure I could heat it up to 60 degrees or so without issue, which might be enough given time, e.g. just dunk them in the washing up bowel filled from the hot tap after cutting and letting them soak for 15 minutes or so might soften them up a bit. Obviously I’ve no idea how bad they are until I cut the bottoms off, they may just fall out if I’m lucky. Undecided what is easier for the cutting; a Dremel or a hacksaw (I have both).
 
Try a pipe cutter Tony. I used one to shorten an aluminium curtain rail pole (2mm ally thickness) and it made an extremely neat job. Very easy to use too and beater than a hacksaw I should think. In fact, might try it on an old can cap tomorrow just to see...

https://www.amazon.co.uk/dp/B000LFXDOO/?tag=pinkfishmedia-21
 
This site contains affiliate links for which pink fish media may be compensated.
Good call, that looks like a way better method. I assume a bit of tape around the can will protect from scratching but not impede the cut?
 
Yes. In fact I used masking tape on the curtain rail, as it was a brushed finish I didn’t want marked. Worked a treat. Only thing is not sure how close to the end of a can capacitor it will allow to cut.

Will give it a looksy tomorrow and report back.
 
To be honest I don’t really mind losing 5-10mm or so height if I can get a good clean cut. It’s the width that is impossible to replicate, they are way fatter than the ones in the S20.
 
To be honest I don’t really mind losing 5-10mm or so height if I can get a good clean cut. It’s the width that is impossible to replicate, they are way fatter than the ones in the S20.
Yes, this is absolutely the engineering solution. Also used to stop drills wandering.
 
This cutter looks like it may work (Amazon). These caps are real fat at 45mm or so, which rules many options out.

PS Happy to pay more if anyone knows a better one, it would be a useful thing to have for alloy MTB bars etc, in fact I’ve been wanting to narrow mine a bit for years now!
 
This site contains affiliate links for which pink fish media may be compensated.
I like the pipe cutter idea, but it may give you problems being so close to the end of the cap?
If you are not going to re-use the base and tags, then a fine blade hacksaw will naturally follow the bottom of the crimp if you roll the cap round and round and cut a little at a time.
I used a hacksaw and mitre block with a 'length stop' to cut the ones in the previous pictures.

On the video you posted, he has removed the rubber (and paxillin) base without cutting the can at all, see at 4:14 in. Just drill down into the rubber in four or five places and collapse the disc. You can drill out the contents of the cap too if you are careful. No heat needed that way.
 
I’ll hold fire until the new amp appears (just to make sure all is well) and at that point I’ll desolder and remove one of the caps and post some good pictures. At that point we can think of the best approach depending on it’s exact construction. I’ve no idea what the bottom seam is like on these as currently it is hidden by the clamp. I’m in no rush, this project will take me months!

PS I noticed yesterday that an RCA socket fits perfectly in the ‘switch cable’ hole, so adding an input can be done entirely non-destructively should I wish. I’m in two minds as to whether to do that, or maybe just grab a couple of octal plugs and wire up some nice interconnects. I have loads around I could use, I’d just need to buy some plugs. I guess there is a risk of adding some hum by using the back panel as it would mean running an additional signal cable right round the amp from the back panel to the EF86.
 
This cutter looks like it may work (Amazon). These caps are real fat at 45mm or so, which rules many options out.

PS Happy to pay more if anyone knows a better one, it would be a useful thing to have for alloy MTB bars etc, in fact I’ve been wanting to narrow mine a bit for years now!
You can do it this way, a pipe cutter is very neat. Quite expensive for a one off job though, when going slowly with a Dremel and a disc will give you a very neat job if you don't mind it taking 5 minutes instead of 30s. For MTB bars a hacksaw and file is more than adequate, or better, unless they are really cheap, sell the nice intact pair and buy some used ones the right size.
 
This site contains affiliate links for which pink fish media may be compensated.
I never mind paying money for tools, they all come in useful at some later point. The thing I don’t like doing is paying too little for junk that breaks or doesn’t work properly! That said I’ll pull the cap out, post some pics, and make the decision once I’ve seen what I’m dealing with properly and discussed the best approach with others more knowledgeable here. I’m happy to pay good money not to scratch or damage them! Things will get a lot more challenging if I screw it up and need to deal with filling, paint-matching or worse. Just hacking through the rubber or whatever it is base is a perfectly legitimate option too. I have a battery drill, Dremel, various knives, screwdrivers etc, so that may be the most logical approach. I just want to end up with a clean undamaged empty can. Figuring how to stuff a new F&T 32/32uF in there shouldn’t prove too hard, in fact a few cut empty bog-rolls would likely do it!

To be honest it is the only part of the rebuild I am concerned about, the rest is just research, purchasing, and then some careful and methodical soldering. Thankfully the TL12+ is very accessible and clean in layout, there is just one resistor joint on the EF86 base that looks like it will be a bit of a pain to get to, but other than that simple, I’m not even intending to pull the board out. Everything else can be easily accessed just by choosing the order to do things (e.g. I’ll do the resistors at the far end with the nearby caps removed).
 
Just gave the pipe cutter a go on one of my Stereo 20 can caps - It's a little scratched up and I was going to paint a new F&T cap anyway, so hadn't anything to lose. Happy to say it worked perfectly well - went though it like butter, a nice clean cut and took seconds. Haven't taken the 'guts' out yet, need to get the heat gun out I think or try leaving it in some hot water for 15minutes.

51061897418_80d05e55f4_k.jpg


51062612086_7704f0f6ca_k.jpg
 
That looks great, many thanks. Definite proof of concept there. Report back on the de-gooing process.

If it doesn’t just want to fall out my first approach would likely be to fill a washing up bowl with hot tap water, which I assume is 60-70c or so, and just leave them in there for 15 20 minutes, topping it up with hot every 5 minutes or so. That may well be enough to soften the wax a bit and shouldn’t hurt the paint. I saw someone on Youtube using a corkscrew to get the gunky foil out in one go, so that might be a useful tool.
 
Have just tried to pull the internals out but they're in there pretty firmly. Will try the hot water next then. To be continued...
 
Hot water didn't work at all. Will give it a go with the heat gun on the minimum setting later today, or tomorrow.

P.S. I know I should have started a thread for it by now, but my (slow) progress on the Stereo 20 can be seen here: https://flic.kr/s/aHsmUZ7HiU


advertisement


Back
Top