radiant_veteran
pfm Member
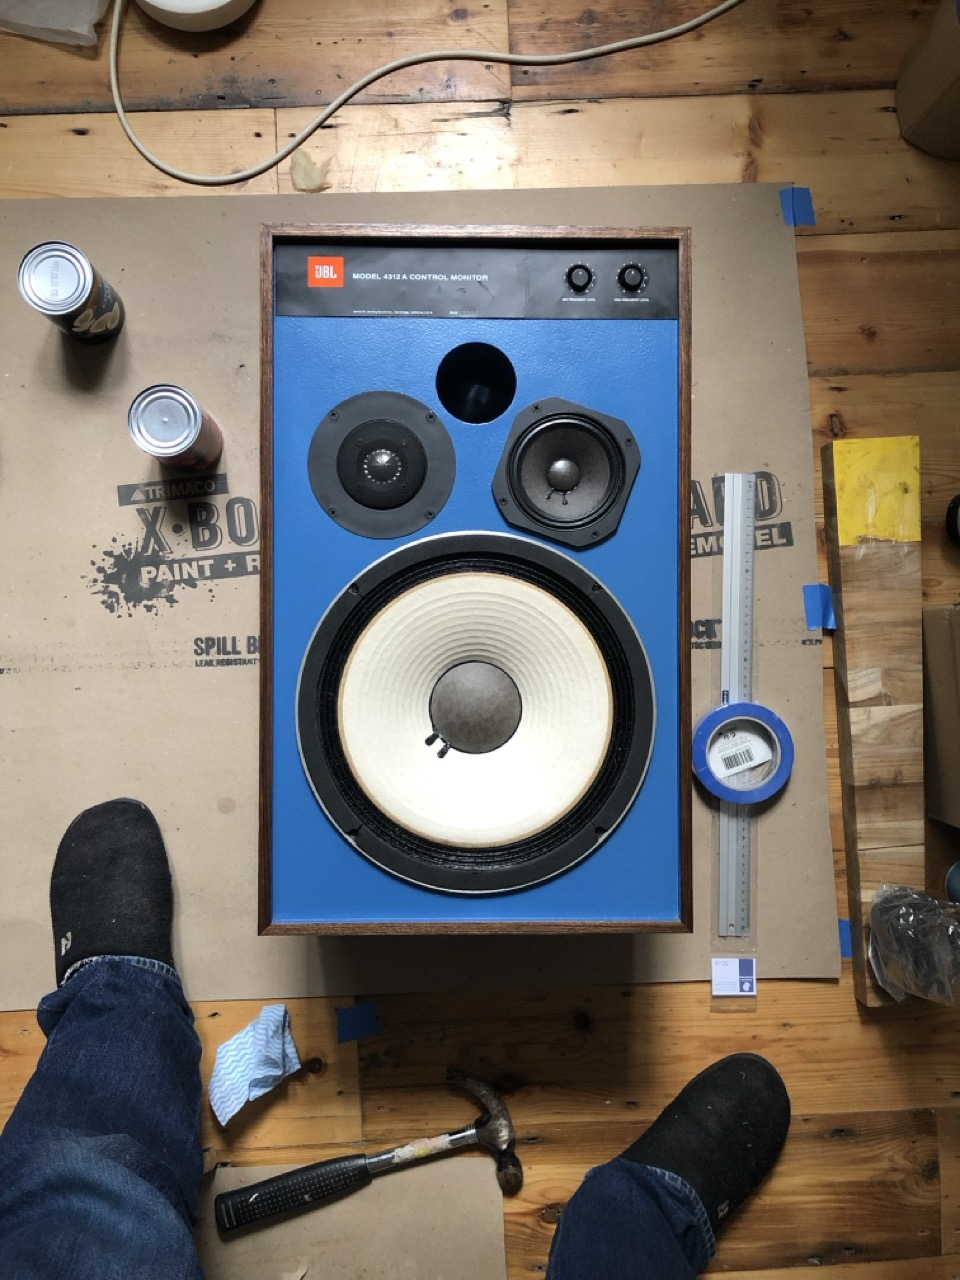
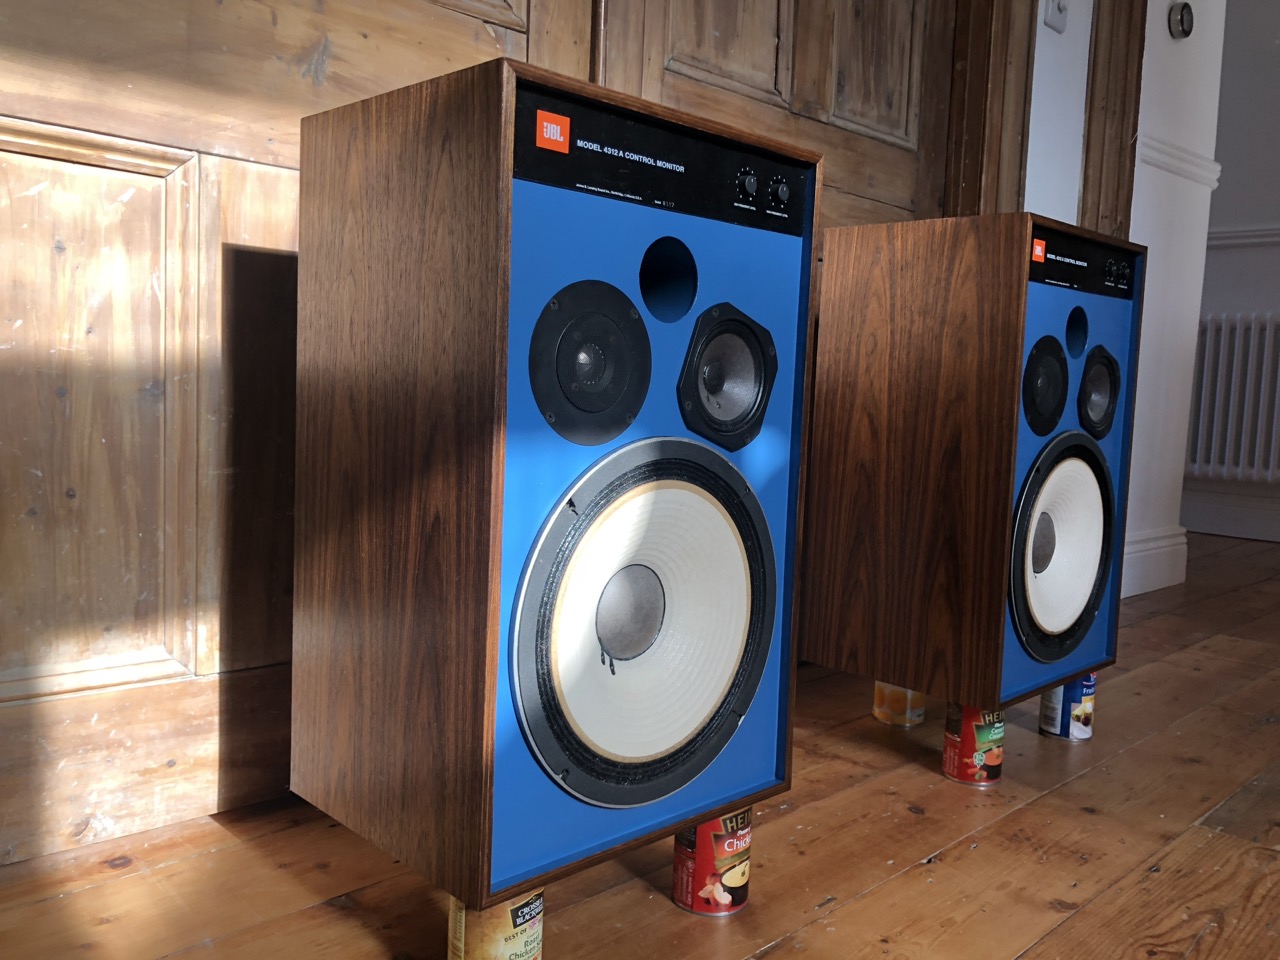
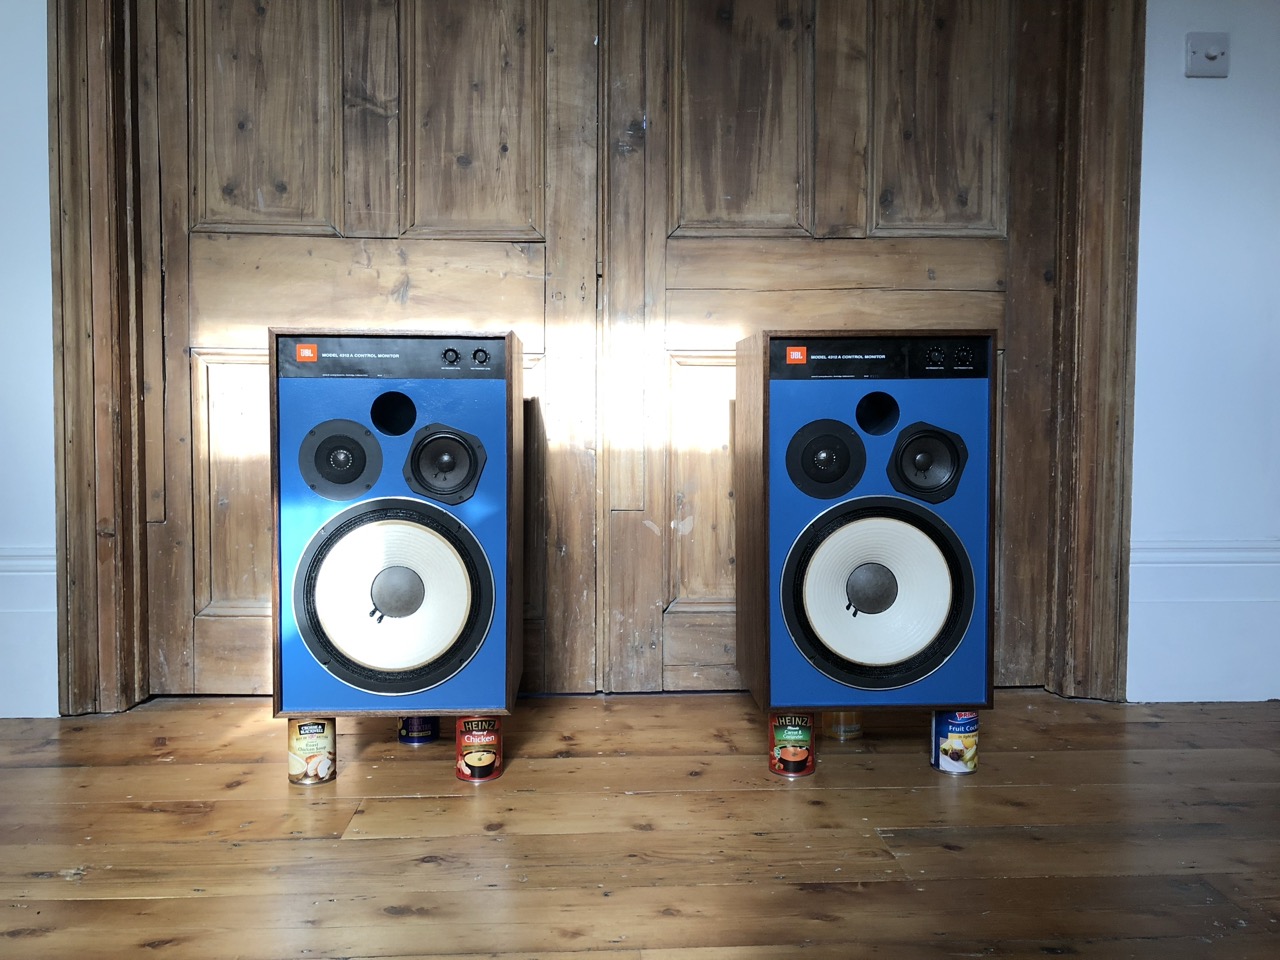
Not saying I'm a superficial person, but I've always liked the look of blue-fronted JBL speakers especially partnered with vintage Luxman amp in matching teak case. It was 2012 and I had already managed to repair a Luxman SQ38 FD MkII imported from Australia. Then took a punt and bought some JBL 4312A studio monitors from a recording studio deep in the English countryside. It was 2012 and the price was more or less £250. Tatty cabinets but tidy drivers and faultless sound. But definitely not the vision of teak and blue. 11 years pass, then…
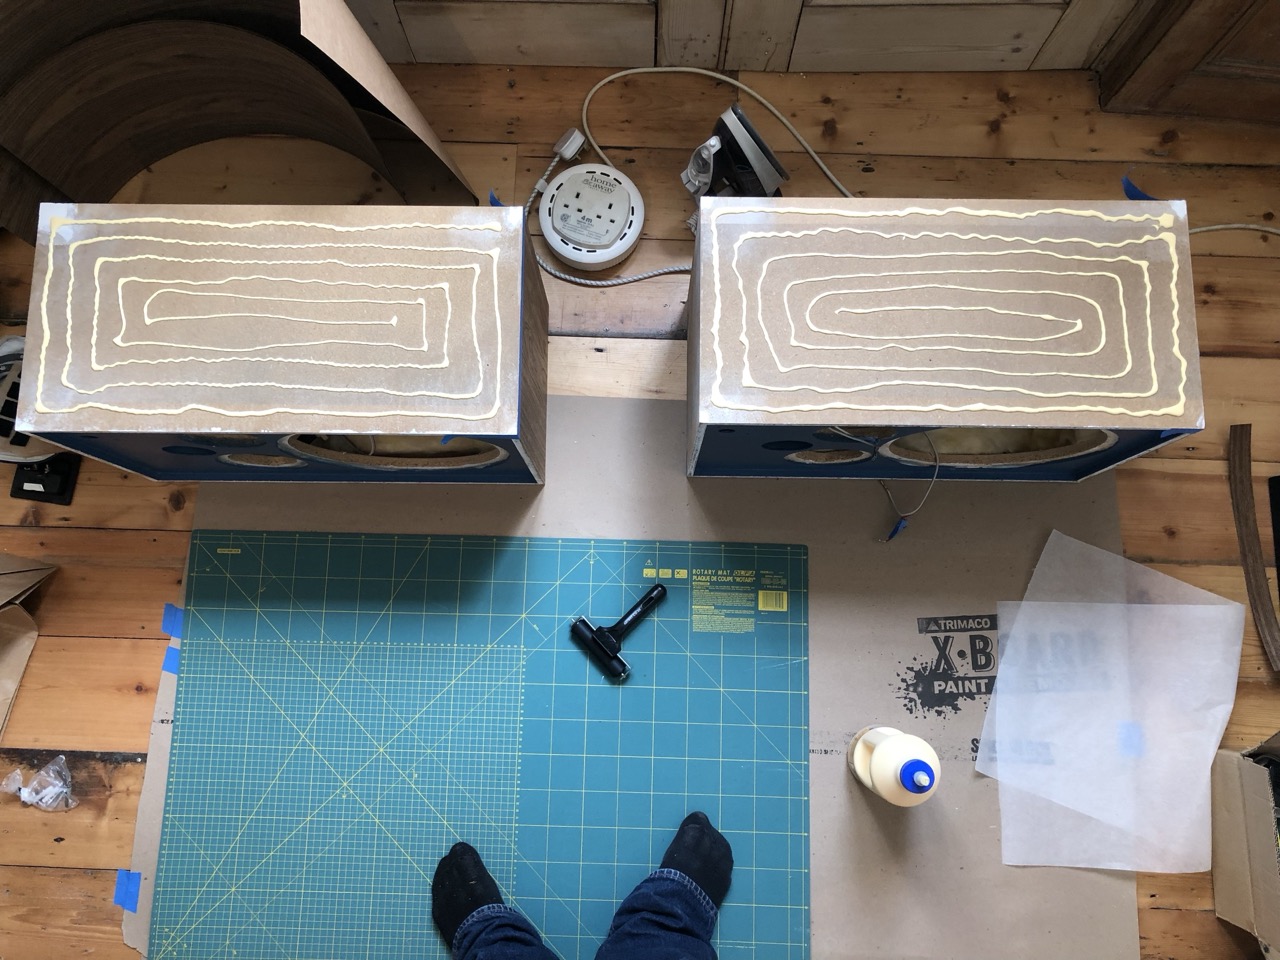
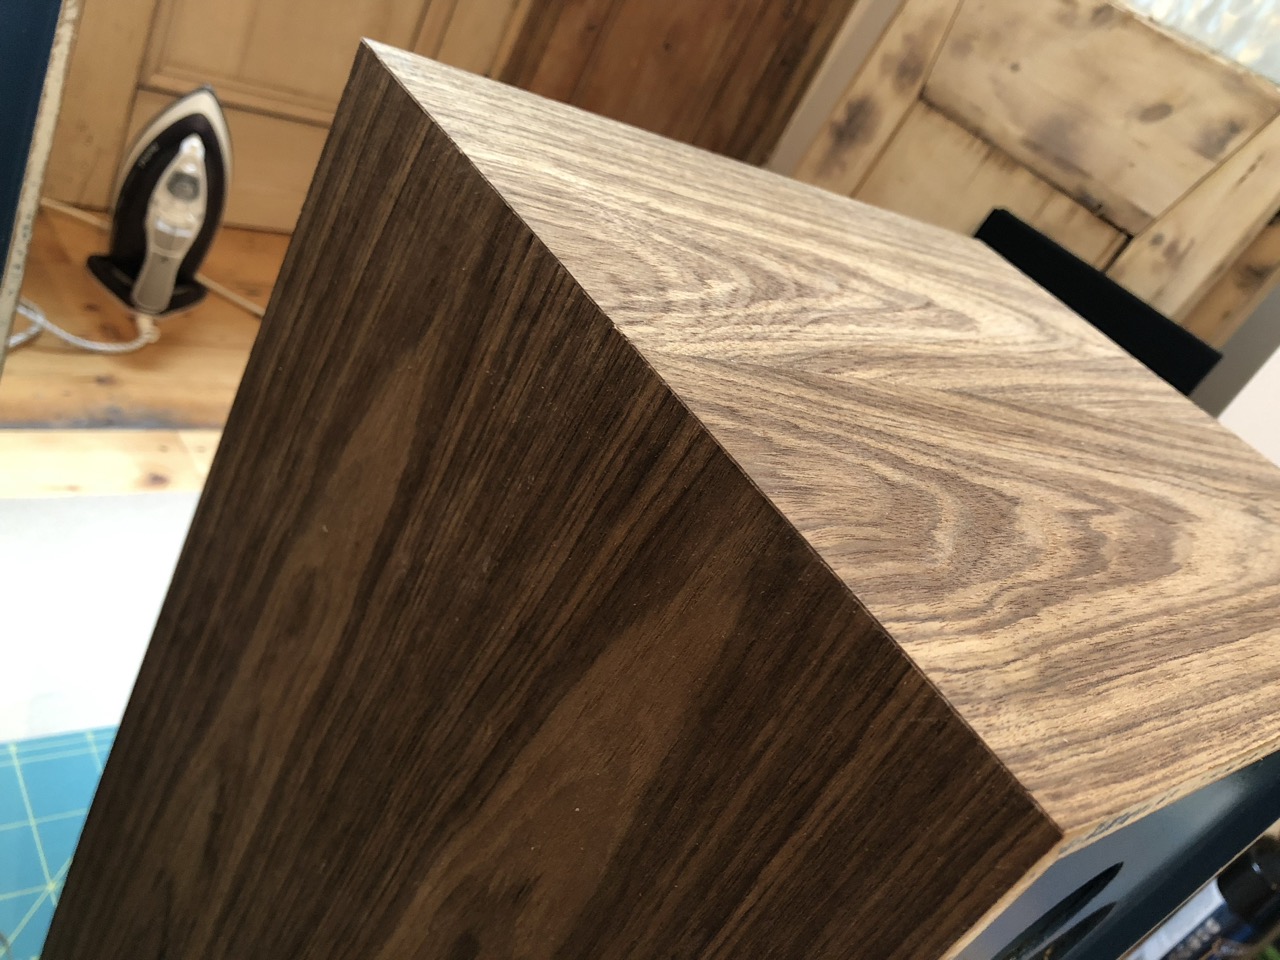
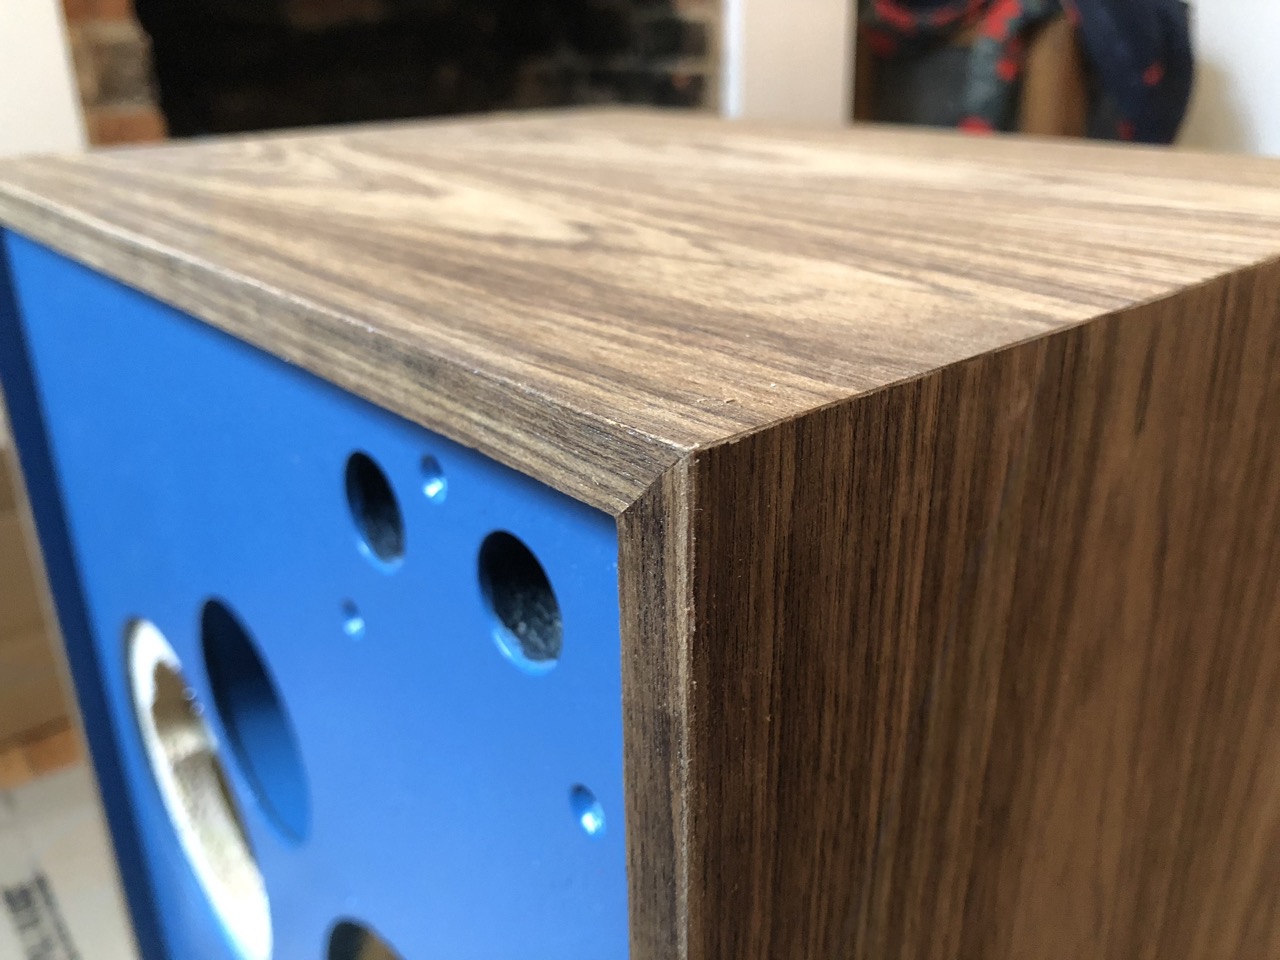
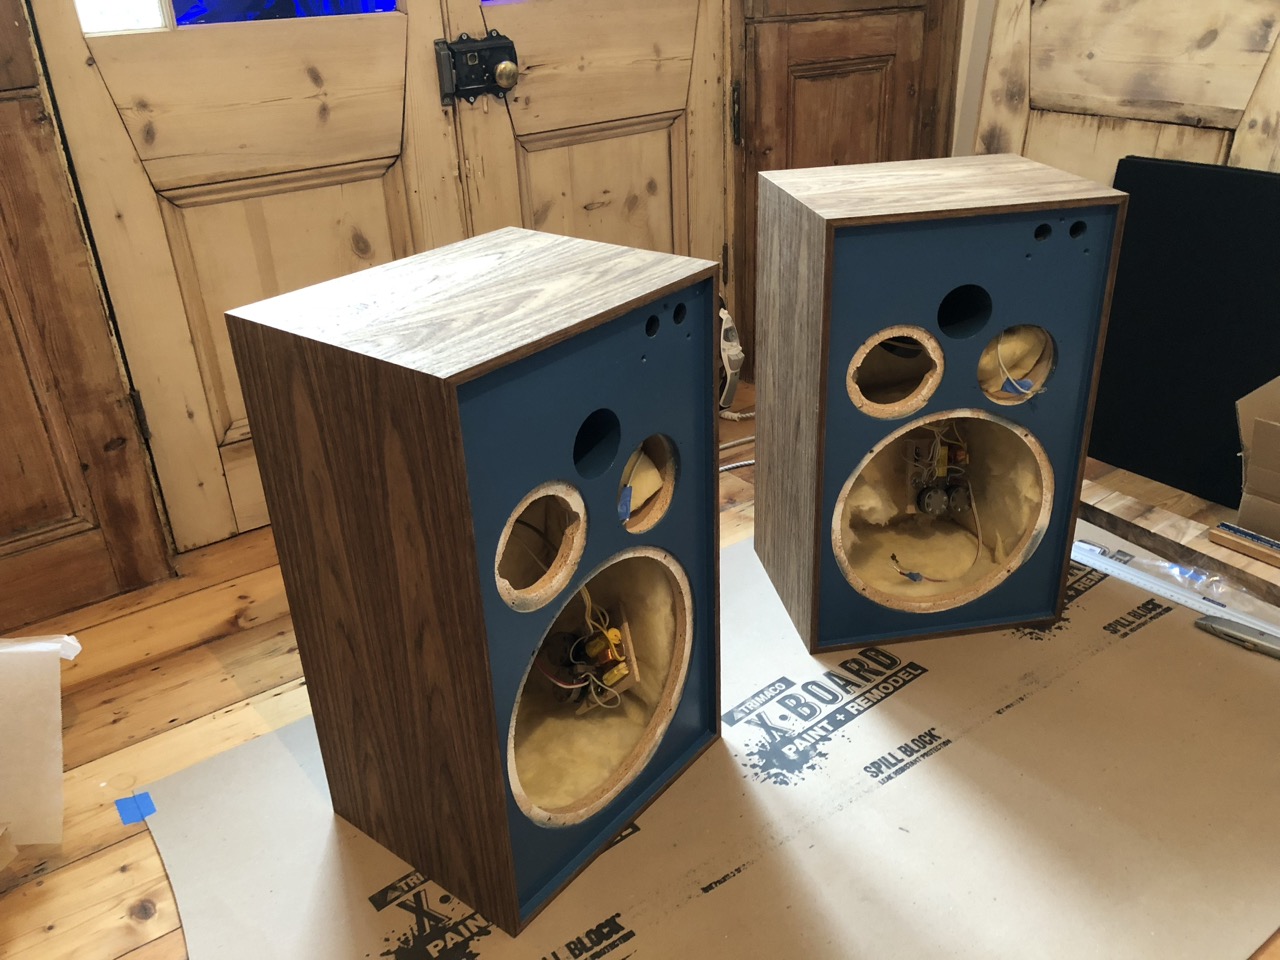
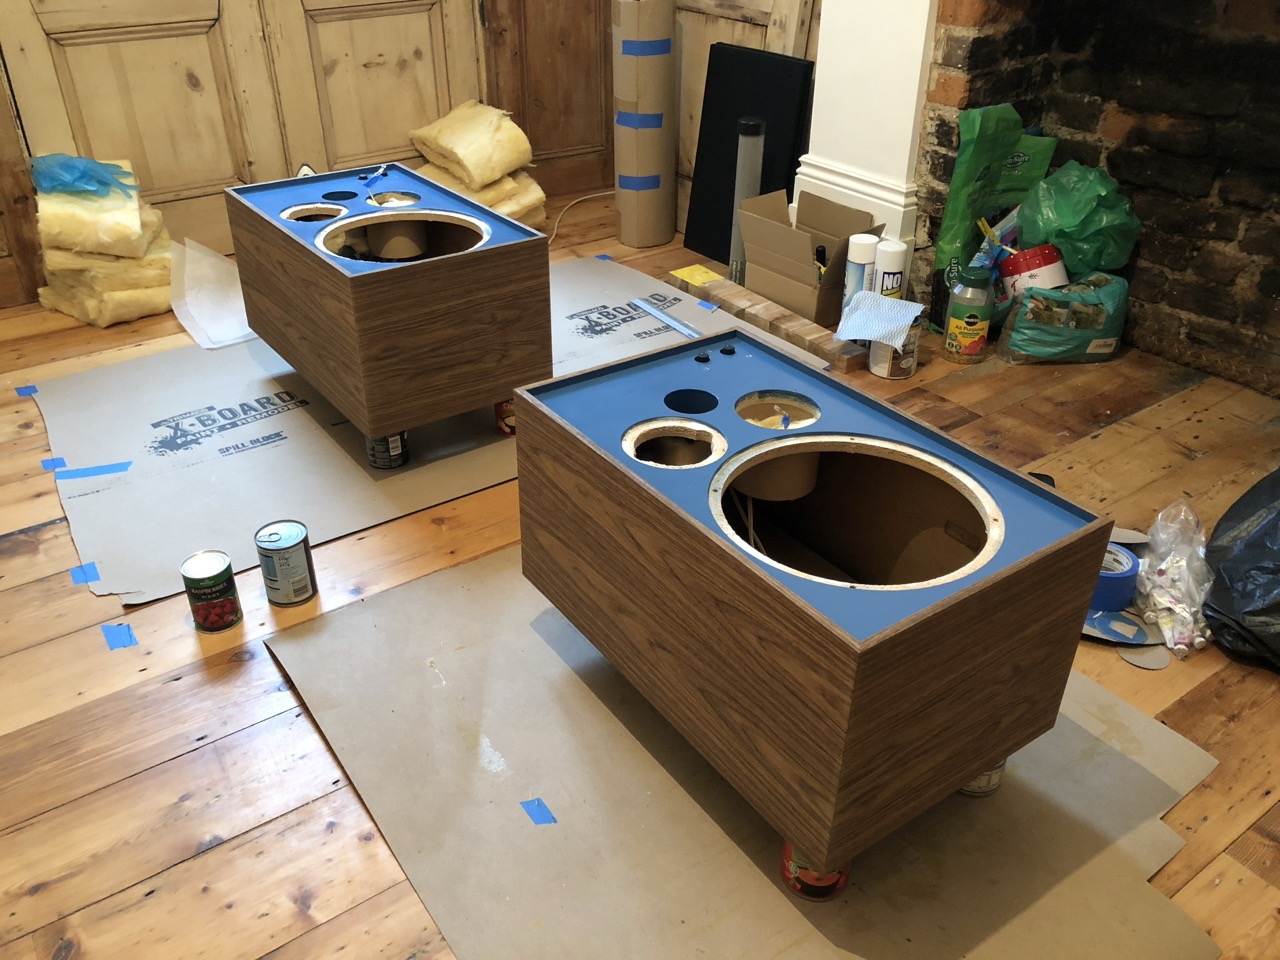
The plan is to paint the fronts and veneer everything else with teak. Let's go!
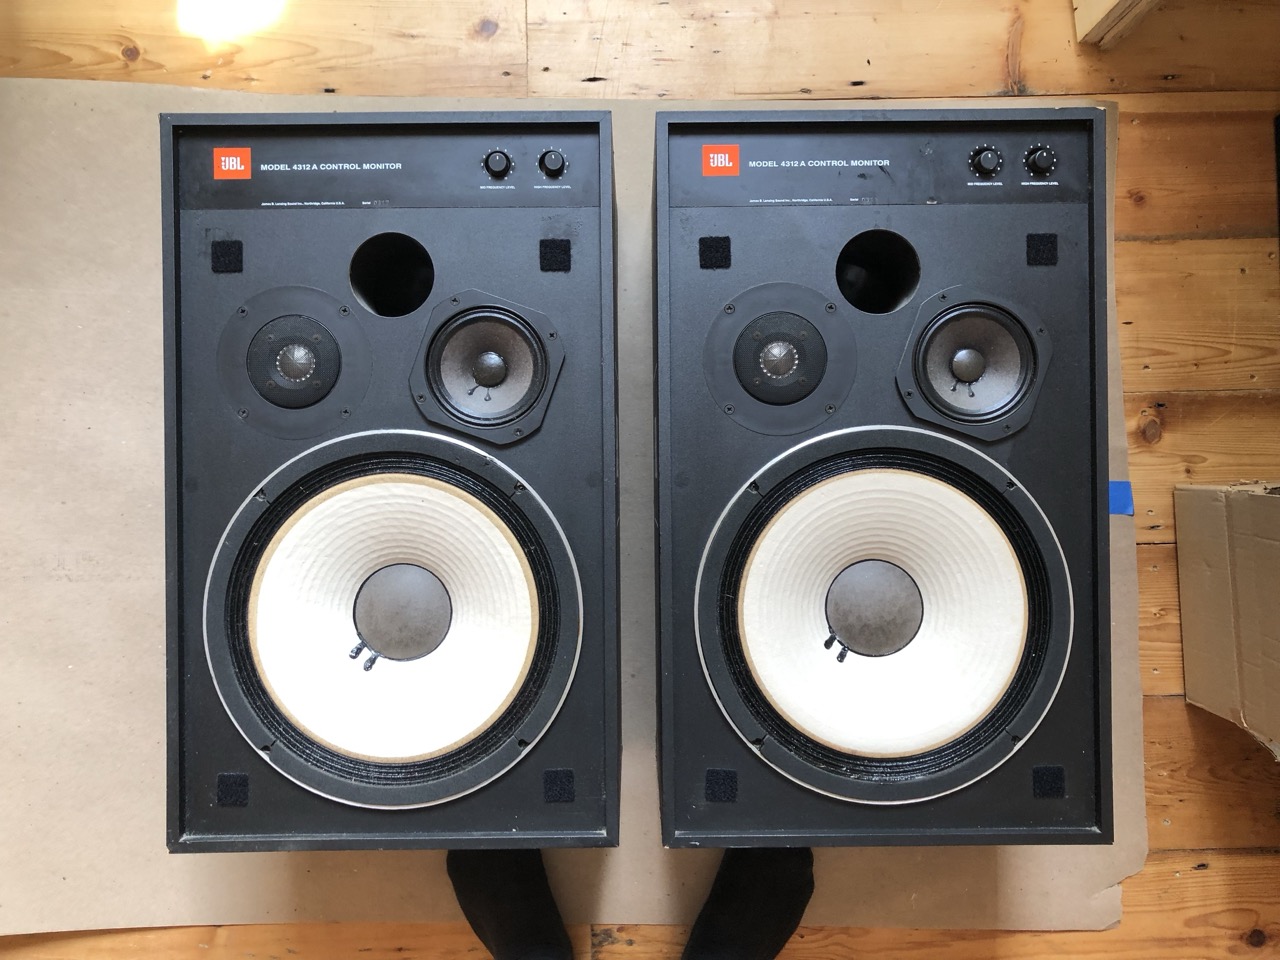
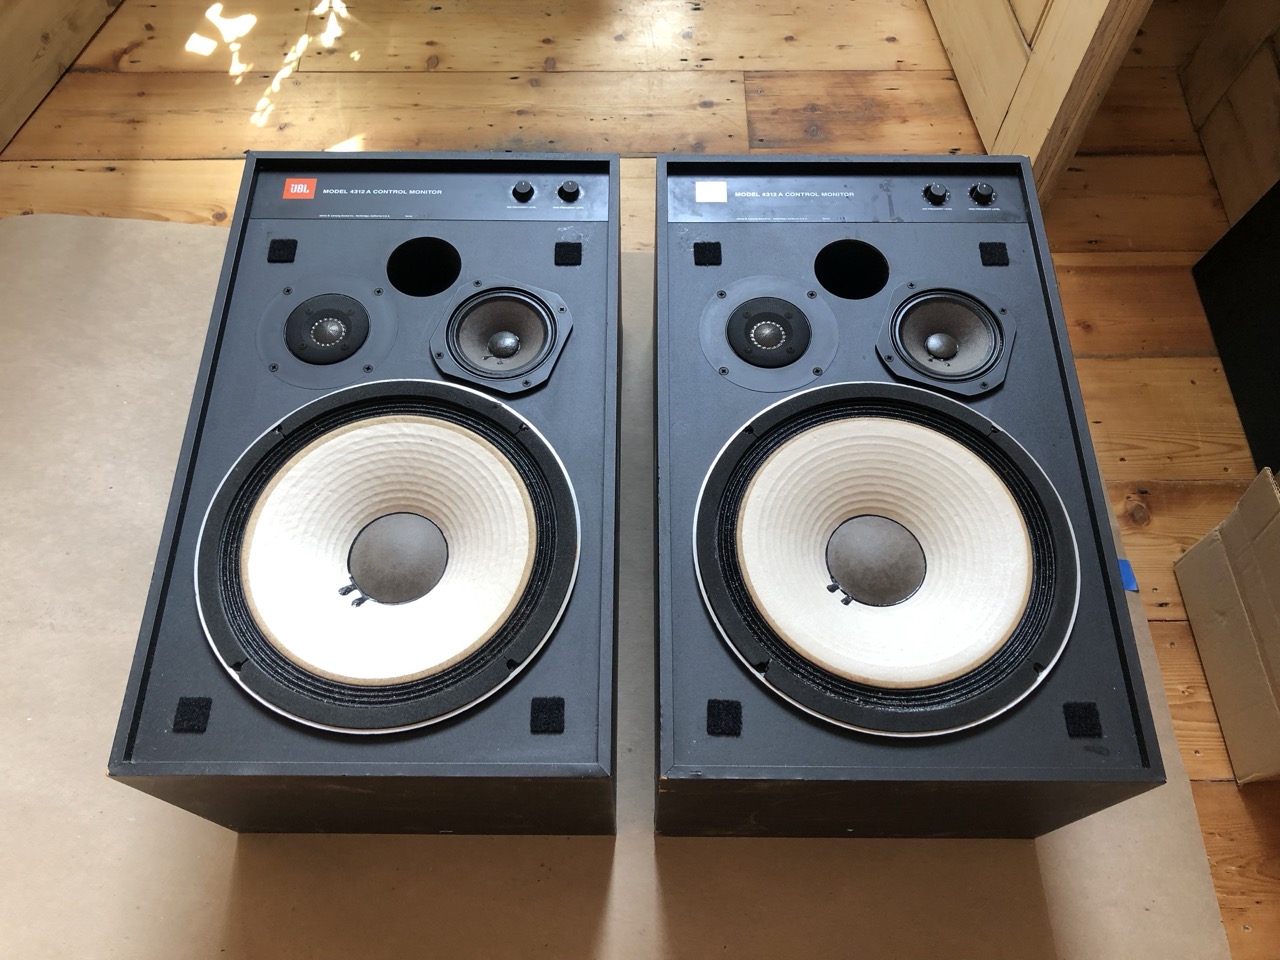
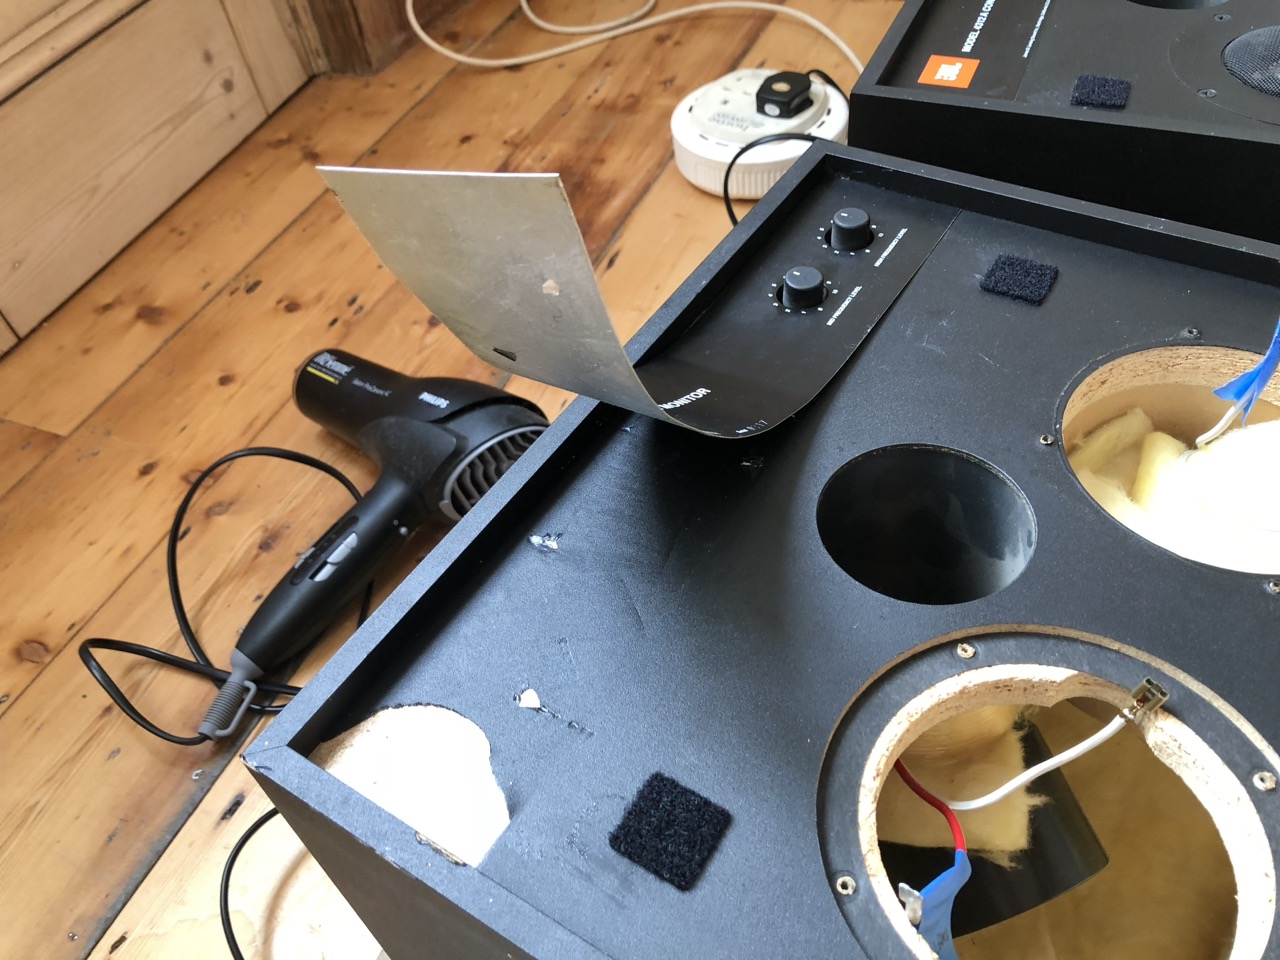
Here in the original state. I knew I would need a super-smooth surface for veneering. At this point I did not know what the original black coating was, maybe it was paint or something else. Would I be able to sand it down? Would I have to layer up primer over the top and sand that to a smooth finish?
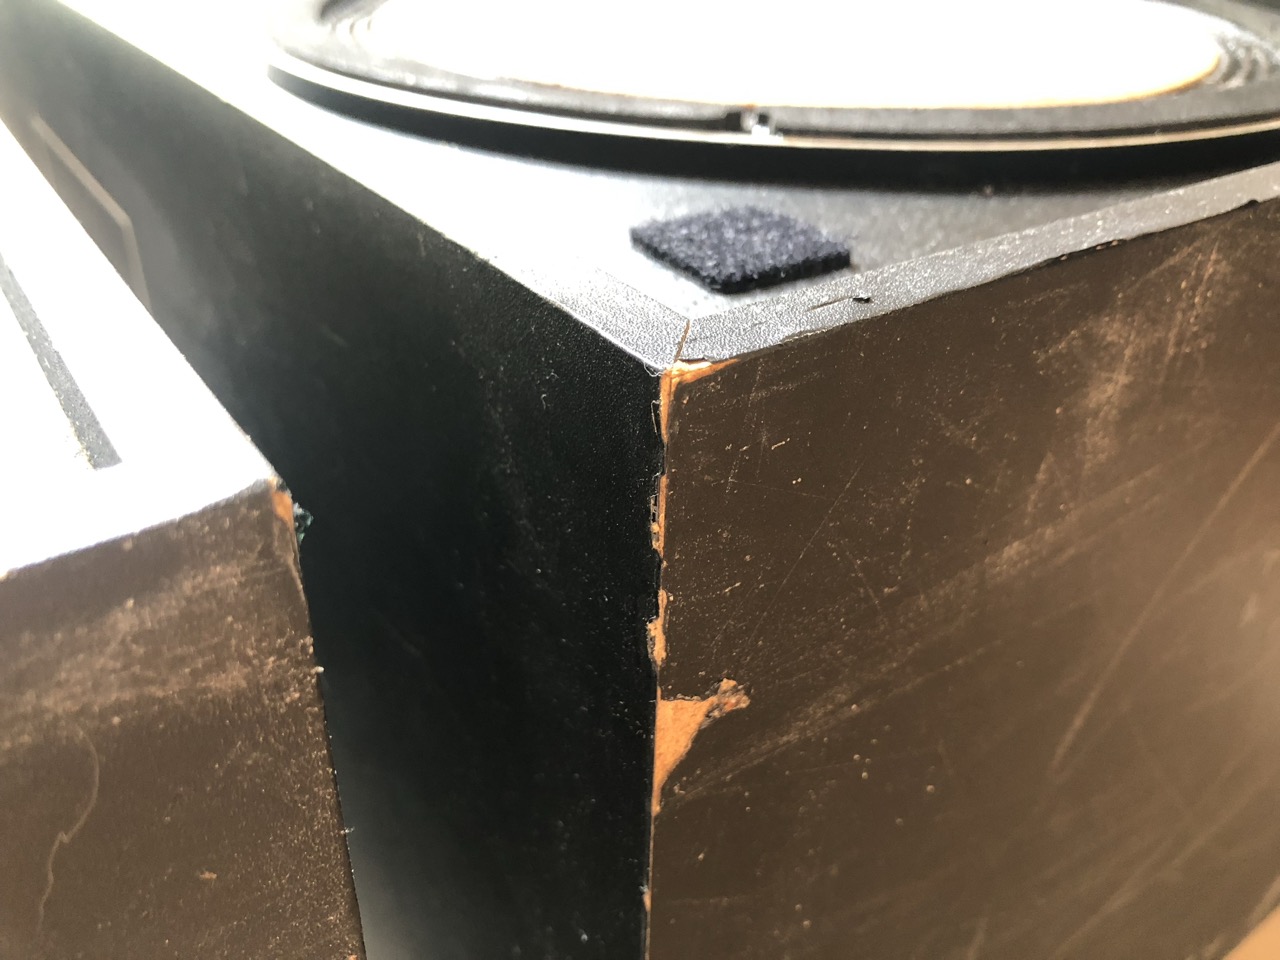
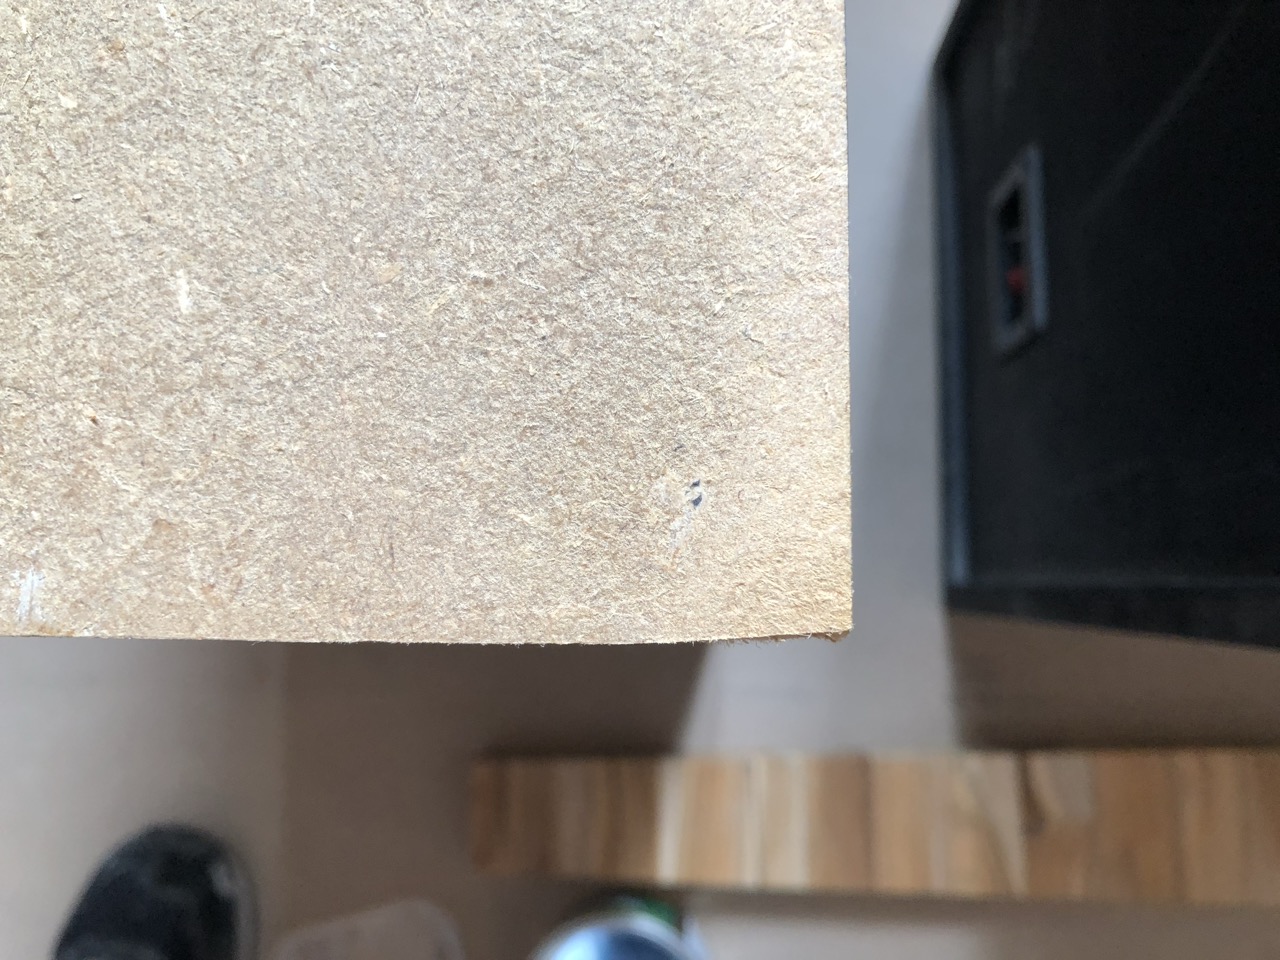
Edges are quite badly chipped
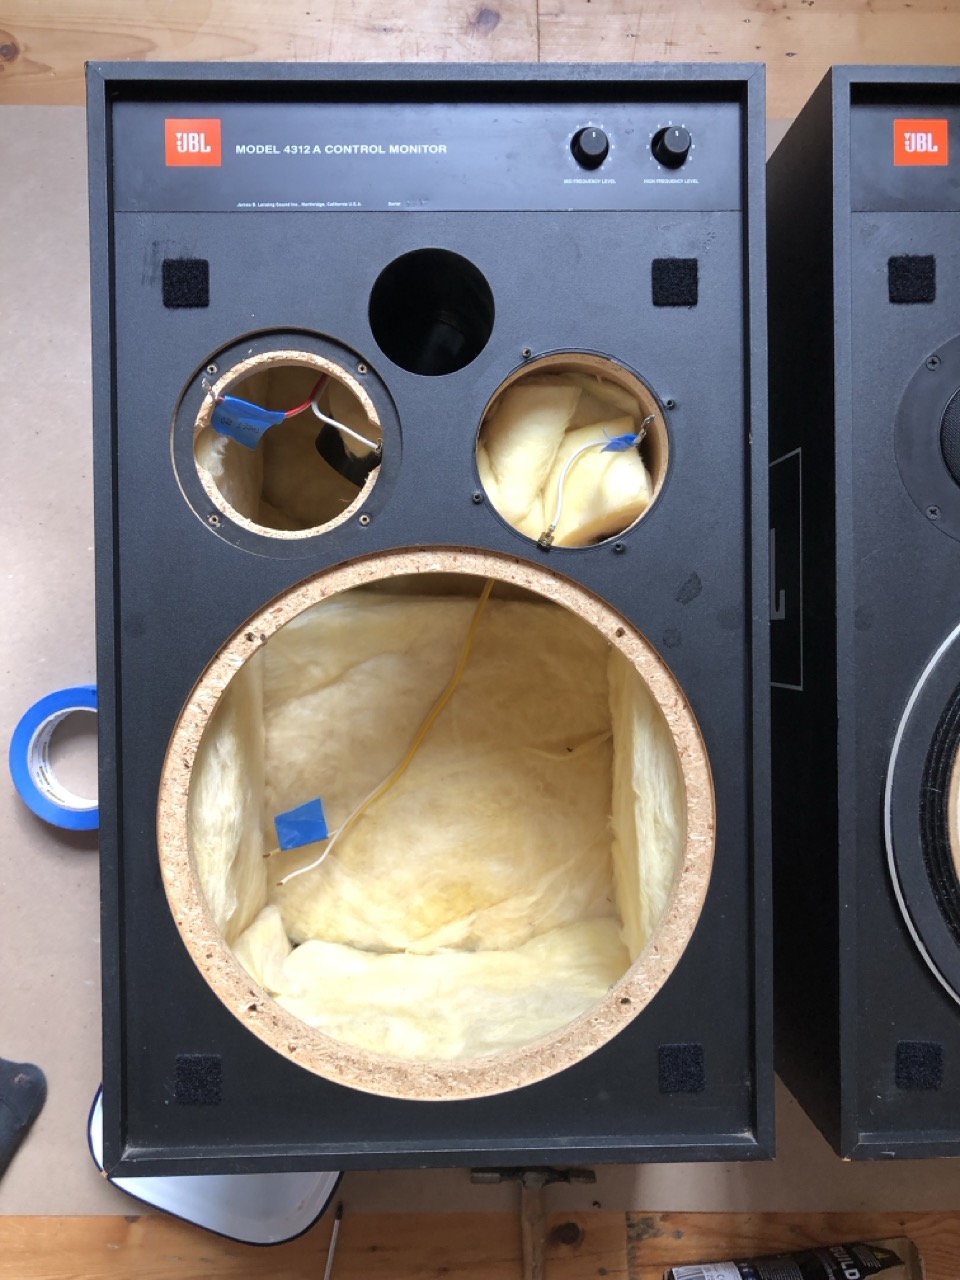
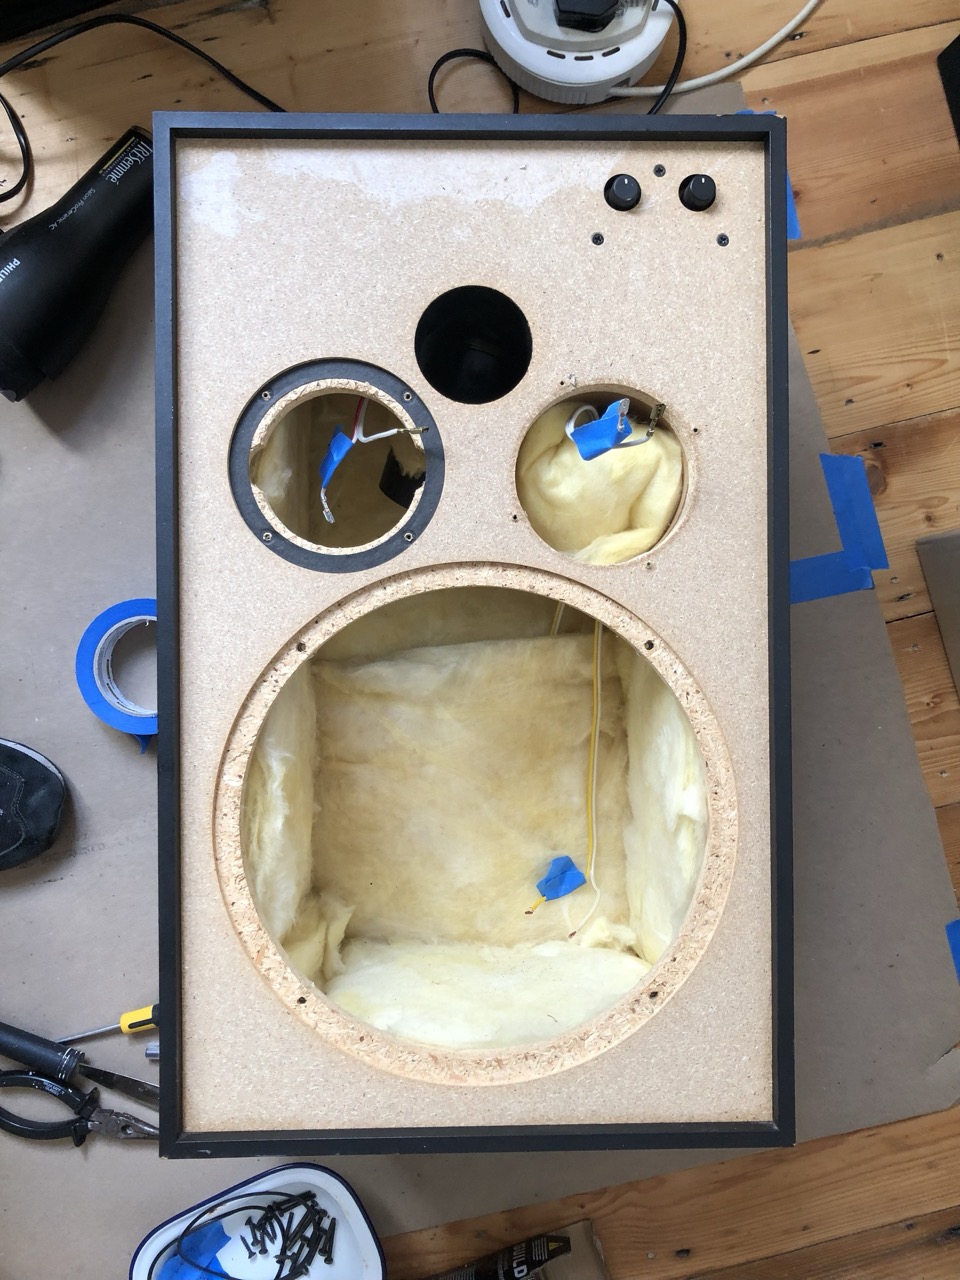
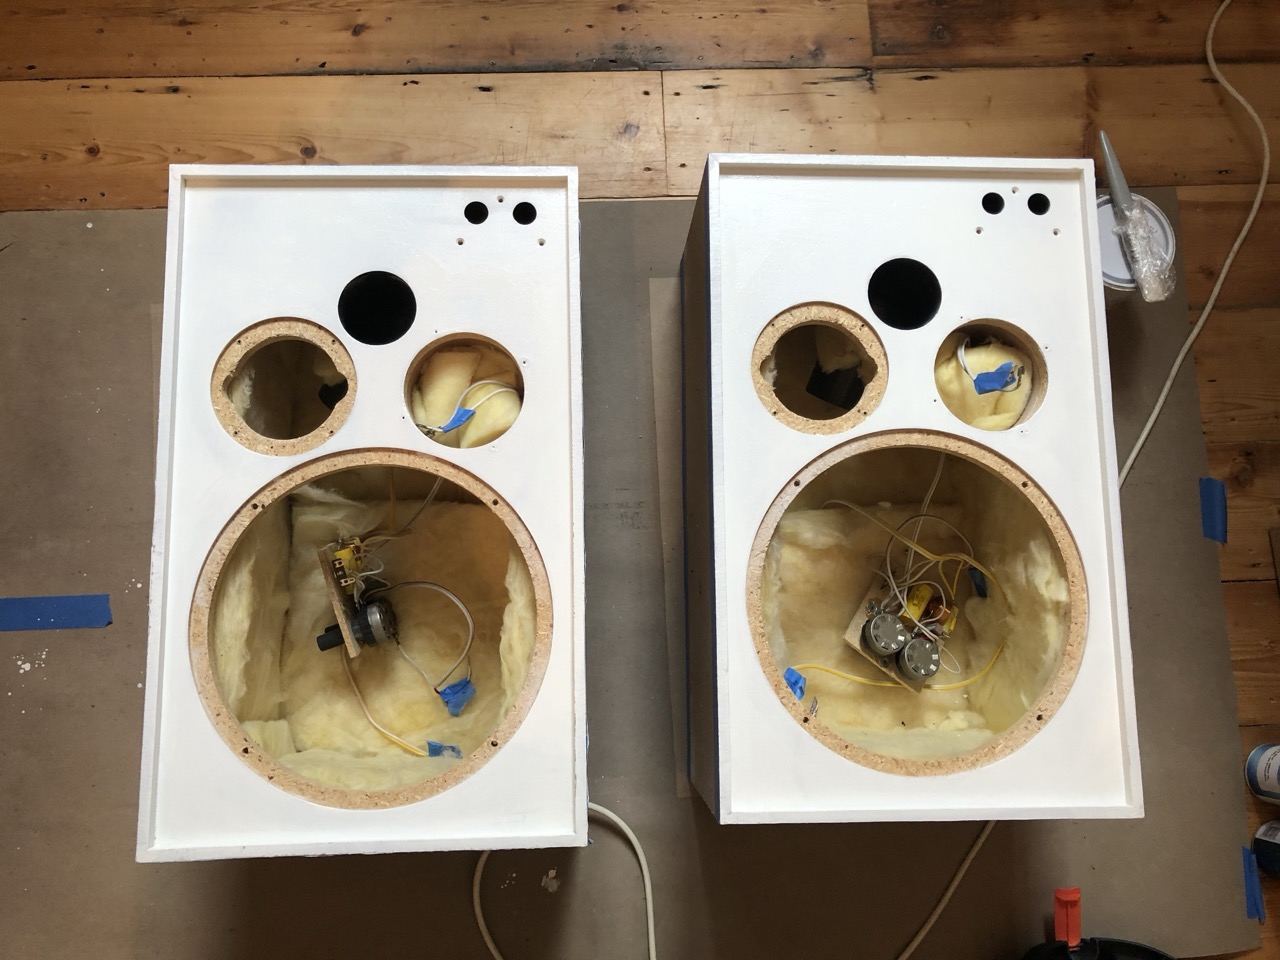
Drivers removed
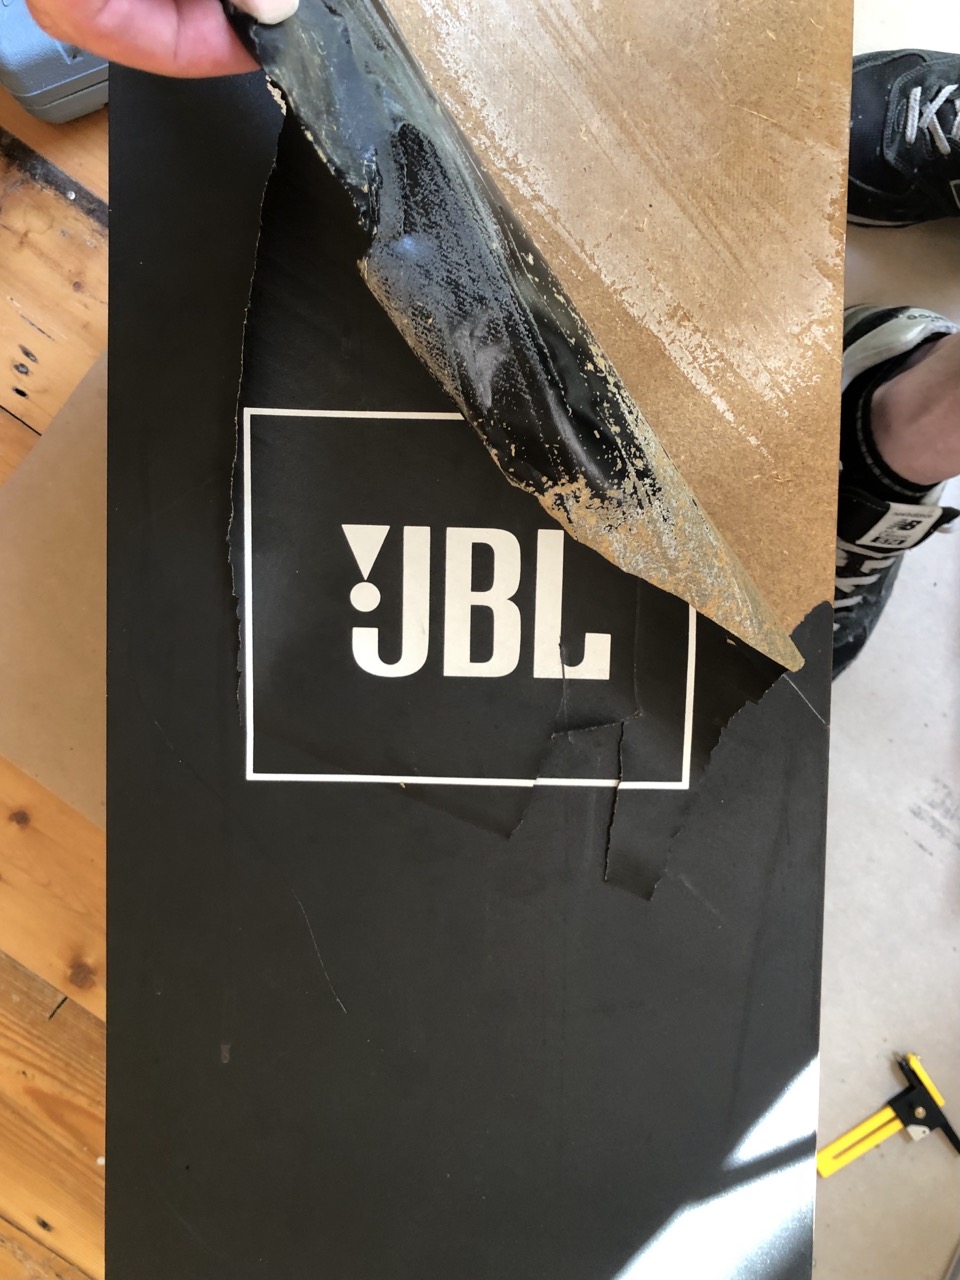
Then time to be brave. I'd read up as much as I could and found out these labels are known as 'foilcal' and are very thin aluminium glued down. This part is necessary to remove the crossovers which I thought might need to be re-capped. A heat gun and some persuasion worked. The first one was very slightly wrinkled where I was figuring out technique. The second one I managed to keep flat. They look much worse in photos than in real life. Oh look some of the black 'paint' also peeled away - it's not paint, it's some kind of plastic coating. Hmmm.
I kept peeling
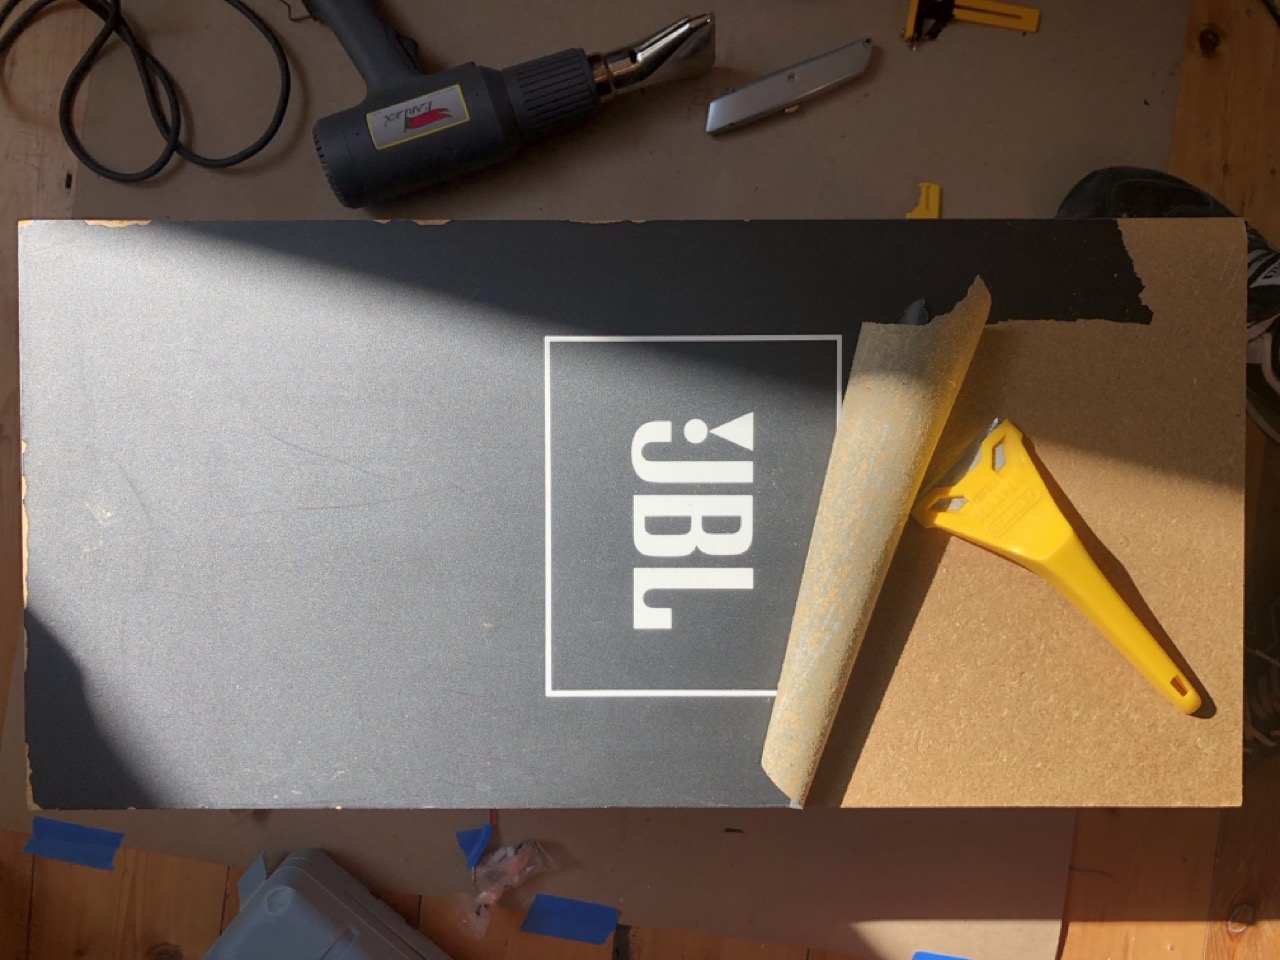
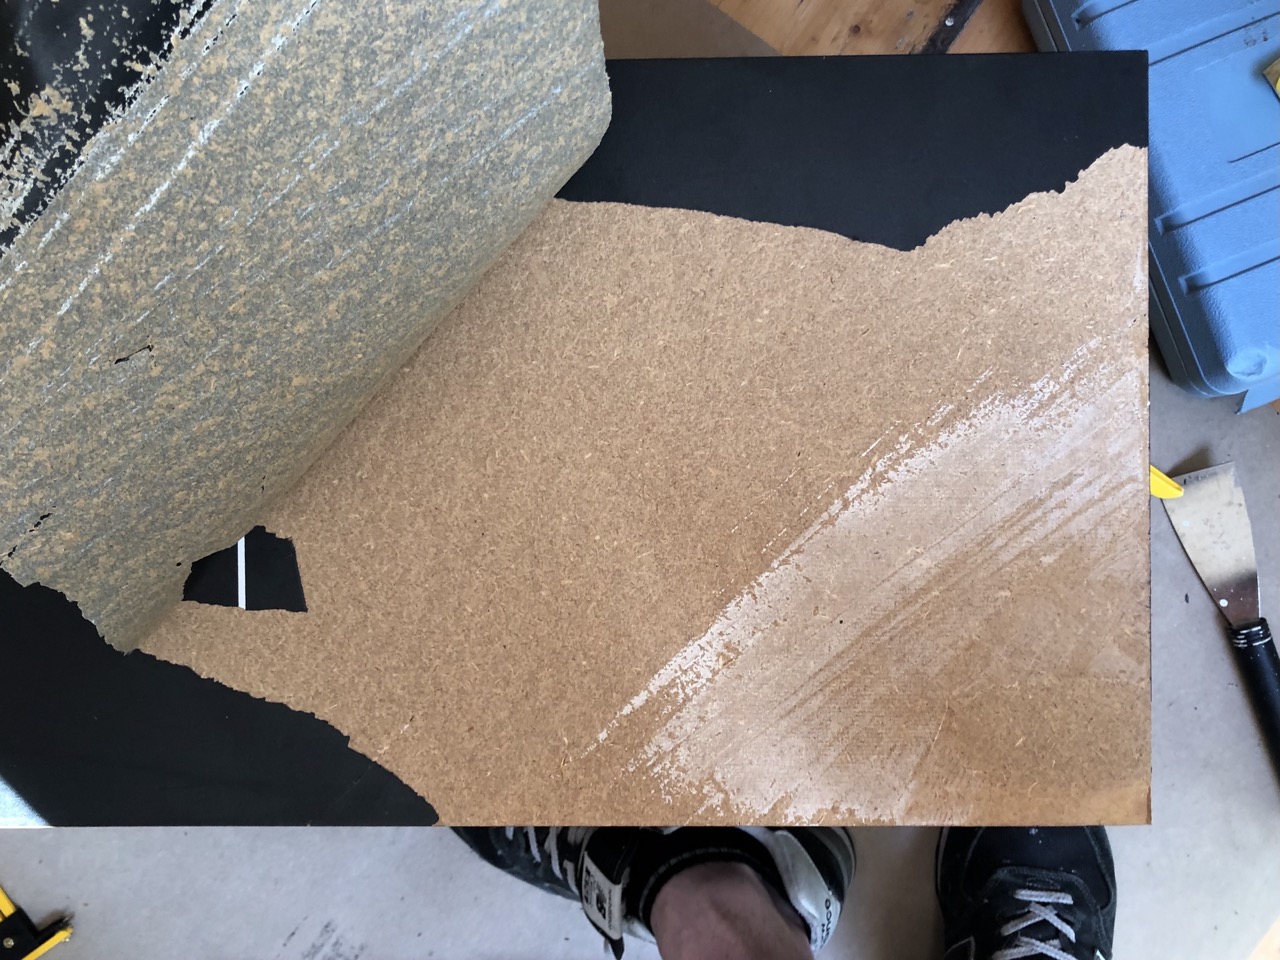
Excellent results - the black plastic can be peeled off carefully and leaves a pristine flat surface underneath. Perfect. Let's keep going.
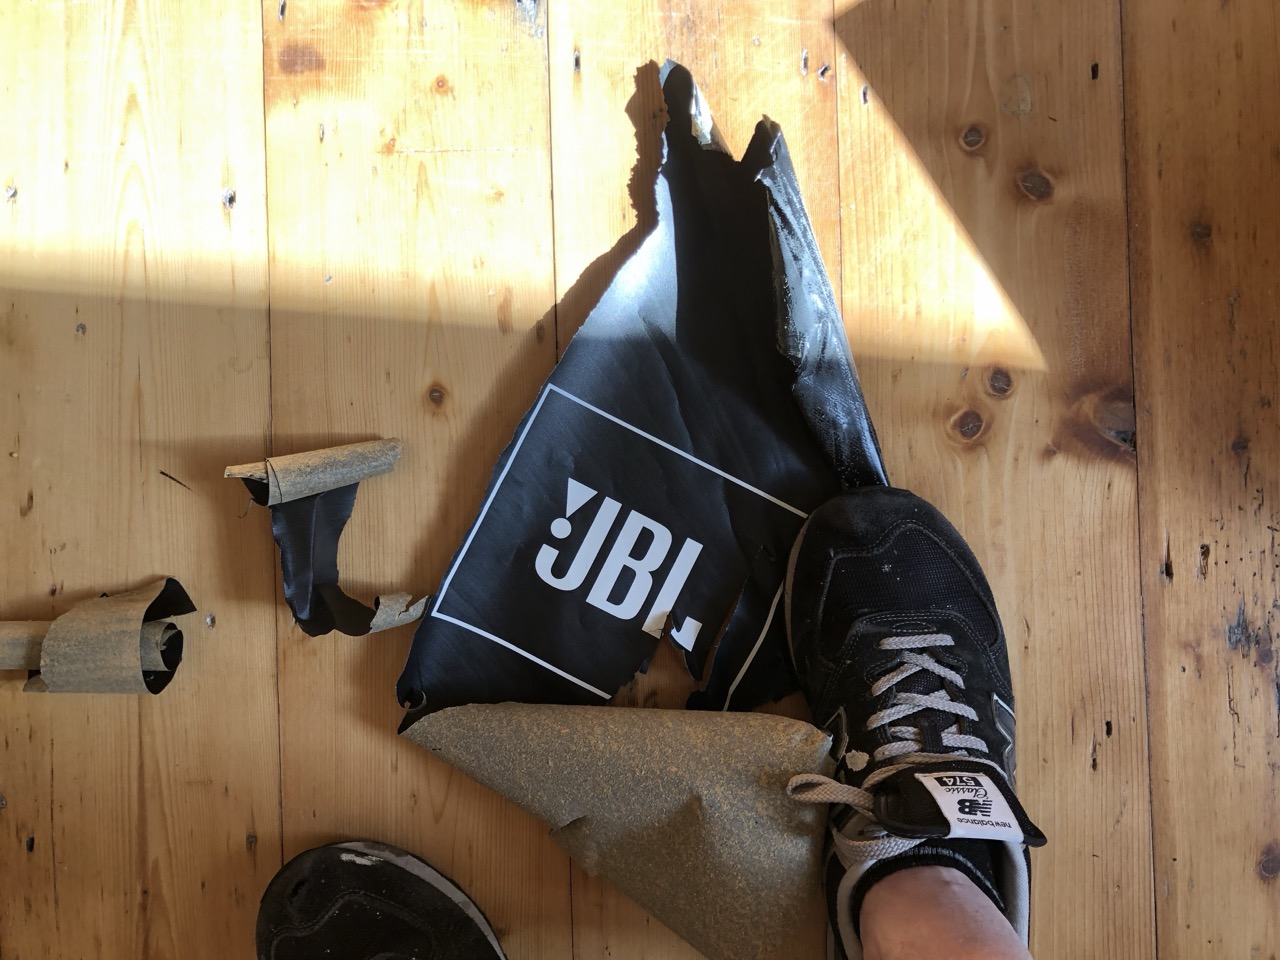
Good night massive ugly logo.
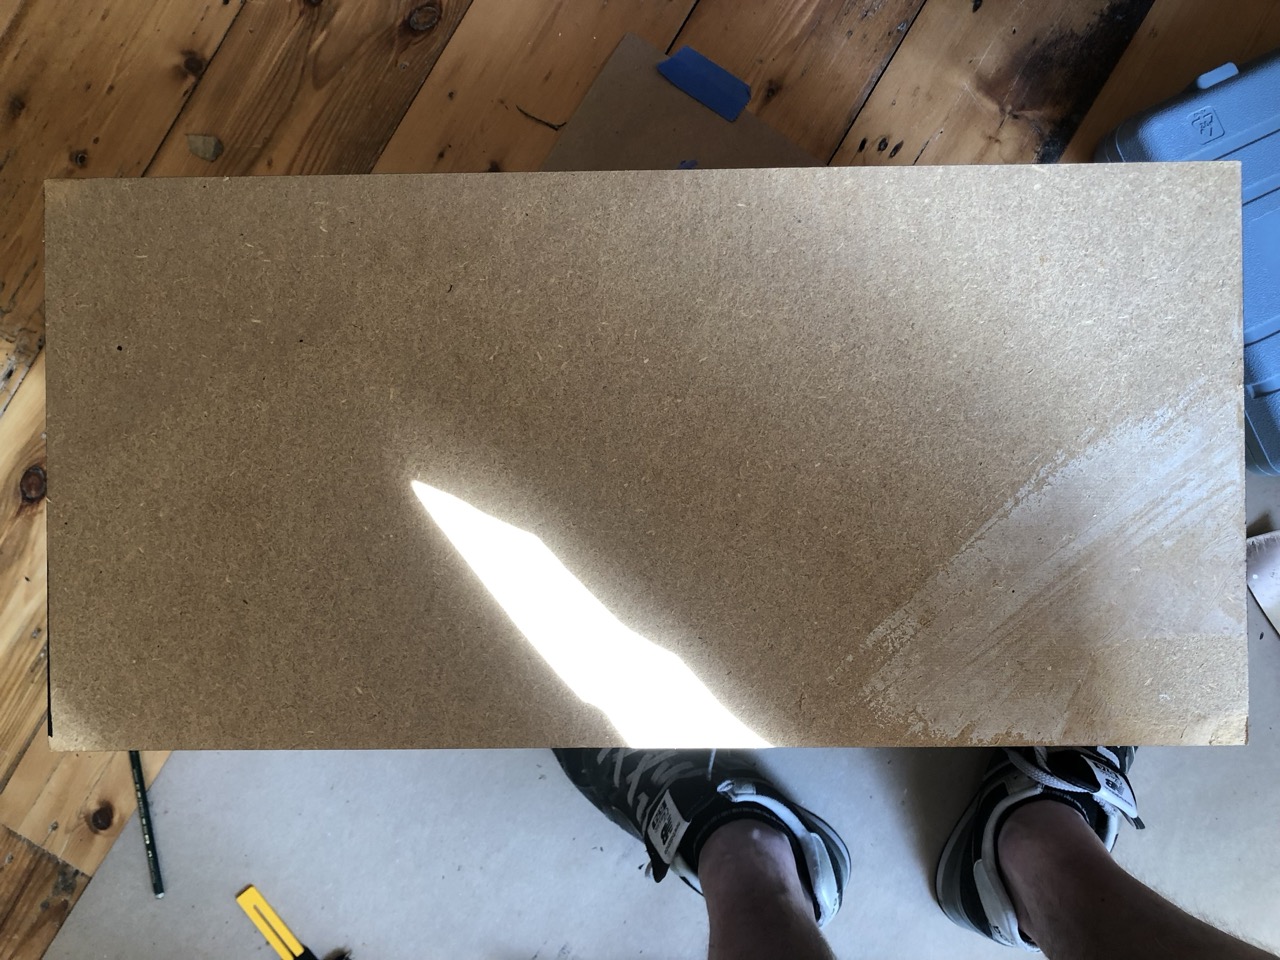
Fairly pristine surface, certainly flat and smooth enough for veneer.
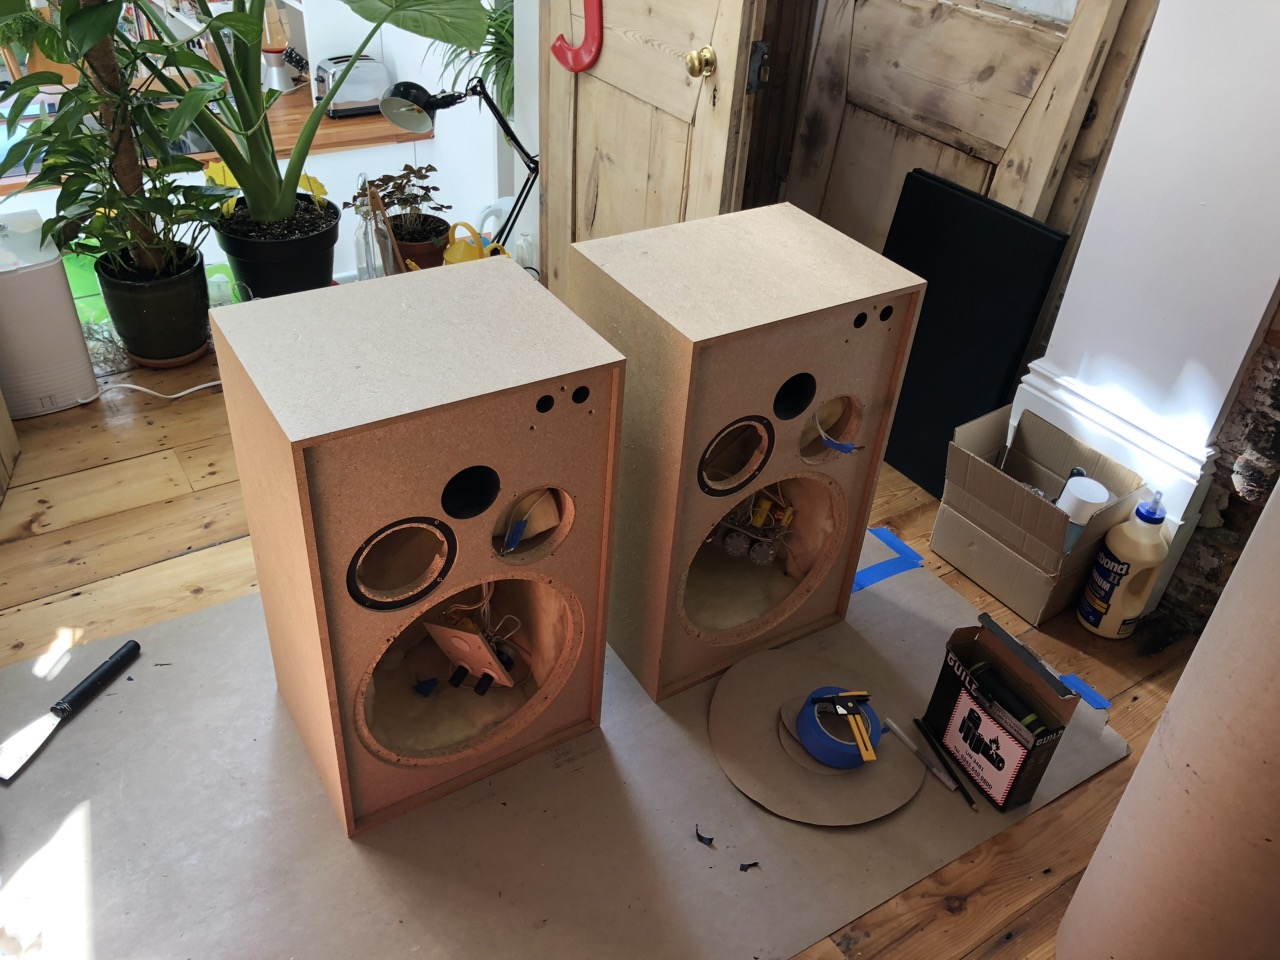
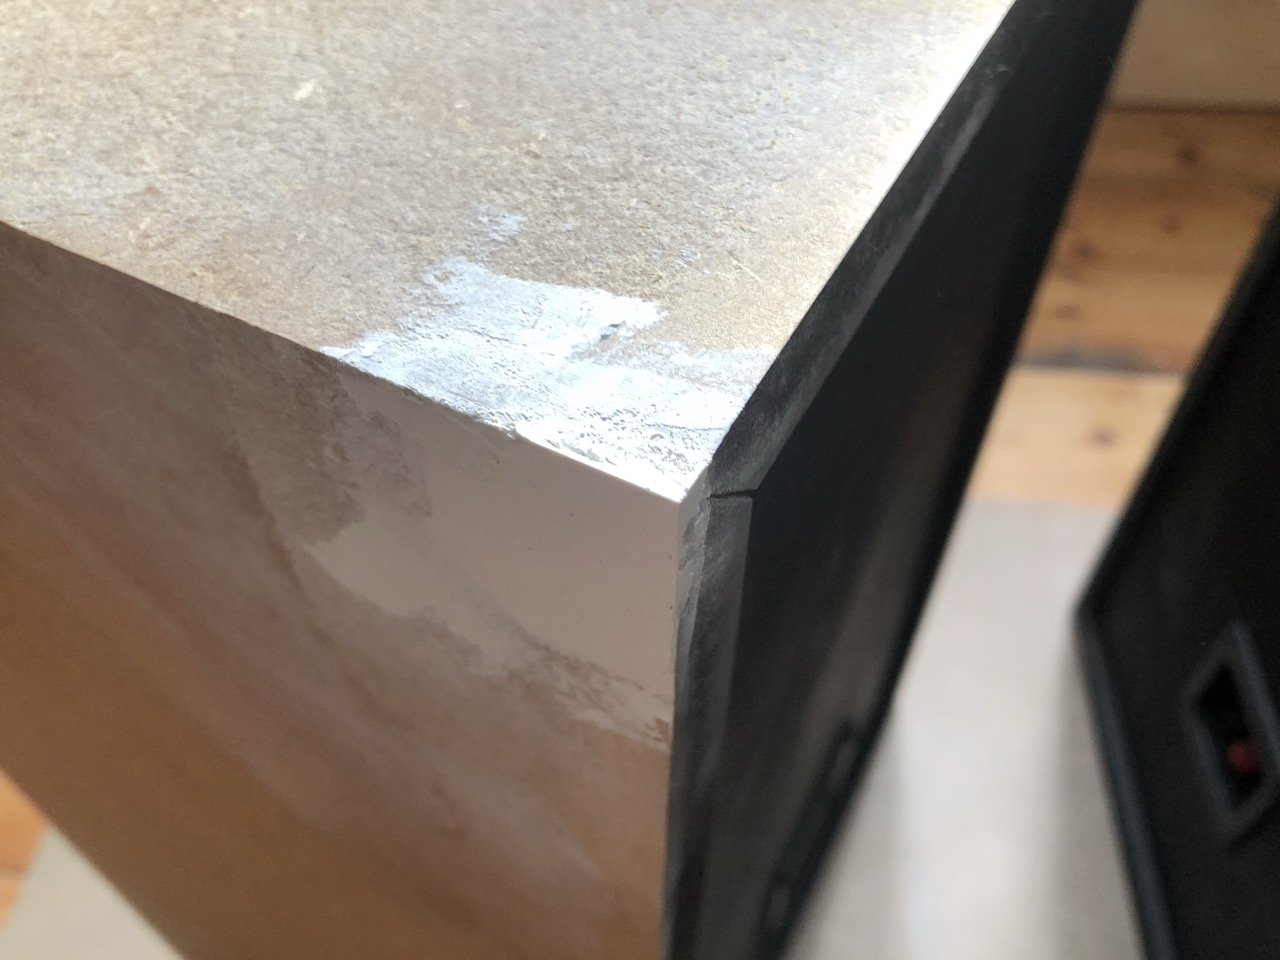
Time to inspect and fix any dents, looks like these corners have seen some action! Easily fixed with 2-part filler and some patience and care with sanding.
Now the edges are all square, it's primer time. I used Bulls Eye 1-2-3, building up several thin layers with a roller and sanding in between.
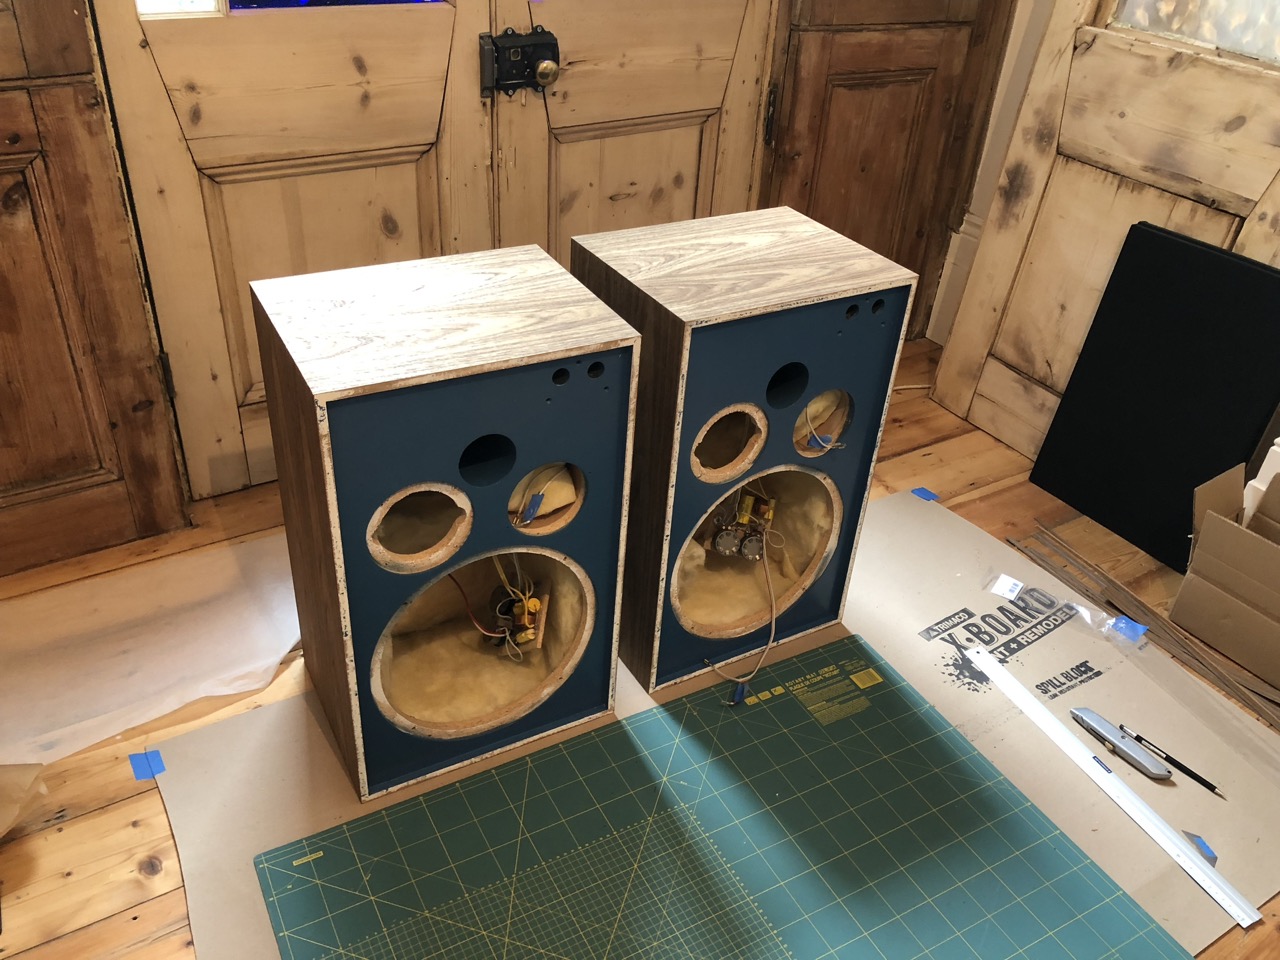
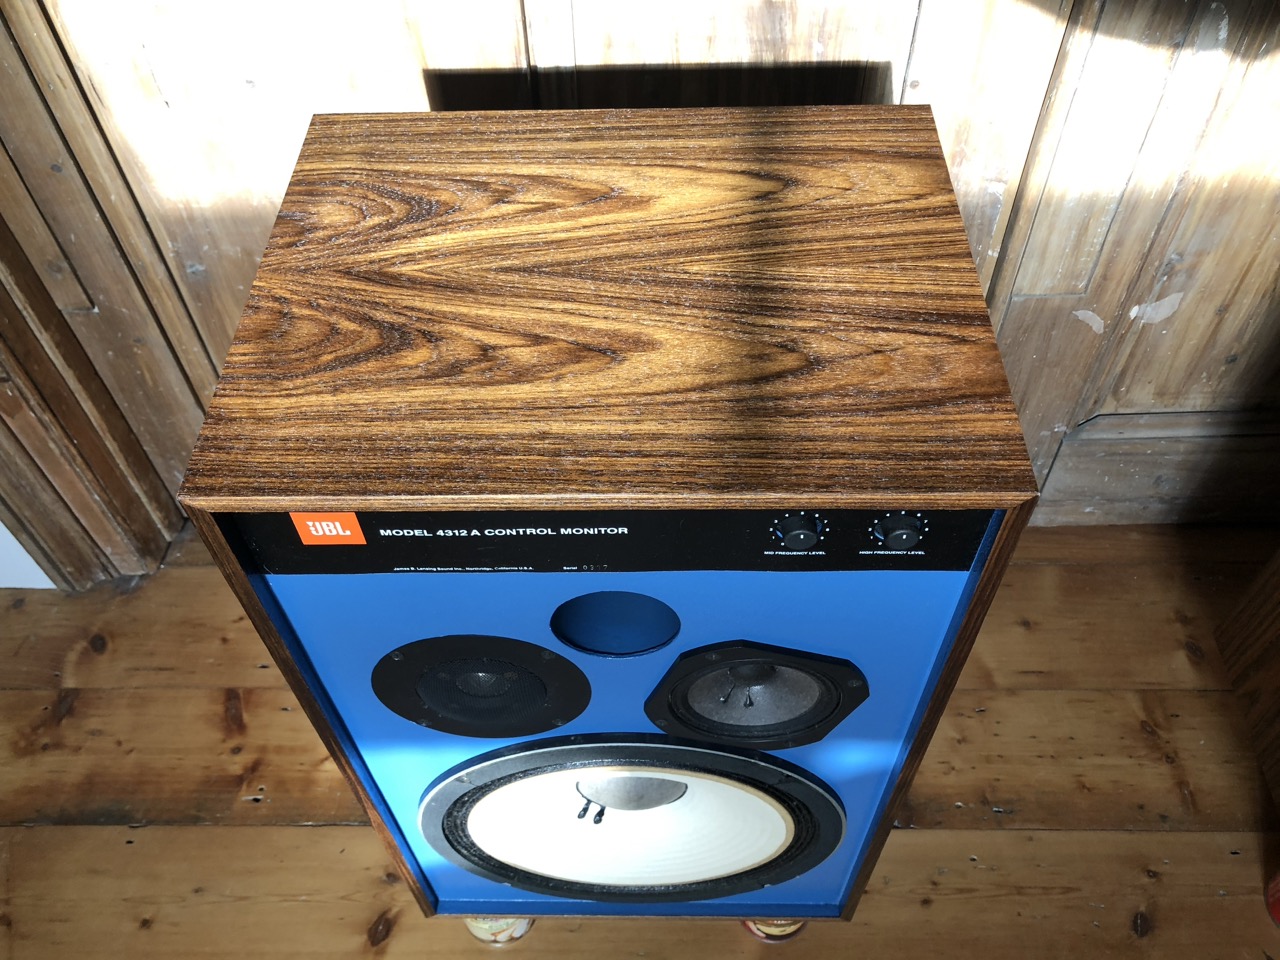
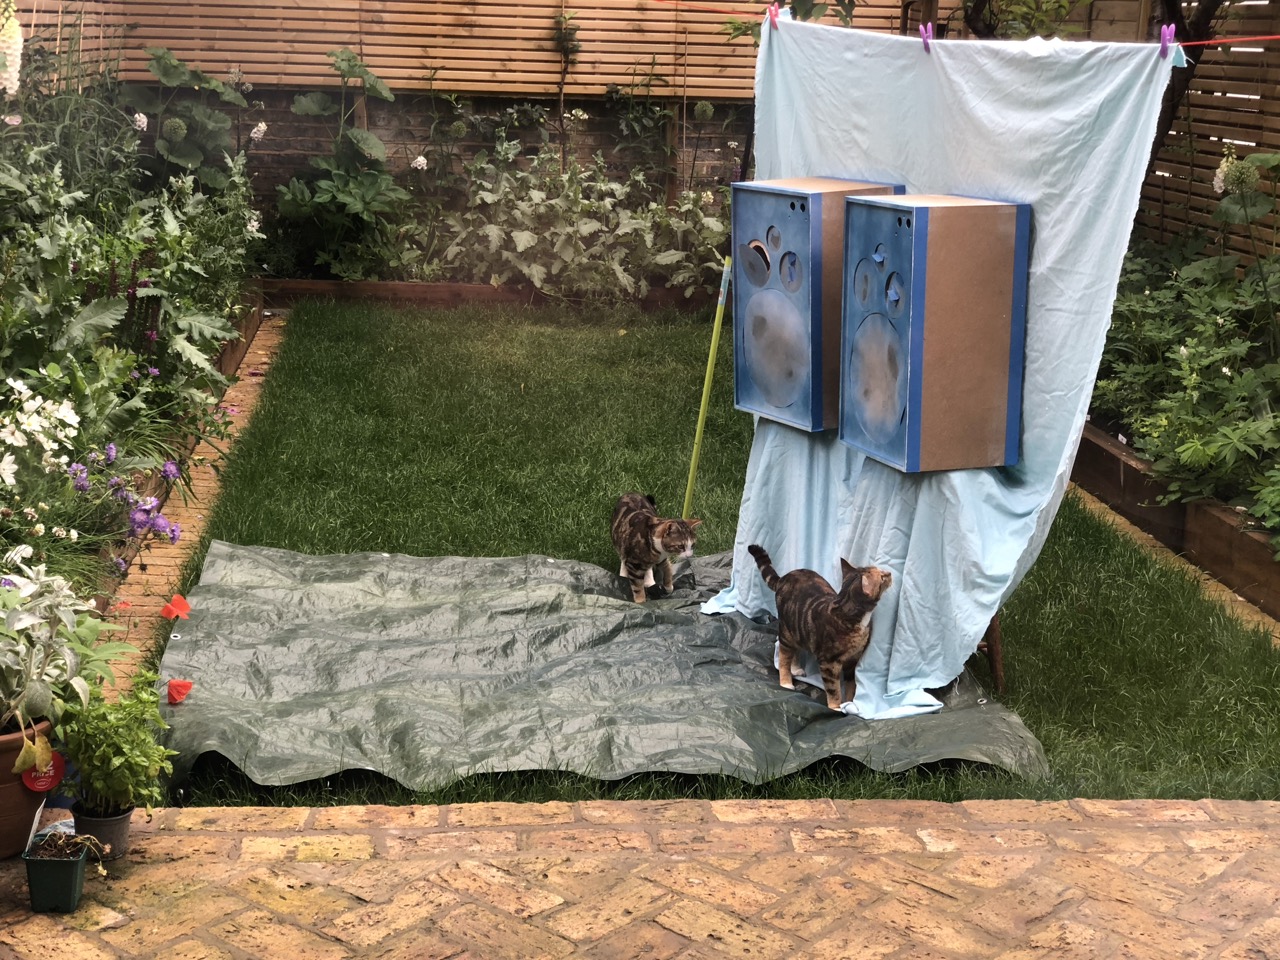
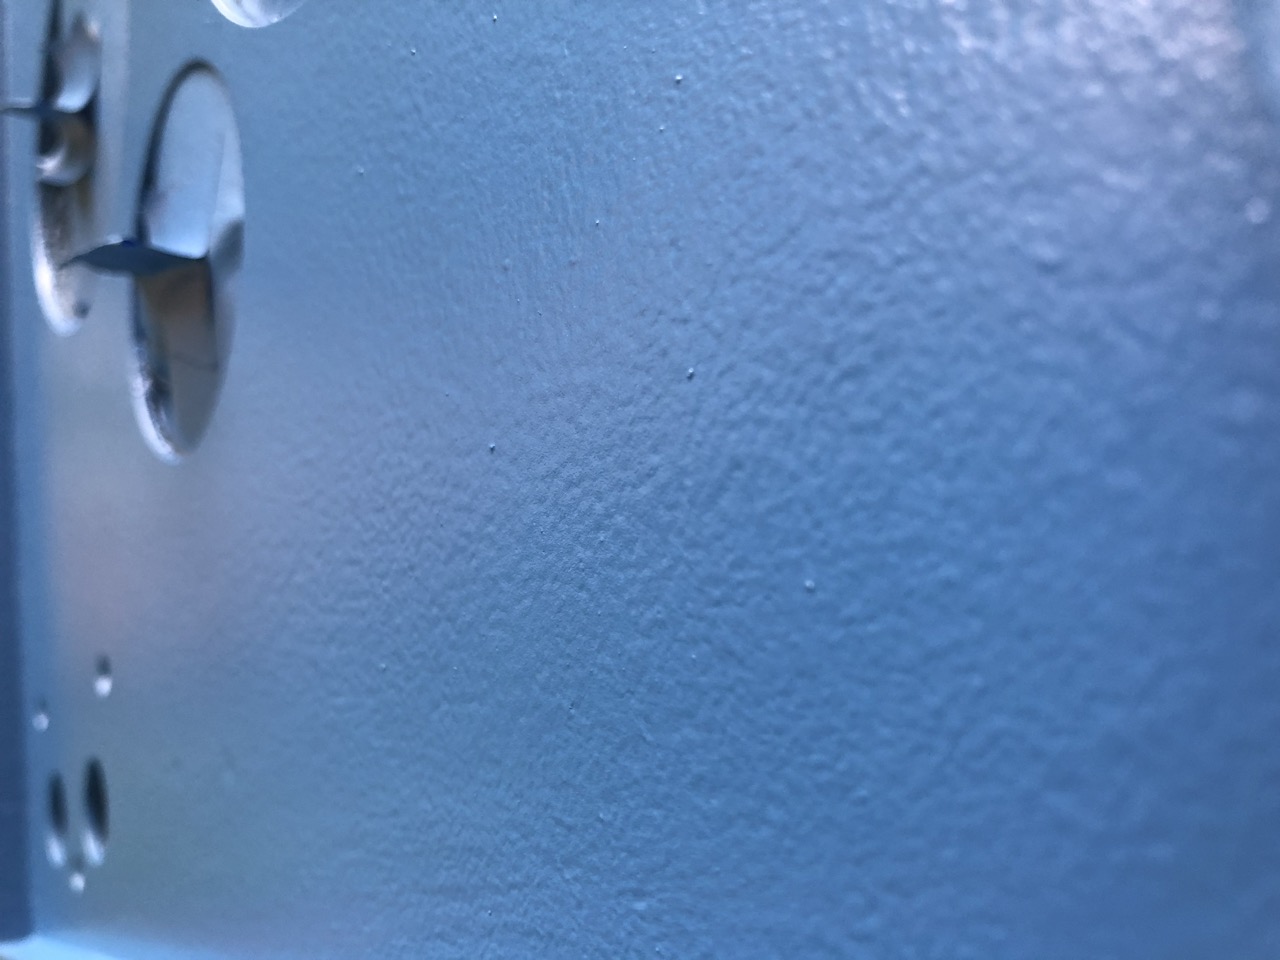
Then I masked up the holes and edges and it was off to the 'paint shop' to apply the blue colour RAL 5007. Here again I used many thin layers of aerosol with fine grit sanding between. As you can see the work was thoroughly inspected and signed off by my bosses.
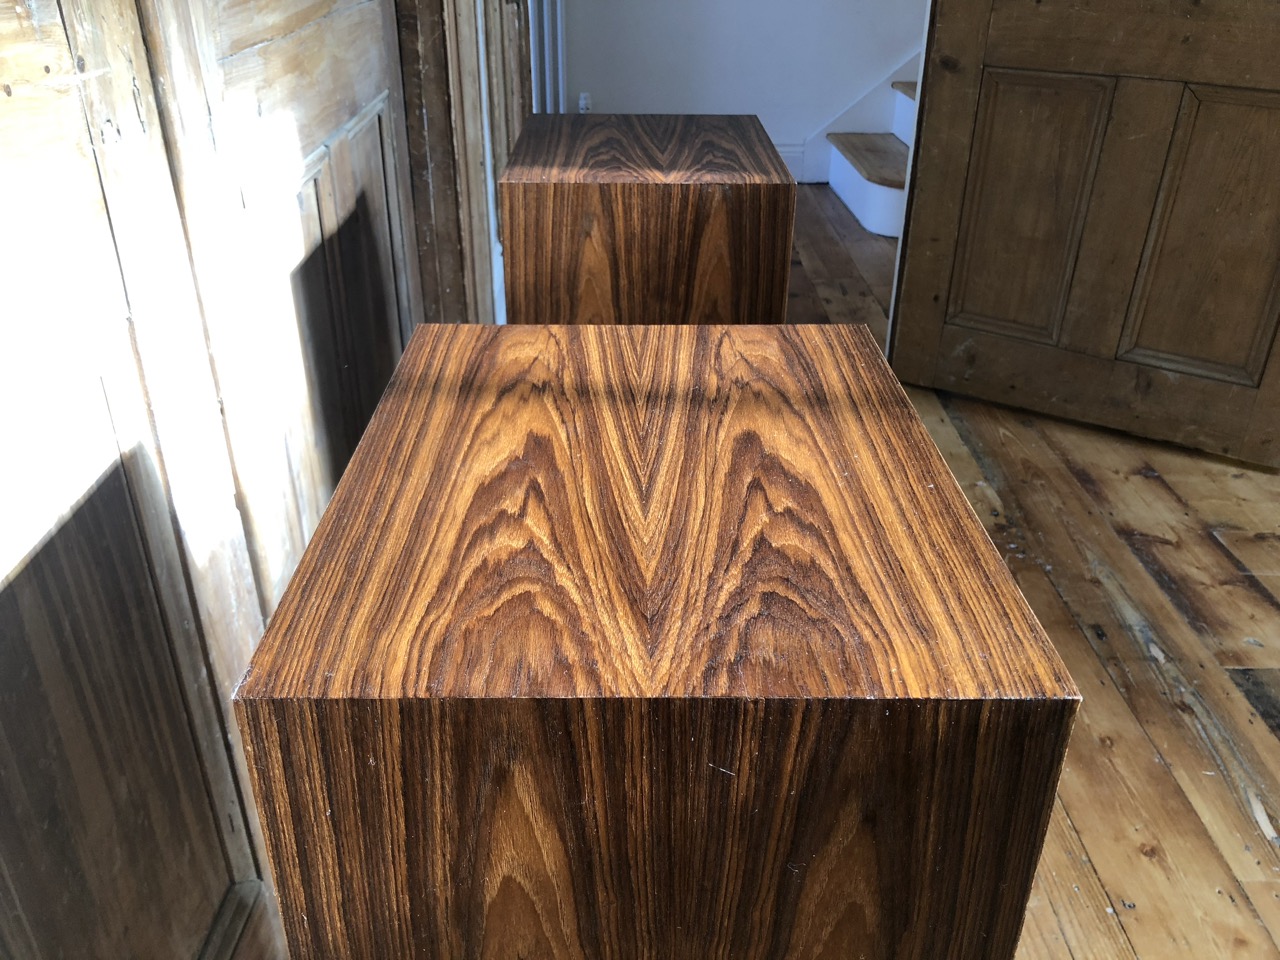
Pretty good! I like the texture.
More photos coming
The plan is to paint the fronts and veneer everything else with teak. Let's go!
Here in the original state. I knew I would need a super-smooth surface for veneering. At this point I did not know what the original black coating was, maybe it was paint or something else. Would I be able to sand it down? Would I have to layer up primer over the top and sand that to a smooth finish?
Edges are quite badly chipped
Drivers removed
Then time to be brave. I'd read up as much as I could and found out these labels are known as 'foilcal' and are very thin aluminium glued down. This part is necessary to remove the crossovers which I thought might need to be re-capped. A heat gun and some persuasion worked. The first one was very slightly wrinkled where I was figuring out technique. The second one I managed to keep flat. They look much worse in photos than in real life. Oh look some of the black 'paint' also peeled away - it's not paint, it's some kind of plastic coating. Hmmm.
I kept peeling
Excellent results - the black plastic can be peeled off carefully and leaves a pristine flat surface underneath. Perfect. Let's keep going.
Good night massive ugly logo.
Fairly pristine surface, certainly flat and smooth enough for veneer.
Time to inspect and fix any dents, looks like these corners have seen some action! Easily fixed with 2-part filler and some patience and care with sanding.
Now the edges are all square, it's primer time. I used Bulls Eye 1-2-3, building up several thin layers with a roller and sanding in between.
Then I masked up the holes and edges and it was off to the 'paint shop' to apply the blue colour RAL 5007. Here again I used many thin layers of aerosol with fine grit sanding between. As you can see the work was thoroughly inspected and signed off by my bosses.
Pretty good! I like the texture.
More photos coming