
Arkless Electronics
Trade: Amp design and repairs.
This was a job for a fishie of this parish and as it's a pretty rare classic and the first ever SS class A integrated amp (AFAIK) I thought people may find it interesting.
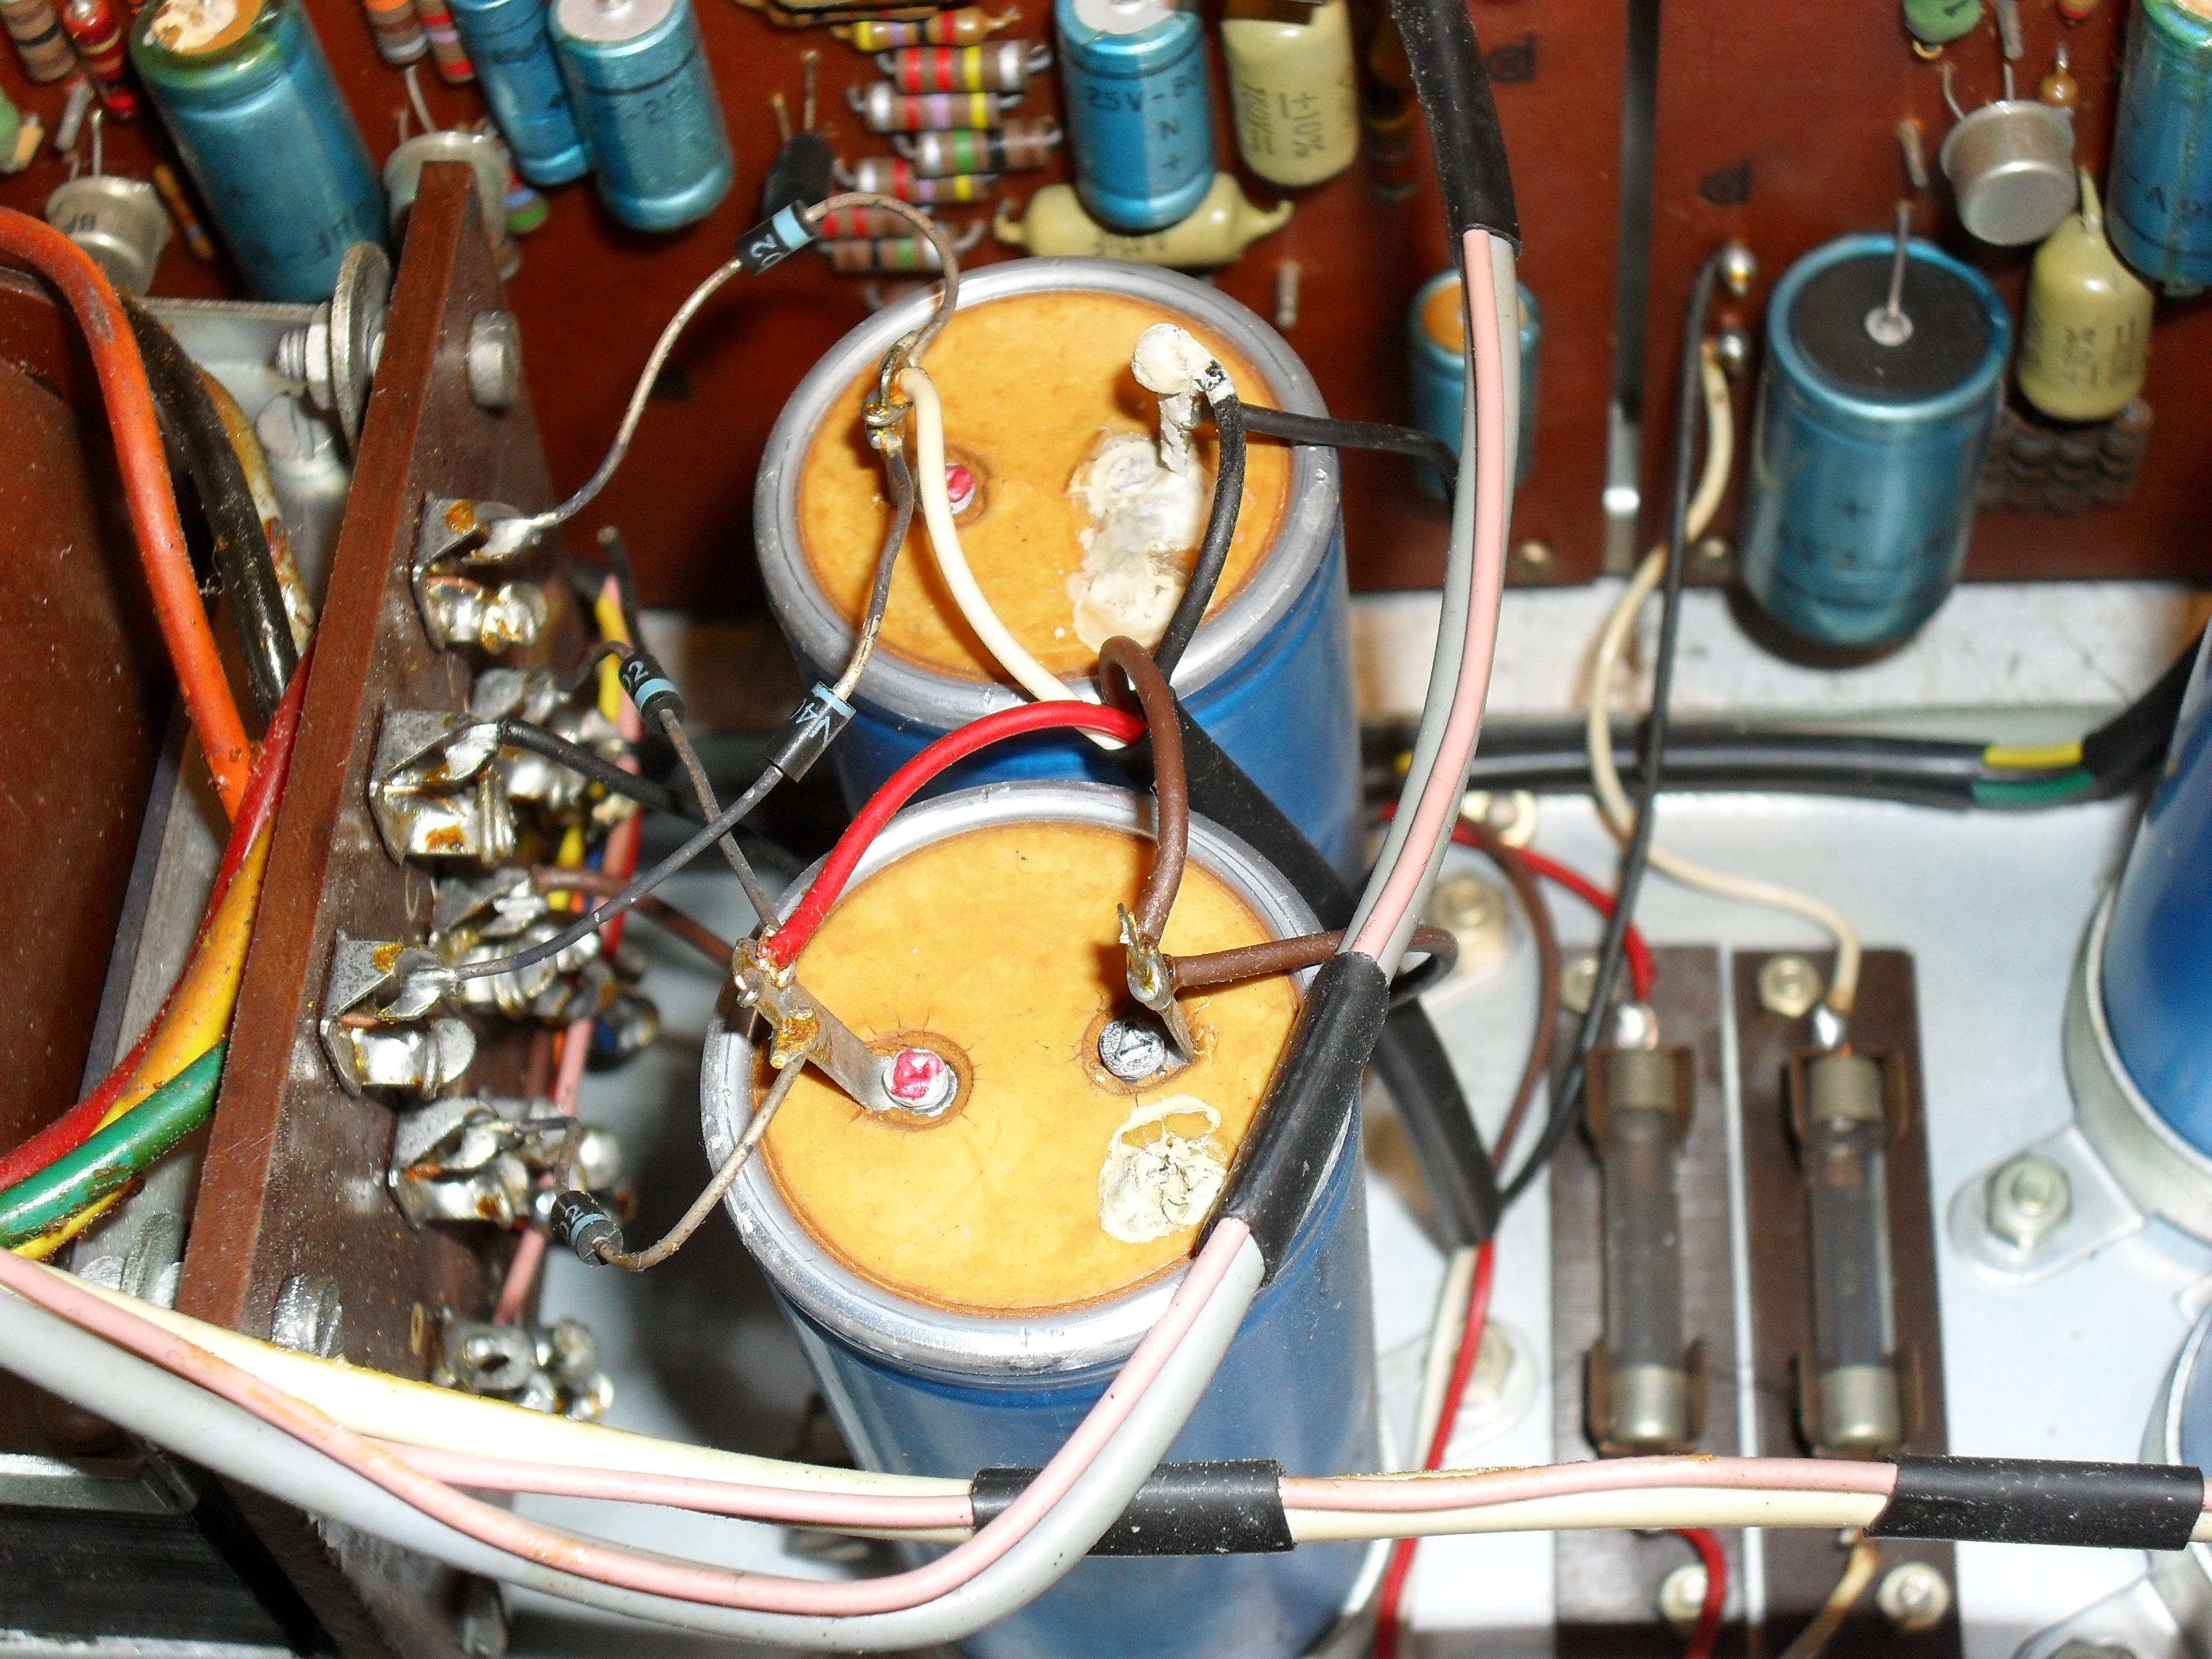
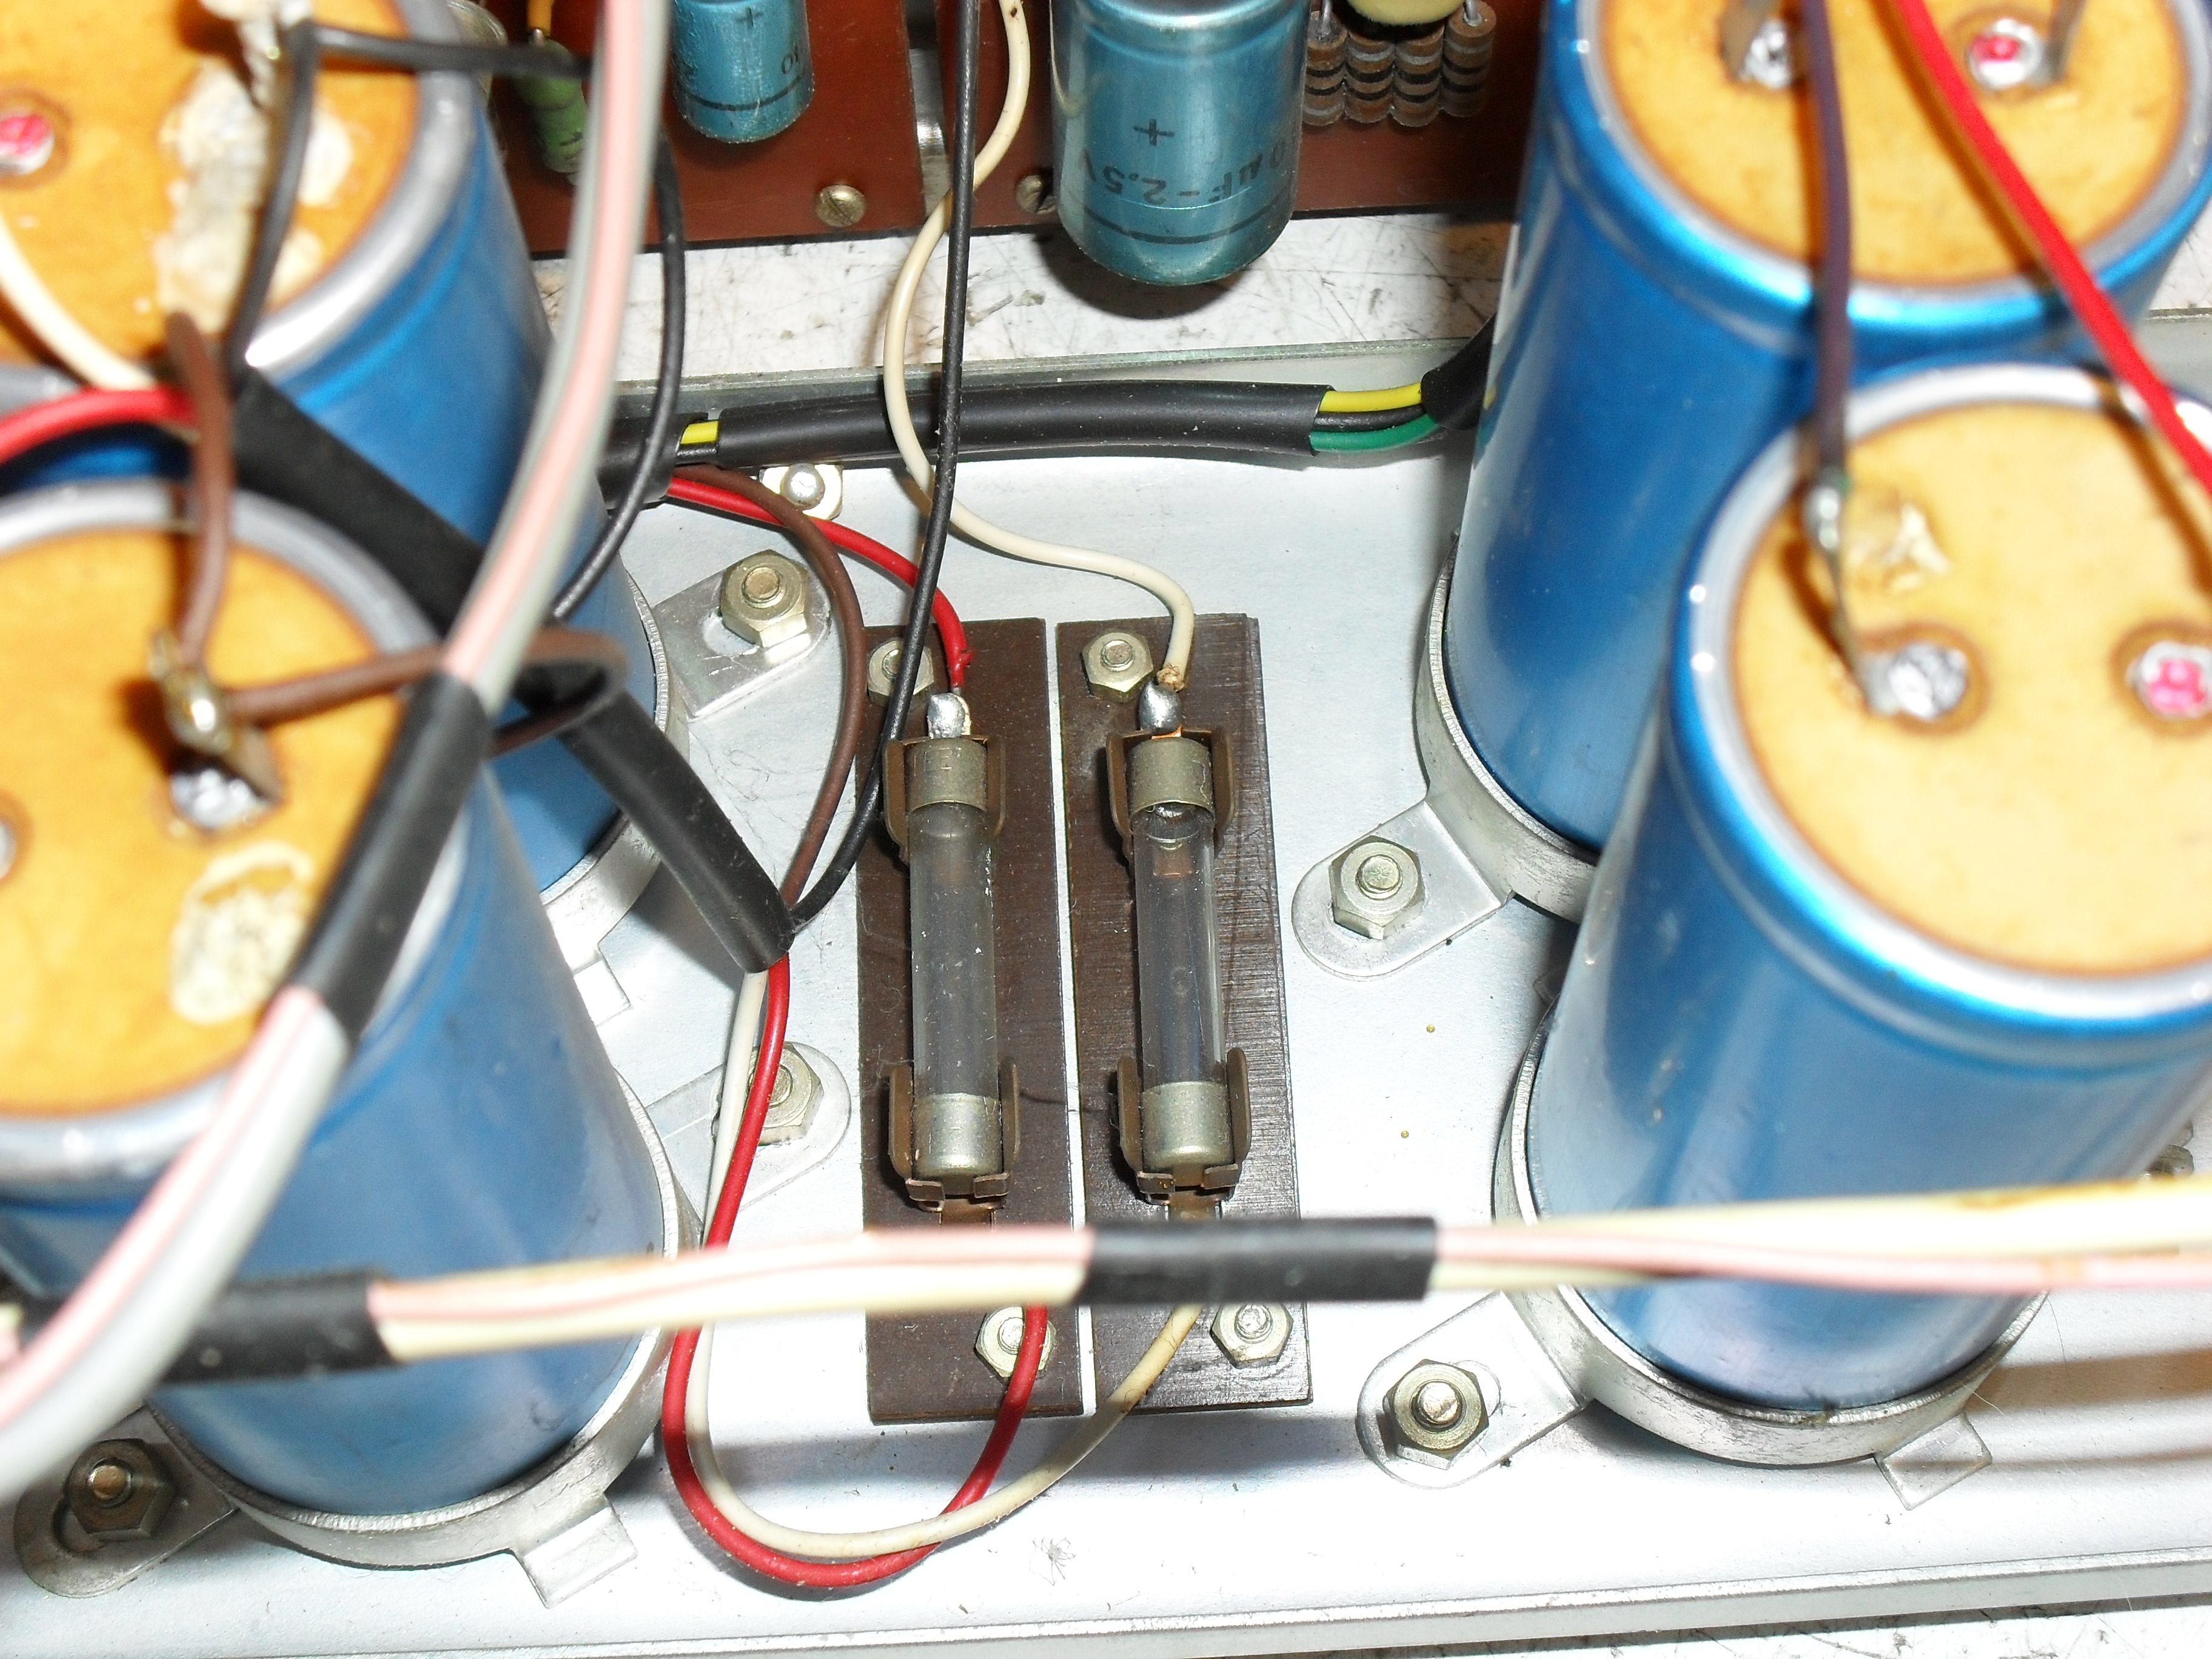
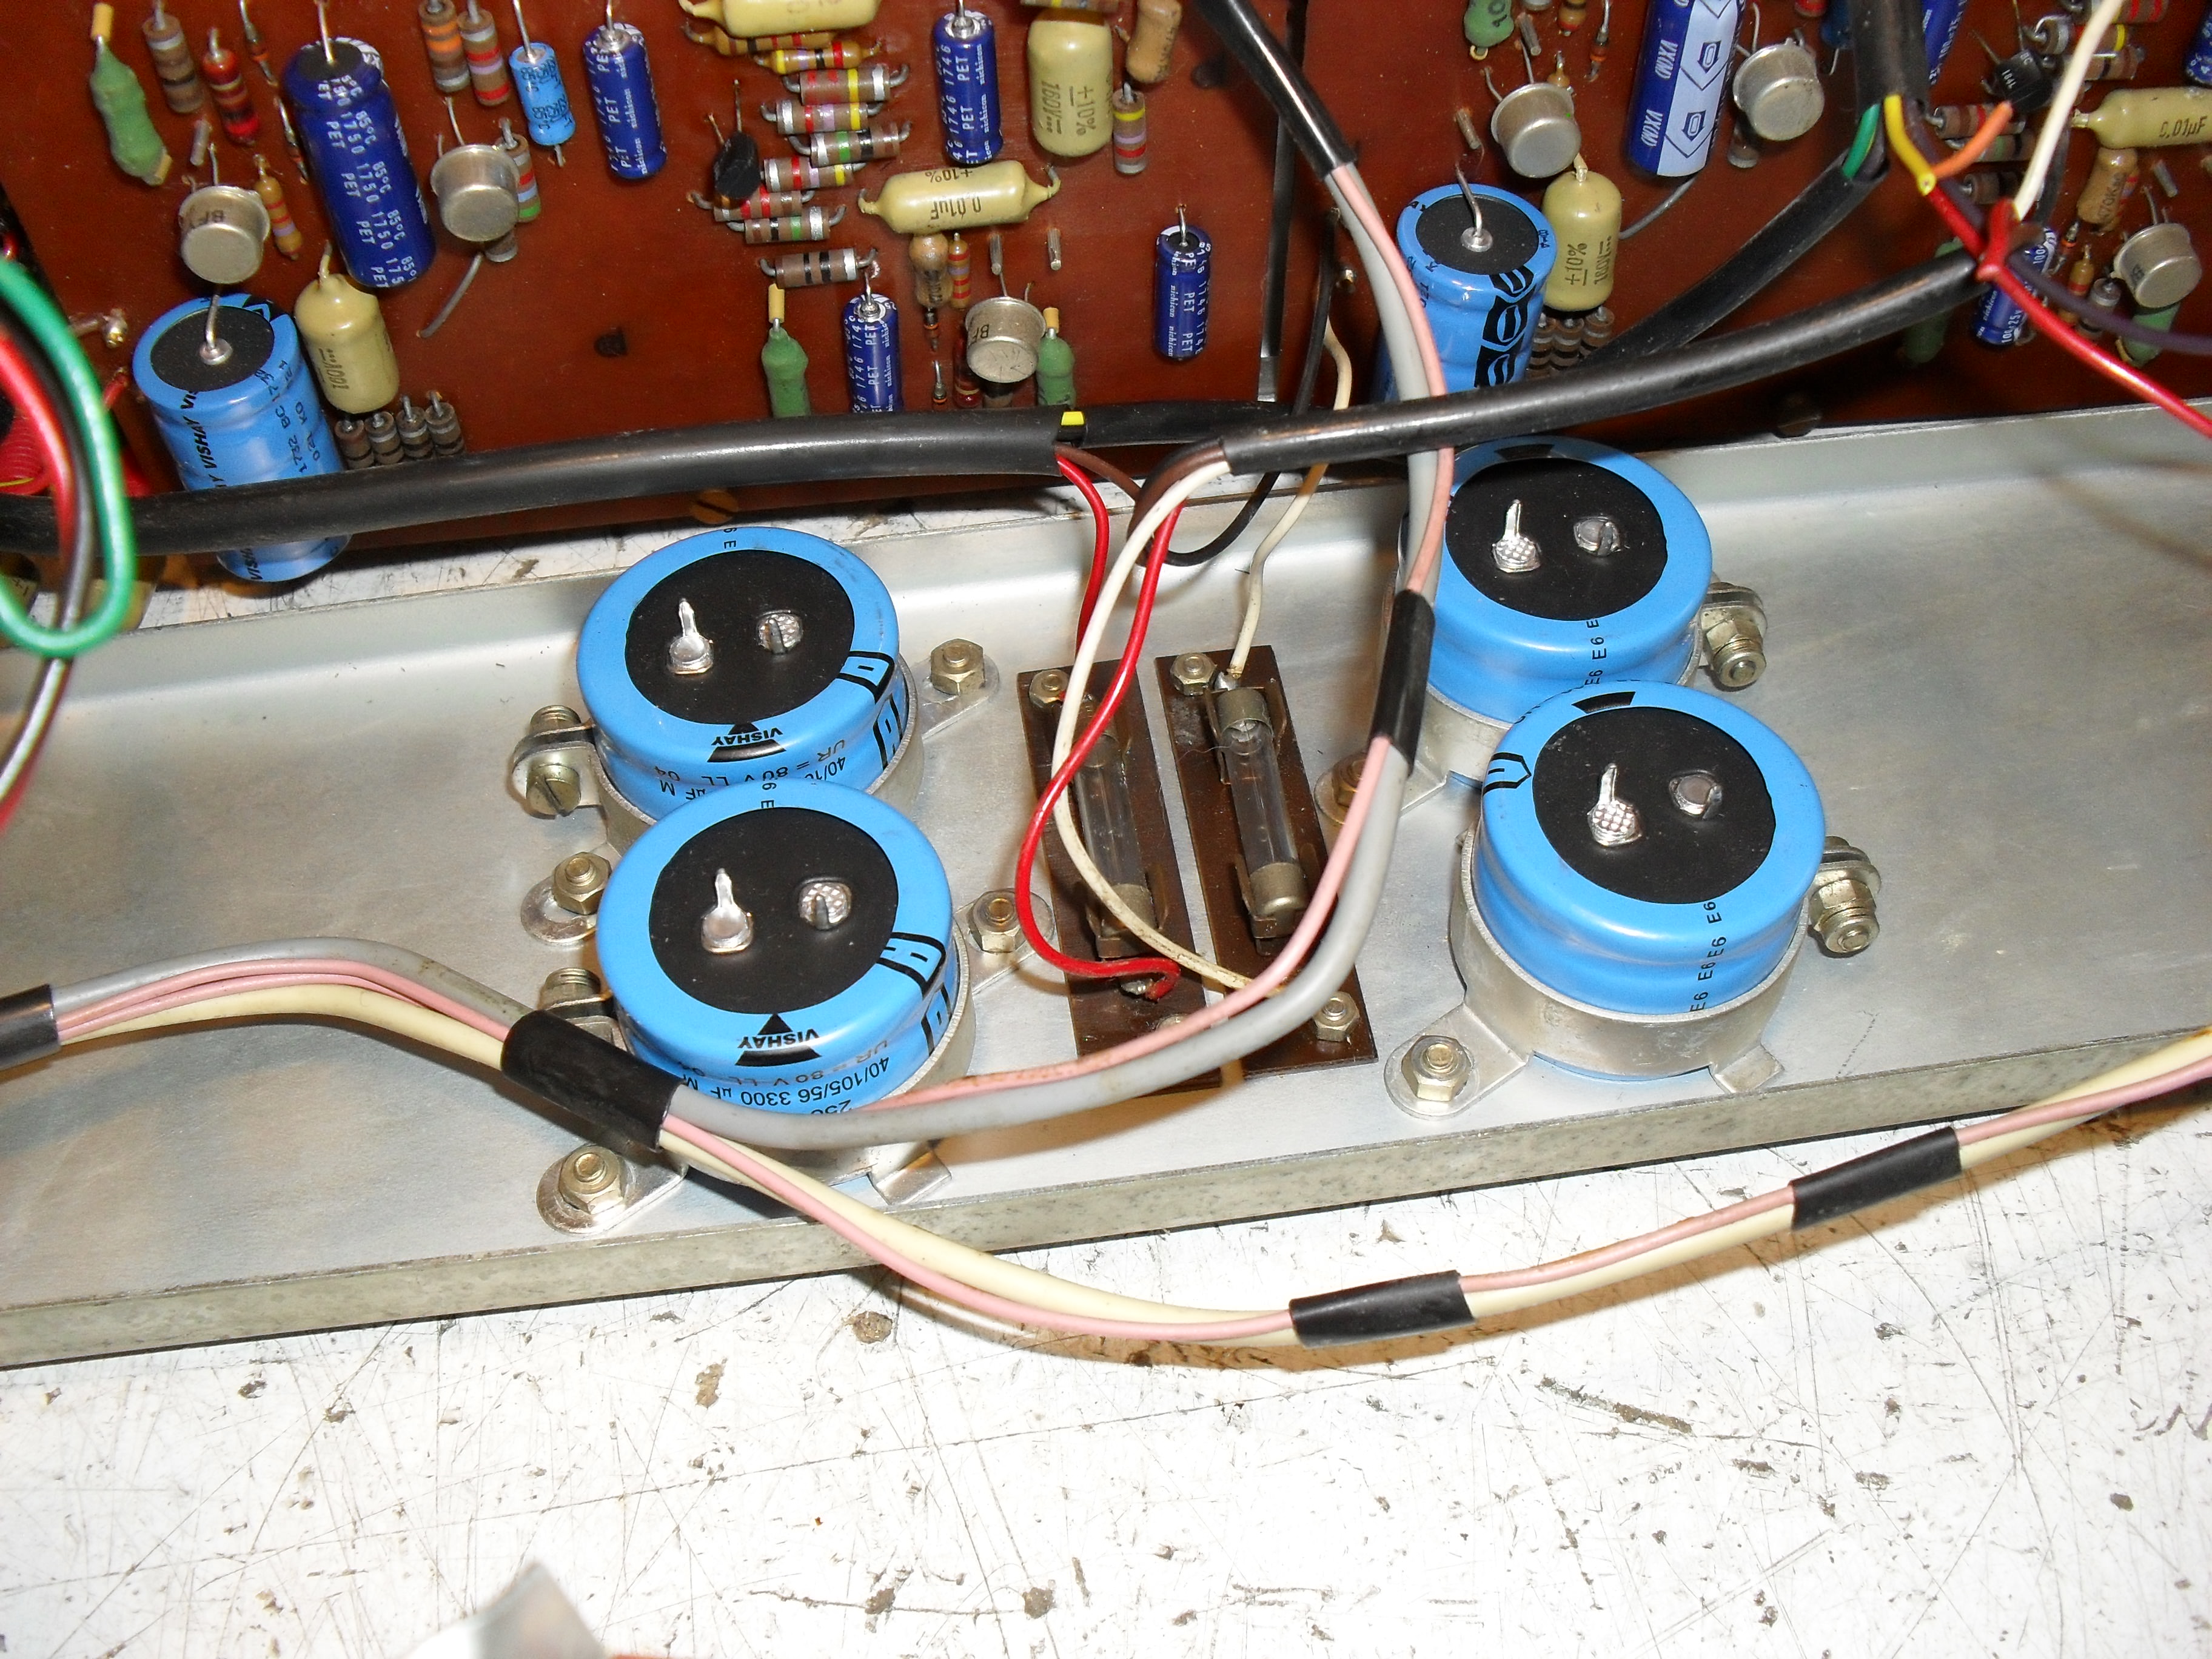
Above shows the state of some of the original caps...

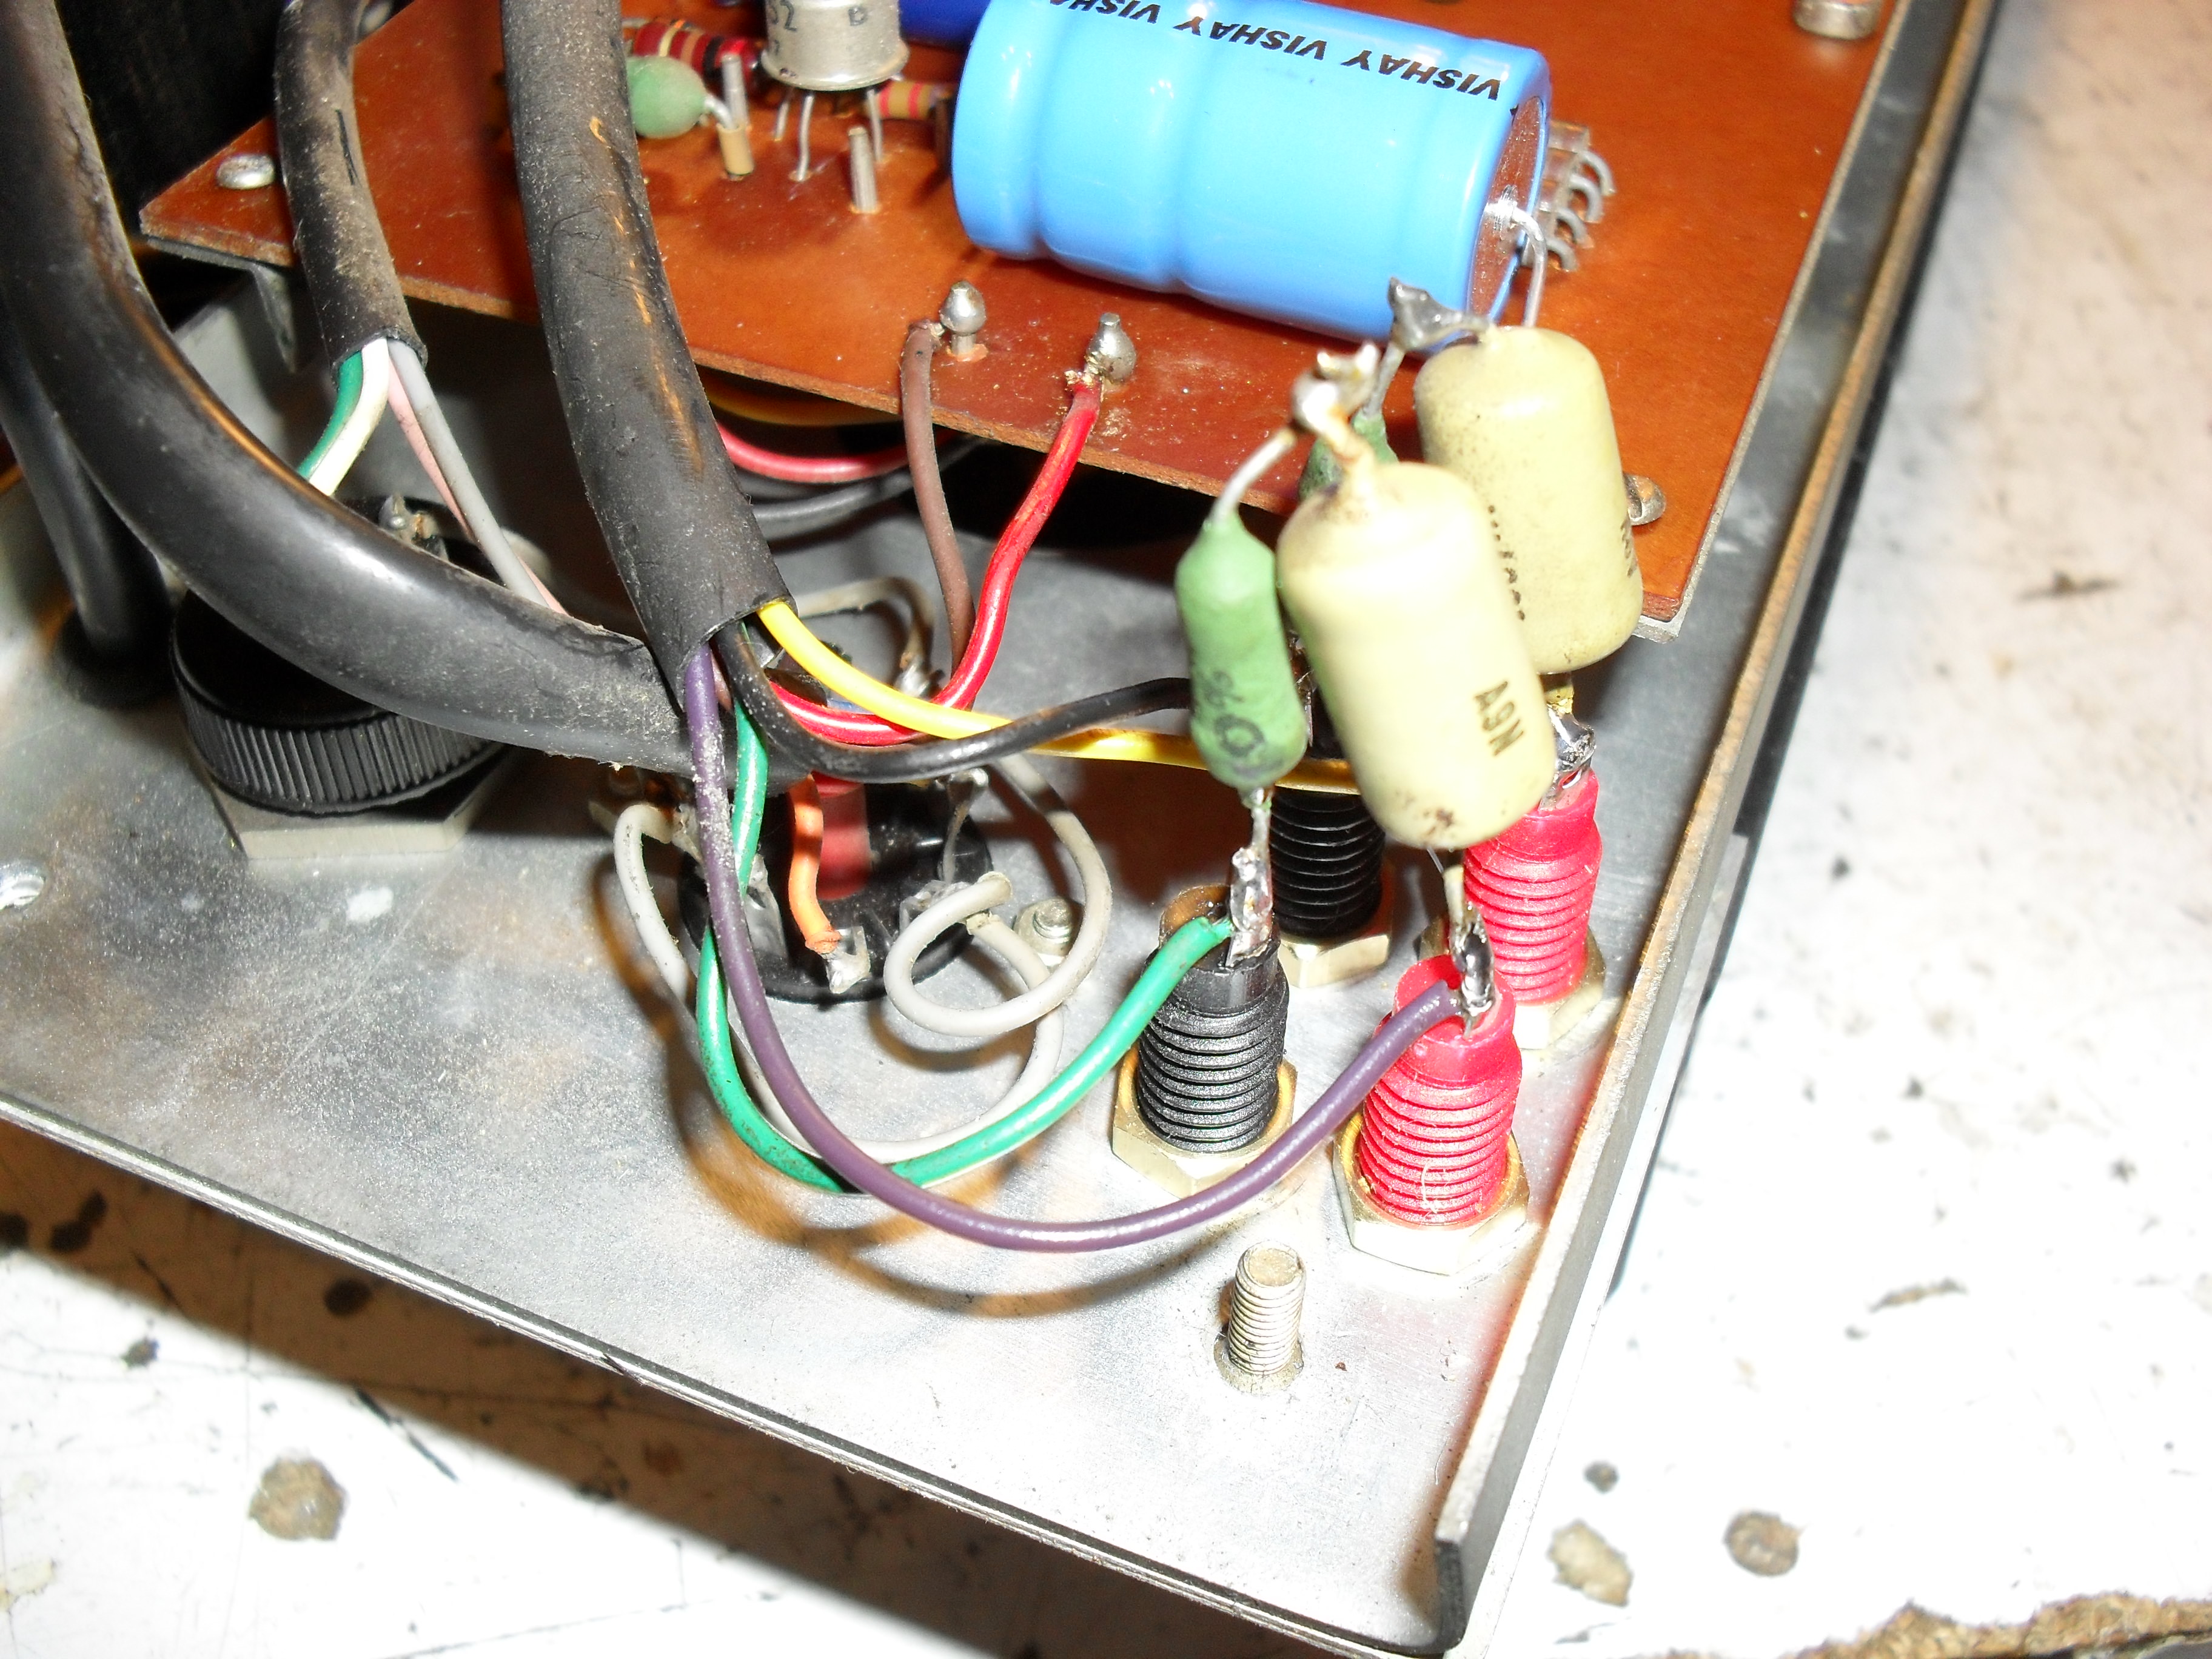
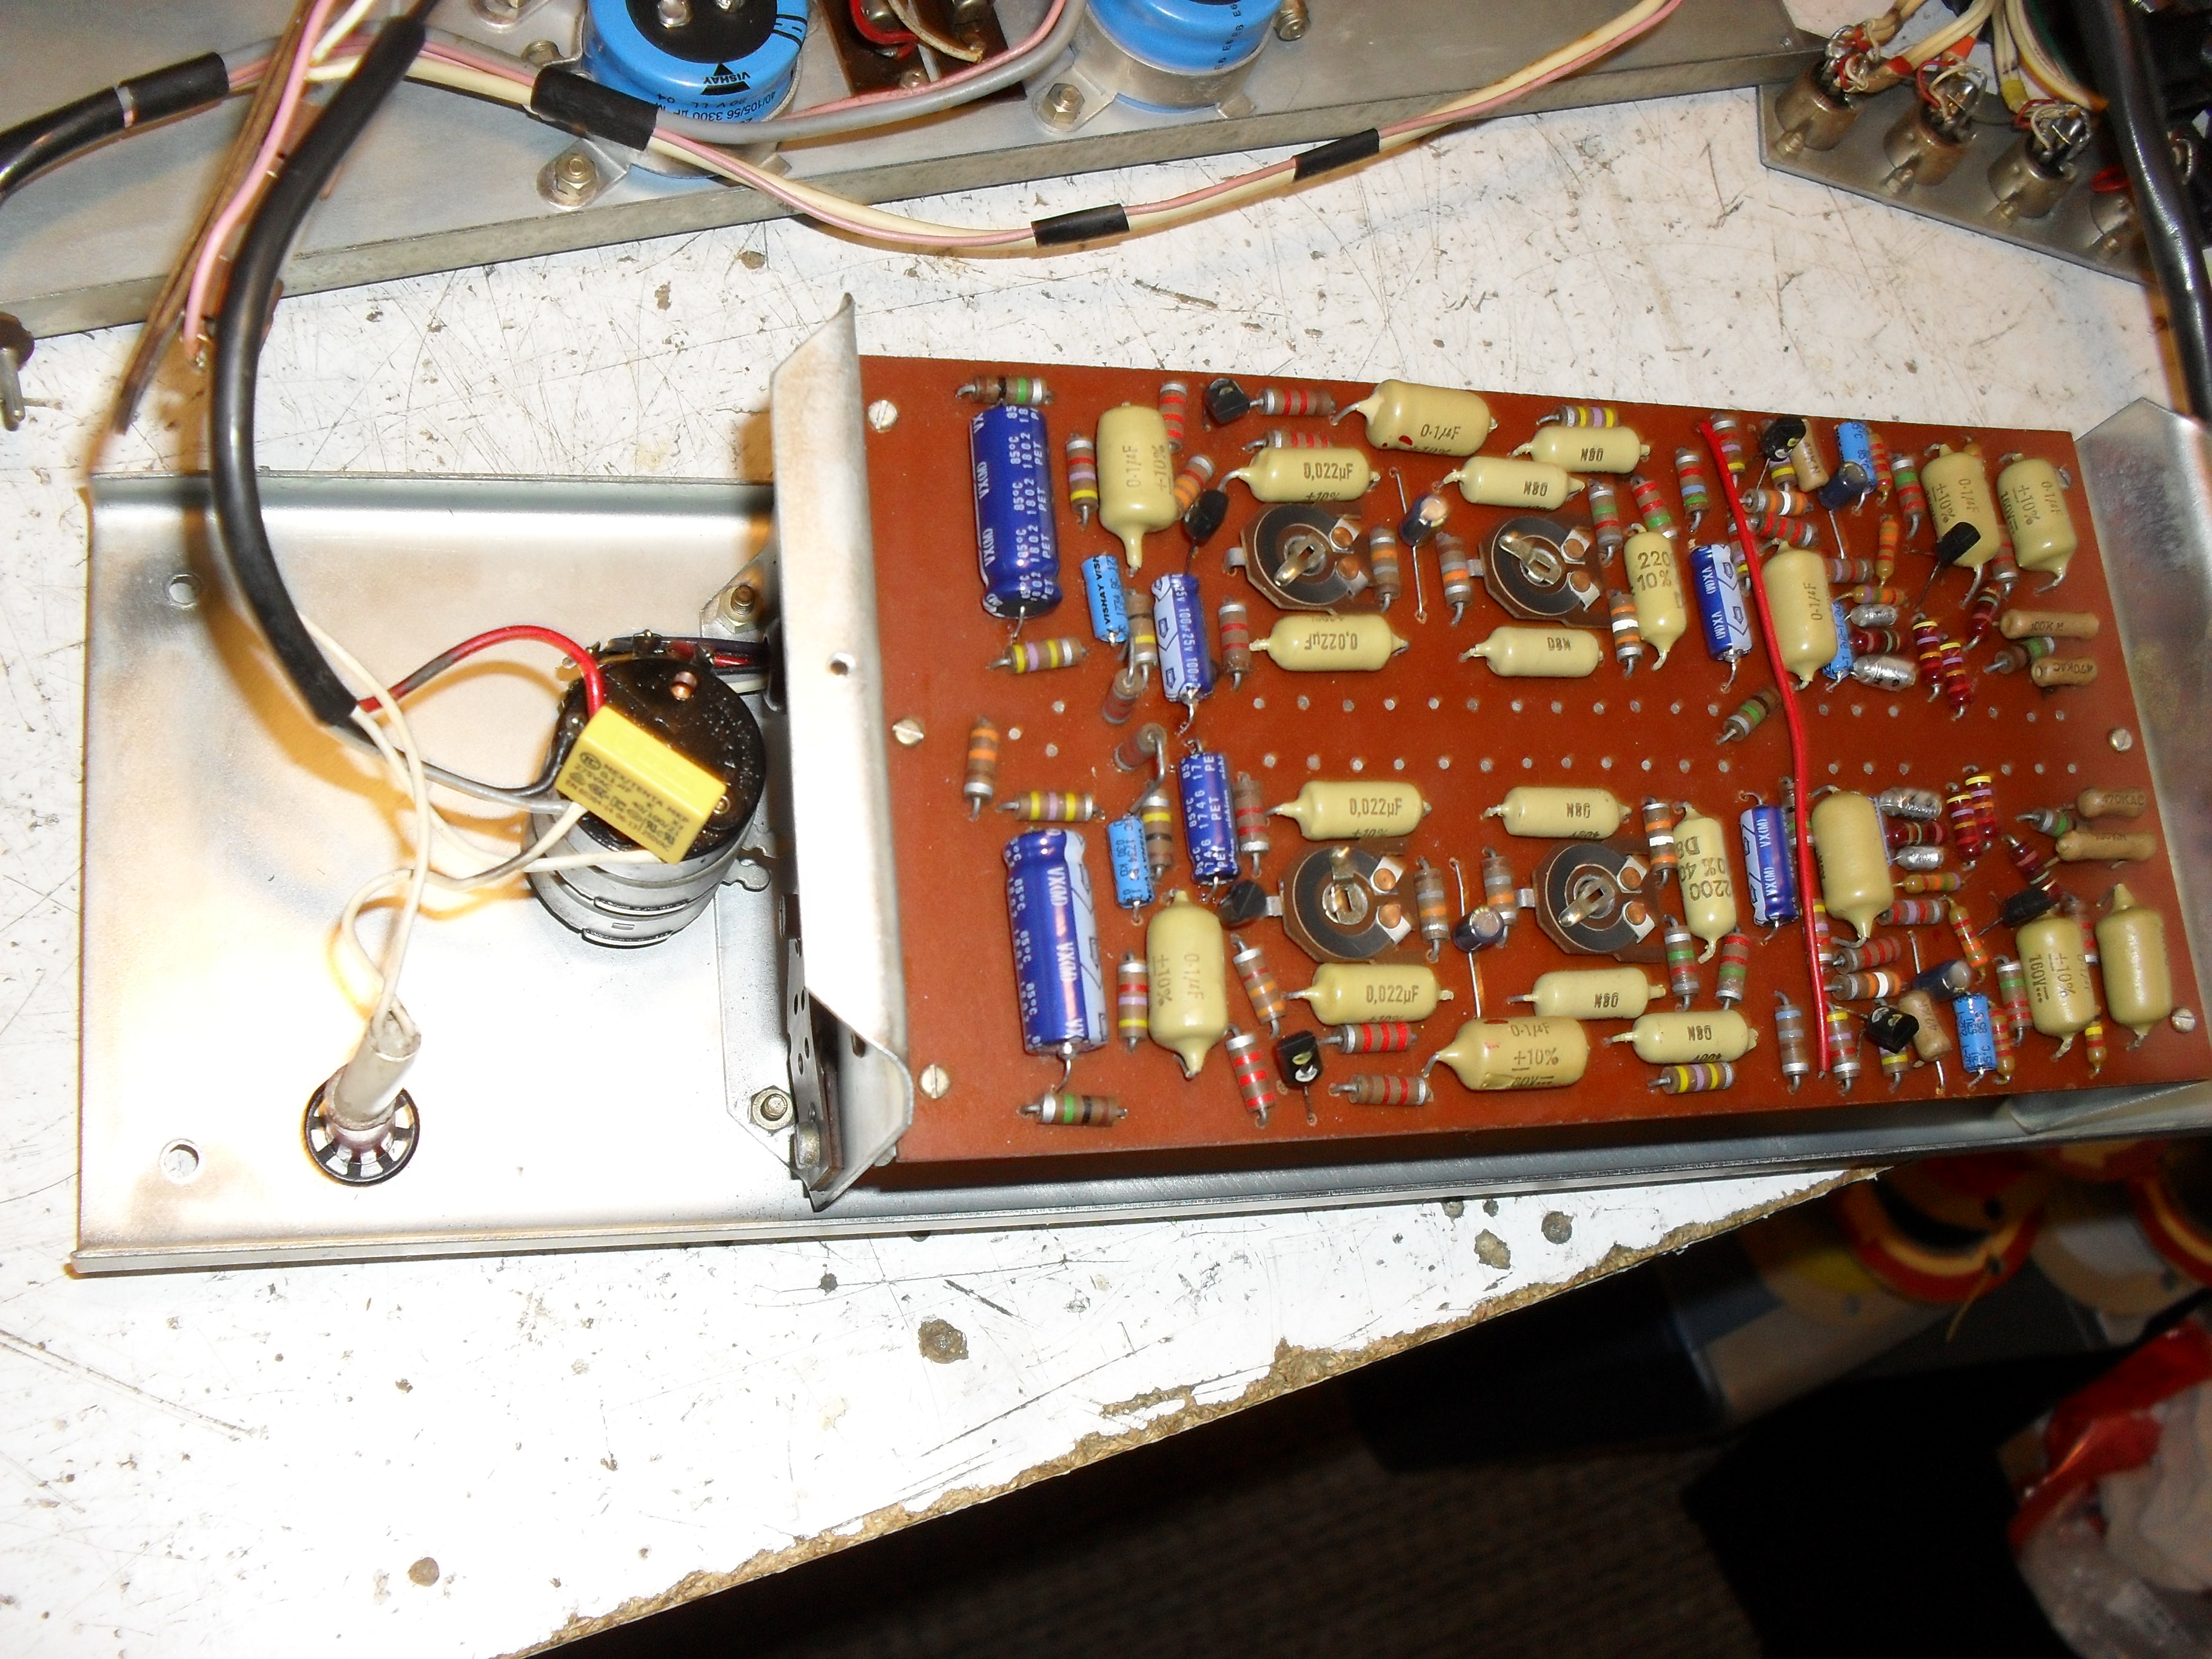
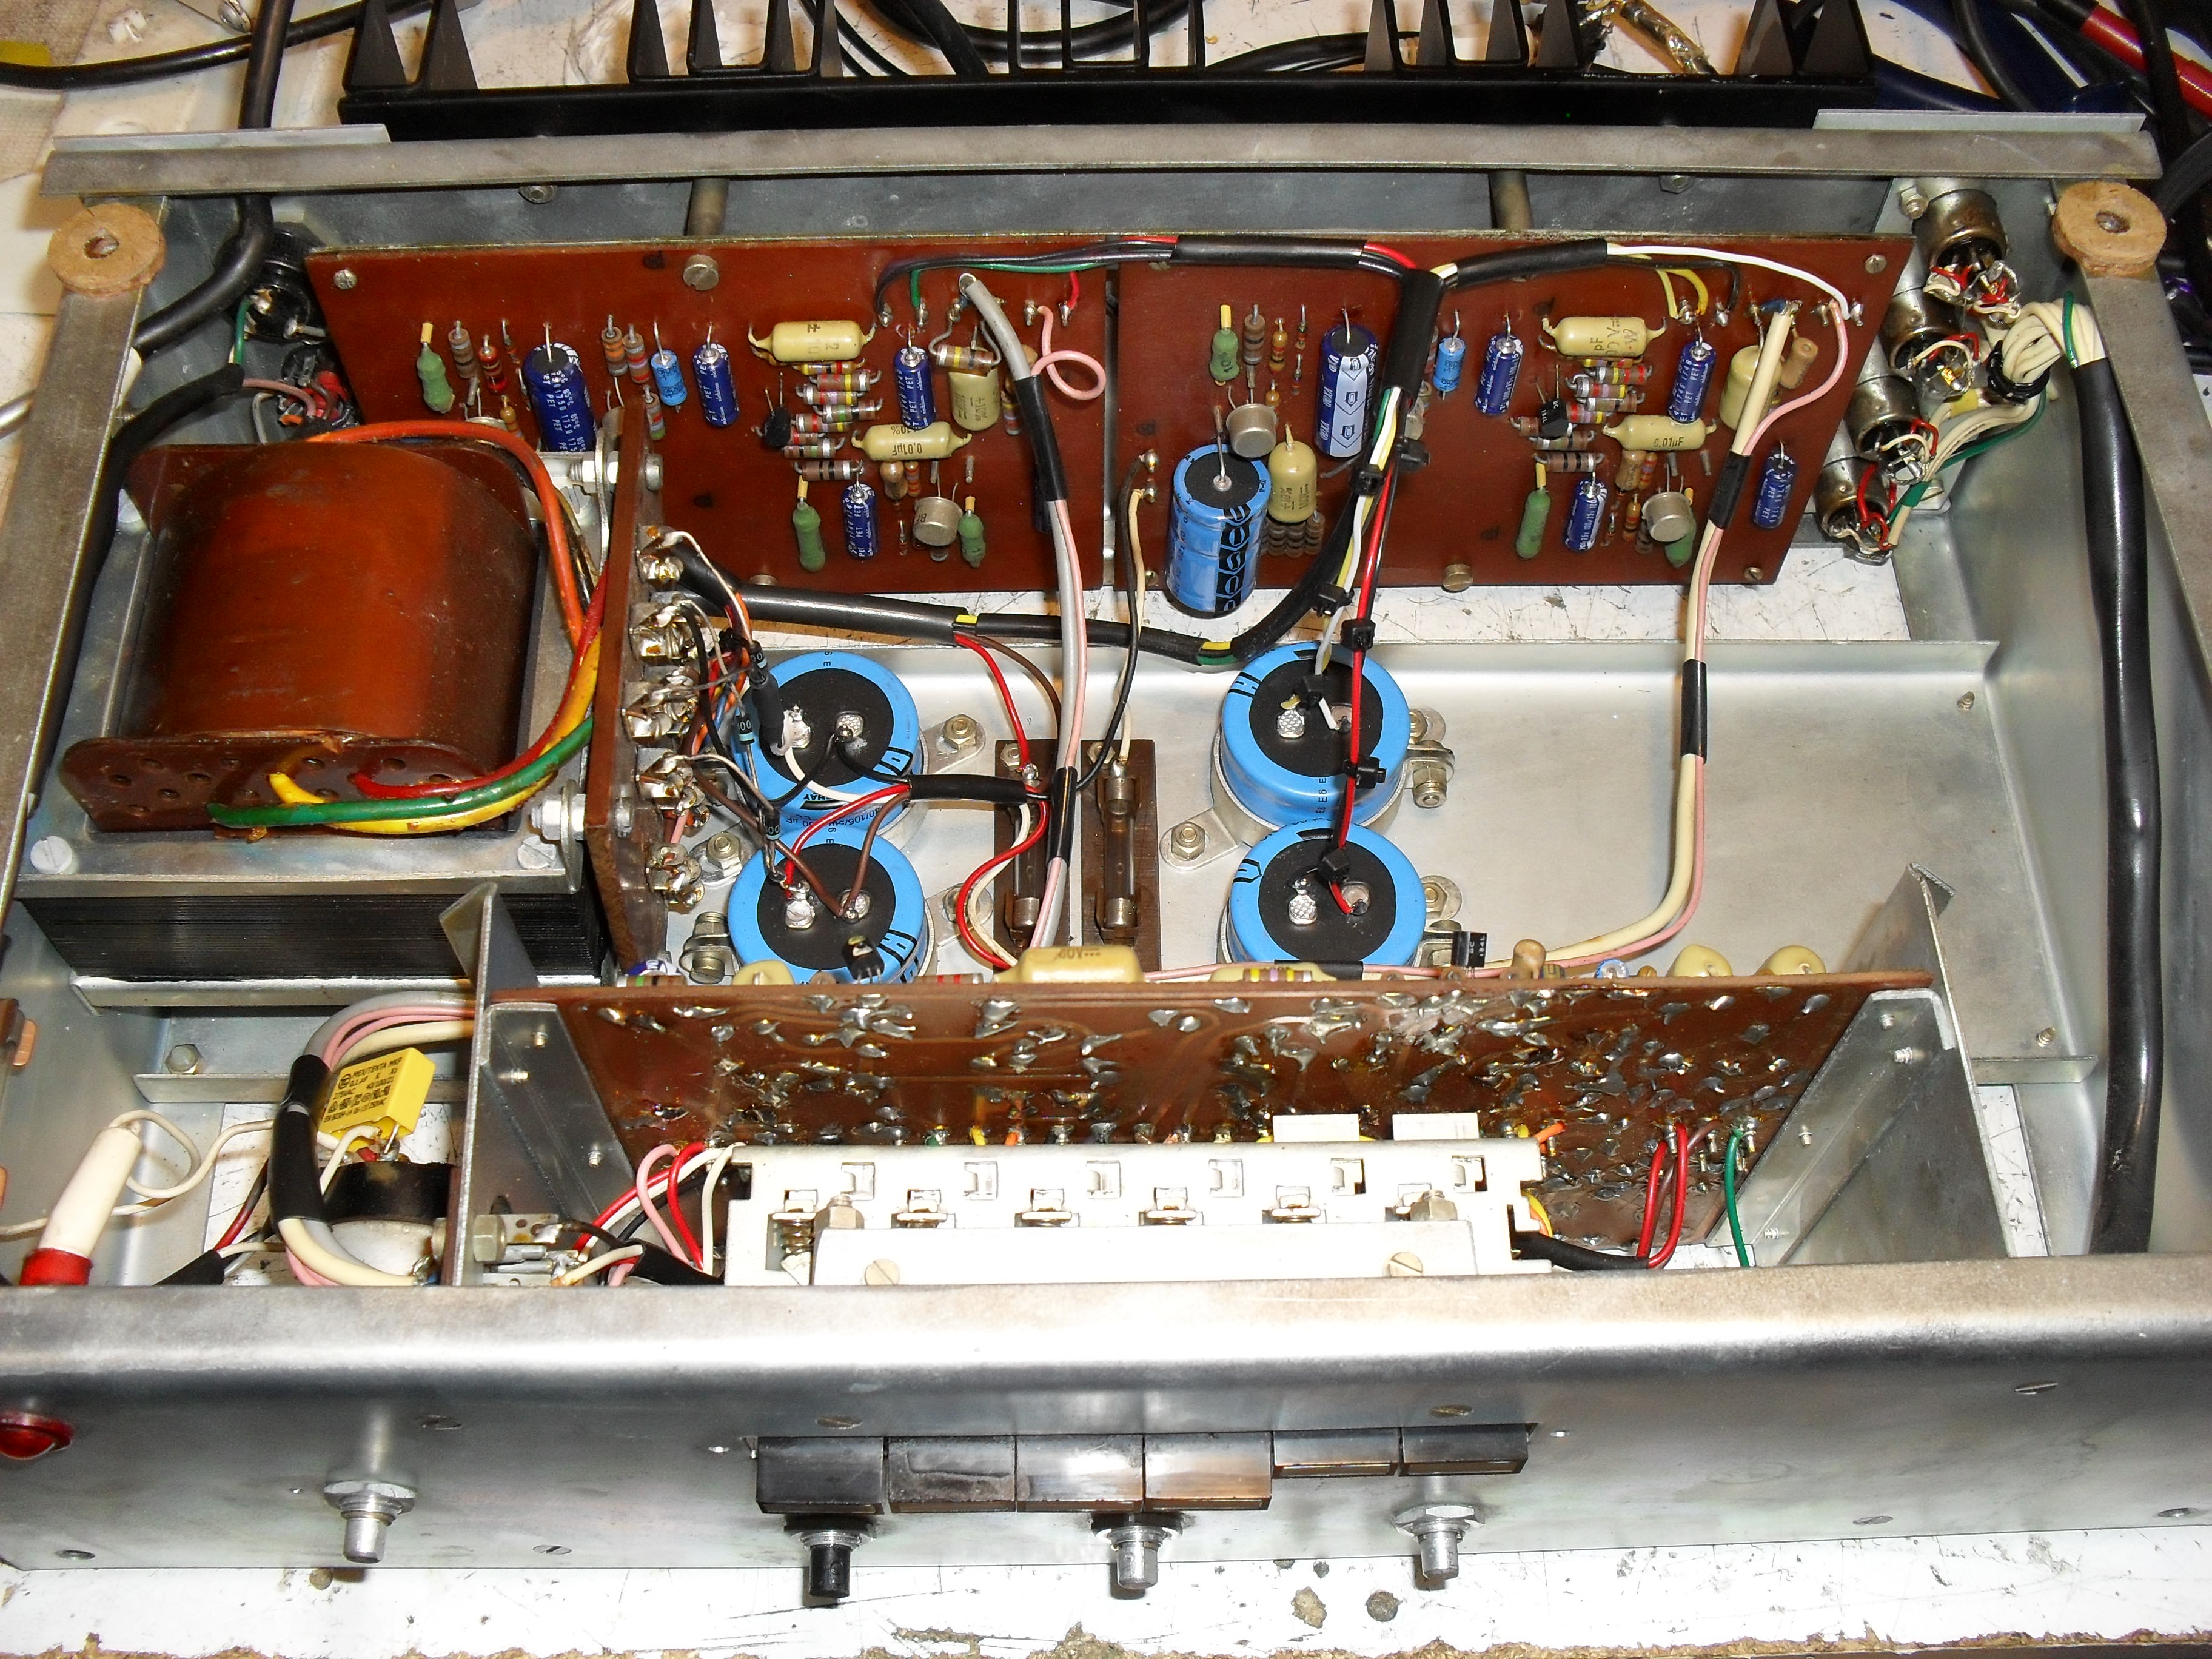
This is the pre amp section before work. The preset resistors allow the bass and treble controls to be trimmed so that they are genuinely "flat" when set at "12 o clock"!
Observe the broken resistor which once formed a mains suppressor in conjunction with the Mullard "dog bone" capacitor.... This is the first and only time I've known one of these caps to fail and in this case it wasn't surprising as it was nowhere near high enough rated for the voltage. It was a 400V DC cap and needs to be at least a 630V DC cap for this use!
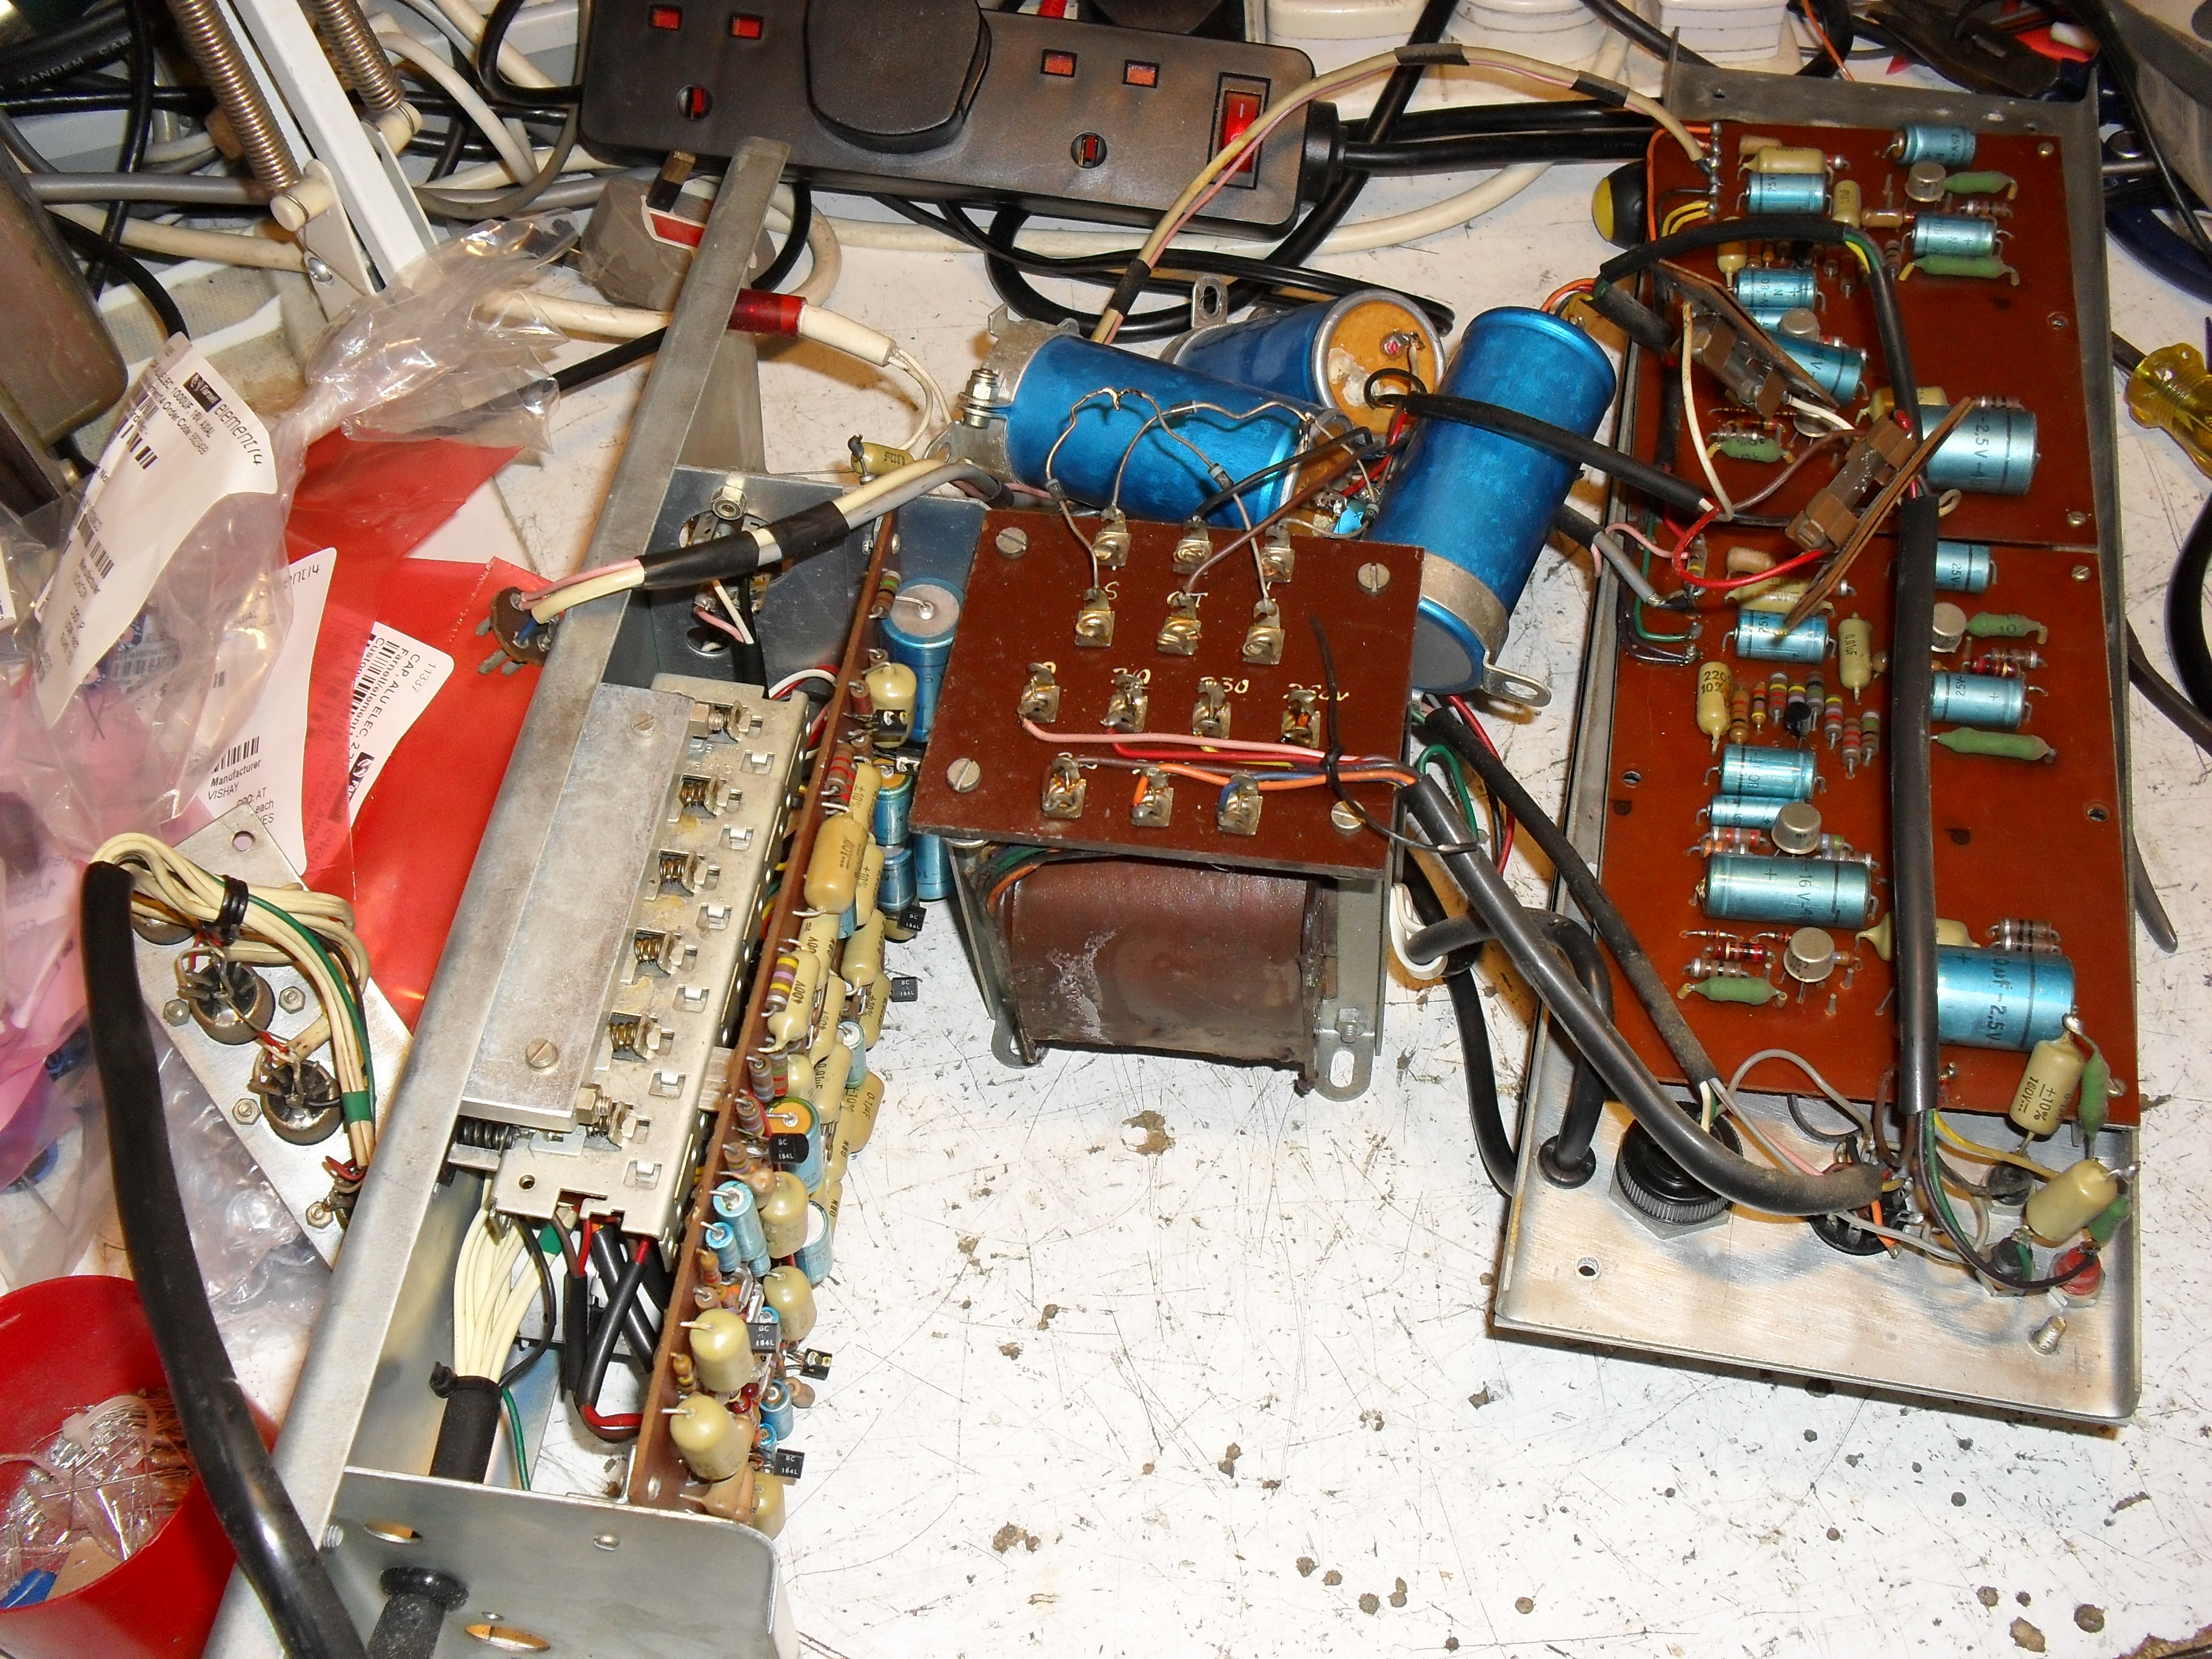
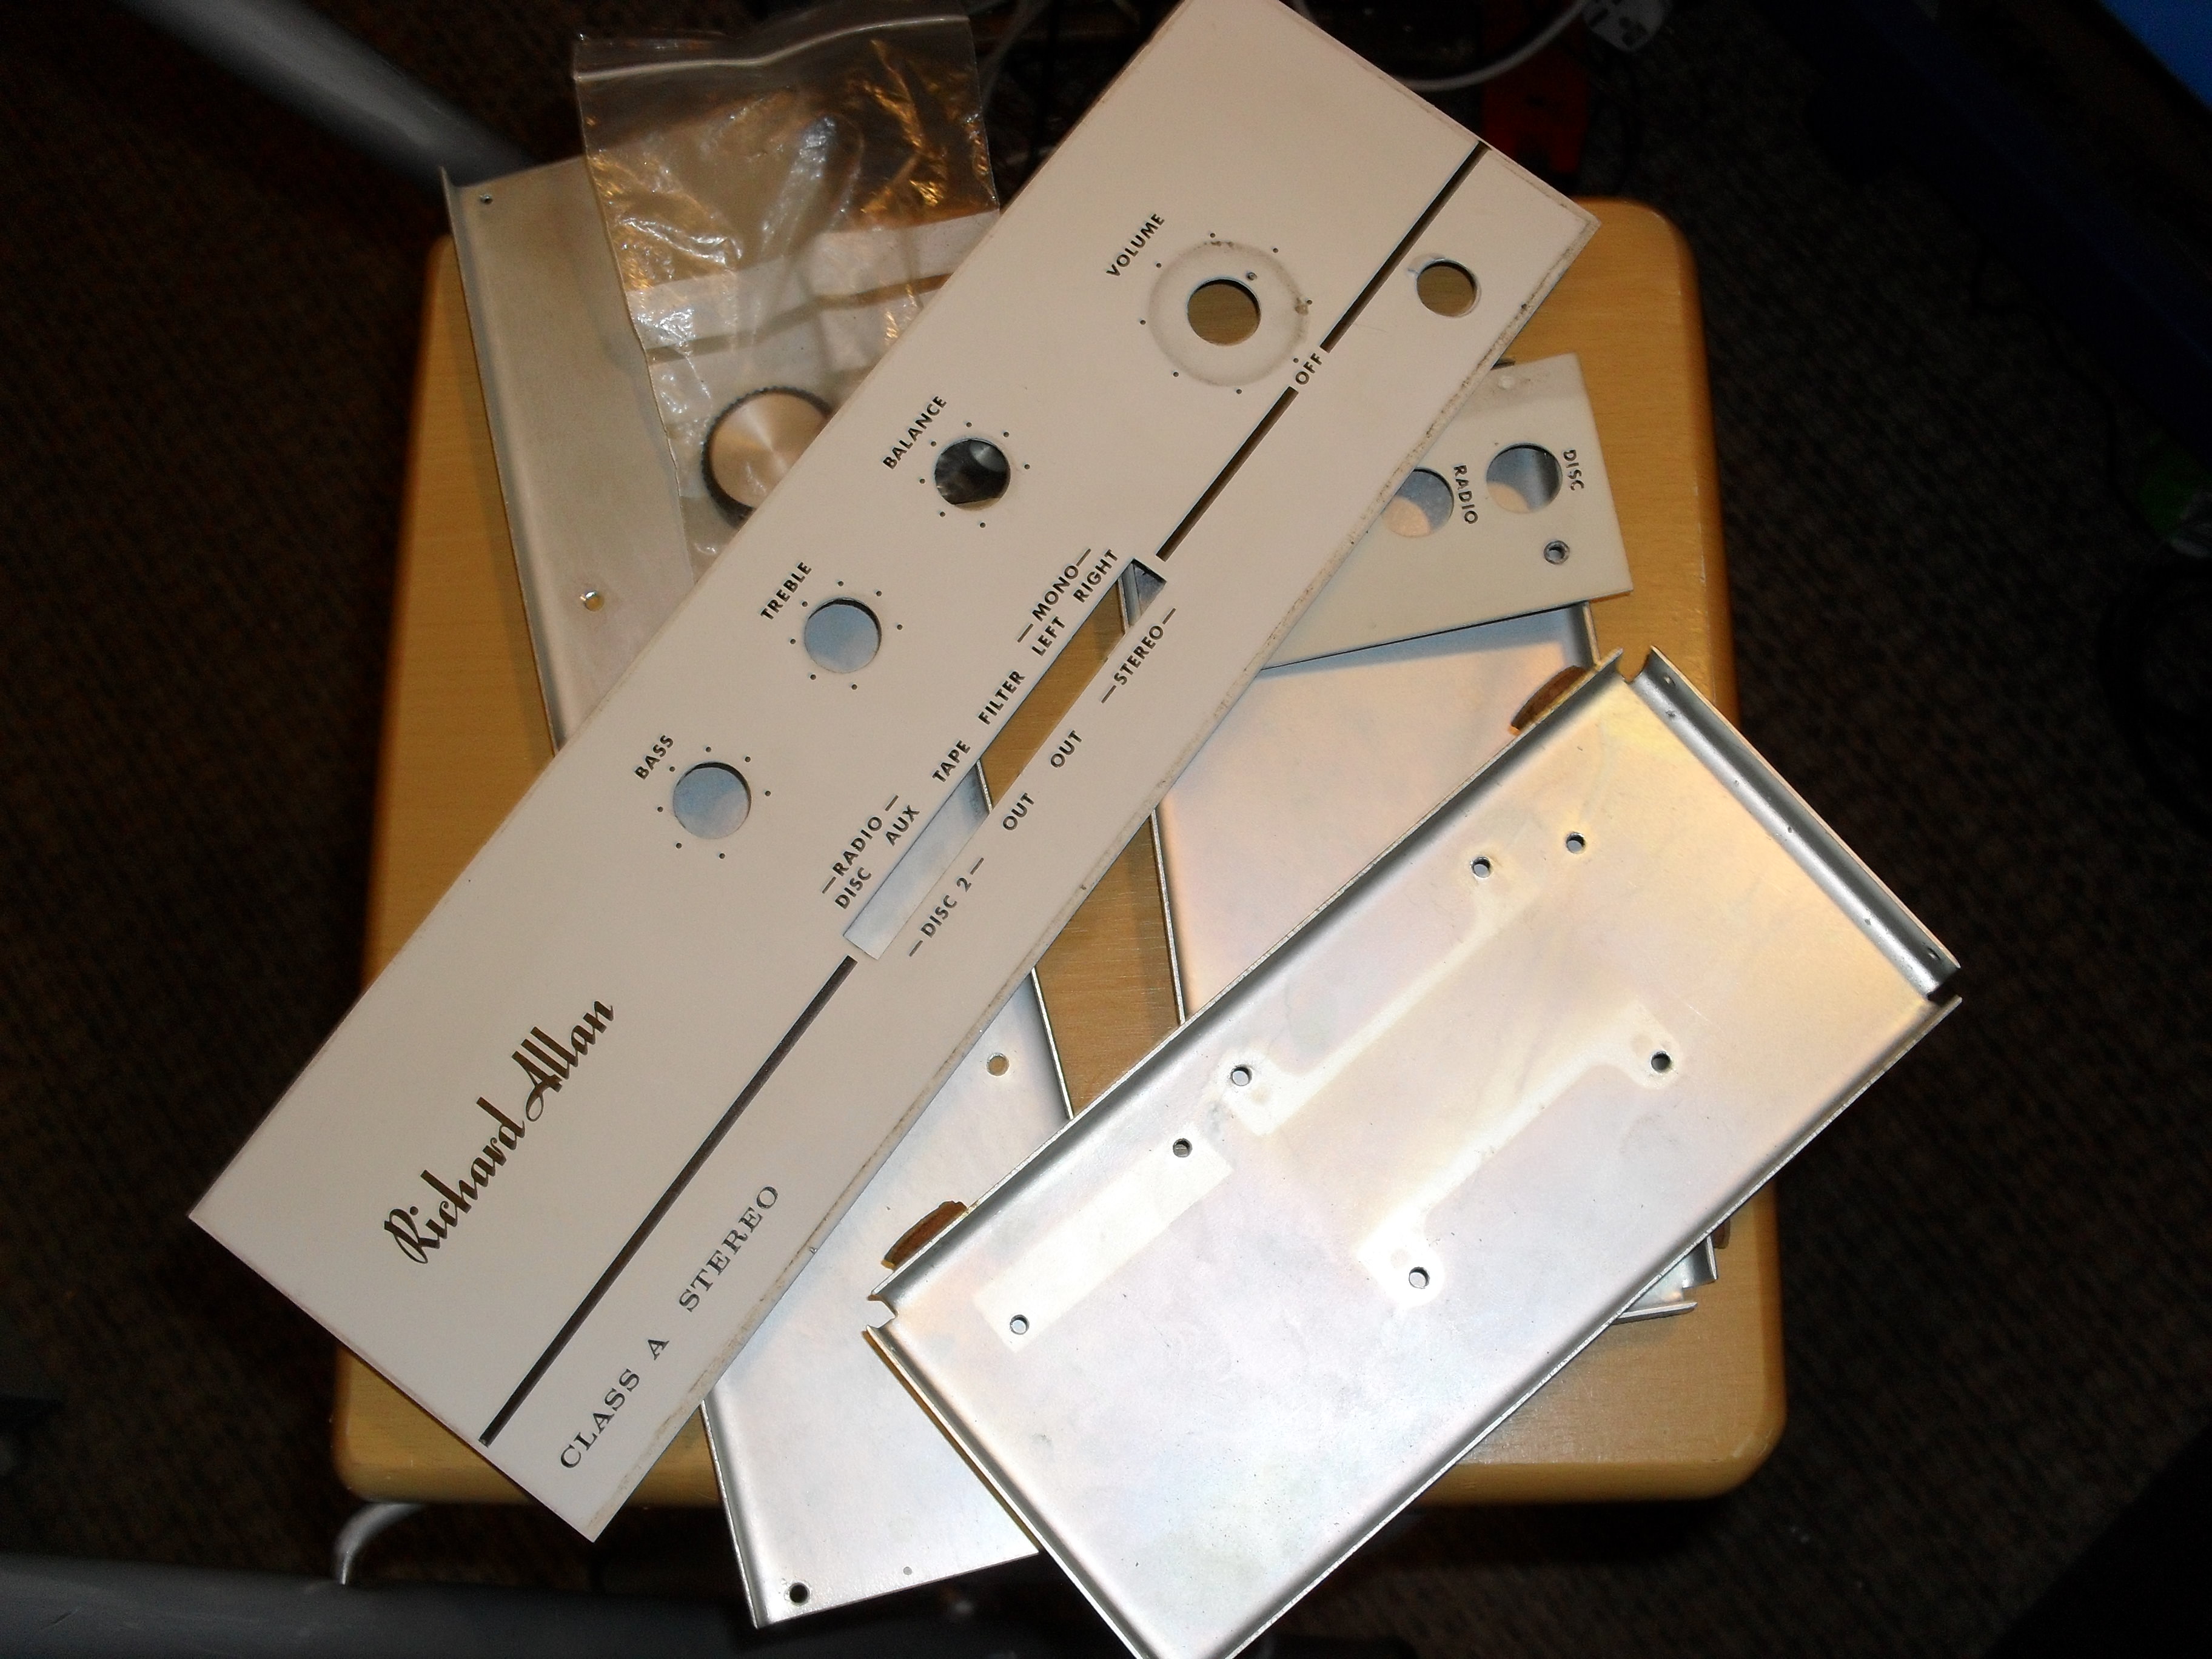
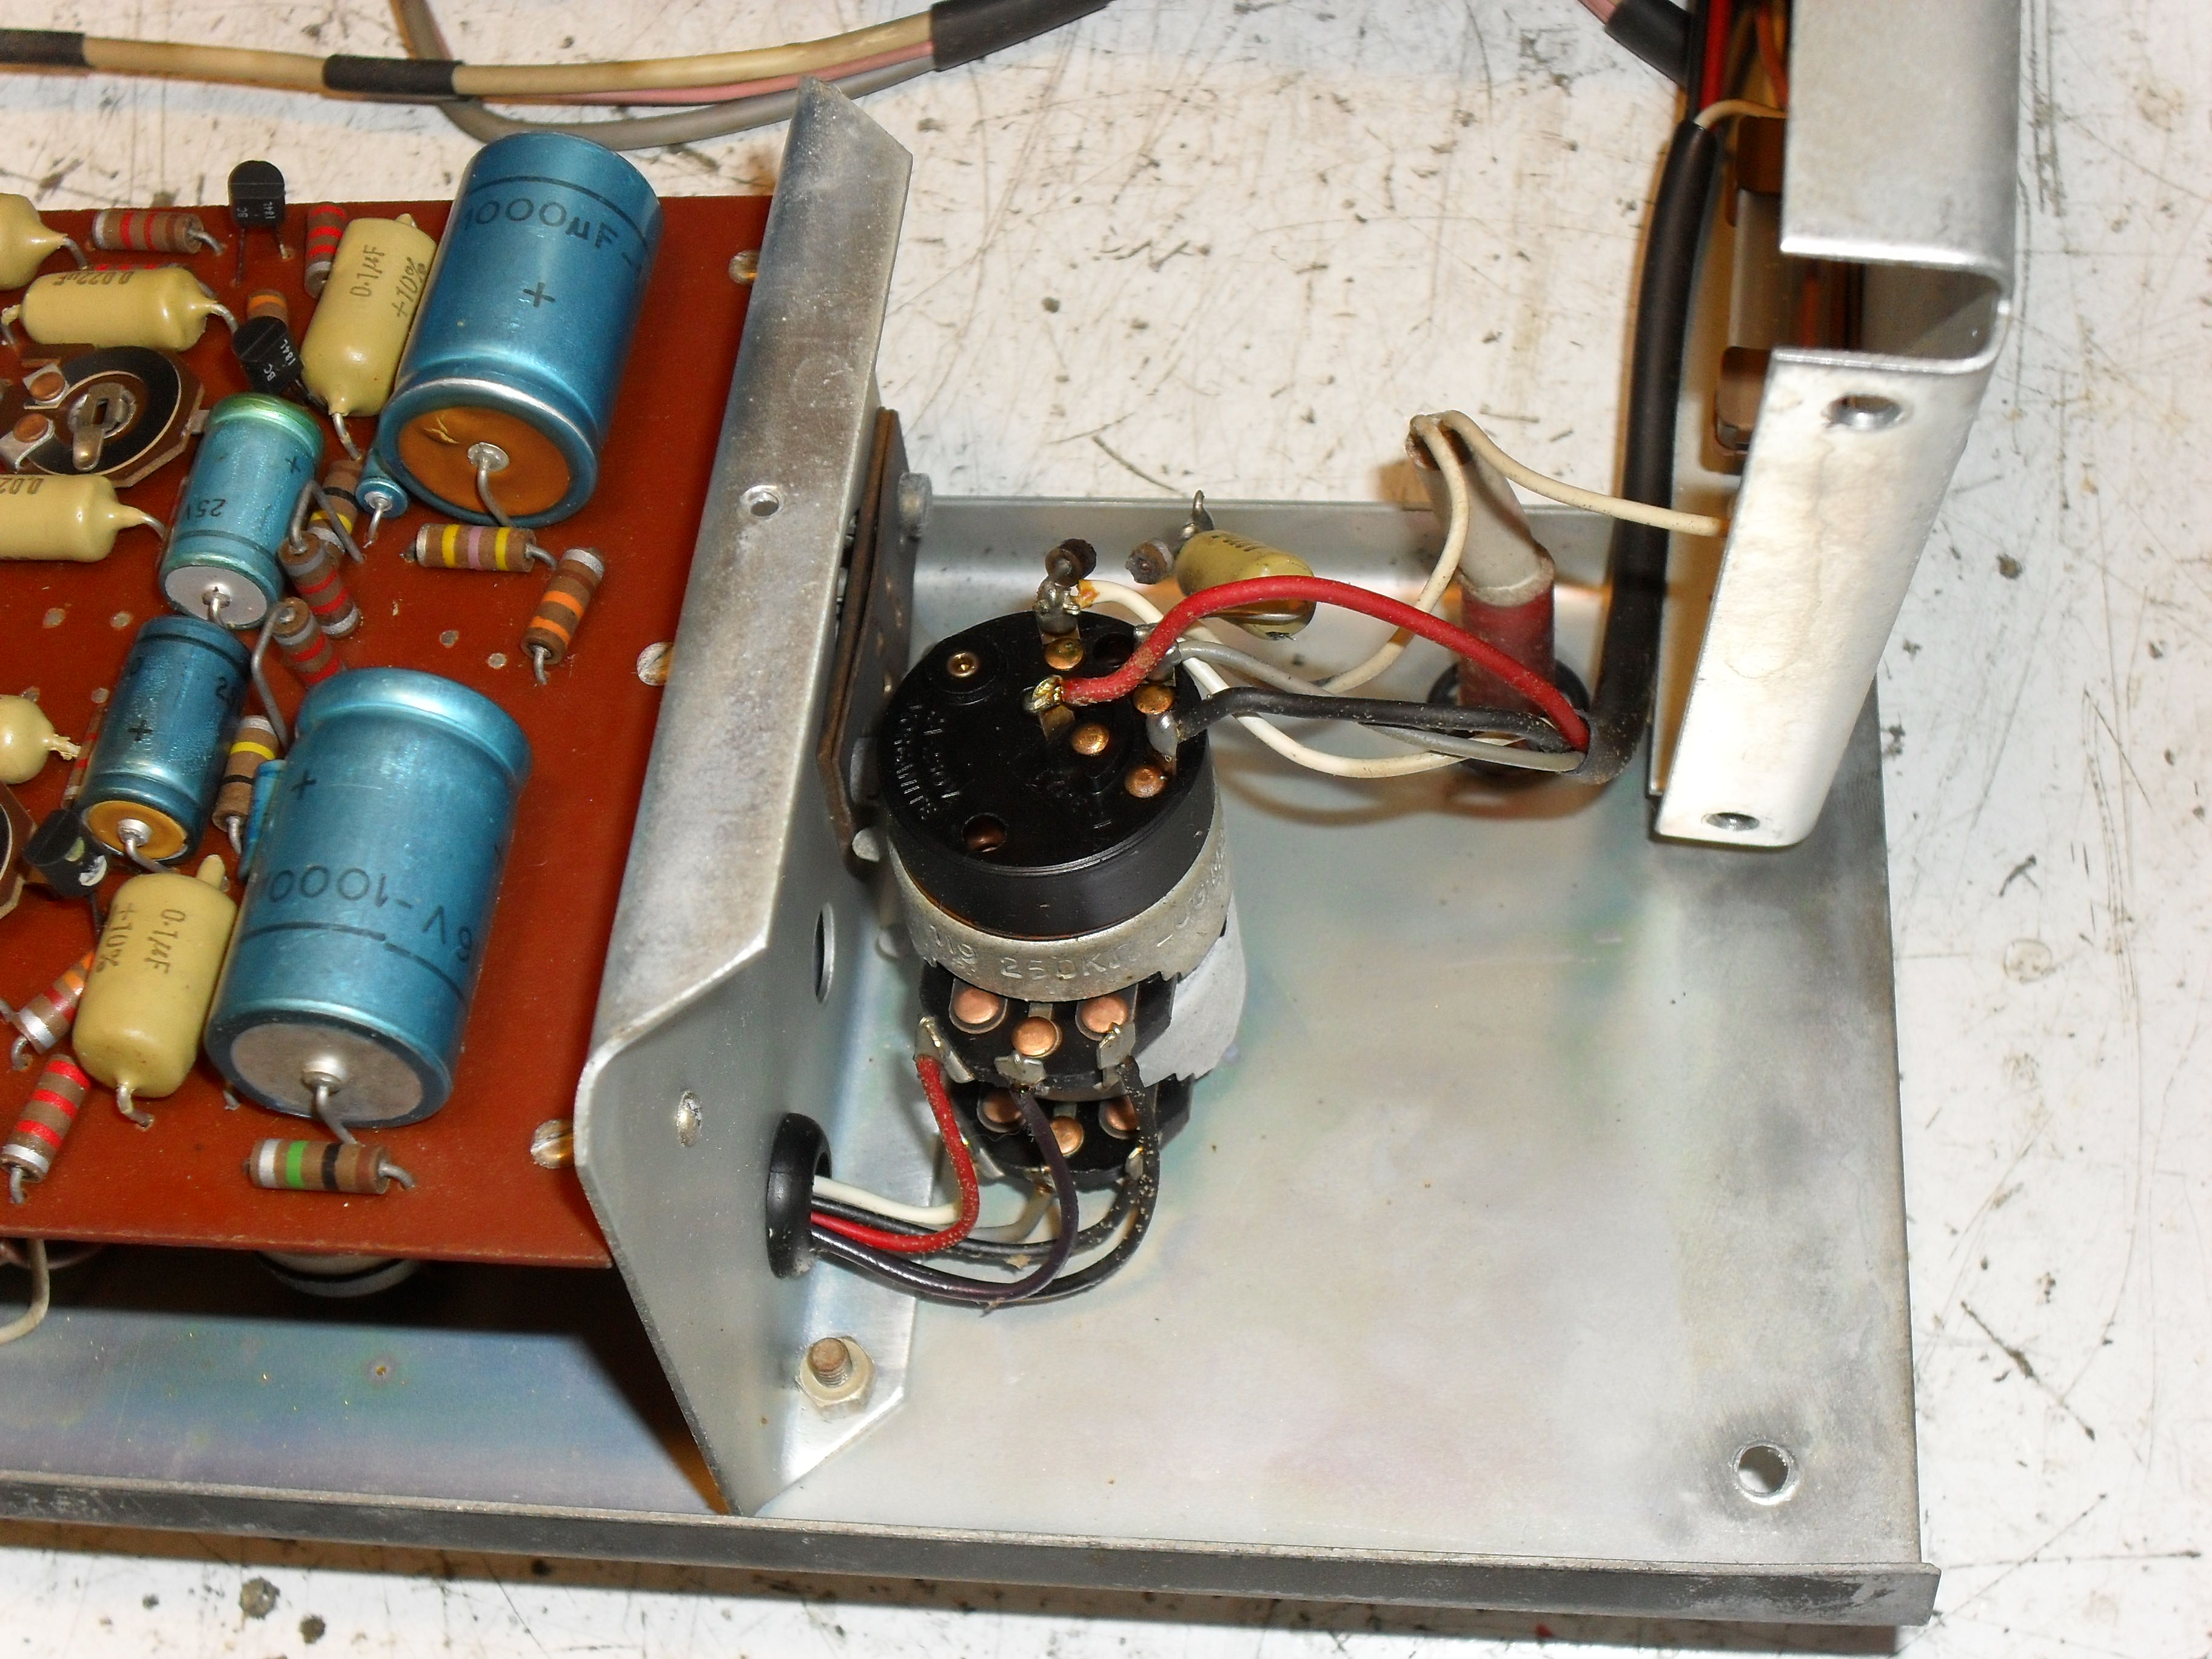
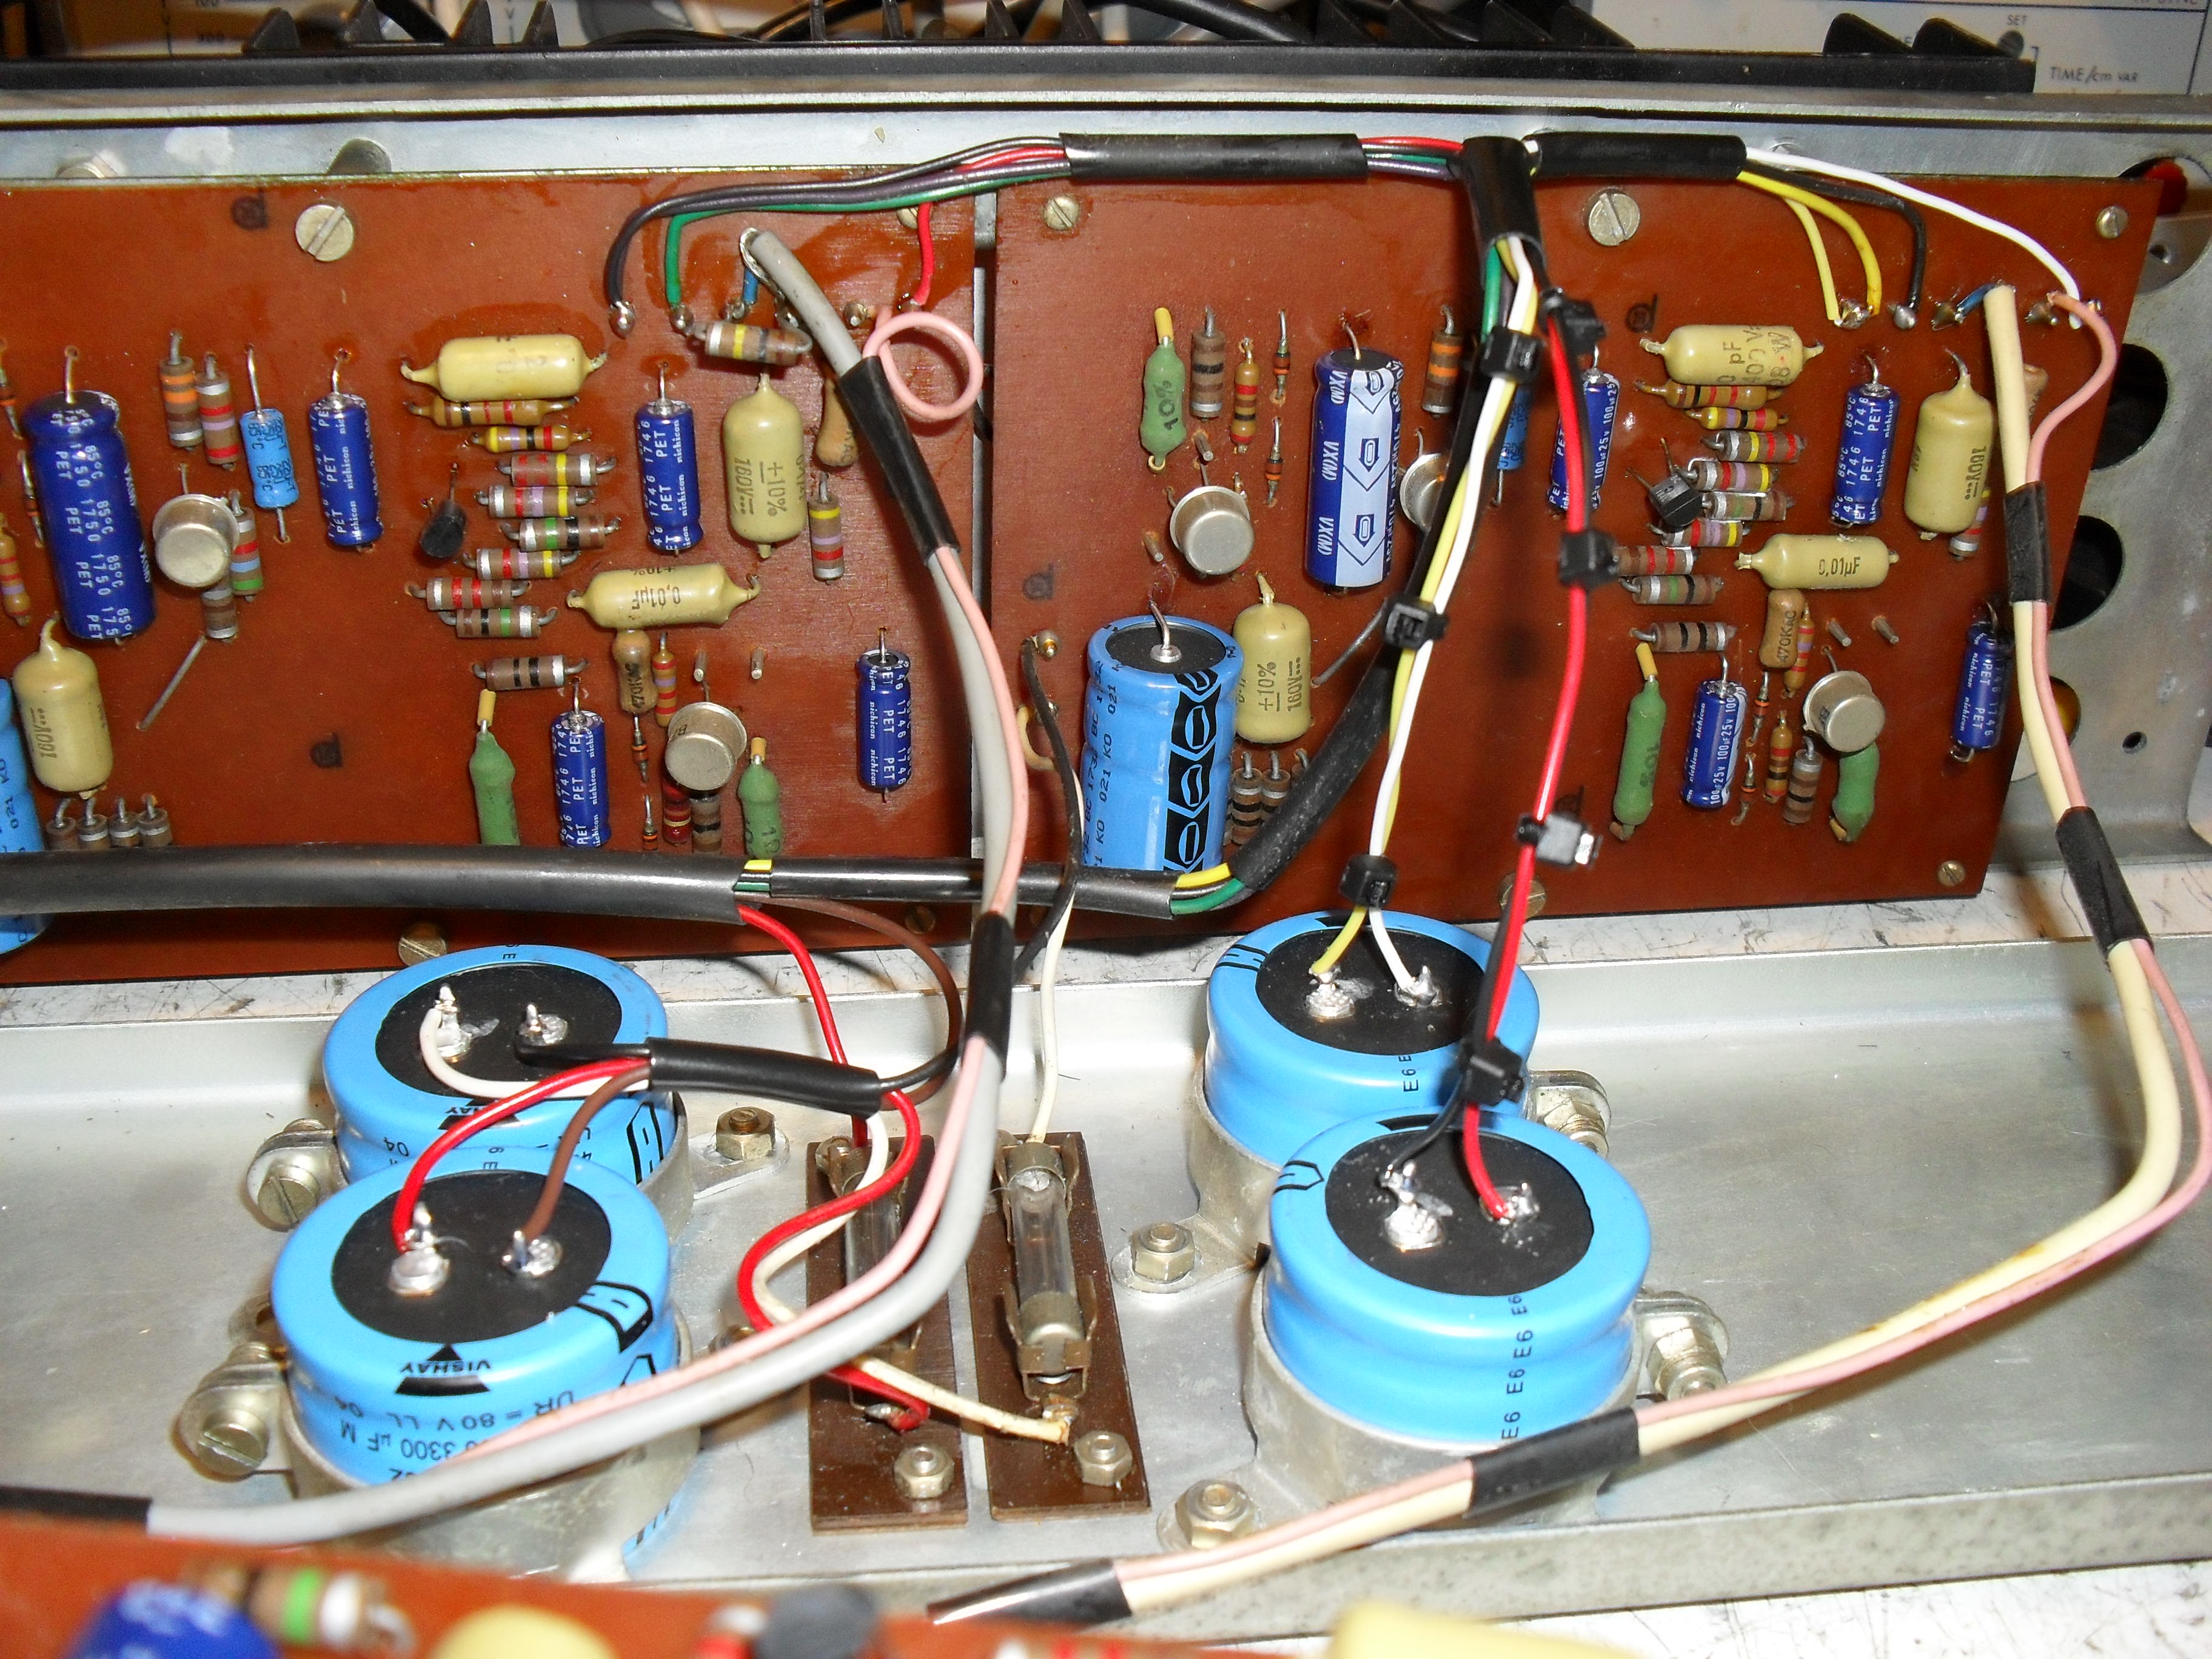
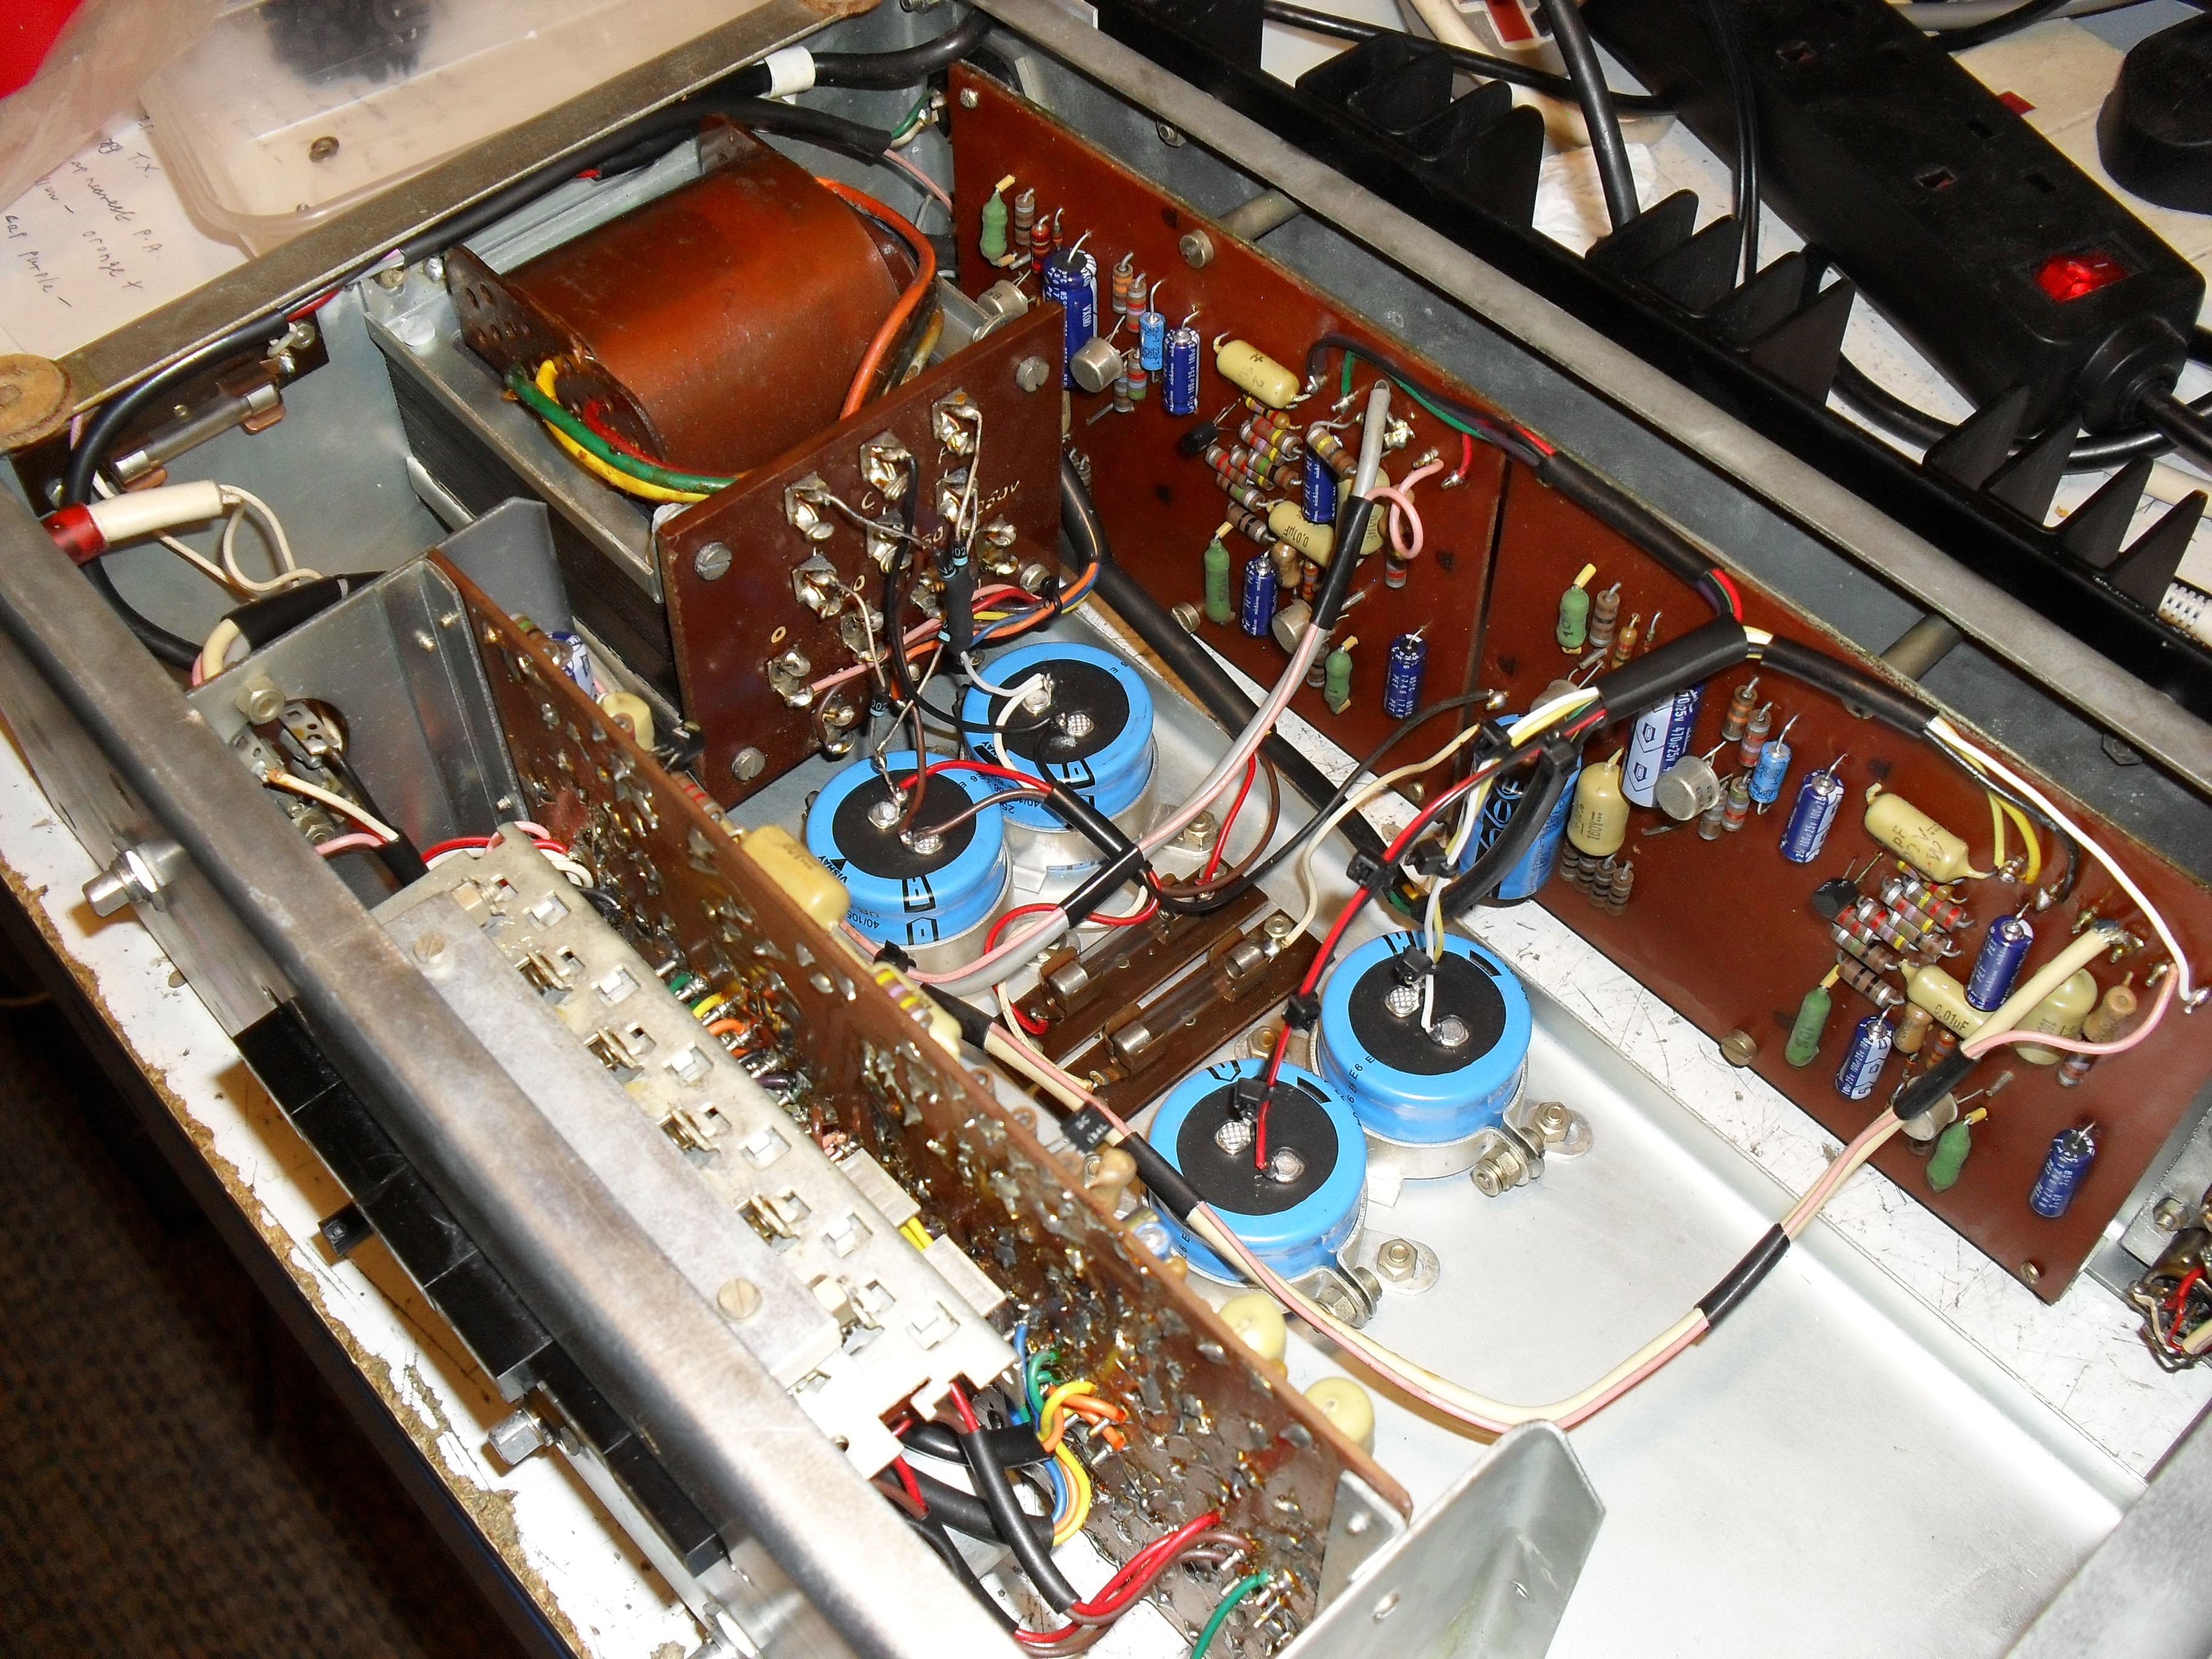
A few pics showing the total strip down that was needed to properly do the work... It's a twat to work on! The mains transformer has to be disconnected and unbolted just to get at the fasteners to remove other parts as a small illustration
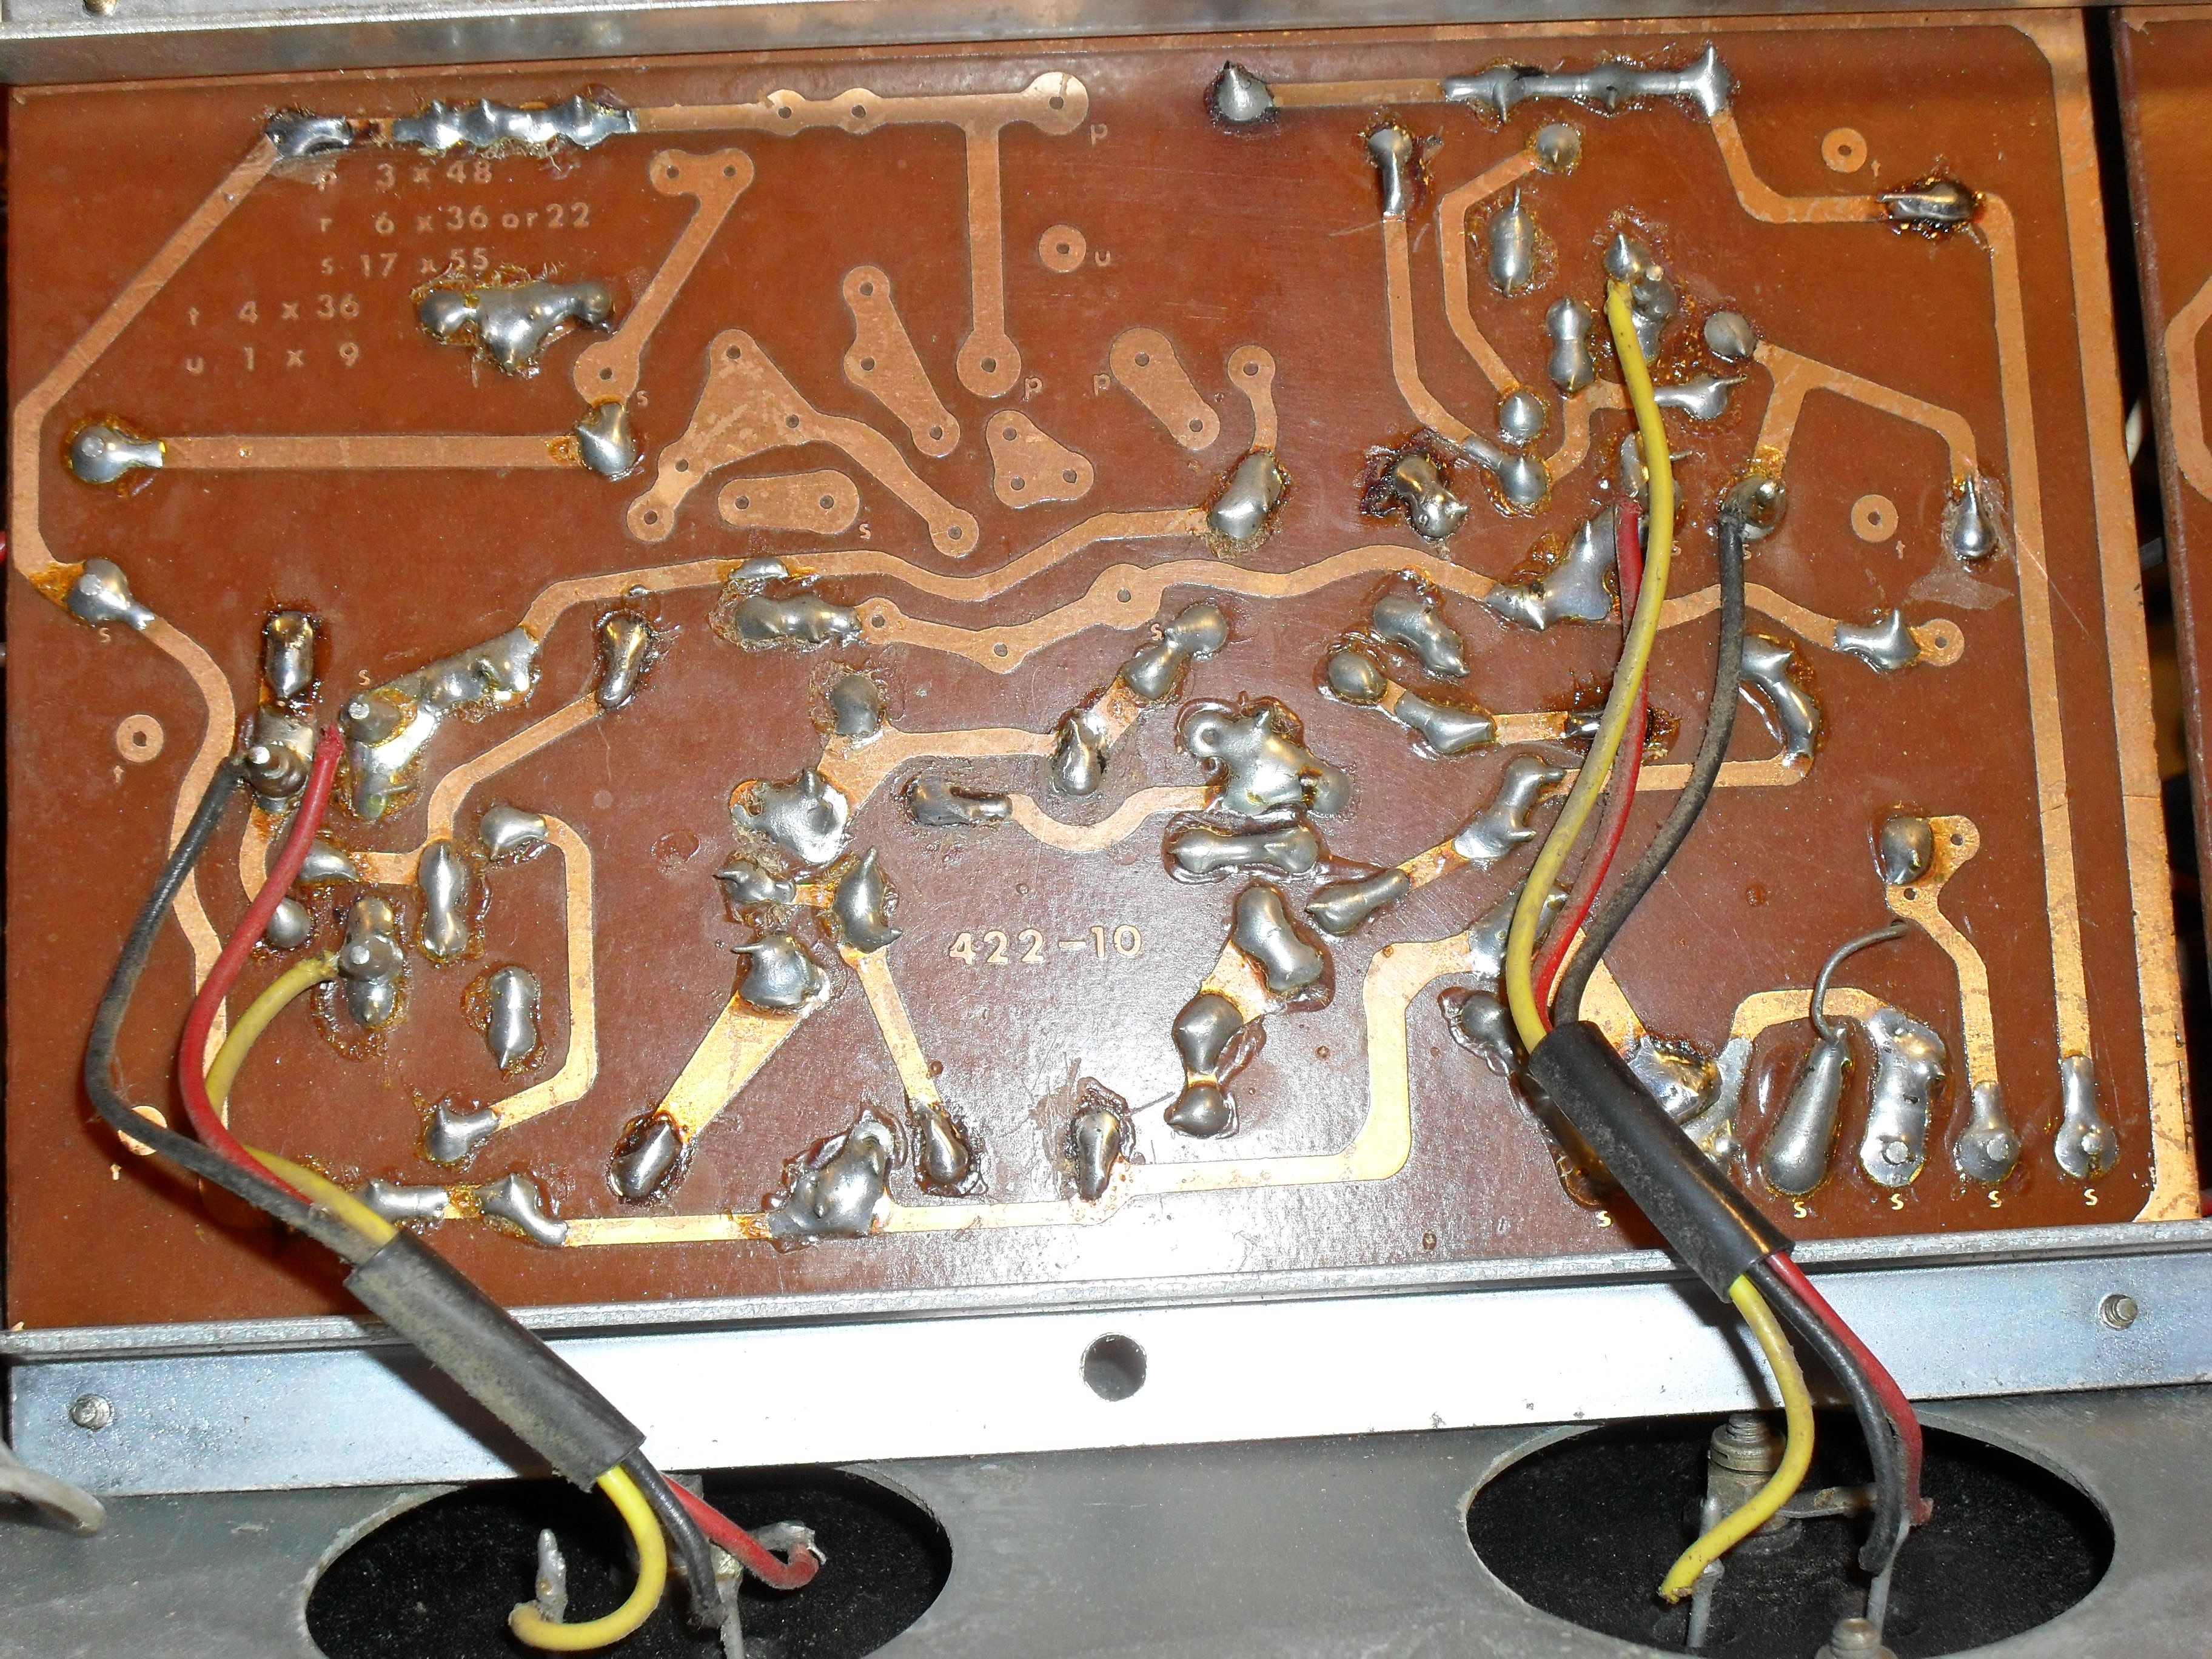
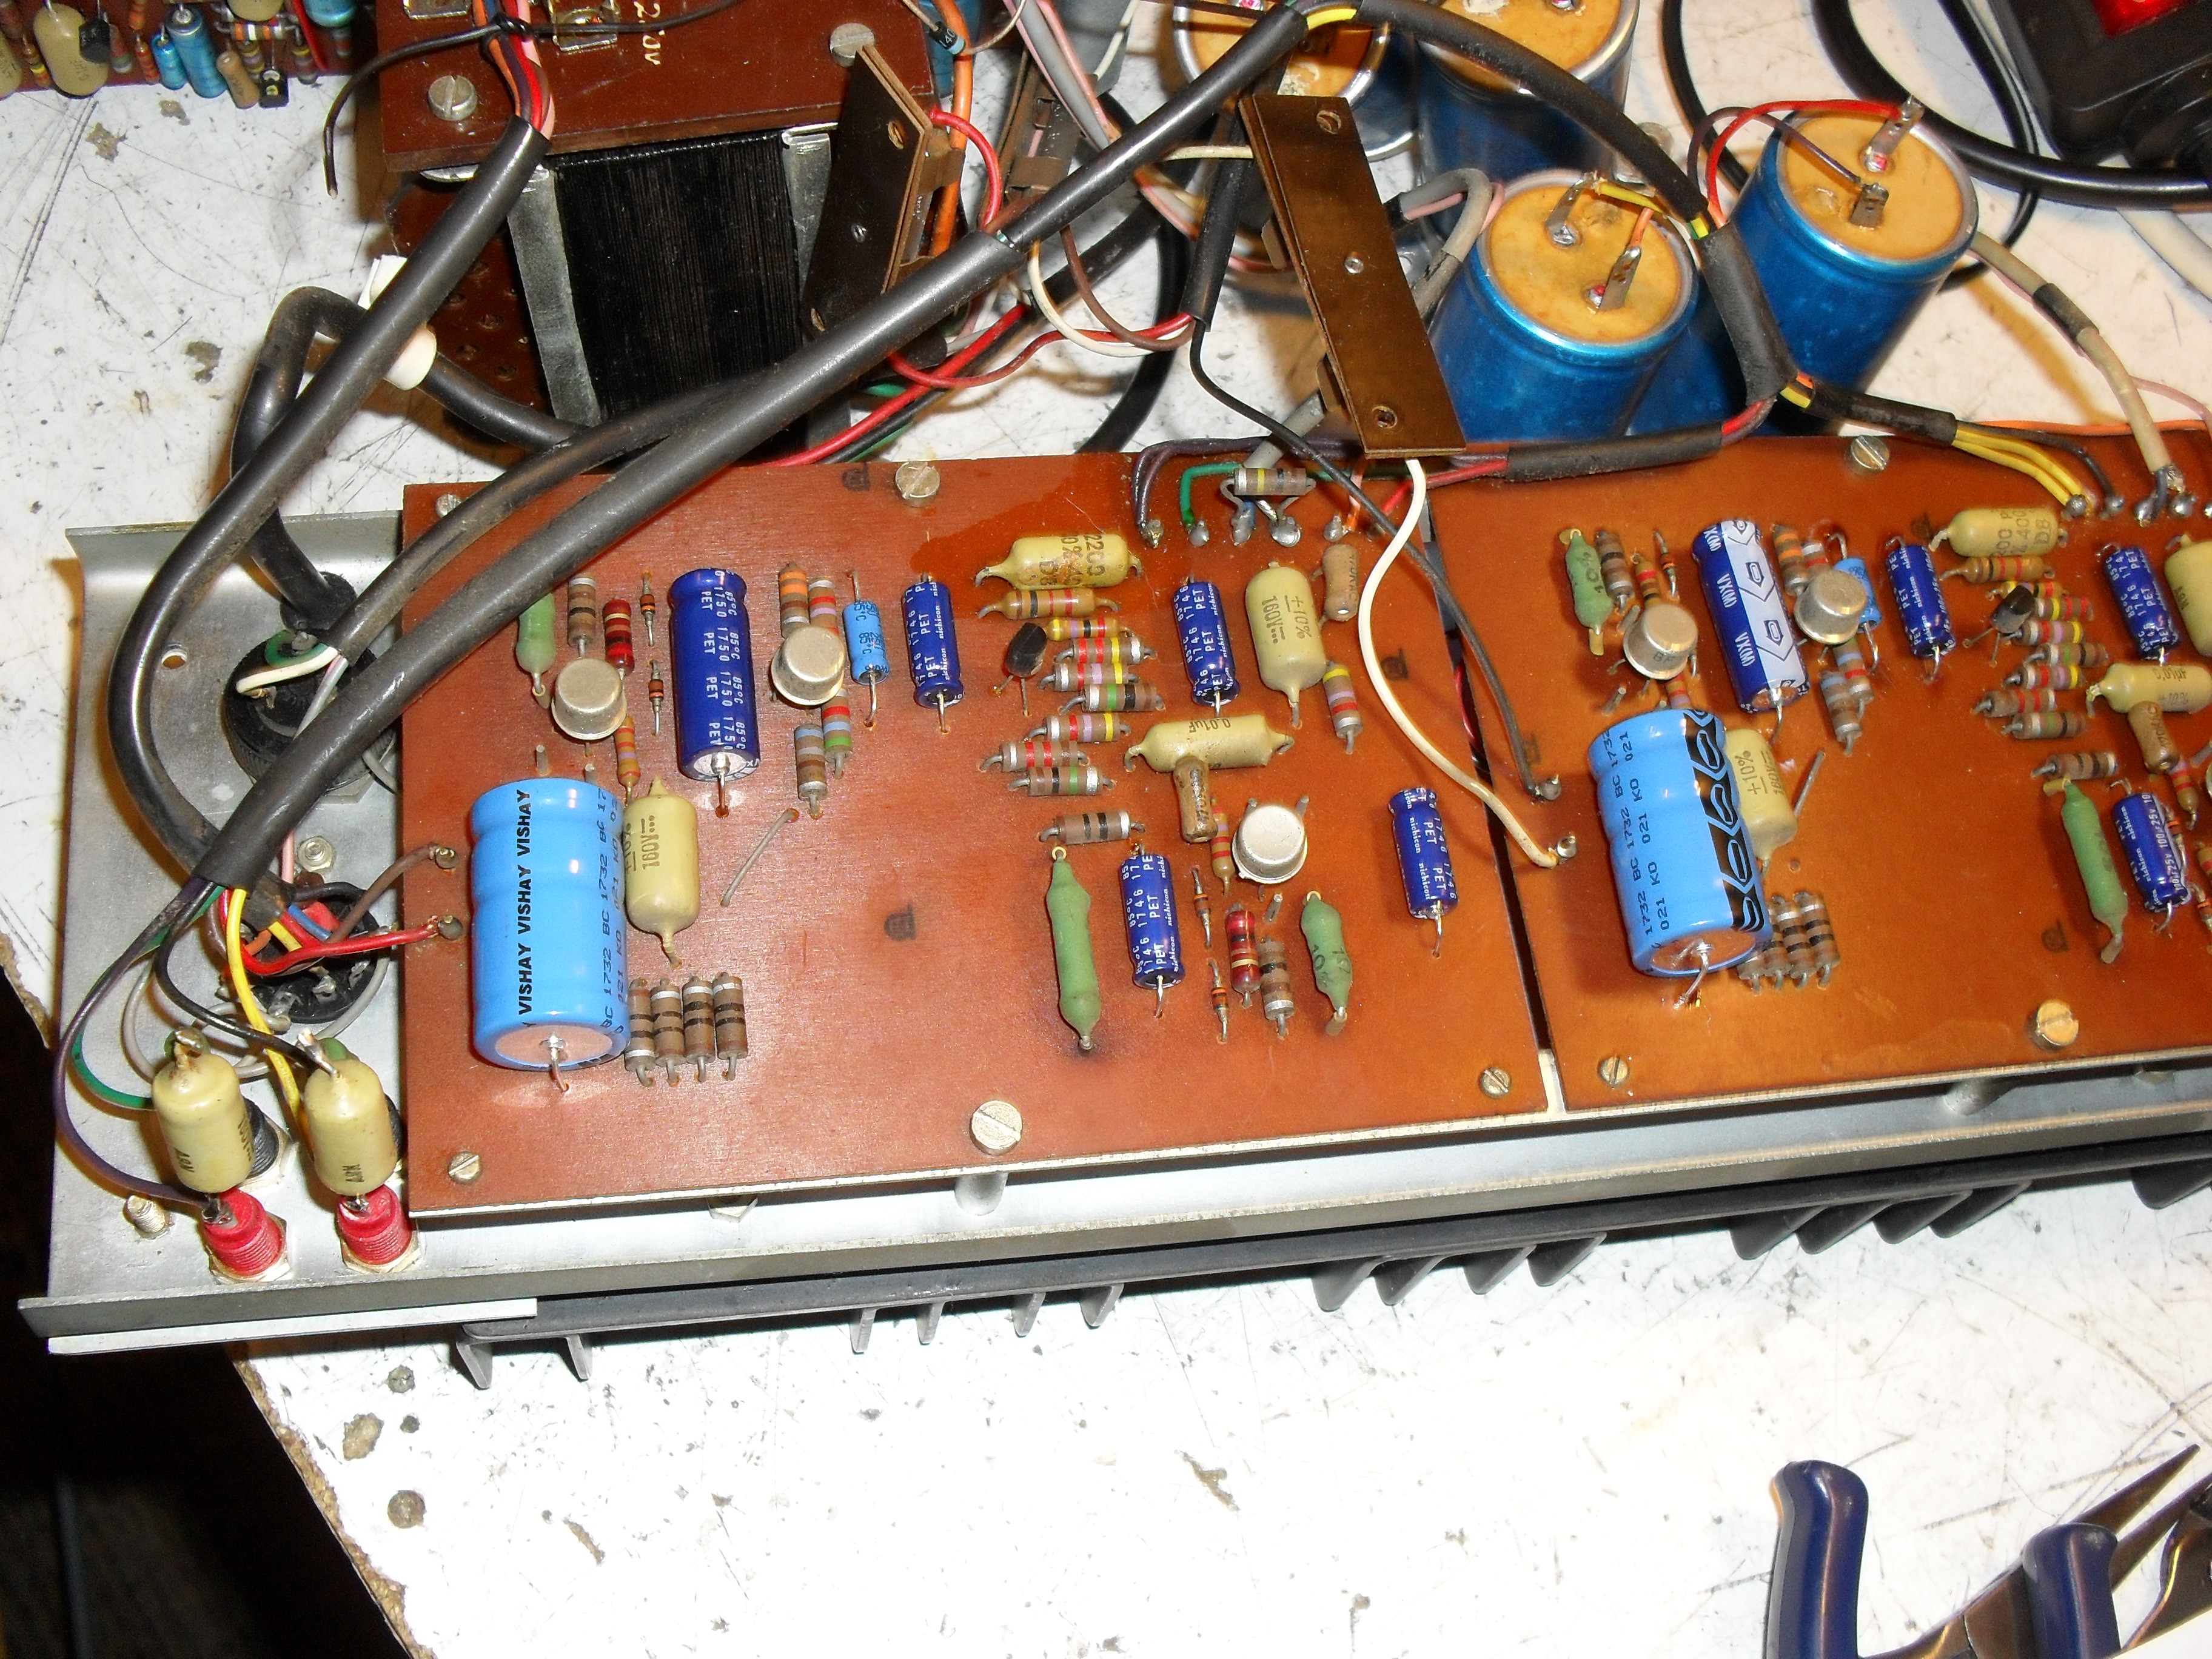
A pic of one channel of power amp showing interesting extra tracks and un-drilled holes which suggest it was/could have been used for another model also...
New speaker sockets fitted...
Re-capped power amp boards...
Re-capped pre amp board and new modern suppressor cap across on-off switch...
New smoothing caps and speaker coupling caps are rather smaller than the originals! Despite having over twice the voltage rating!
.... which meant having to replace some of the wiring loom to accommodate them...
A few hours later...
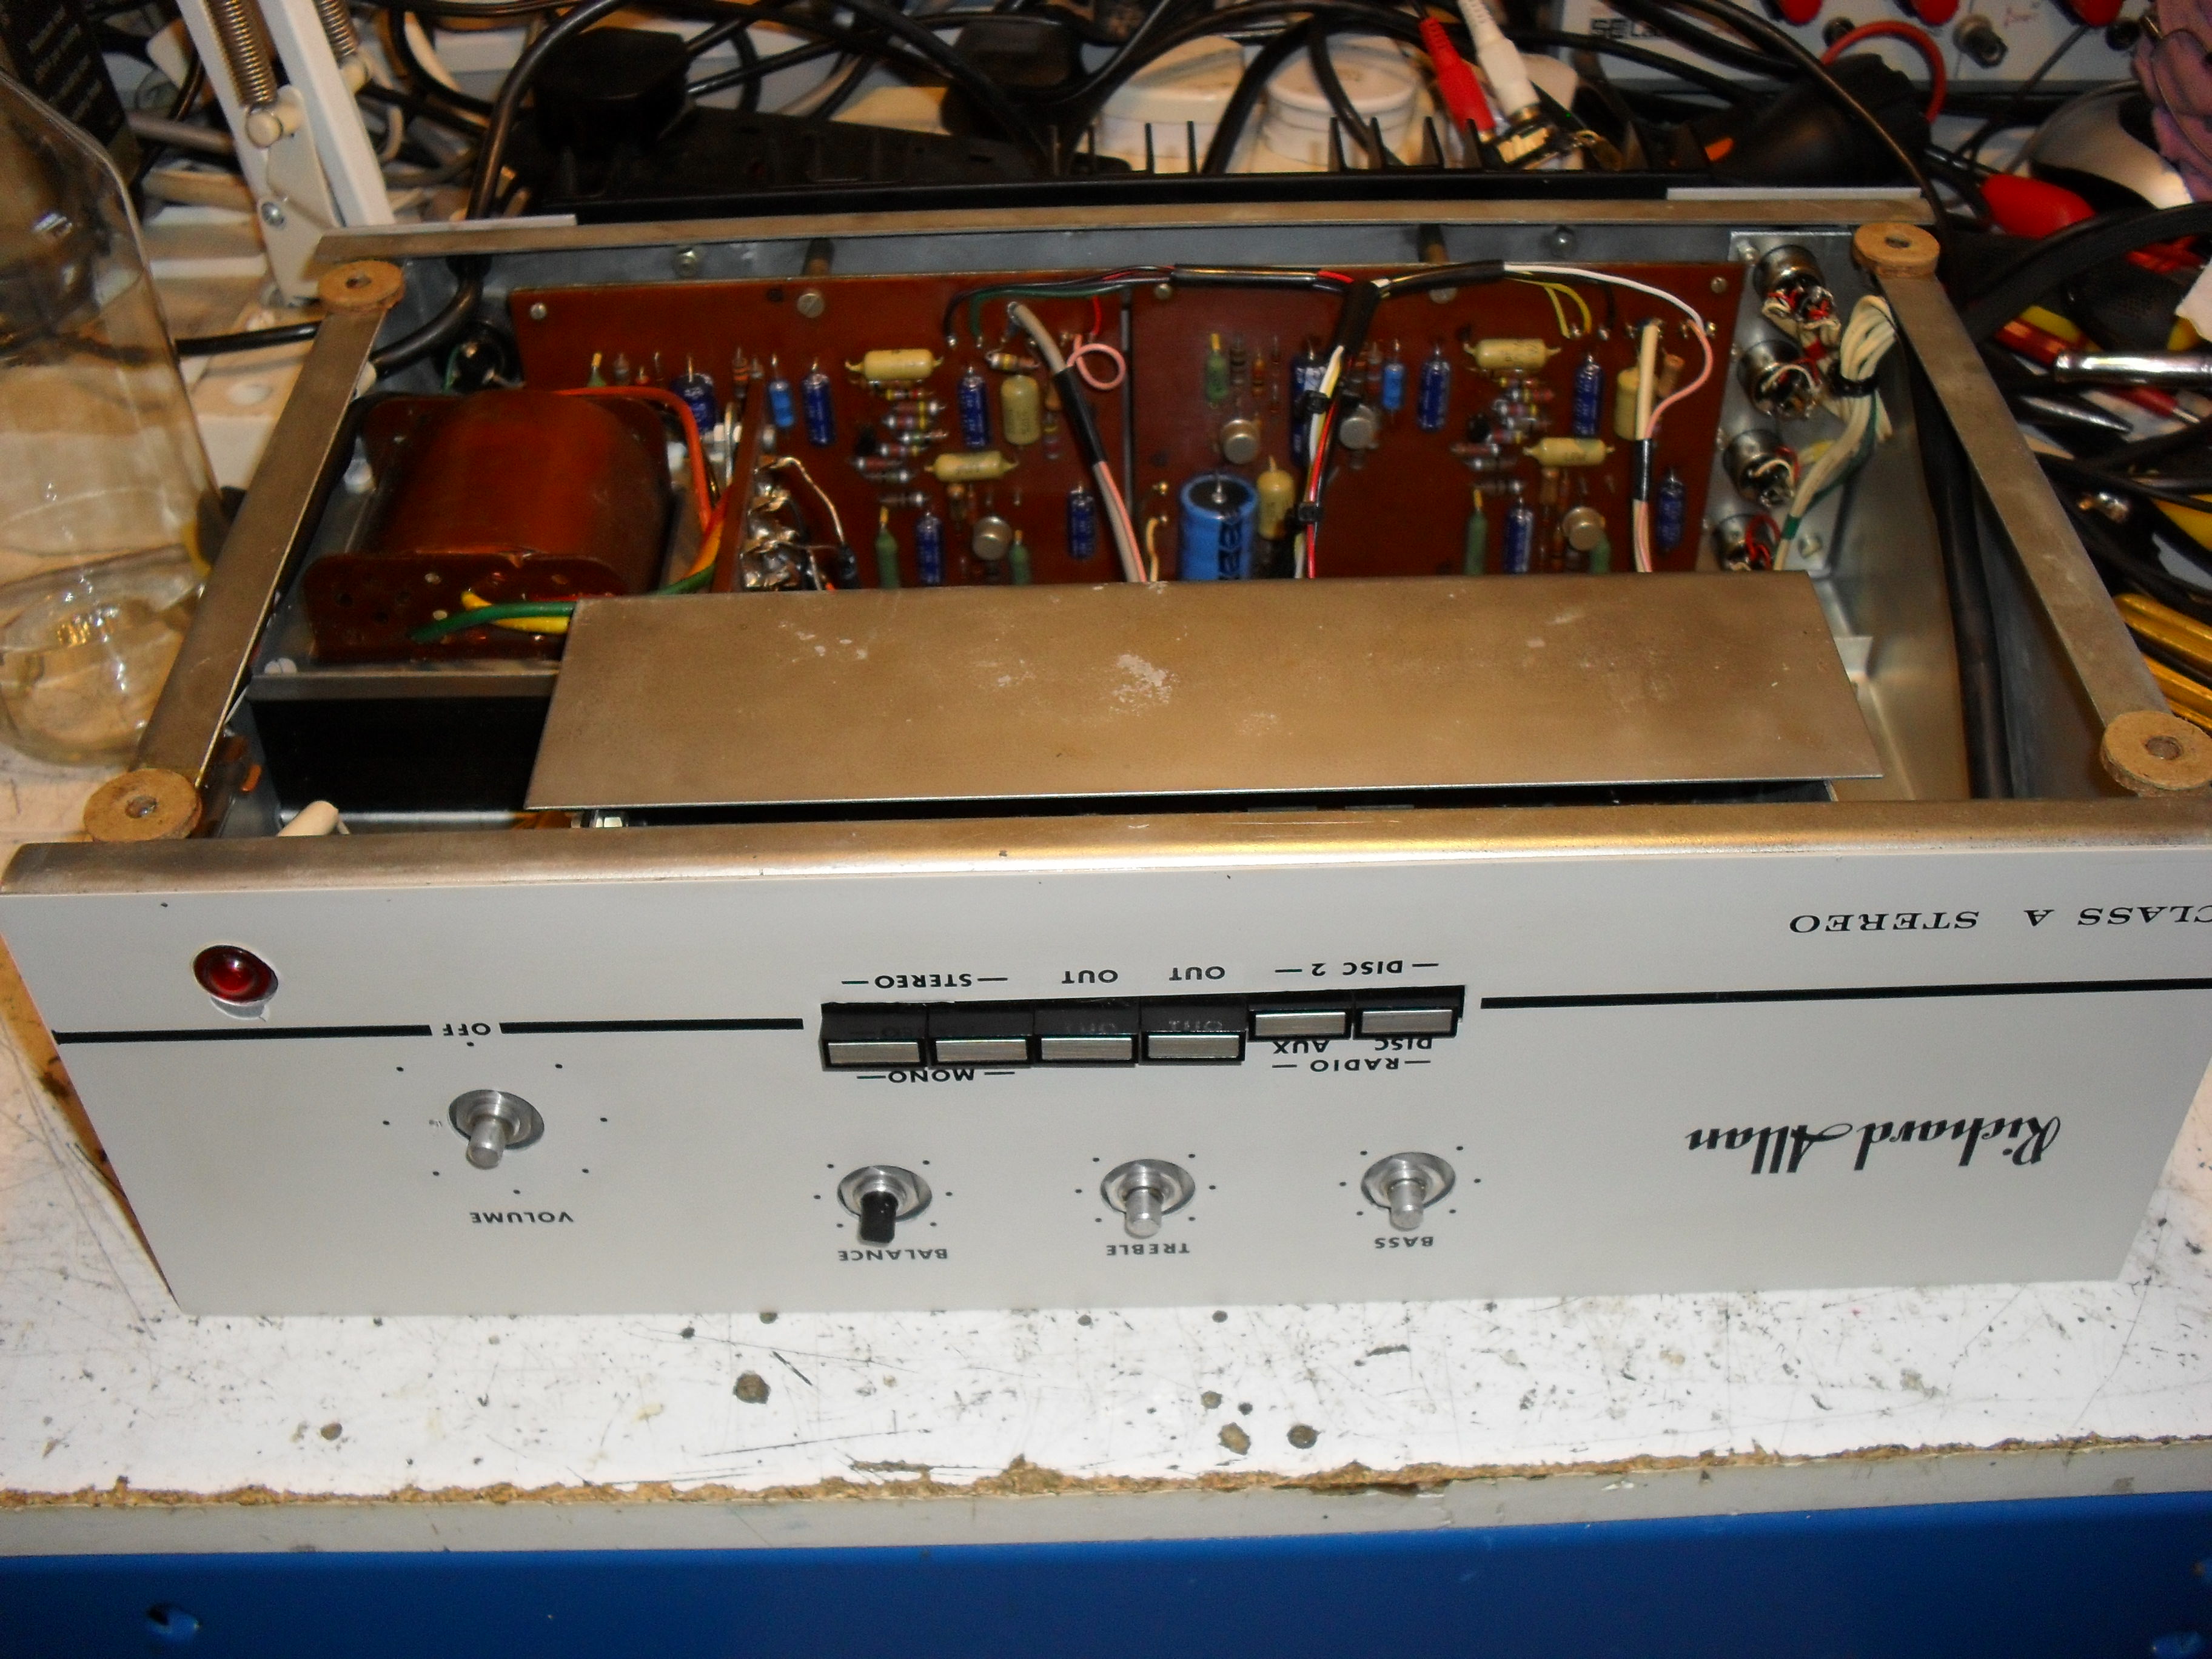
Cleaned front panel and pre amp screening cover back in place.
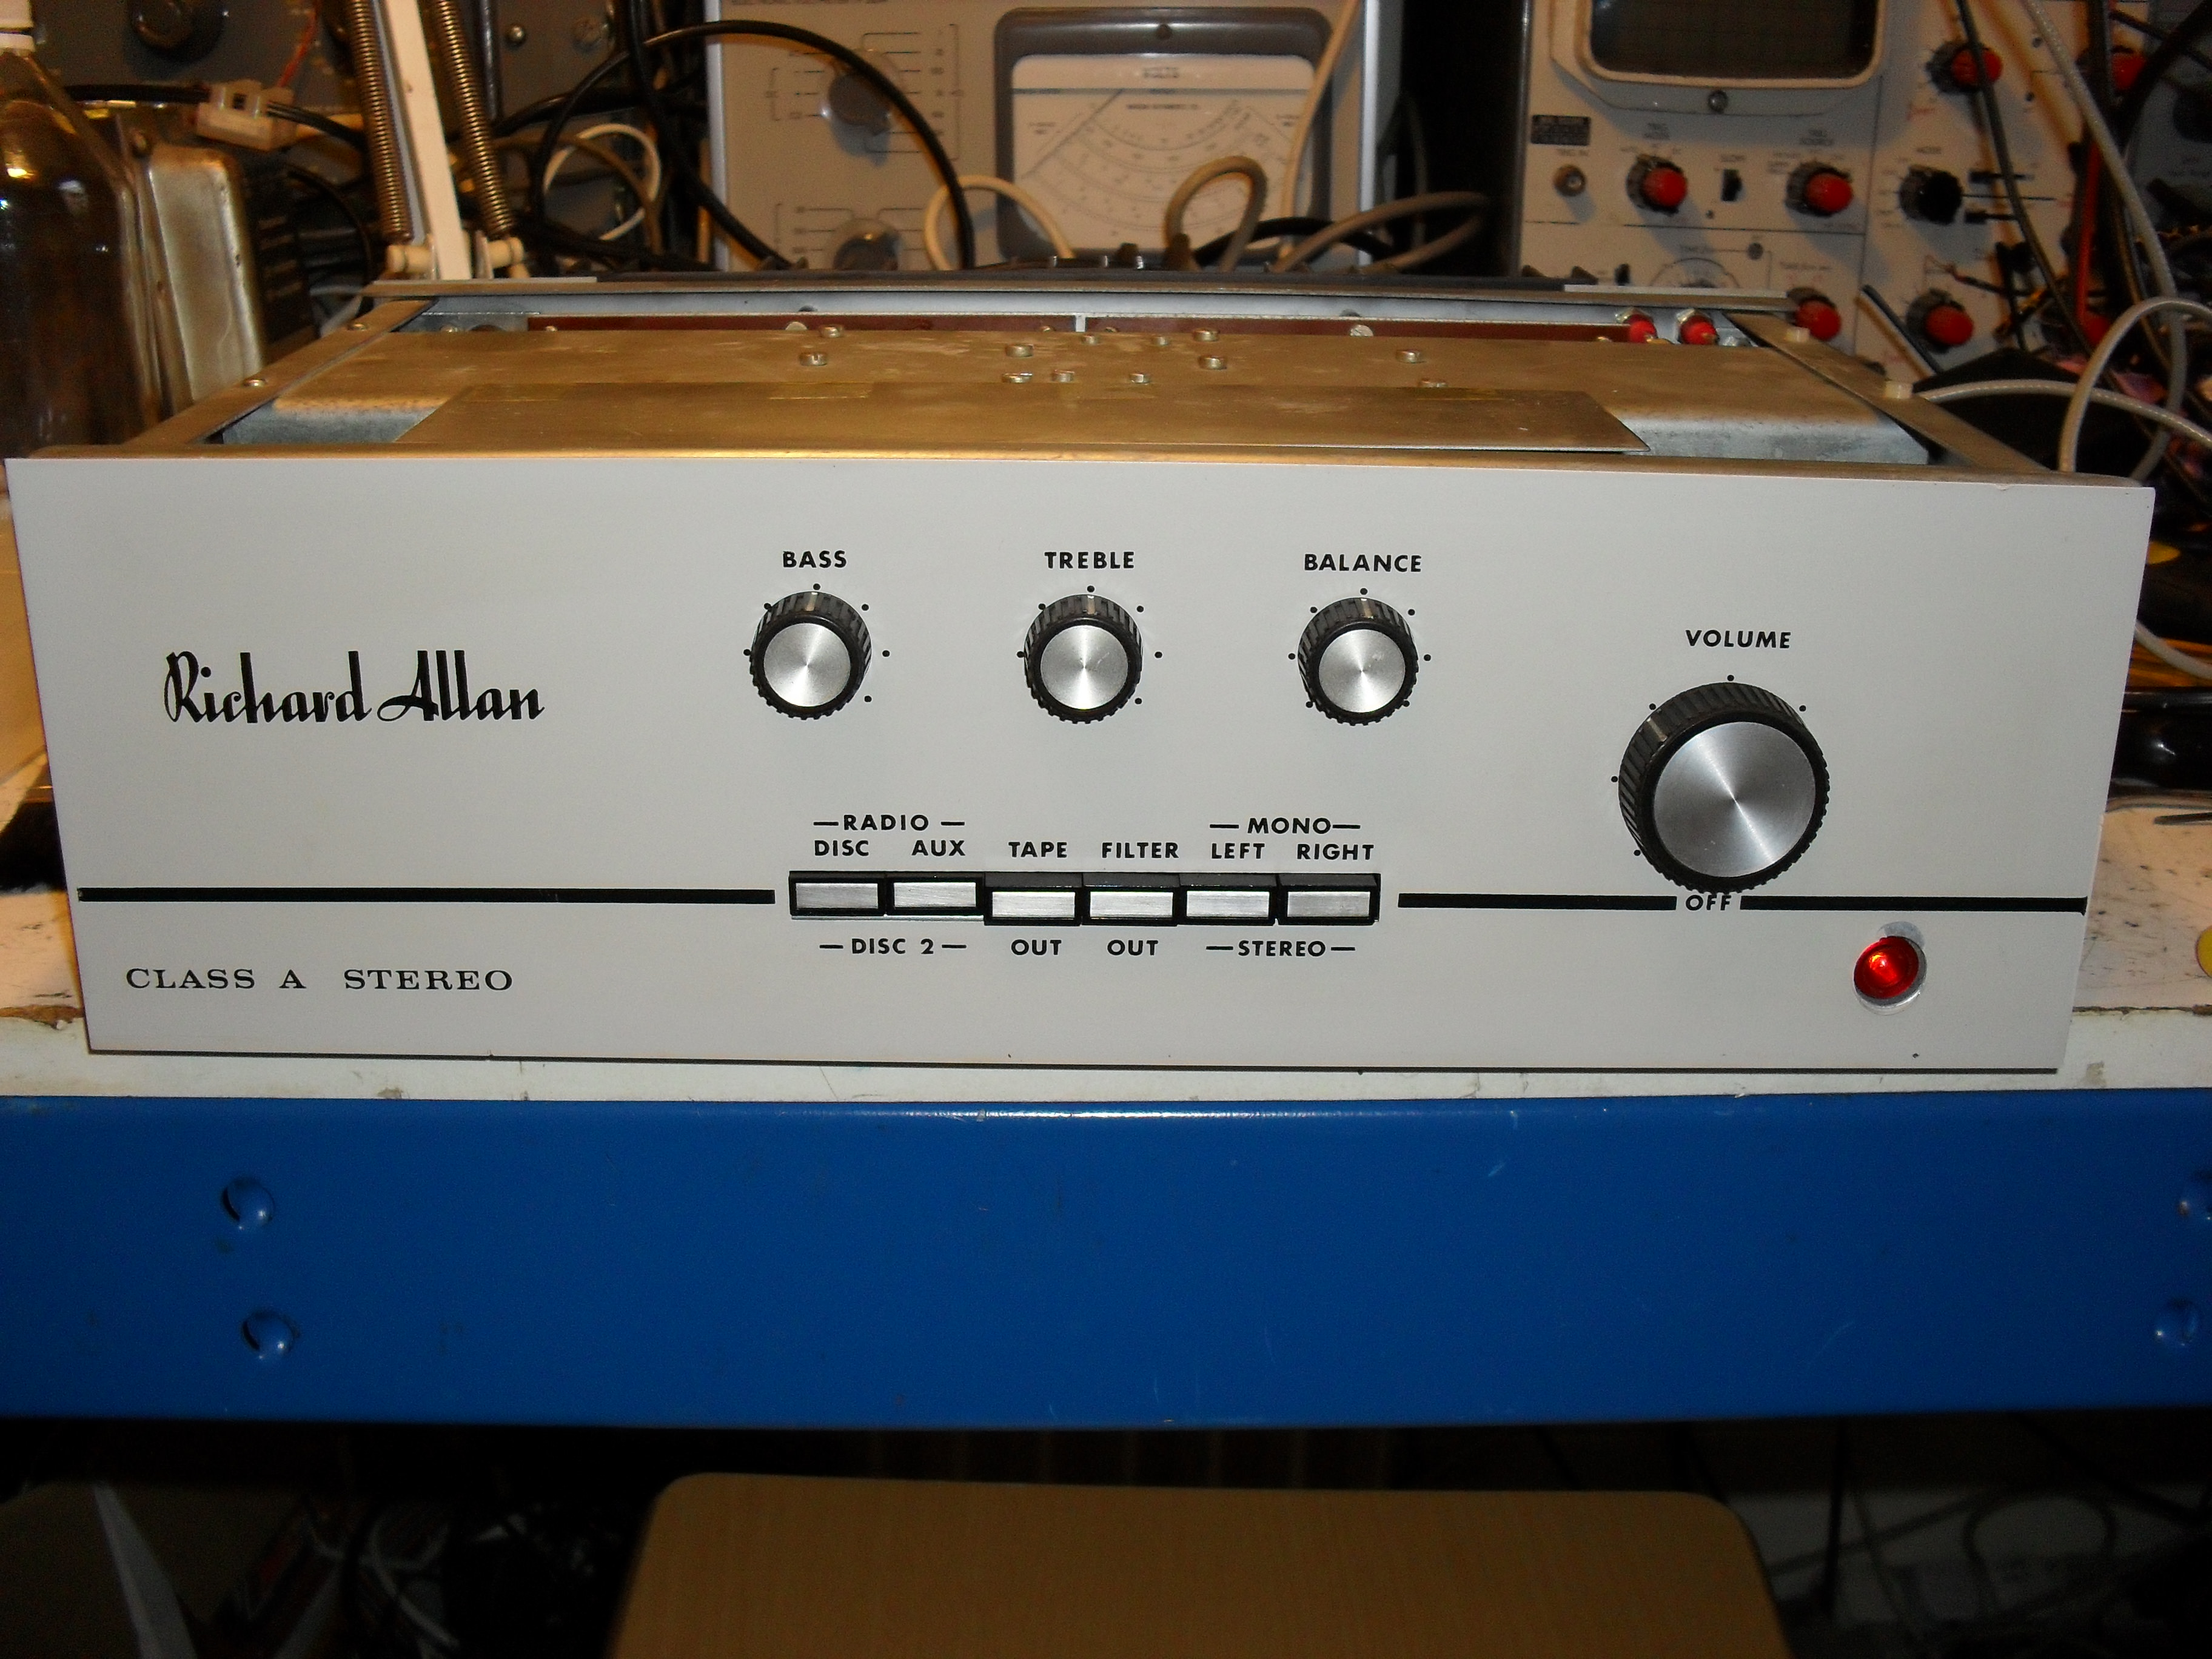
The finished unit

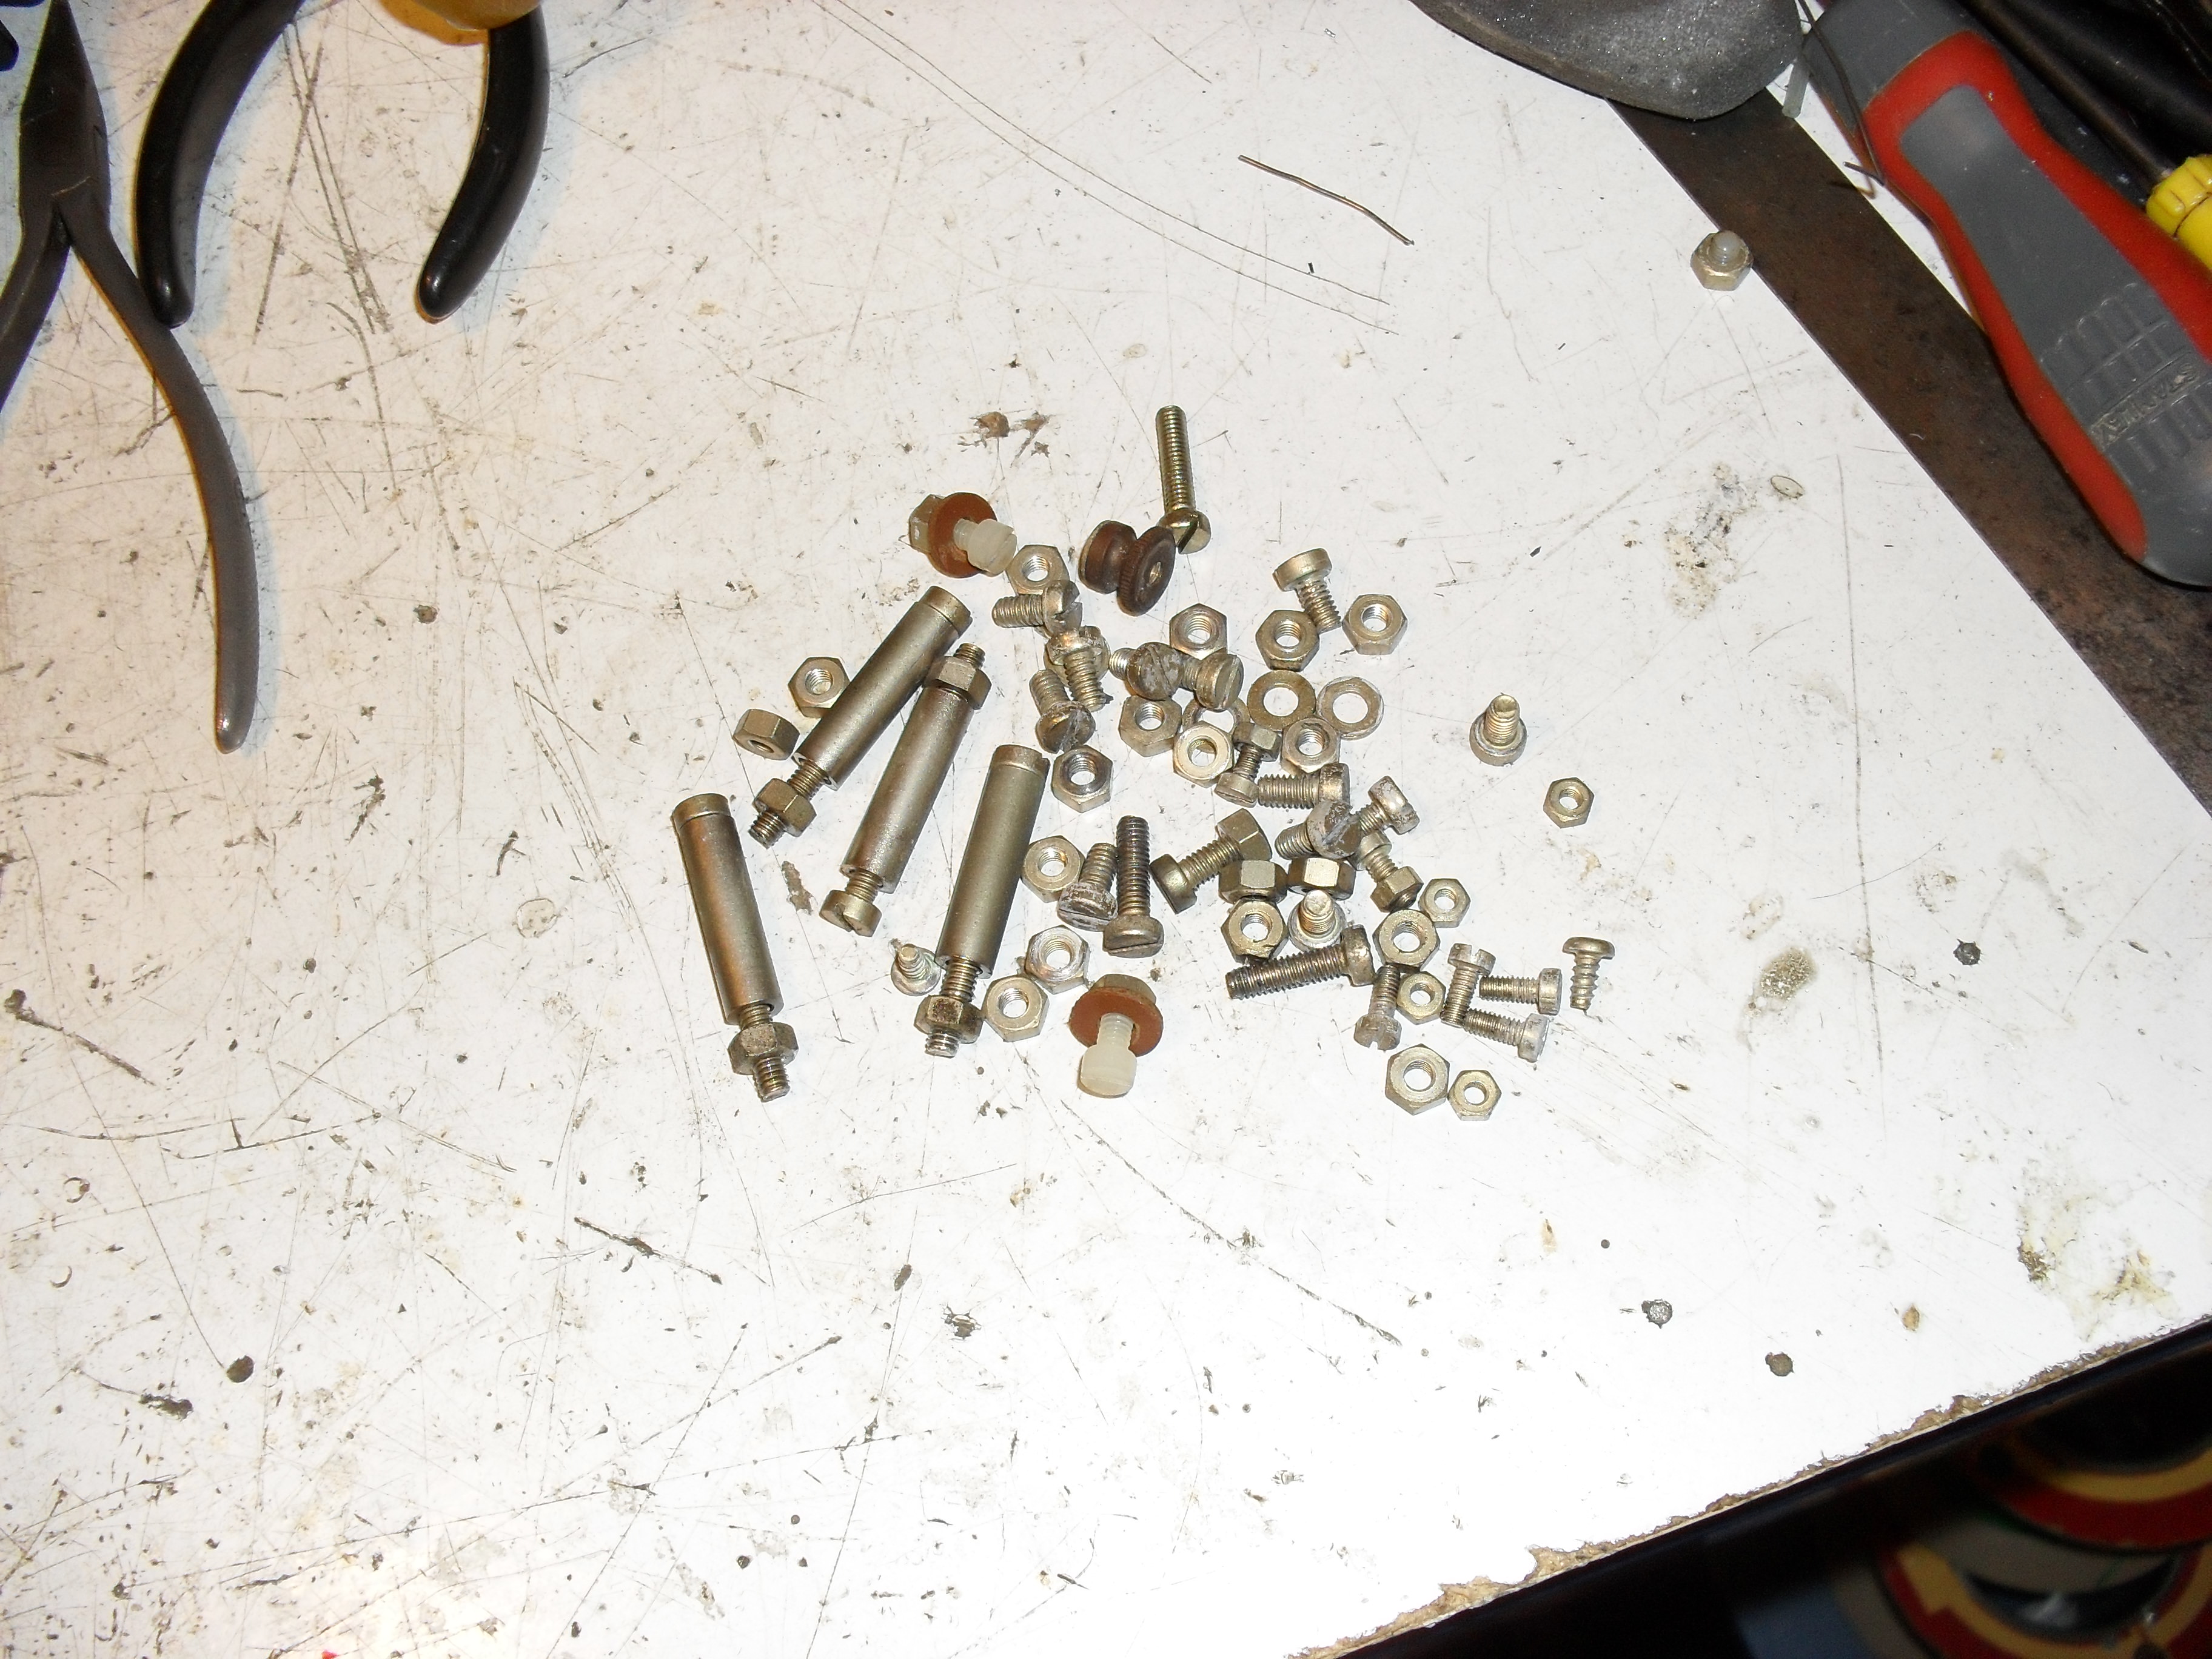
Some of the old gubbins which was replaced...
Above shows the state of some of the original caps...
This is the pre amp section before work. The preset resistors allow the bass and treble controls to be trimmed so that they are genuinely "flat" when set at "12 o clock"!
Observe the broken resistor which once formed a mains suppressor in conjunction with the Mullard "dog bone" capacitor.... This is the first and only time I've known one of these caps to fail and in this case it wasn't surprising as it was nowhere near high enough rated for the voltage. It was a 400V DC cap and needs to be at least a 630V DC cap for this use!
A few pics showing the total strip down that was needed to properly do the work... It's a twat to work on! The mains transformer has to be disconnected and unbolted just to get at the fasteners to remove other parts as a small illustration
A pic of one channel of power amp showing interesting extra tracks and un-drilled holes which suggest it was/could have been used for another model also...
New speaker sockets fitted...
Re-capped power amp boards...
Re-capped pre amp board and new modern suppressor cap across on-off switch...
New smoothing caps and speaker coupling caps are rather smaller than the originals! Despite having over twice the voltage rating!
.... which meant having to replace some of the wiring loom to accommodate them...
A few hours later...
Cleaned front panel and pre amp screening cover back in place.
The finished unit
Some of the old gubbins which was replaced...