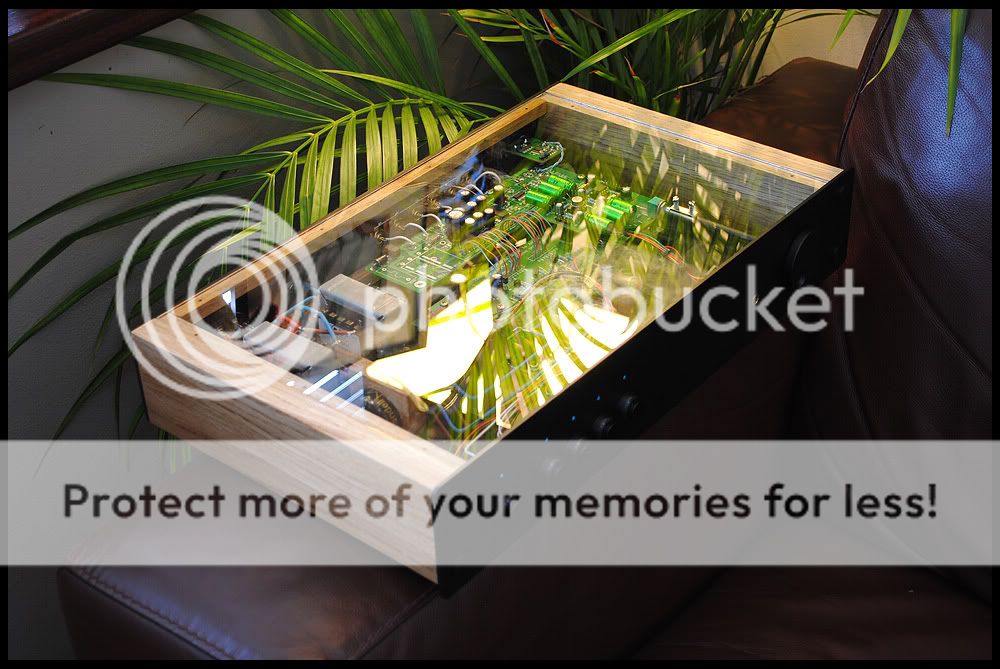
Back to the beginning - For my PC based music I had a Beresford TC-7520 DAC doing the duties, a week or so after the purchase I opened it up for a looksy. Within a week I'd replaced the usual Burr-Brown PCM1716 DAC chip for the Wolfson WM8716, DAC analogue caps for Muse KZ's, direct output op-amp to LM49720HA tin hat and LM4562NA for the variable, together with Muse Bi-Polar for coupling. That lasted a few weeks and then I thought about linear PSU's, one for 5v and one for 12v, a pair of TeddyRegs became available and that was it... No going back.
I didn't want a 'separate' box for the PSU's nor did I want to buy a pre-built case, I wanted to do it DIY style - a quick play and I came up with this as an idea and it stuck:
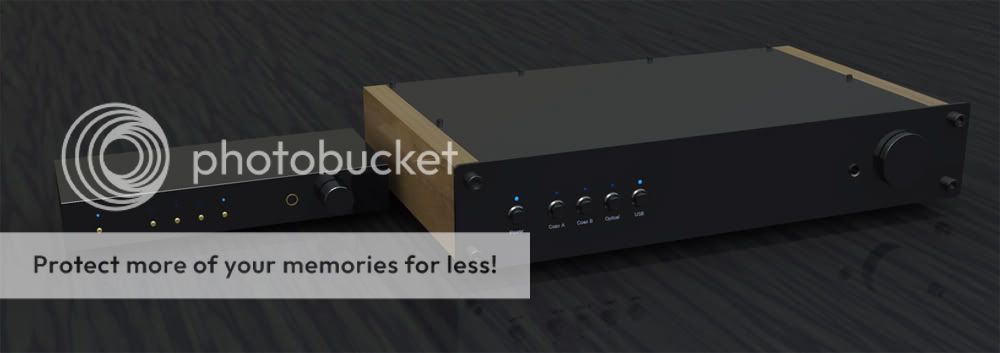
To the left on the render is the standard size of the 7520, to the right is my prospected case.
That was it, I was off.... I gave myself a few days off so my desk could become a workshop/mill/dump. 3mm aluminium sheet was ordered pre-cut to my requirements and Oak was in hand, so on I went with the drilling/routing/cutting/filing/sanding.
First up the 'desk' press:
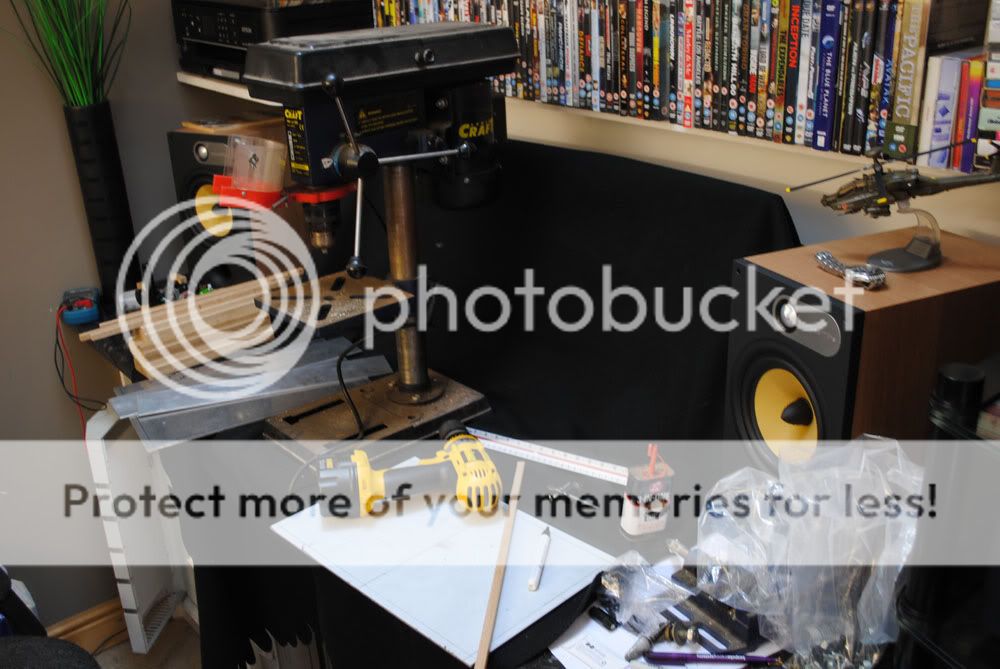
Next the materials (on the left):
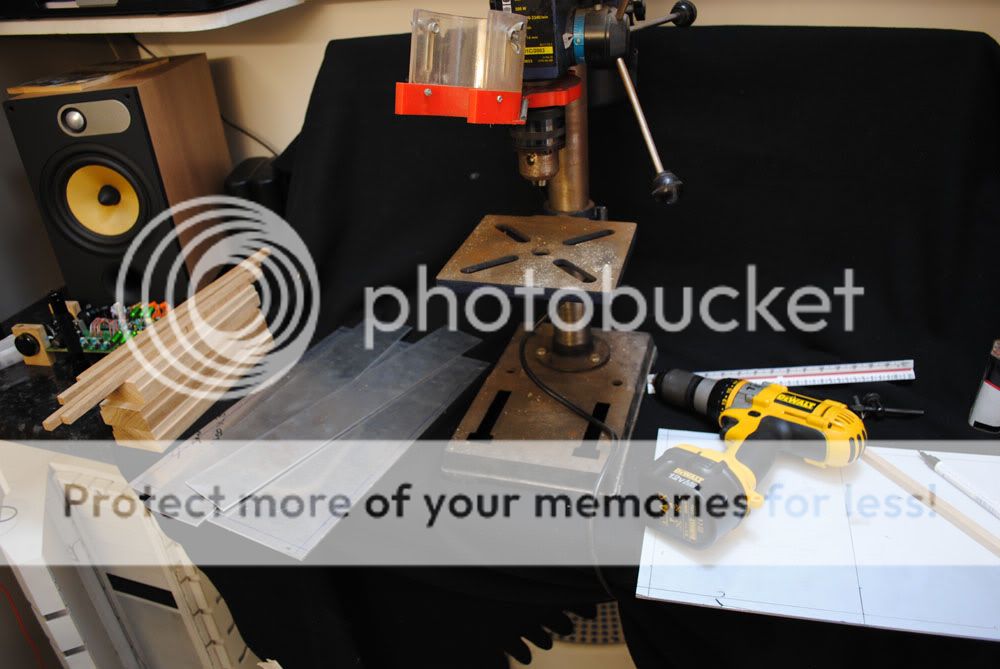
A few markings:

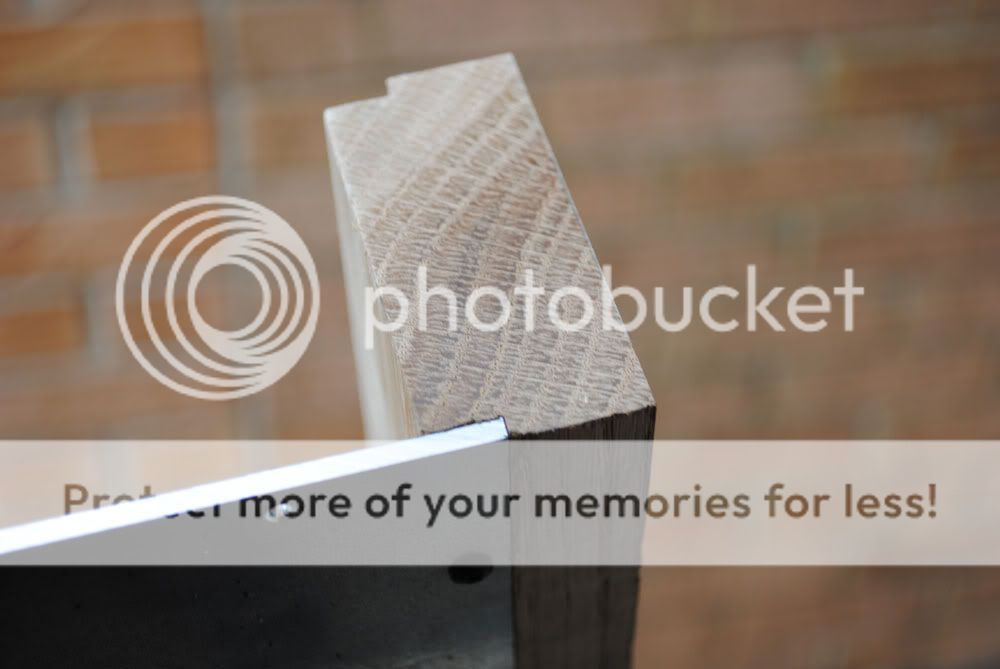
The Oak was precision cut top and bottom to allow the 3mm plate to fit flush (thanks dad):
Top and bottom fixed:
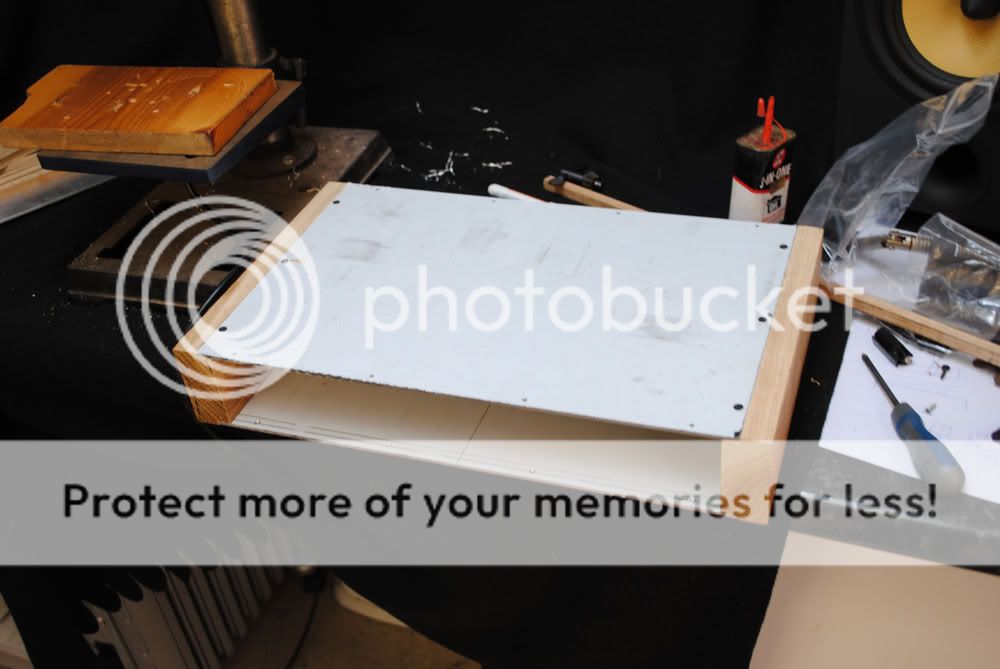
At this point I'd like to add that I required the 'whole' case to be fixed with zero glue or permanent fixings, ready for disassembly come paint time.
Braces in:
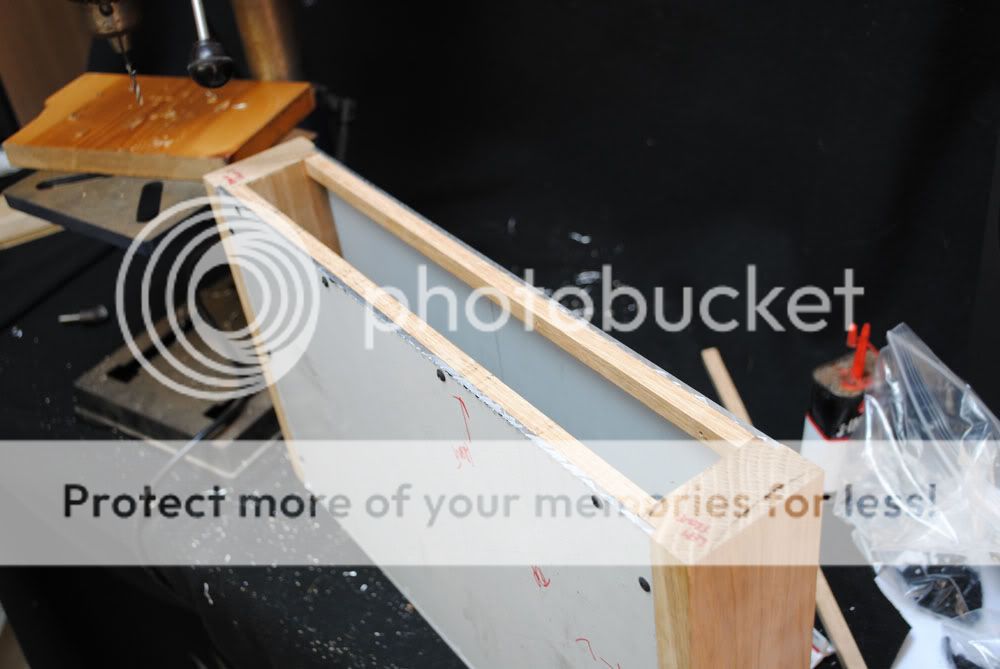
Front panel fixed, 5mm overhang all round:
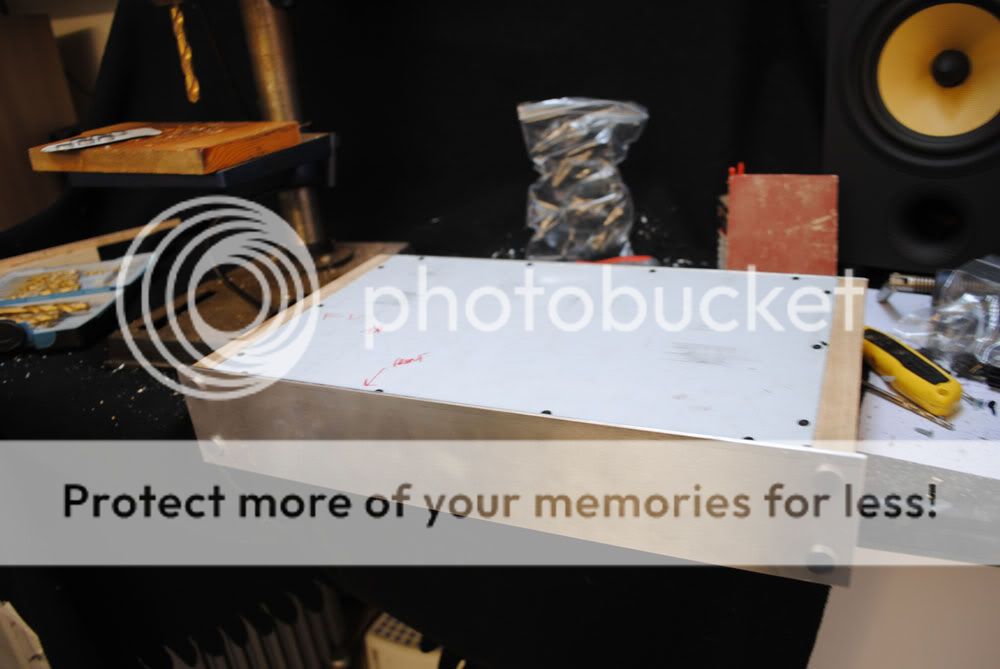
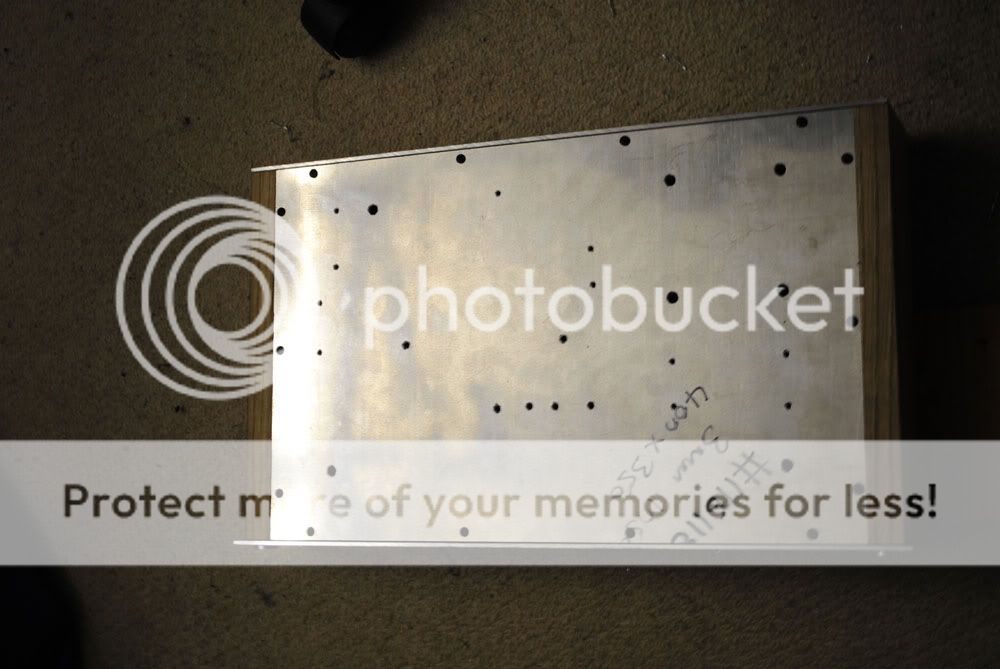
Bottom 'peppered' ready for all the M3/M6 allen bolts:
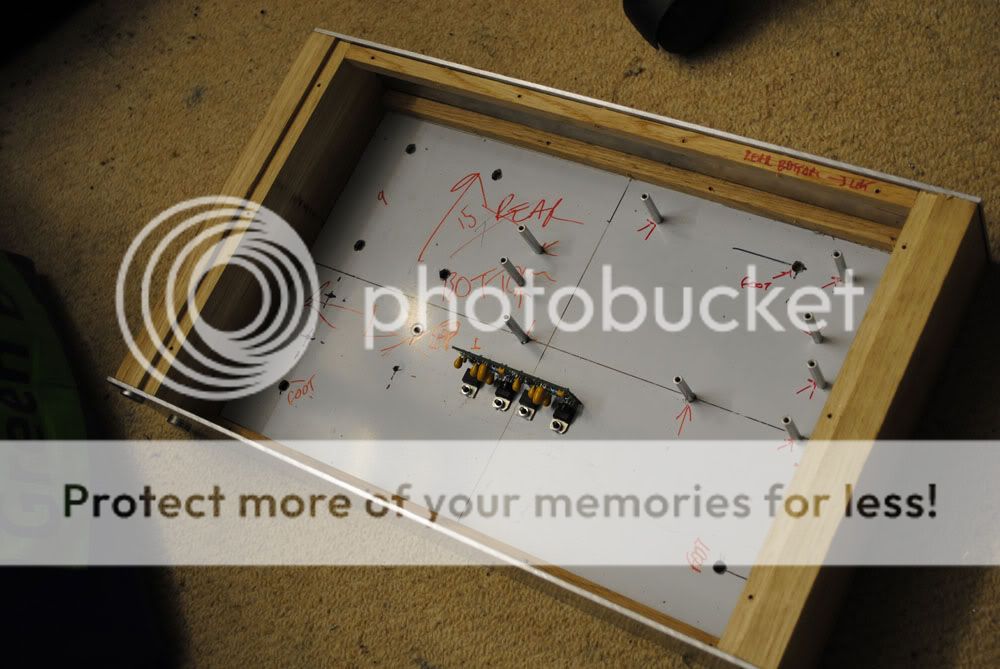
TeddyRegs in place using the base plate as a heat-sink.
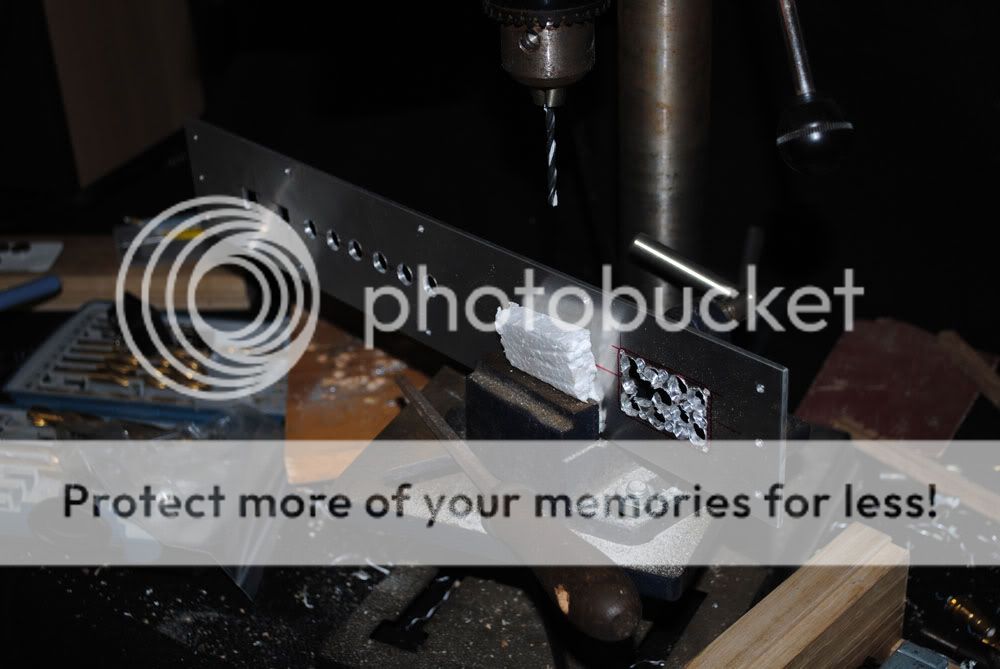
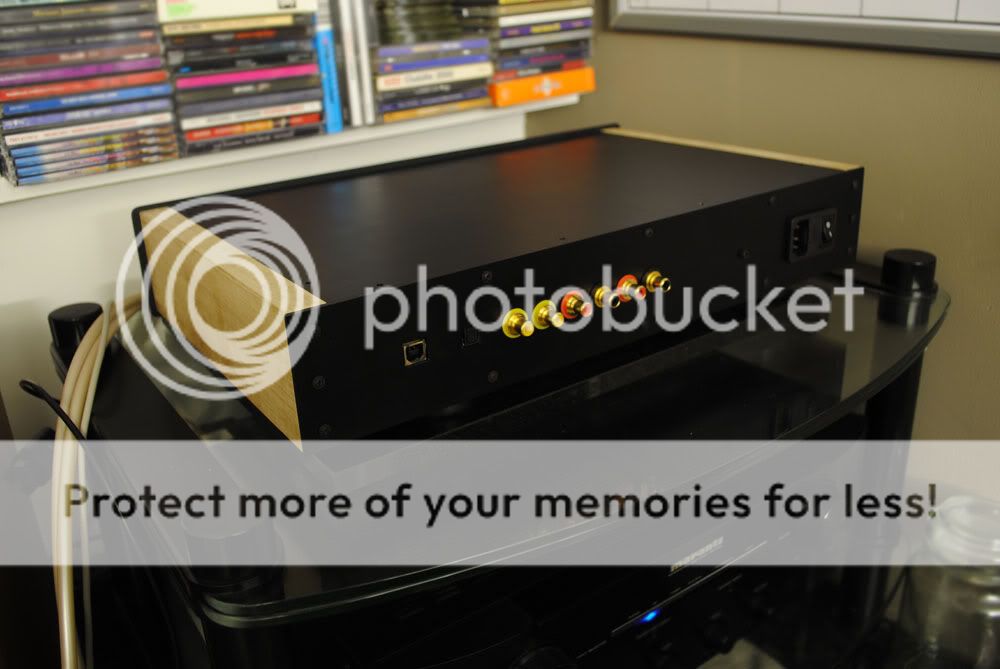
Drilling the rear panel ready for filing the square USB/Toslink/Fused-switched IEC and 6 RCA's:
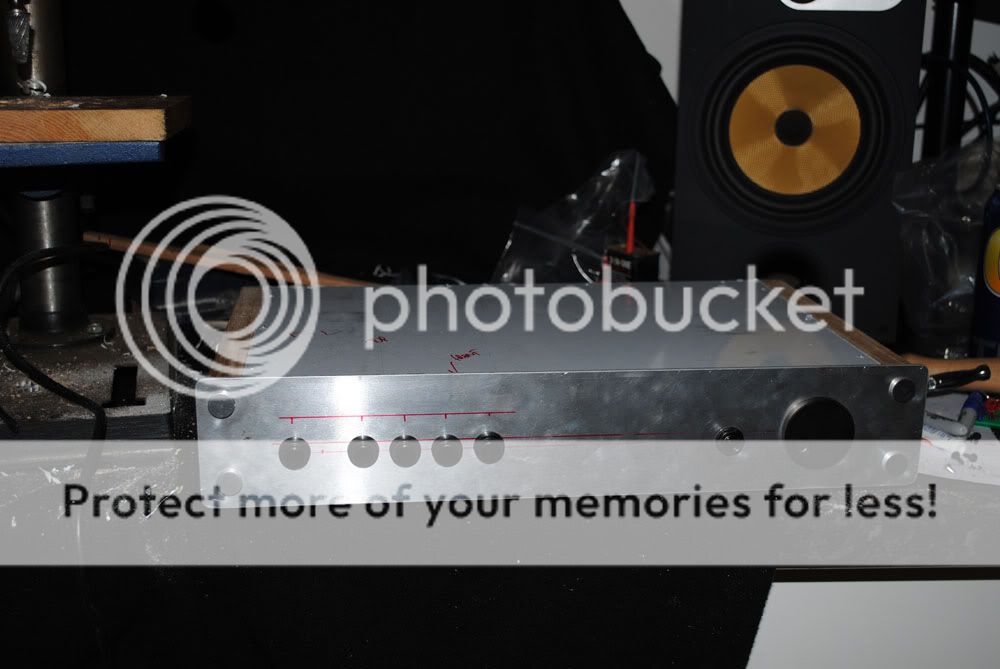
Almost there:

Ready for drilling the LED holes:
All fixings are black M3 allen bolts on the underside, M6 for the feet and trannys and black screws throughout.
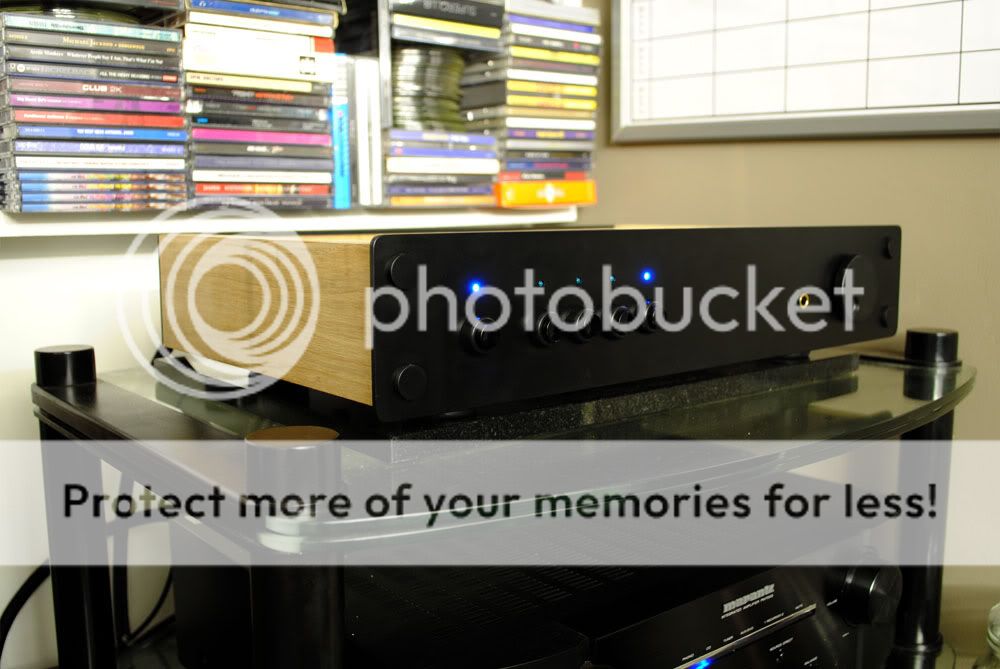
I painted the case myself and not blowing my own but it's flawless - 8 etch primes and 12 satin blacks later and it's mint, I am pleased. Just the Oak to sand and oil and the laser cut decals to apply but here it is:
The back:
Old on top, new below:

Now for the inside the box...
After my initial plan of using a 18.5v-0-18.5v toroidal was thrown out and 2 separate transformers were recommended:
I have a 9v EI tranny centre tapped -- 2 x 8A Hexfreds -- Kendeil 6800uF -- TeddyReg set to 5v supplying the Wolfson DAC chip.
15v EI tranny centre tapped -- 2 x 8A Hexfreds -- Kendeil 6800uF -- TeddyReg set to 12v supplying the op-amps/leds.
It's early days but wow, what an improvement - Super wunderba, I'm chuffed to bits.
A few piccys:
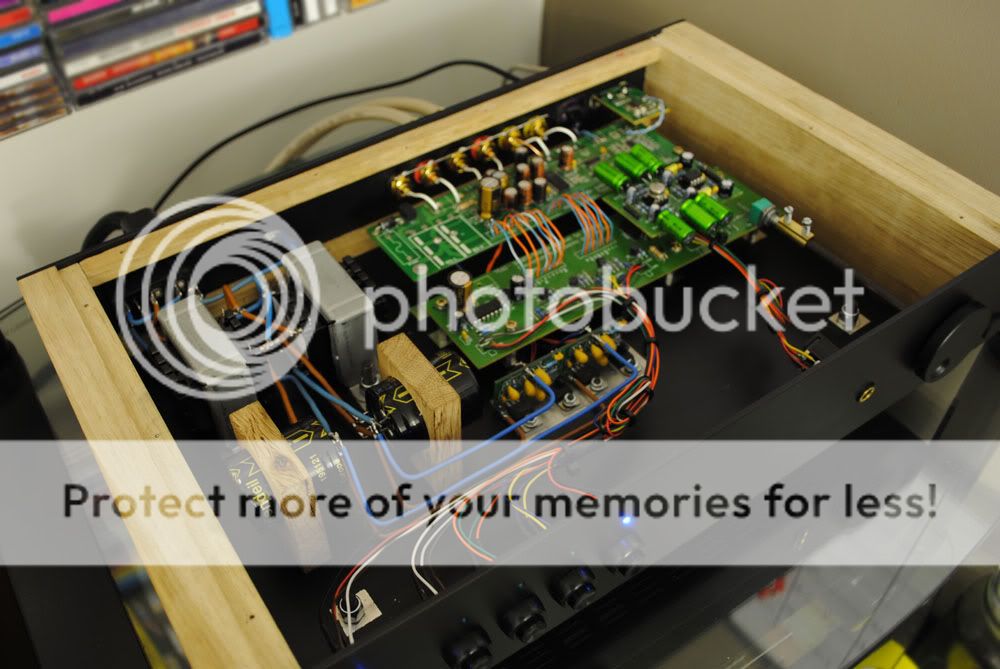
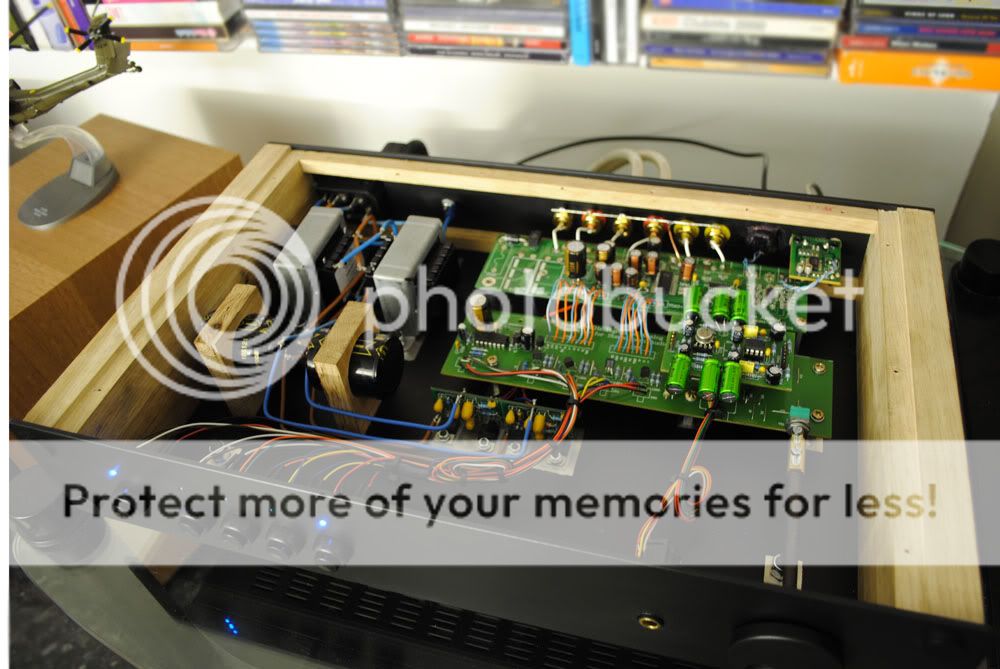
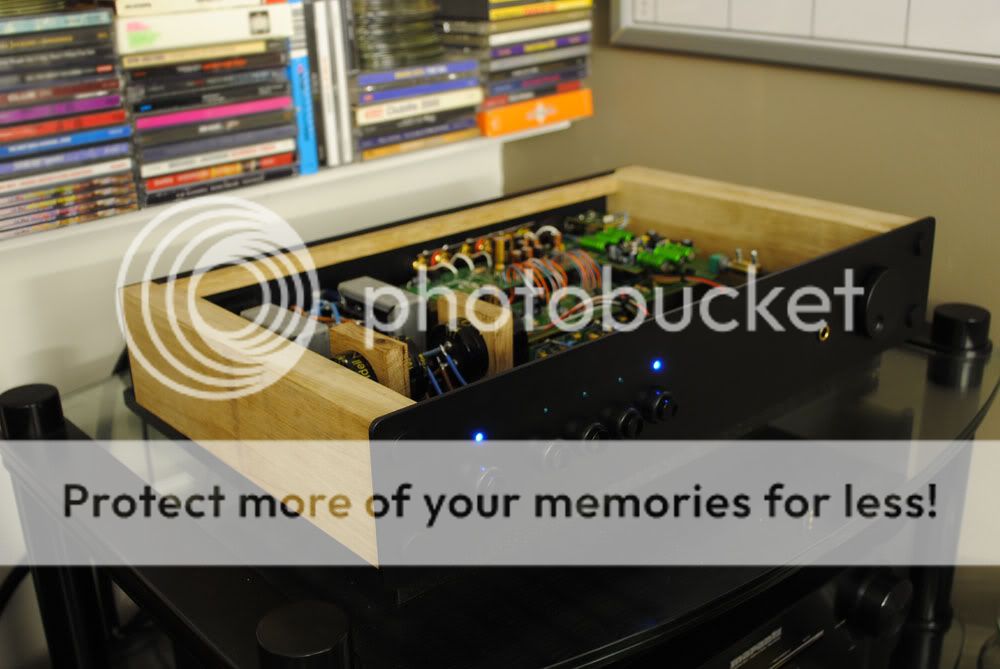
All I need to do is wire-wool the Oak, oil and fit the laser cut decals and the jobs a good one.
I would like to thank misterc6 (Malcolm) for helping me with the TeddyReg resistor values, without him and his knowledge I would have been truly stuck, also to Martin Clark and his super site acoustica for all the info on PSU's.
Well, that's me done (for now)
Cheers folks,
Ant
I didn't want a 'separate' box for the PSU's nor did I want to buy a pre-built case, I wanted to do it DIY style - a quick play and I came up with this as an idea and it stuck:

To the left on the render is the standard size of the 7520, to the right is my prospected case.
That was it, I was off.... I gave myself a few days off so my desk could become a workshop/mill/dump. 3mm aluminium sheet was ordered pre-cut to my requirements and Oak was in hand, so on I went with the drilling/routing/cutting/filing/sanding.
First up the 'desk' press:

Next the materials (on the left):

A few markings:

The Oak was precision cut top and bottom to allow the 3mm plate to fit flush (thanks dad):

Top and bottom fixed:

At this point I'd like to add that I required the 'whole' case to be fixed with zero glue or permanent fixings, ready for disassembly come paint time.
Braces in:

Front panel fixed, 5mm overhang all round:

Bottom 'peppered' ready for all the M3/M6 allen bolts:

TeddyRegs in place using the base plate as a heat-sink.

Drilling the rear panel ready for filing the square USB/Toslink/Fused-switched IEC and 6 RCA's:

Almost there:

Ready for drilling the LED holes:

All fixings are black M3 allen bolts on the underside, M6 for the feet and trannys and black screws throughout.
I painted the case myself and not blowing my own but it's flawless - 8 etch primes and 12 satin blacks later and it's mint, I am pleased. Just the Oak to sand and oil and the laser cut decals to apply but here it is:

The back:

Old on top, new below:

Now for the inside the box...
After my initial plan of using a 18.5v-0-18.5v toroidal was thrown out and 2 separate transformers were recommended:
I have a 9v EI tranny centre tapped -- 2 x 8A Hexfreds -- Kendeil 6800uF -- TeddyReg set to 5v supplying the Wolfson DAC chip.
15v EI tranny centre tapped -- 2 x 8A Hexfreds -- Kendeil 6800uF -- TeddyReg set to 12v supplying the op-amps/leds.
It's early days but wow, what an improvement - Super wunderba, I'm chuffed to bits.
A few piccys:


All I need to do is wire-wool the Oak, oil and fit the laser cut decals and the jobs a good one.
I would like to thank misterc6 (Malcolm) for helping me with the TeddyReg resistor values, without him and his knowledge I would have been truly stuck, also to Martin Clark and his super site acoustica for all the info on PSU's.
Well, that's me done (for now)
Cheers folks,
Ant


