
cutting42
Arrived at B4 Hacker Ergo
Well after nearly a year of messing about working and getting a few home chores attended to, I have finally got around to making sawdust. I am making a version of James's Ergo IIIR speaker as built by at least two other people so mine will be numbers 4 and 5. Oh yes, not content in building my first loudspeaker, I am building two pairs, one for me and one pair for another pfm'r who shall remain nameless unless he wants to own up to it.
They will be a little different to the previous versions as I will be using veneered panels rather than solid wood for the outside. This is due to having a wide panel (420mm) on the sides and this needs to be glued to the core carcass and the stresses this will generate could split a solid board in this position. I will be using commercial veneered MDF and making the lipping (edges) myself. It is a bit experimental and will be the technically most challenging veneering I have done so far but nothing ventured, nothing gained.
The starting point is the core cabinet construction. I am a "plans" kind of guy and decided to draw up a full set of tech drawings and work from those. This was mainly because I prefer this way of working but also because of building two pairs it actually means I can batch make the panels.
Here is a general picture of my working plans in Google Sketchup - a free 3D drawing package.
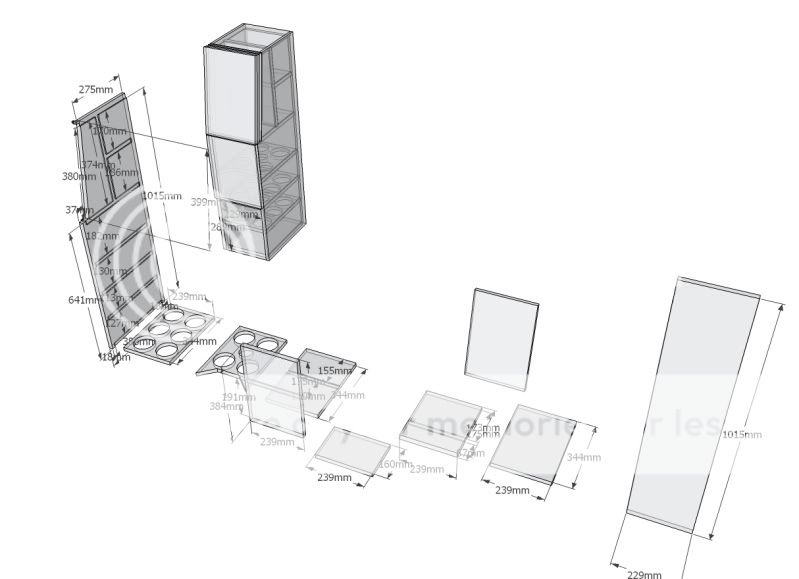
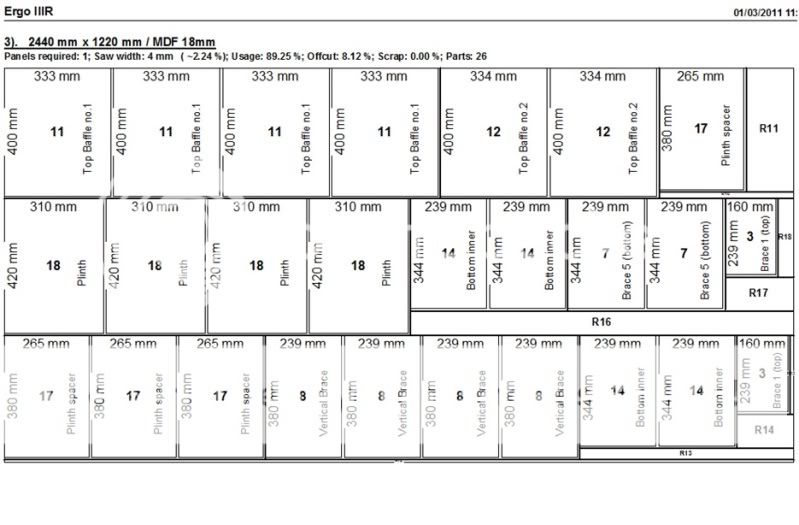
This allows me to draw up a panel to scale and test fit in the cabinet so the actual construction is quick. I then drew up a cut list and used some software (Smart2DCutting3) to maximise the number of panel that could be cut from each sheet of mdf.
So I got 4 sheets of mdf delivered last Monday and cut them roughly to size with a hand held circular saw on the floor of the kids playroom that is being redecorated at the moment. I cut them small enough so they were lighter to handle onto my table saw and SCMS (Sliding compound Mitre Saw).
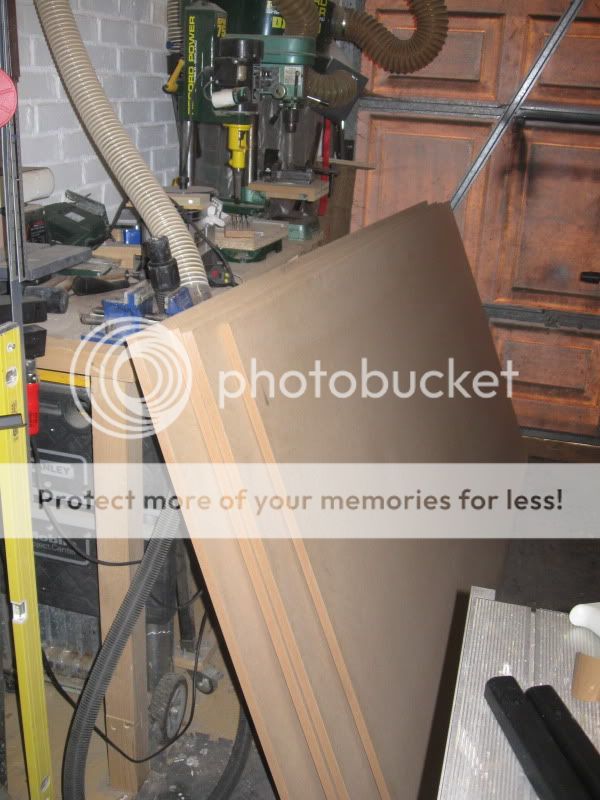
Once in the workshop I have started cutting accurately to size. I had all my saw blades recently sharpened especially for this project and the finish is superb, as good as a planed or routed finish. The exception will be the main sides to the core as I will make one accurately by hand and then use it as a template and rout the rest from it.
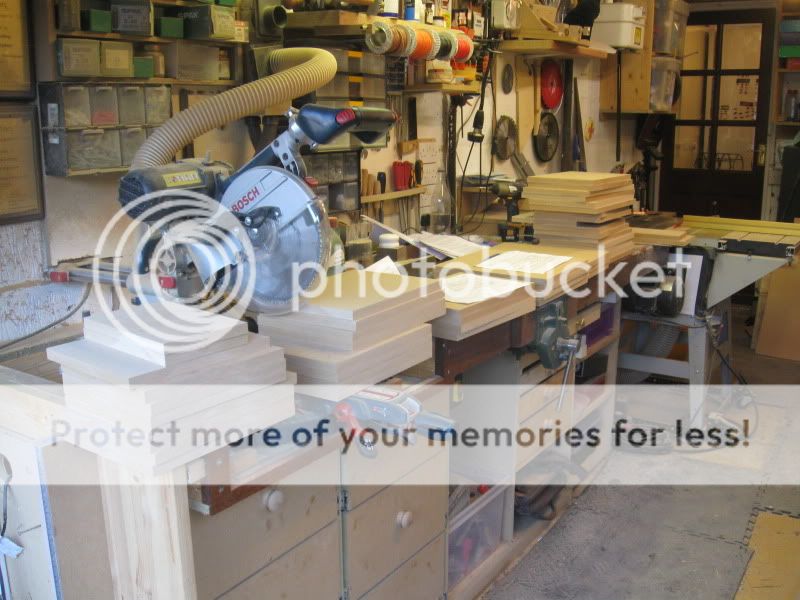
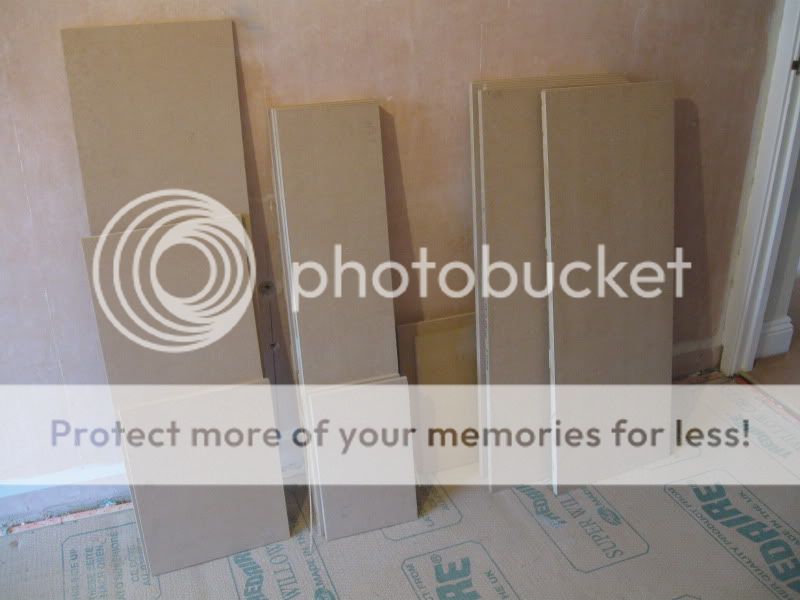
The stack of sized parts is building up very quickly and building on earnest will start soon.
More as I get round to it.
Cheers
Gareth
They will be a little different to the previous versions as I will be using veneered panels rather than solid wood for the outside. This is due to having a wide panel (420mm) on the sides and this needs to be glued to the core carcass and the stresses this will generate could split a solid board in this position. I will be using commercial veneered MDF and making the lipping (edges) myself. It is a bit experimental and will be the technically most challenging veneering I have done so far but nothing ventured, nothing gained.
The starting point is the core cabinet construction. I am a "plans" kind of guy and decided to draw up a full set of tech drawings and work from those. This was mainly because I prefer this way of working but also because of building two pairs it actually means I can batch make the panels.
Here is a general picture of my working plans in Google Sketchup - a free 3D drawing package.
This allows me to draw up a panel to scale and test fit in the cabinet so the actual construction is quick. I then drew up a cut list and used some software (Smart2DCutting3) to maximise the number of panel that could be cut from each sheet of mdf.
So I got 4 sheets of mdf delivered last Monday and cut them roughly to size with a hand held circular saw on the floor of the kids playroom that is being redecorated at the moment. I cut them small enough so they were lighter to handle onto my table saw and SCMS (Sliding compound Mitre Saw).
Once in the workshop I have started cutting accurately to size. I had all my saw blades recently sharpened especially for this project and the finish is superb, as good as a planed or routed finish. The exception will be the main sides to the core as I will make one accurately by hand and then use it as a template and rout the rest from it.
The stack of sized parts is building up very quickly and building on earnest will start soon.
More as I get round to it.
Cheers
Gareth


