advertisement


Help setting Ariston RD11 S

LiBro

Well-Known Member
Hello everybody,
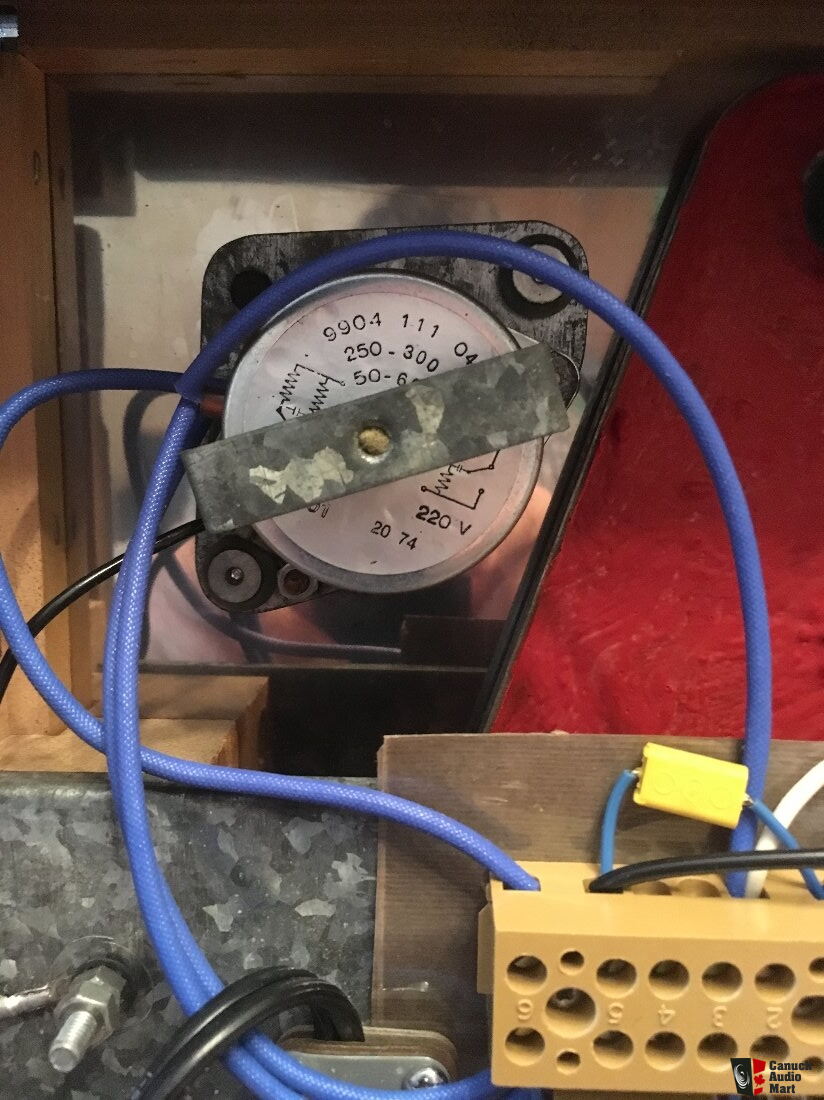
I have received my Ariston RD11 S yesterday but there are few problems (the pulley seems to move a little left to righ, the baseboard is unattached with the rest of the TT and I think there a problem with the arm Jelco SA 250ST too).
I would like to set properly and clearly with your help, from A to Z, I mean springs, platter, oil, etc

Does anybody already did this ? Maybe with pictures like a tutorial.

Thank you very much :D:D
 
Congrats, glad you've now got it but shame that it's not as described in the eBay advert. Maybe if you could put some pics/videos up of the issues.

I'd not worry too much, all sounds fixable and yes, Vinyl engine a great place for manuals and support.

@Craig B - maybe you've got something on these and how to setup properly?

What do you think may be wrong with the tonearm?
 
I have download the RD11S manual but I find that it lacks explanation and especially images of assembly or disassembly. Especially as I am not good with my hands. That's why I would like to see if there is a steb by step way to really set up, for beginners like me (for example I don't know where do I put the oil and how). I don't want to damage something seriously.
I am preparing some pictures and videos.
About the tonearm, when the counterweight is installed, I can't manage to find the balance because it necessarily leans backwards even when screwed down to the maximum. And something else, the arm doesn't go back high enough, it seems to be stuck 15mm above the platter.
 
Have you fitted a cartridge to the arm yet?

The oil will go in the bearing. Lift off the platter and beneath it will be the subplatter. Gently lift this gently up and you'll see the bearing appear. Clean all this with lint free cloth(s), add a few drops of oil (see manual) into the bearing hole and then reassemble. Once done you can forget about it for years.

The suspension should allow the platter and tonearm to sit level (whole turntable needs to be on a level surface). When you gently bounce the platter the whole thing should bounce vertically only.

Others will add a few more bits but that's the basics for a suspension turntable.
 
I haven't fixed the cartridge (will arrive tomorrow) yet but it's about 6.1 g and I'll see if it's good to balance the arm.
Will send pictures or video this evening.
 
You will need the cartridge fitted to balance the arm so wait for that before worrying.

When fitting the cartridge, keep the stylus guard on at all times and preferably remove the stylus assembly when fitting and installing the bolts. Bolts don't need to be super tight.
When balancing the arm, keep the stylus guard in place initially. Since it'll be a new process for you, it may be worthwhile investing in one of these for simplified setting up.

https://www.audiophonics.fr/en/search?search_query=Cartridge+scale
 
Without a cart the arm should be dead level and balanced. Fit the cart and adjust the counterweight so the cart is set in it’s tracking force range, average is around 1.8g but can be a bit below or above. You’ll need a stylus balance like the seesaw Shure/Ortofon ones or a digital one you get off Amazon/eBay for a £10 ish.

https://www.amazon.co.uk/dp/B01GJ01FGM/?tag=pinkfishmedia-21

The RD80 was a long time ago, I remember getting the suspension/springs setup properly was essential, so that the bounce was nice and easy and dead up an down not “shivering” left and right while going up and down.

The arm cable shouldn’t interfere with the arm or suspension movement.
 
This site contains affiliate links for which pink fish media may be compensated.
I have already did a cartridgre alignement with protractor etc and I have a balance but I can't remember if the counterweight did the same. You probably right, I guess.

Something I never did is "touching" the core of the TT or just under the platter and I have to admit I'm a little afraid of damaging it. That's why I ask a lot of (maybe unnecessary) questions.

For now, nothing is bouncing I'm sure. Maybe it has been tight for the shipment.
Take a step back. The TT should have shipped with clamps to protect the suspension.

Here's a link to the unpacking doc it shipped with back in the day.

https://www.manualslib.com/manual/1015773/Ariston-Rd11s.html

See point 3.2

https://www.manualslib.com/manual/1015773/Ariston-Rd11s.html?page=5#manual
 
Have a Google on the various bits and pieces you have to setup - platter/bearing/suspension=springs/arm/cart alignment/etc - unlikely but you may find a YouTube about the RD11s setup A-Z.

Have a read through this article - I DO NOT suggest you do the entire disassembly just have a read on the bits and pieces that should help you get to the point the platter is bouncing - Stage 7

He is writing about Thorens TTs but the Ariston is not a million miles away from it

https://www.theanalogdept.com/susp_tim_bailey.htm

Here's a lift from the Van Den Hul site about 20 years old but worth a read

http://recordtech.com/ttsetup.htm

Then ask away on here - if you have never setup a suspended TT I'd have bought a clapped out wreck from a local Boot Sale or Auction site and practiced - won't matter if you break stuff then

ATB

Gus
 
That's very interesting. I have to read it and work on my english too. Thanks

I also watch a video of a man changing springs on a Thorens td125 and I found it inspiring. I'm gonna do that this weekend I hope.
I didn't have the time yet (with a one year old boy running everywhere) and make a video of the pulley but I'll do soon because when I gently touch it it moves from left to right not very much but still.
 
That looks like the motor bracket may be loose. Are there two screws or bolts which can be tightened on the top of the turntable?

What does the manual say?
 
@Craig B - maybe you've got something on these and how to setup properly?
As these are only slightly different from the Ariston RD11 (and RD11 copy known as Linn Sondek LP12 :)), I'd suggest following the basic instructions within the original LP12 setup manual. I have the original OCR'd copy here if you have any difficulty finding one of your own.

Re the motor, it does lack the facility to accurately adjust azimuth relative to the sub-platter à la RD11/LP12. The prior decks included the addition of two set screws along with dome-shaped washers between motor flanges and the underside of the top plate. This needn't be an issue with the motor firmly tightened up to the top plate and the platters perfectly level, as the belt is of square section and rides within one of two grooves of the pulley.

EDIT: My rough old OCR'd Setup_Manual.pdf, conveniently hosted by @Jim Audiomisc of this parish.
 
Hello,
Thank you @Craig B , the Ariston manual does not says how to fix or repar this issue, there are not much info about motor anyway. But in what you show me, it looks interesting.
What you are saying is that I have just to screw it well ?
 
You're welcome @LiBro.

The U-shaped bracket serves the dual purpose of both clamping the motor to the rubber grommet isolated motor mounting plate and supporting the motor bottom bearing lifter spring mechanism. It is the U-shaped bracket that has its holes threaded and this is what clamps the motor in place on the motor mounting plate (see pic below).

In order to access the two screws that fasten the motor to the motor mounting plate, the whole motor/mounting plate assembly must be unmounted from the top of the plinth. Fortunately, you needn't disconnect any motor wiring in order to facilitate this, however, the usual disclaimers re making sure that all has been disconnected from the mains apply.

WARNING: The two screws that are accessible from above the plinth top plate must not be fully screwed down else they crush the two rubber motor suspension grommets.

Motor Mount Disassembly/Reassembly:
  1. Support the motor from below whilst removing the two motor mounting plate screws from above the top plate of the plinth.
  2. Draw the motor assembly straight downward until the pulley withdraws through the large hole in the top plate and then rotate the motor/mounting plate assembly through >=90º such that the two motor fastening screws can be accessed.
  3. Firmly tighten the motor and motor bearing lift mechanism U-bracket to the motor mounting plate.
  4. Realign the motor/mounting plate assembly with the pulley back up through the top plate hole such that the top plate screws can be fitted through the rubber grommet T-nuts and then turn these screws only until the rubber grommets barely begin to compress.
 
Last edited:


advertisement


Back
Top