advertisement


DIY TT Wall Shelf

nitrous

pfm Member
Dear Forum Members, Here is the culmination of a couple of months thinking and a bit of work.

The background:
I have never been terribly excited by the available 'off the peg' wall shelves, especially next to the something like Fraim or Fraim-a-like ;) I therefore decided to try my hand at building something that was complimentary, and at least not an eyesore:rolleyes:.

I also wanted it to be fairly easy for other people to either DIY themselves or to have the confidence to try something similar. If people are interested I can give a little guidance on the design process and how I arrived at the end product, as I think this could be interesting for none designers.

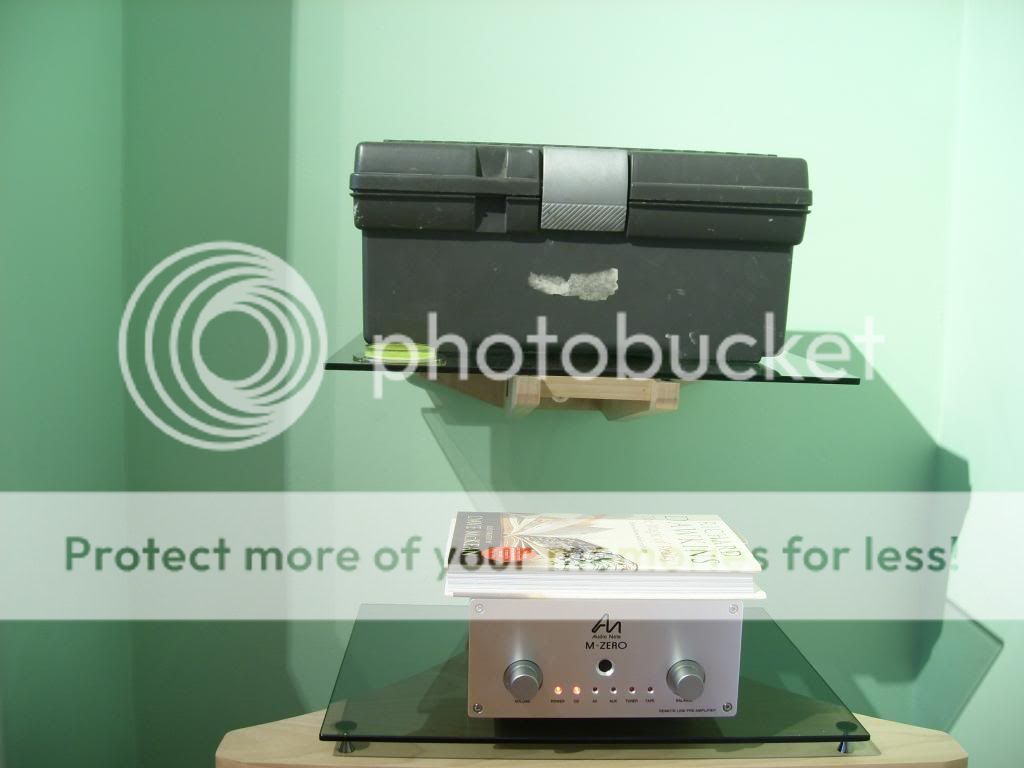
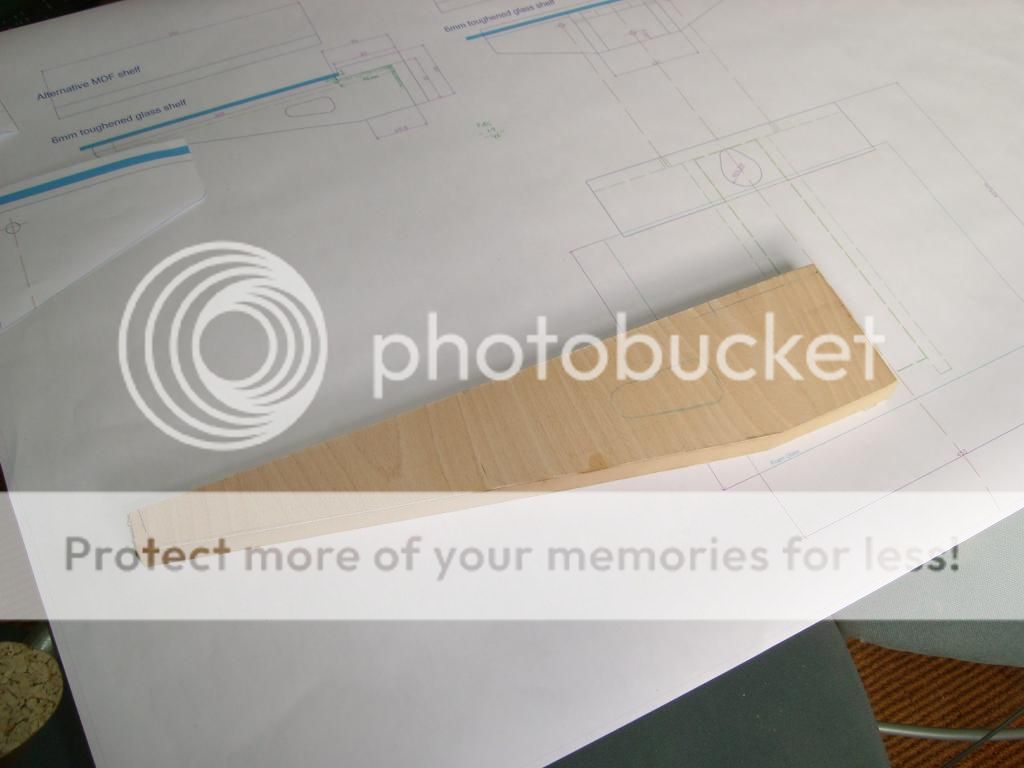
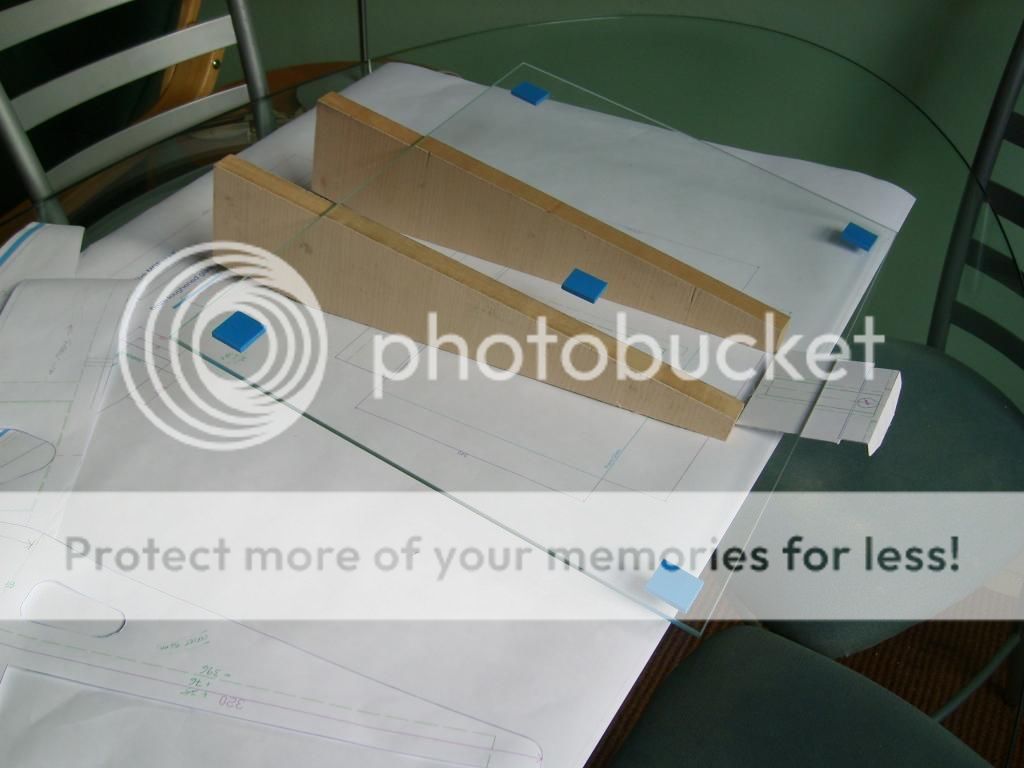
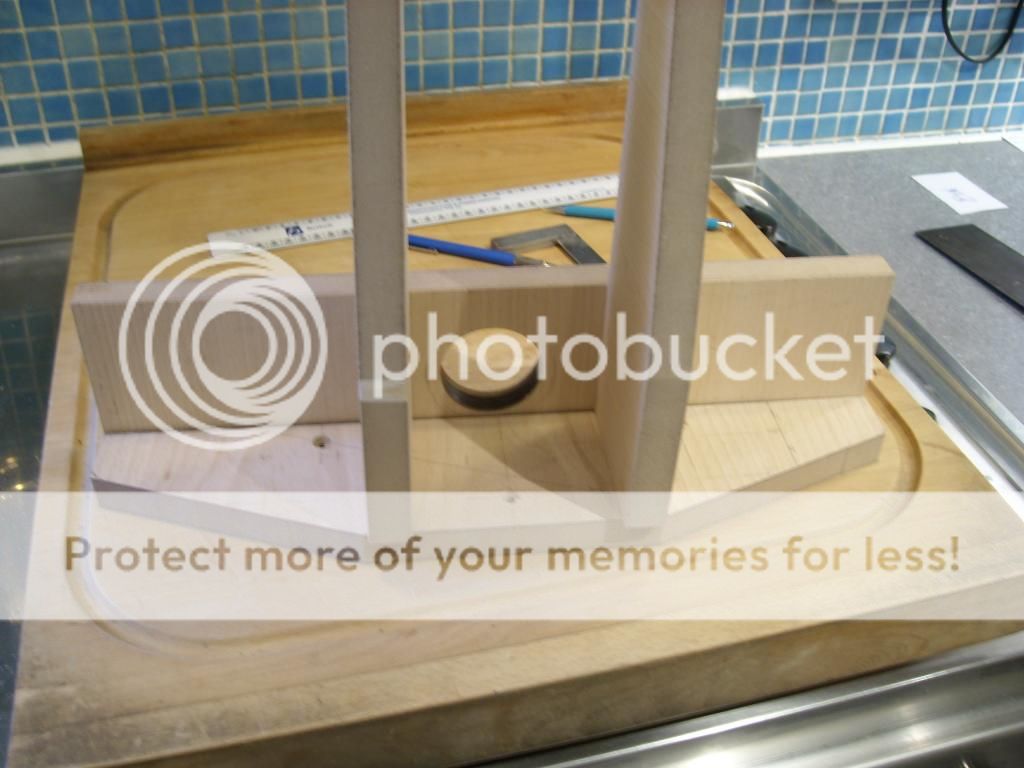
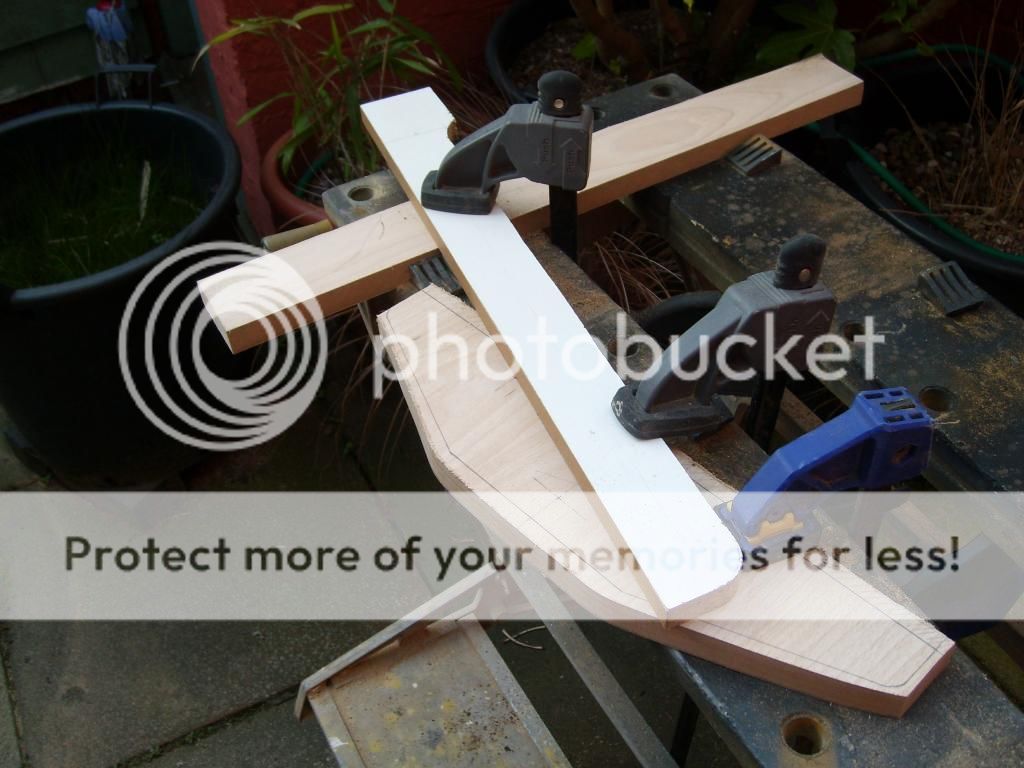
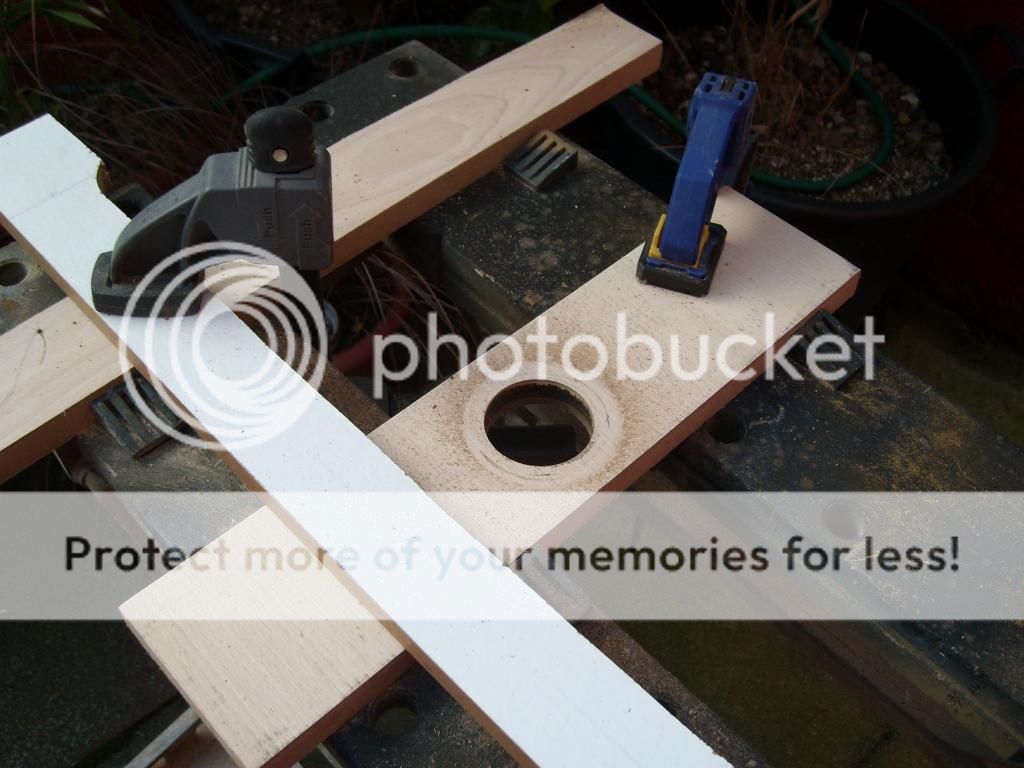
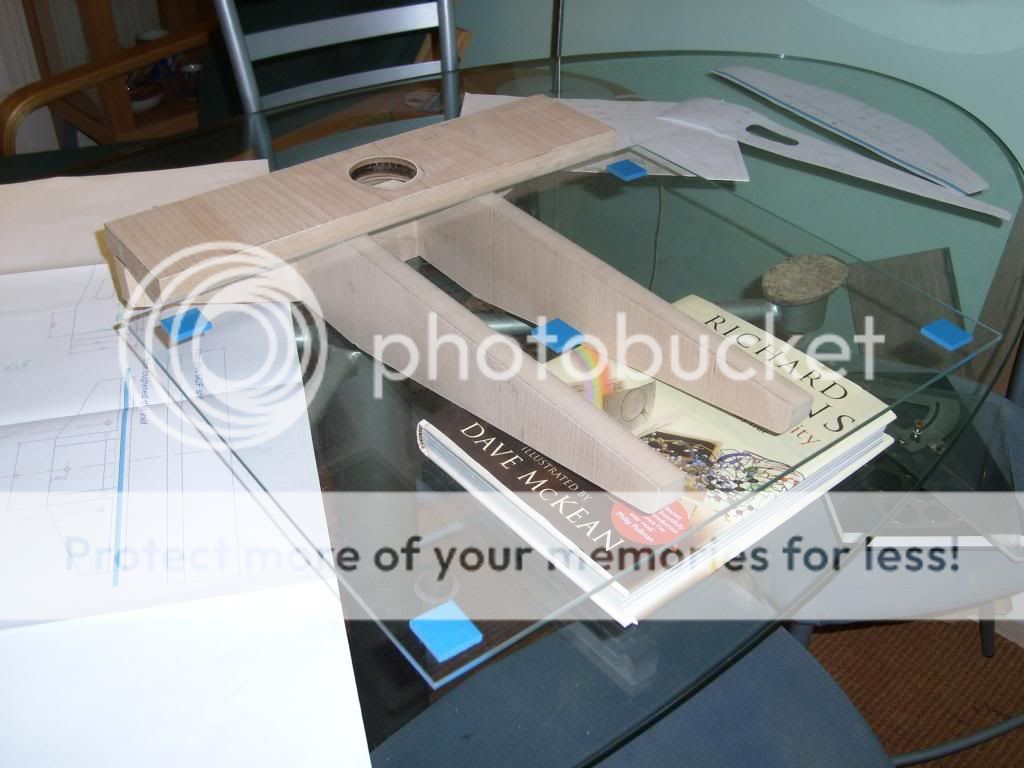
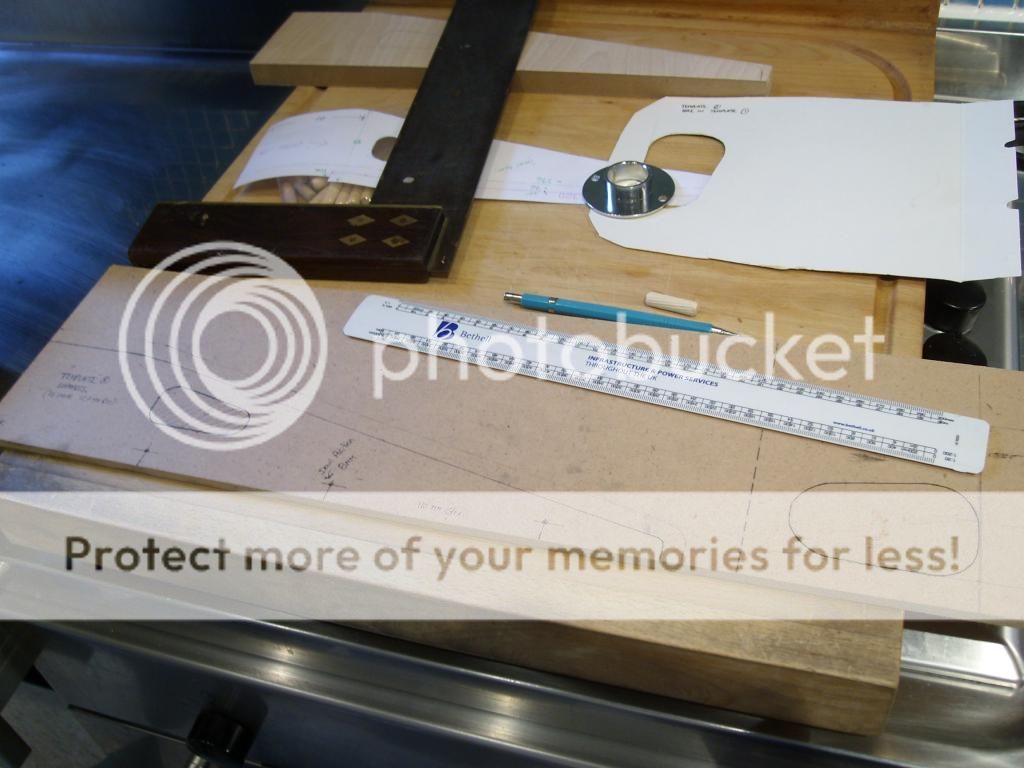
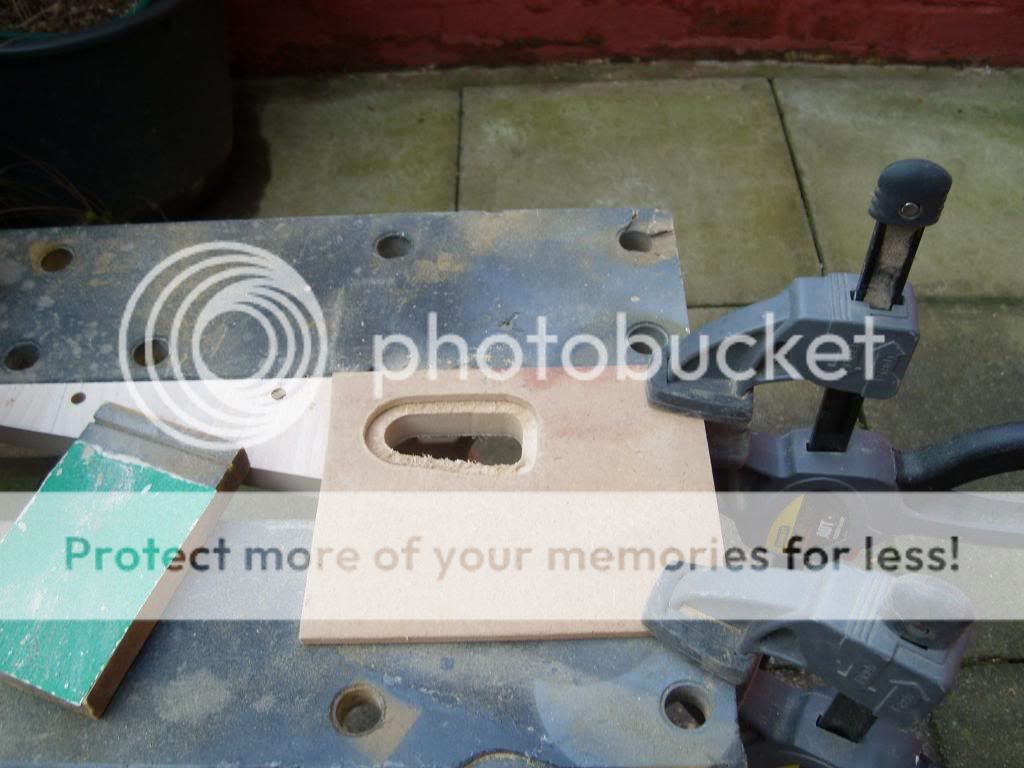
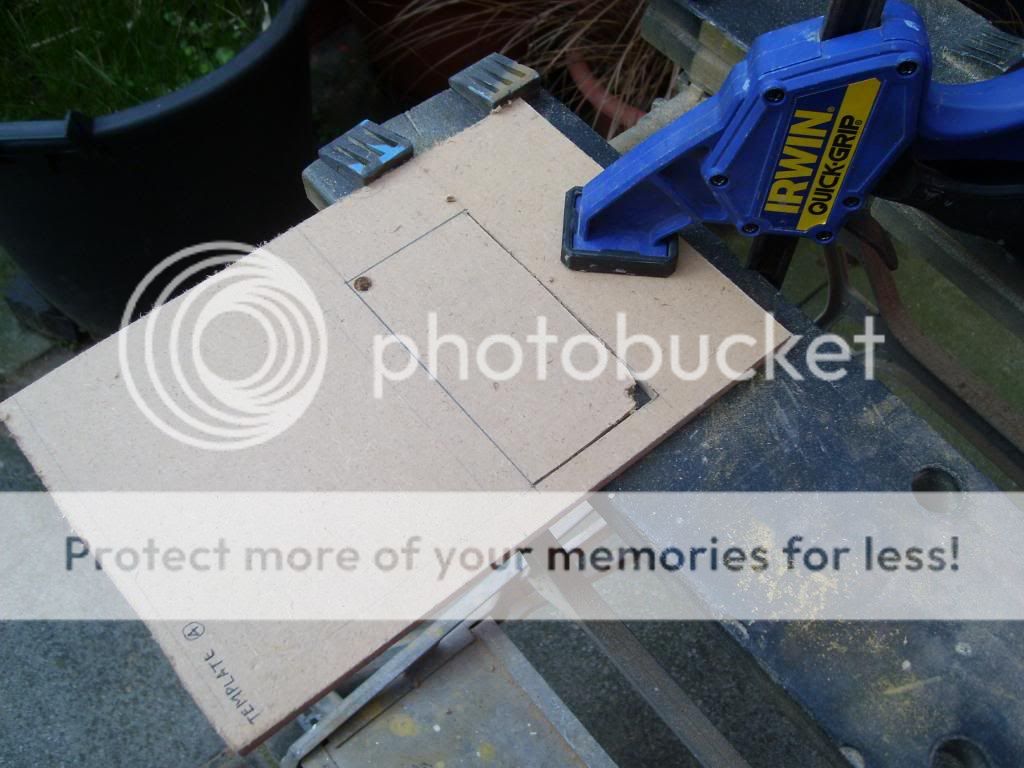
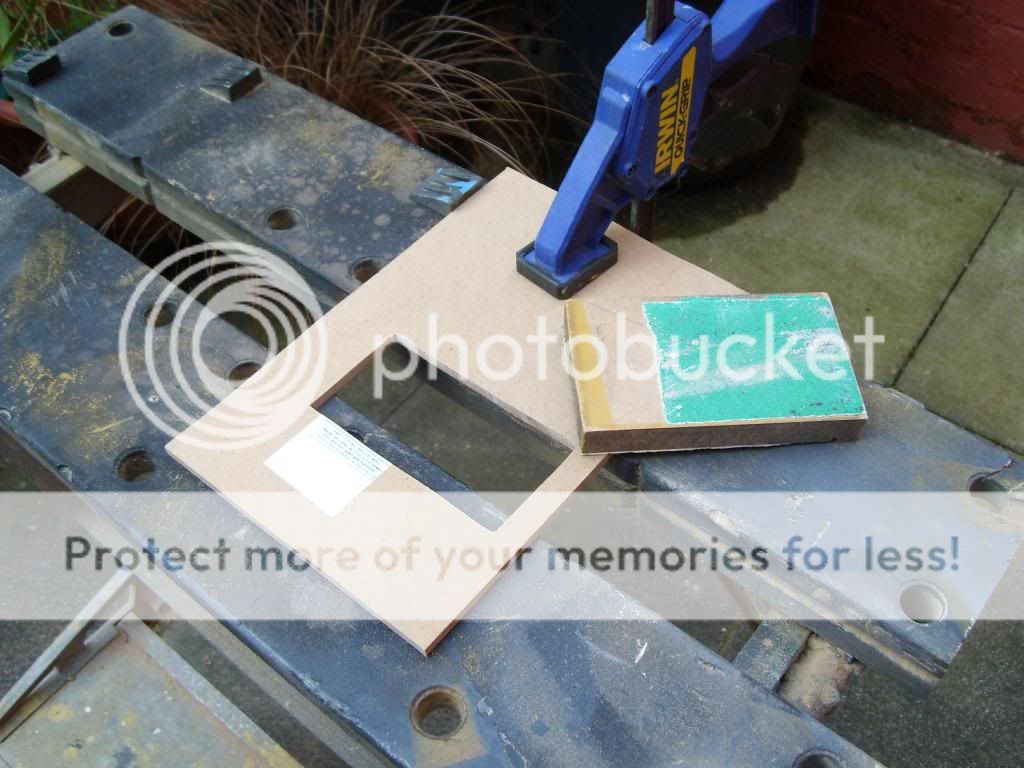
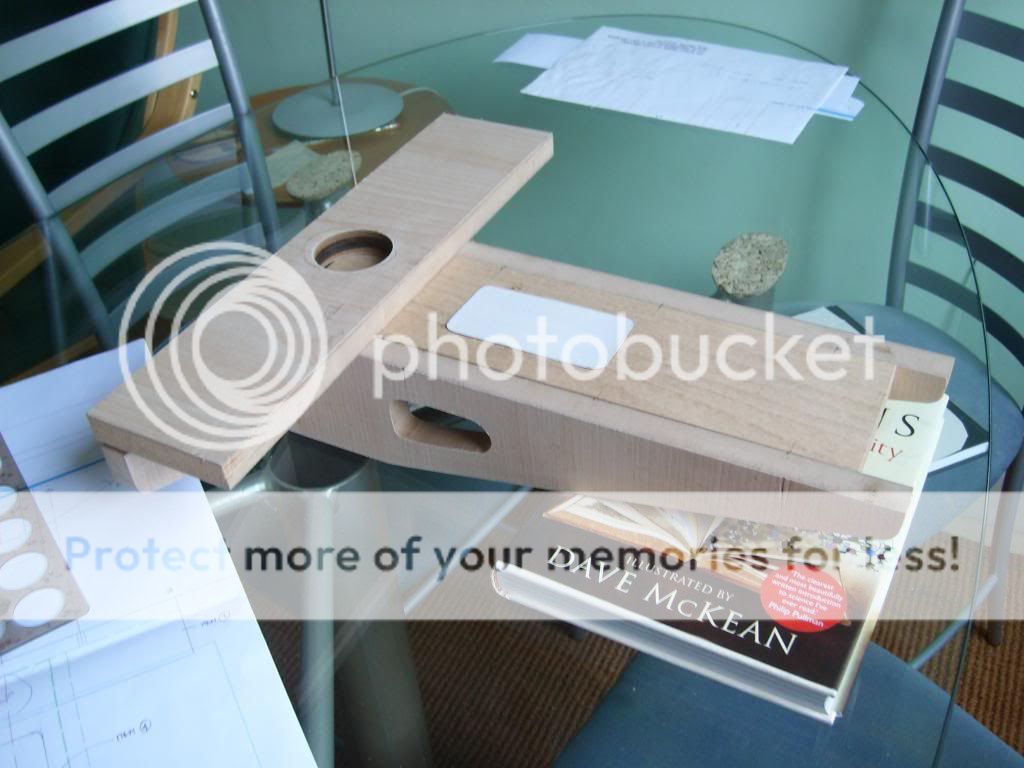
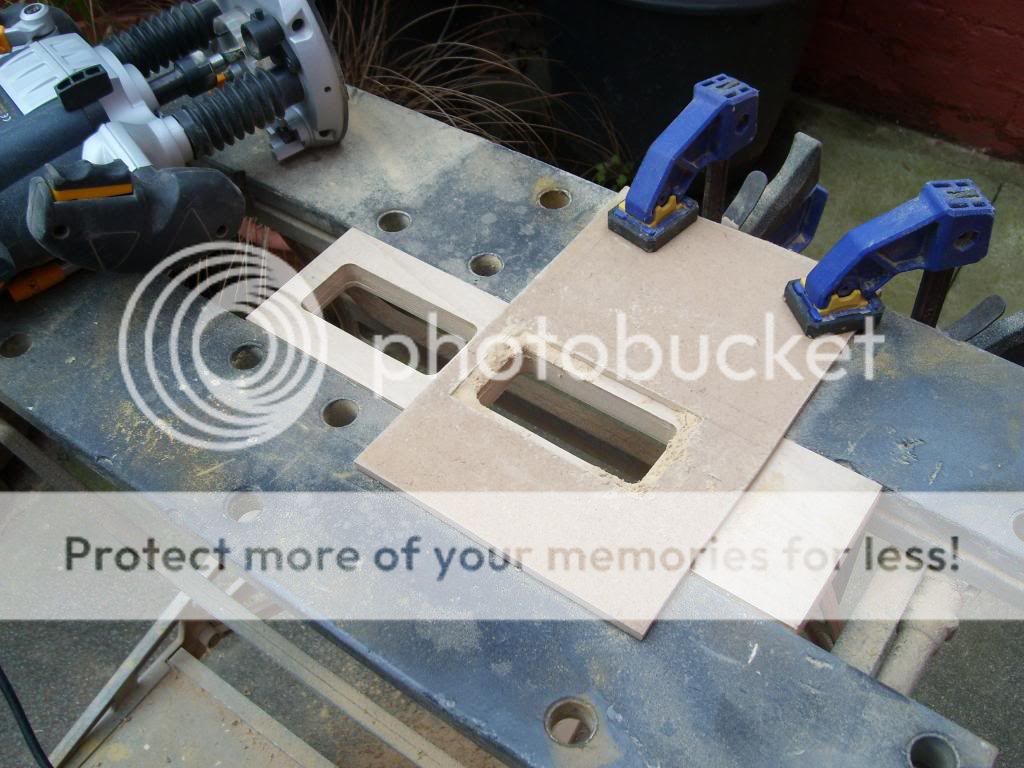
As my No.2 LP 12 hasn't fallen of the wall in the last two days I have decided now is the time for the design to break cover. So some piccies:D

SL271148_zpse9c2693c.jpg


SL271145_zpsb8299002.jpg


SL271144_zps2c54d858.jpg


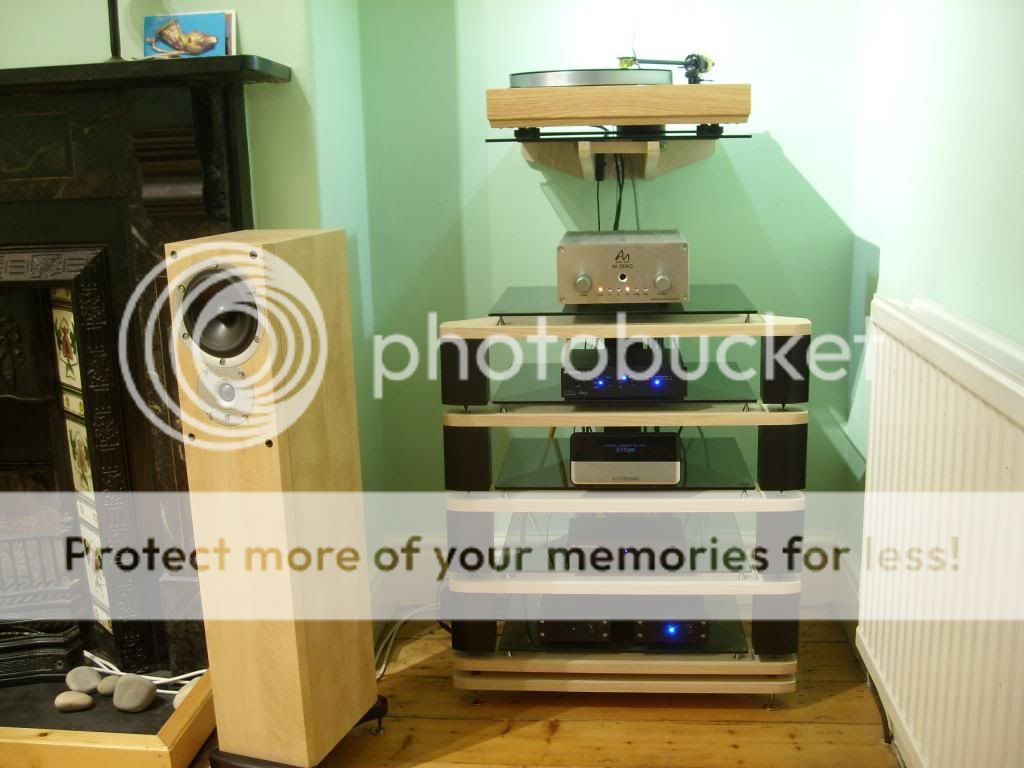
This is prototype so I would aim to get a better finish, plus the grain on veneer is running the wrong way on some pieces as they were left overs from the the last two fraim-a-like builds;)

I would be interested to know a) what people think of the design look, is it something they would have in there houses for instance? b) would people like me to publish some plans/guide ?

Look forward to hearing your responses, I have plenty piccies of build so will continue thread from beginning if interest is shown:cool:

Cheers nitrous
 
Hi, nitrous

Nice work.

How about angling the supports from the back so you can hide all the fixings?

Pete
 
Well done. Looks nice.

Perhaps there's a way of adding some kind of wooden plate to cover the three wall screws, just to finish it off elegantly...
 
I'd suggest decreasing the leverage of the shelf on the wall fastenings. Even though the LP12 is not *that* heavy, I can only imagine the pressure/tension on the wall. If you can lean on the shelf with your body weight, then it's secure enough.
 
I'd suggest decreasing the leverage of the shelf on the wall fastenings. Even though the LP12 is not *that* heavy, I can only imagine the pressure/tension on the wall. If you can lean on the shelf with your body weight, then it's secure enough.

Yes, an obvious concern I agree. Had my 20kilo tool box on it for a while as a dead weight. The problem with tugging at these type of fixings with your body weight is isn't the same force, but don't worry I had a very close eye on it and anyone attempting this needs to choose the right fixings carefully. These are M8 105mm long:D

SL271143_zps9de3627f.jpg
 
Very good workmanship, and the thing I like is the look of simple, good, honest material used logically and funcionally. Yes, I'd be very happy to have this in my house. Are the speakers TLs?
 
Very good workmanship, and the thing I like is the look of simple, good, honest material used logically and funcionally. Yes, I'd be very happy to have this in my house. Are the speakers TLs?

Hi thanks for comments, no the speakers are some cheap kef Cresta's lightly modified. But odd you say that as I alternate them with some DIY ones which are TL. Plus in my main system TL's are the weapon of choice;)
 
Yes, an obvious concern I agree. Had my 20kilo tool box on it for a while as a dead weight. The problem with tugging at these type of fixings with your body weight is isn't the same force, but don't worry I had a very close eye on it and anyone attempting this needs to choose the right fixings carefully. These are M8 105mm long:D

SL271143_zps9de3627f.jpg
Nice one, nitrous. I presume your wall is solid breeze-blocks? You may wish to consider how your shelf design works on timber-framed walls where studs are spaced 400-600mm apart. In such cases, the vertical plate may need to be rectangular so the fasteners can anchor to solid timber.
 
Nice one, nitrous. I presume your wall is solid breeze-blocks? You may wish to consider how your shelf design works on timber-framed walls where studs are spaced 400-600mm apart. In such cases, the vertical plate may need to be rectangular so the fasteners can anchor to solid timber.

Solid brick circa 1900:D

Any one building this will have to consider the correct fixing for their wall type and if the wall plate part of the shelf requires modification as well. Look like the forum can provide suitable advice on this if required:)
 
First up, I needed to get on to paper my thoughts. Whilst I have a couple of variations planned, I had pretty much settled on using a glass shelf exactly the same as the fraim-a-like. As well as using the same veneered MDF as I used in the fraim-a-like. Obviously MDF doesn't have great strength so this needed to be taken in to account. Below is the good old fashioned way of drawing out basic ideas. I went through quite a few before I got the elements I was looking for.

IMG_0142.jpg


The material:
SL270982.jpg


I then knocked up a quick scale model in cardboard, as this helps visualise the idea further;) As I have chosen to try and get a 'floating' look to the shelf i need to balance strength against look.

SL270989.jpg


SL270990.jpg


SL270991.jpg


Next I needed to work out exactly how far out I needed to supports to cantilever.

IMG_0162.jpg


IMG_0159.jpg


I worked out a minimum gap for the lid opening, and looked at cable placement etc.

Next up, the work begins:D:D:D
 
I'm still working on proportion at this stage and balancing the strength of the material with how it will look. I decided from the off to make holes in most of the sections to lighten the look and of course reduce the weight. I'm using some off cuts so the grain is running how I really want, but at this stage that is a minor issue.

SL270995.jpg


SL270996.jpg


I cut two supports out and try it out to gauge the distance apart.

SL270998.jpg


Again I'm balancing strength against the span the glass will overhang unsupported. As I'm using a Trampolin base the feed are not that far apart, so the distance to the point the glass is supported isn't as far as you may think.

Once I had this worked out, I set about building the parts that give it the strength at the wall plate.

SL271012_zps878ae6fe-1.jpg


Wall Plate -
SL271005_zps340a636b.jpg


'Top' rear section, that double as a shelf for stylus cleaning stuff;) Also the 53mm dia hole is just enough to get the mains plug (herc PSU) through as well as audio leads.

SL271004_zps8df164cf.jpg


Yet another trial assembly to see how things are going.
SL271013_zpse4ef887f.jpg


Templates:
I need templates to route out the 'holes' these were made from some 6mm MDF offcuts.
SL271000_zps701afca3.jpg


SL271023_zps3667fc6c.jpg


SL271034_zpse3dd7e81.jpg


SL271036_zps7945c90e.jpg


To finish the edges of the jig saw cut templates, I used some 15mm MDF oof cuts with some course (60) production paper spray glue mounted to it. (Top tip, you can also seal your MDF with spray varnish to cut down on dust)

SL271036_zps7945c90e.jpg


More trial assembly:rolleyes:
SL271032_zpsc56d9e97.jpg


More routing:D
SL271039_zpsc7f479b8.jpg


SL271040_zps5d25bc27.jpg


Next stage fitting it all together to get the strength maximised.
 
Hi, Nitrous

Couple of tips run your router at the slowest speed and make bigger chips that settle quicker for even less dust, and run that hole saw slower so it doesn't burn, you could have cut the hole with a template and your router/collar.

Pete


advertisement


Back
Top