advertisement


A&R Cambridge A60 tidy up

kicker

pfm Member
Hi there
I have an A60 that I am looking to tidy up and in my search for information there seemed to be a lot emanating from here, so I signed right up :)
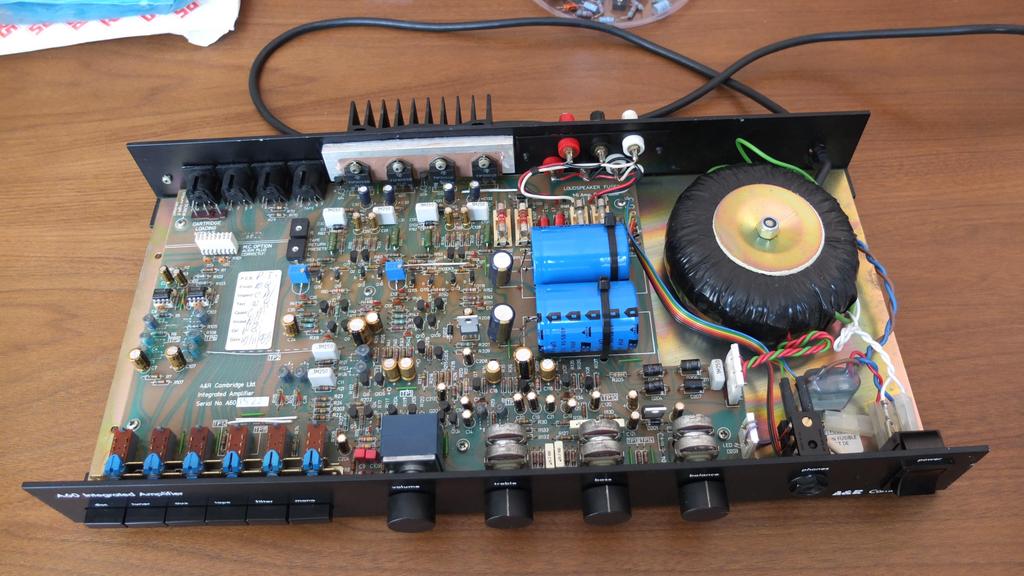
First of all here it is
u1k10dpp.dzl.jpg


It is in rough shape cosmetically but it runs, I bought it very very cheap to use in my workshop paired with (again cosmetically rough but very very cheap) Technics SB4500's.
It has been in use for over a year but lately the popping on power up and scratchy volume pot has been bothering me so I'm looking to replace a few things. I have read Robert's guide (and probably every other A60 related thread here) which has been very useful and I'll be using it as a base for my work.

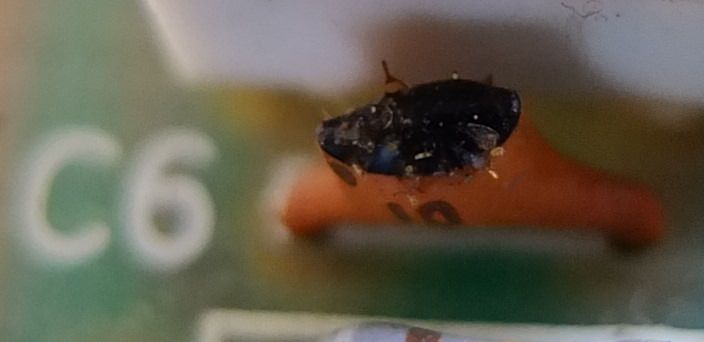
It is number 1522, dated 15/11/83 and seems to be a New Zealand assembled unit from what I have read (which makes sense as that is where I am :) ).
I haven't worked out where it sits version wise but I was looking at only doing a like-for-like type update anyway.
zdmajj3w.yww.jpg

1vk1rjtx.ajk.jpg


Enough rambling, I have a few questions I hope I can get some advice on.
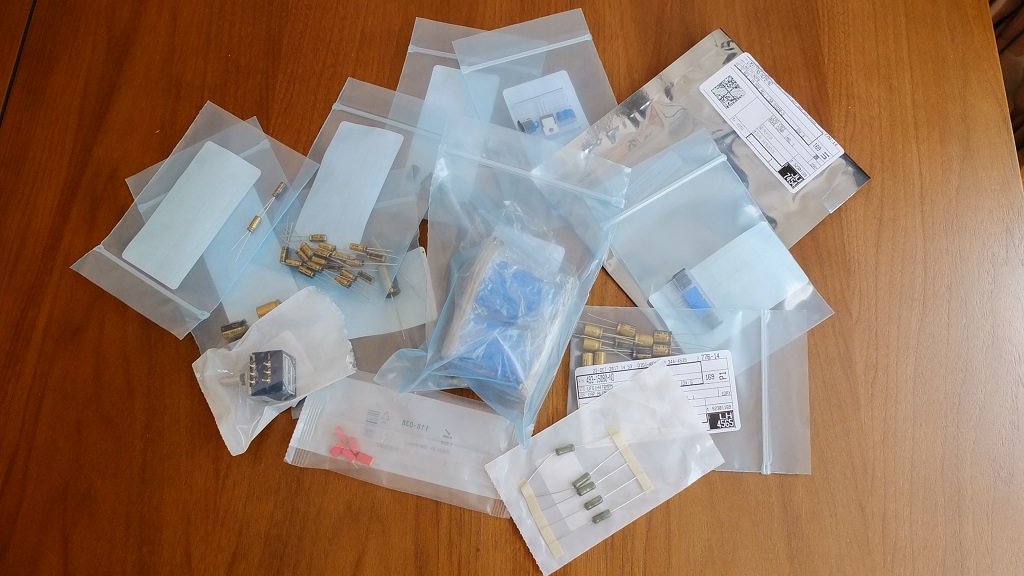
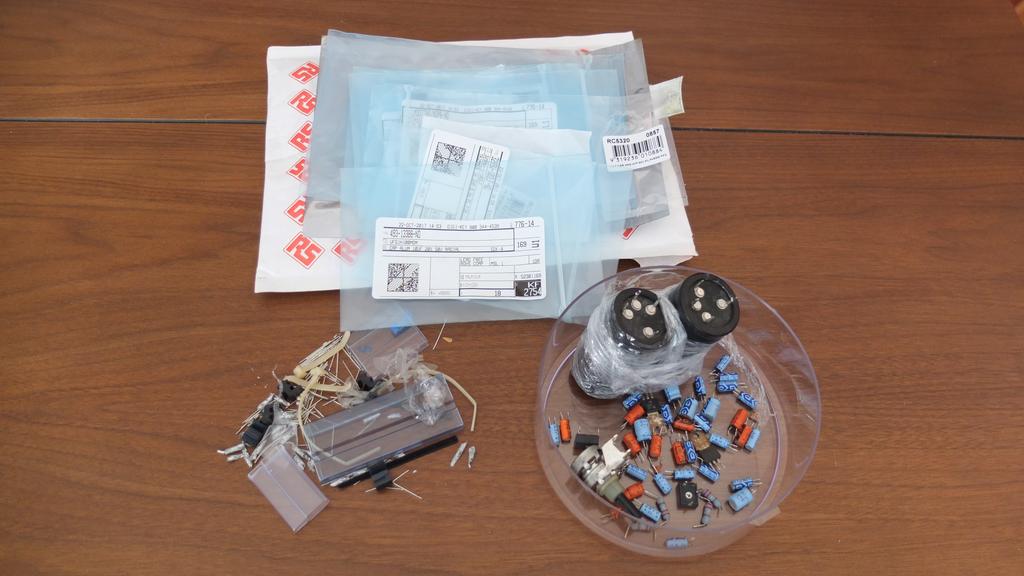
How far should I go with replacing components? Other than the 2 issues mentioned earlier the amp seems fine (to my untrained eyes and ears), I was thinking replacing the reservoir caps and adding the bypass caps plus a new ALPS rk27 pot for the volume would be a start but should I do the rest of the upgrades mentioned?
One reason I ask is it looks like my trim pots have been glued into position so was thinking I may need to replace them if I went further, I haven't tried moving them yet due to not wanting to upset anything but if I did do all the mods then I'd order some Bourns trimmers just in case (are they 1k? I thought I read that somewhere).

Any info and/or tips greatly appreciated.
Regards
Jeremy
 
Thanks Kicker for starting another A60 conversation.
As you say in your post there is already lots to read up on the Pink Fish earlier postings.

I have done quite a few refurbs over the years and Robert's posting in the reference section is the way to go.

I went big caps first, other e caps and those little wima's, the 337/317's, the the wire wound resistors and finally the bias trim pots for most of the times. I agree that the alps vol change it one of the best upgrades.

The best results I have had in the past start with the big supply caps and work towards replacing the lots more.

Once you get the hang of it it is fairly easy to open it up and why not try Roberts process in stages. You will need to adjust the bias voltage - the glue on the top is probably a bit of nail varnish to prevents customer tampering. I did find it easier to trim the bias with a newer multi-turn pot - though you have have to add a bit of wire to the lead outs and bend things to line up with the original holes.

Looks like you really might need a new wooden lid - thats taken a bit of a beating.

Enjoy the amp.

Julian
 
The most likely casualties are those small blue and orange electrolytics.
The switches probably need cleaning and the pots especially the volume are likely worn.
 
Maybe change the pots (or perhaps just lube them its easier). Leave the rest well alone. Spruce up the case if you fancy and enjoy it.
 
Cheers for the input everyone, much appreciated!
Julian, thanks for sharing your knowledge, I think I will go ahead and replace all of the components in the guide, it seems like a lot but as you say, I'll get the hang of it :)
I have a plan for the cover, it's a bit unusual, some may like it. I'll post a bit more on it once I work out how I can do it :)
 
Just one note of caution ... there are subtle differences in the circuits between the various versions. So use Rob's refurb thread as a guide and cross check capacitor values before you replace one. It caught me out initially as I was refurbing a very late model whereas Rob's was an earlier version, and there were several capacitor value changes between the versions.

E.g. where Rob says ...

Replace capacitors C14/28/29/128/129/114/212/20/19/21/119/120/121/204 with Elna Starget 10uf 35v (part no -215-5685).
... double check that, for instance, C14 is a 10uF capacitor on your version of the A60.

The service manual is great for this with full schematics for all versions. If you've not already found it, you can download it from here.
 
Thanks DuncanF, that's a good point to make and is what I have been doing so far, I couldn't work out where my one sat in all the different versions so I went through the board and made my own list.
There is definitely a difference for me, my board has 10uf 35V caps at
C14/28/29/128/129/114/212/20/19/21/119/120/121/204 and C207/208/213/214
Also C205/206 are 100uf 25V.

I have placed my order for the first lot of parts, can't wait to get started.
 
With a serial number of 1522, your example is a Mk. I. Pages 17 & 18 are the relevant schematics in the service manual linked above. Those schematics cover serial nos 0001-3980.
 
kicker:
Good luck with the project. I might have a spare wooden lid from a "spares" box if you find that you change your mind about the new one. I live in Canada but should be easy to pack and post.

Have fun and keep listening.
Julian
 
Hi Kicker
I'm just about to buy another A60 to upgrade the one I already have. I bought my original one in the knowledge that it had a channel fault but at the moment it appears to be working well although after 30+ years a recap will be an improvement. I have reviewing http://www.decdun.me.uk/a60mods.html although I am not sure about upgrading the power supply via a separate case.

Please keep us posted of your work and I hope it goes well for you.

Rob
 
Kicker Jeremy and Guitarist Rob.

I overhauled a very poorly 1980 vintage A60 about 15 years ago with much guidance from the then new Decibel Dungeon page in post #10. Not a faithful restoration, but an effective one nonetheless.

I didn't add an outboard p/s, nor bypass the h/phone socket or protection circuitry, nor replace critical resistors with Welwyn types (I may have replaced them with regular metal films - can't remember), nor install amplified diodes.

I did replace all electrolytic caps with low leak types (didn't get all spendy on them) and replaced all others that I could with polystyrenes and polypros. I used increased values in certain places as suggested.

I replaced the bias pots with Bourns multiturns as in Nick's notes. This upgrade alone made an audibly significant improvement. The original single turns were truly past their best and I couldn't get anywhere close to the correct bias voltage. The slightest screwdriver movement sent the multimeter readings all over the place!

I removed the tape return trimmers entirely. I couldn't see the value in keeping them, let alone replacing them.

I bypassed the smoothing caps with polypros as suggested. This was the last mod I did. A "maybe" improvement.

I didn't get round to upgrading the scratchy old volume pot. Probably won't now! Oh well.

The amplifier sounded a million bucks afterwards, and I still use it. I prefer it to the late production near minter I acquired later that sounds slightly muddy by comparison. Perhaps it needs its caps done, too?

I hope you find your projects fun and rewarding. The A60 can be highly engaging. My overhauled one been my favourite amplifier for 15 years.
 
Durmbo
Thanks for the encouragement. I have just picked my second A60 (£80 - I think is good value) and noted that it is much earlier than the one that I'm currently using. They are like chalk and cheese in use though - the one I have just bought is dull by comparison and has a very scratchy volume pot. I was told that it is been in dry storage for about 13 years which probably explains all. Bearing this in mind and looking at the upgrades that you performed (I think I will stick to the plan that you followed), the latest purchase be the first to get an upgrade. Like Kicker, I shall keep you posted too.

Regards

Rob
 
Thanks for the info Durmbo, great to hear more of others experiences and will keep an eye out for your progress Rob.
I'm just travelling a well worn path here but I hope it is interesting in some way.
I made a start on my new cover today, just waiting for it to dry, I'll put some pictures up soon if it all turns out well, if not I'll show you the bin it went into :)

I had a closer look at my board in some better light and it looks like I'll need to replace a couple tantalum(?) caps on the phono stage. Here are some pics, let me know what you think.
Caps C1/101
ZQPXBis.jpg


C6/106
to8w8RA.jpg

mZULPRY.jpg


C201/202 look ok but I might replace them too
 
Wow. I think they're ceramics. I assume you aren't using the phono stage, then? :D

I've opened my amplifier just now. I replaced C1/101 with electrolytics - I can't remember which type was original - and C6/106 with polystyrenes. It's possible the circuit was changed between 1980 and 1983.

Tants C3/103 are still there. I can't remember if I replaced them or not. There are a few sprinkled around the board. I probably couldn't find better types with the correct values. I bought all my parts from local resellers.

I didn't replace every ceramic cap. I couldn't get all the polystyrene values I needed. I didn't replace them with new ceramics because I believed the type had excellent stability and lasted nearly forever. Now I see that some of them have a white film on them in parts. Hmmm. I can't believe the state of the ones in your pictures!

Is the fascia in good shape? Hard to tell from your picture. I really like the enamelled ones with printed lettering. Much classier than the matte plastic overlay that came on later production samples like my other A60.
 
Yeah, I hadn't tried the phono stage yet (record player also needs attention :) ), I wonder if someone saw disc and ran a cd player through it? This amp has definitely had a hard life.

The fascia is in ok shape, it's the enamel kind but has what looks like some old tape residue on it that has yellowed. I'll try a bit of de-solvit on it and see if that clears it up.

The parts turned up today, time to get started
JuK6wgi.jpg
 
Finished replacing the caps, resistors, IC's and trimmers. Took me about 3 hours and it went pretty smoothly. I put new thermal paste on the heatsink and managed to clean off the ugly residue from the front panel which I was happy about.
iz0vpDA.jpg


L1823tz.jpg


I haven't set the trimmers yet, will wait till tomorrow as I am running out of time today
 
Have set the bias to 8mV, left for 30 mins then reset, then another 30 for a final check. I'm glad I had those nice Bourns trimmers to do it with.


advertisement


Back
Top