
337alant
Negatively Biased
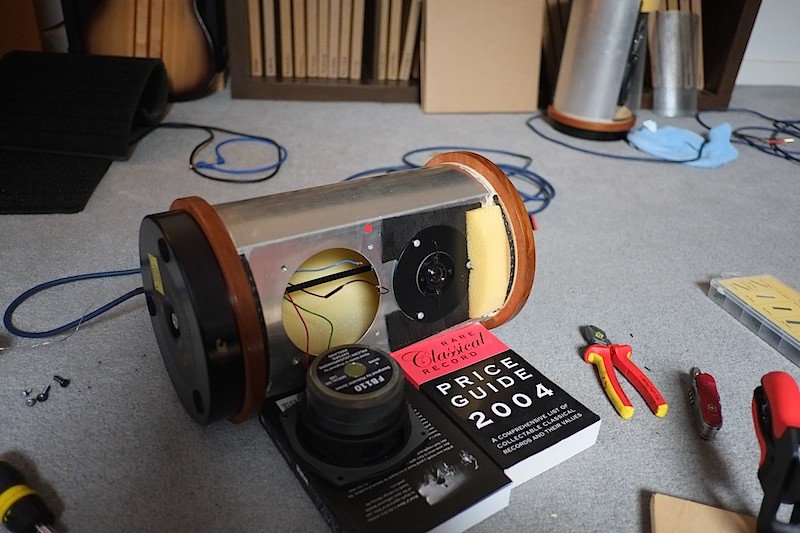
Well finding out I dont have a tension bar has really put a hold on finishing these speakers 
The chances of finding the original items is pretty slim so I will have to come up with an engineering solution that may not be original but will work as a tension bar.
I am going to fit a 6mm x 20mm flat steel bar to the laminated top plate glued and screwed into the top plate, this bar will have a drilled and taped with a 6mm thread into it. This will give me a good anchor onto the top plate so I can tension up the base plate
I will dress the thread off the bar behind the Bass/ mid driver so it doesn't touch.
Once I get this fixed I can finish the wiring fit the grills and foam surrounds
I really want to listen to these speakers at their best and it will be through my Rogers A100 amplifier
Alan
 IMG_2083
 IMG_2085
 IMG_2089
 IMG_2092
 IMG_2087
 IMG_2091
 IMG_2096
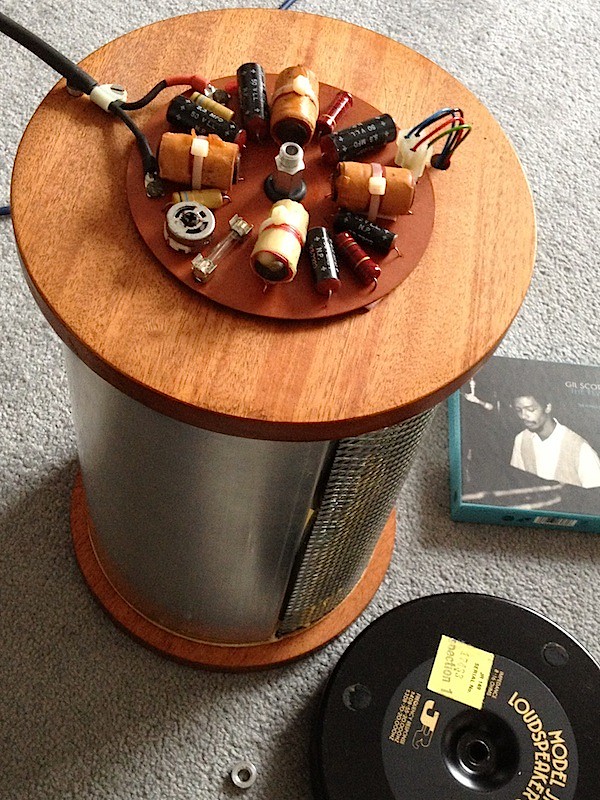
 IMG_2098
 IMG_2099
 IMG_2106
 IMG_2107
 IMG_2163
 IMG_2170