advertisement


Rega arm on Thorens 160(1)

With the top bit of the armboard having to be so thin to allow the Rega to go up if need be it’s going to be tricky to get a strong fit with short screws - can I bolt it on like a cartridge with the screw coming up from underneath and countersunk flush into the thin bit of MDF?
 
Sounds like a good idea.

The three lugs at the base of the Rega tonearms are countersunk to accept Posidrive wood screws (or countersunk machine screws).

Perhaps something like this (minus the none tapered part) into the lugs up top with 3 countersunk machines screws facing up from the bottom...


F84040980.jpg

Probably best to not mix and match one of these plus a machine screw with 2 x Posidrive wood screws (from above), as it would be quite difficult to set equal torque all round.
 
Last edited:
Got it up and running today with a plywood board and it’s sounding nice immediately- cheap stylus on an old VMS20E11 tracking all but the torture track on the HFNews test disc Will dismantle and spray the board tomorrow. Huge thanks for the help - especially Craig . I’ll post some pics in the morning- it’s a beautiful thing.
 
Forgot - I do have 1 issue . Hum I think from the unearthed tonearm/cart . How do i earth the arm to the chassis? It’s a Rega RB202 btw.
 
The following assumes that all connections are clean and tight from phono cartridge pins through RCA plugs at the phono stage and/or amplifier phono input, and that you have access to a multimeter.

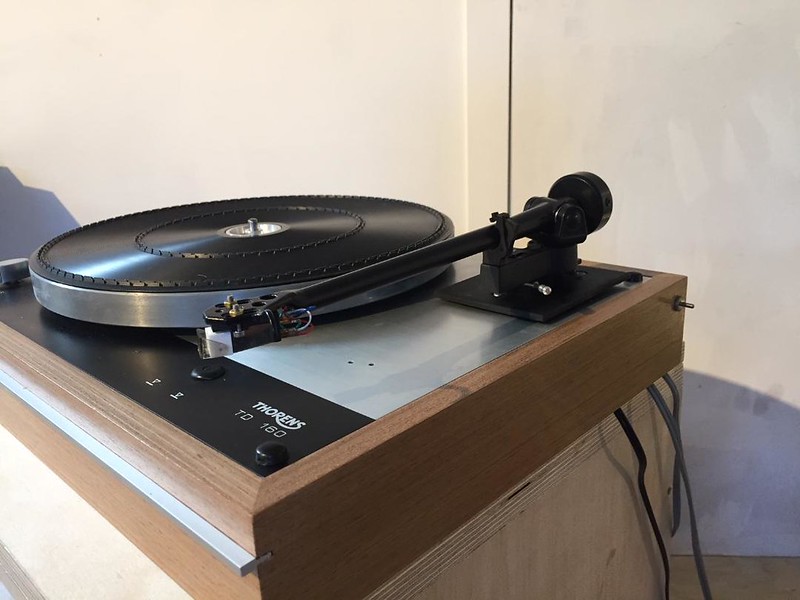
Assuming from the thread title that yours is a TD160C (aka Series I) it would have originally included a TP16 tonearm. Like Rega RB series tonearms, this vintage Thorens arm is earthed to the amplifier via the -ve shield of one channel, hence, there is no separate ground wire present that need be connected to the amp. While Thorens made the internal to external wire connections of their integral tonearm via a terminal strip, Rega employ a hard wired harness integral with the plug in the arm base. Within this plug is the same signal grounding scheme (only L/R reversed) minus any provision for an electrical connection to turntable chassis, as follows...

59508a545a4a0_RegaTonearmWiring.gif.40f89ddc3a56068731b768368495f20d.gif


Note the metal 'Earth Strip' that ties the arm tube ground (black wire) to the arm pillar metal by folding over the side of the plastic plug and becoming tightly shimmed to the inside surface of the metal pillar when the plug is inserted and made tight via the set screw. Black (arm tube ground) and blue (left -ve) are connected here such that the left channel shield sets the arm and amp to equal potential.

Before adding any additional chassis grounding connections, I'd start with testing the two internal ground connections of the tonearm using the meter.

WARNING: Make sure that the turntable is safely unplugged from the mains before commencing any tests.

Rega tonearm tube ground test:
Unplug the tonearm from the phono input and set the multimeter to Ohms (or to 'Continuity' if it has a dedicated alarm test) and place one probe on the metal arm tube whilst touching the other probe to the left channel -ve outer ring on the RCA plug. If there is a bit of paint off at the headshell slots then all the better spot to test from.​

Rega tonearm base ground test:
As above, but with the arm end probe touching the metal of the pillar.​

So as not to create an even worse ground loop, the turntable chassis and sub-chassis need be at the same potential as the tonearm, preferably at the same location where the internal ground connections are common. IOW, simply running a wire direct from the turntable chassis to the amplifier ground terminal may create a much worse ground loop and/or an effective RFI antennae. A common electrical connection between the turntable top plate, sub-chassis and the tonearm earth strip (or directly to the tonearm pillar metal) and relying upon the existing arm earthing connection to amp arrangement is the best bet. One may think that one of the Rega mounting screws would do, however, unlike the dearer Regas, the RB202 3-point arm base is a polymer molding.

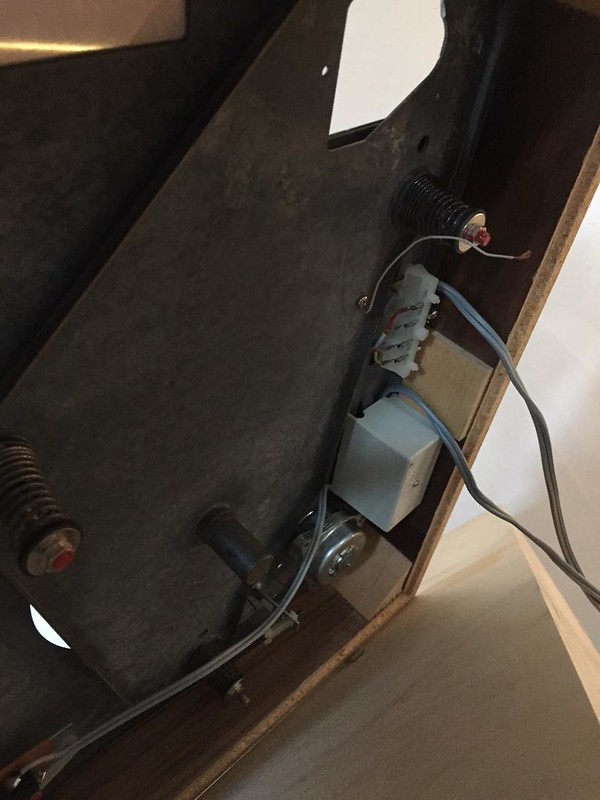
As an aside, when a Linn arm is mounted on a TD160, the flying ground lead at the tonearm end of the Linn arm cable harness is connected to the sub-chassis, which in turn is connected to the metal top plate via the terminal strip. As you mentioned that this particular TD160 had been 'Linn cut', I suspect that a ground wire from top plate (possibly via the original terminal strip) to sub-chassis may still be present. If so, then a ground lead from sub-chassis to the tonearm earth strip (or direct to the pillar metal) should eliminate the hum. If a top plate to chassis ground lead isn't present, then one need also be added.

Regardless, in order to have enough information so as to be able to offer the safest and most effective solution, I have the following questions:
  1. Is the mains lead a 2-core cable?
  2. Is the turntable plugged into a separate phono stage or directly into a phono input on the amp?
  3. Do the existing tonearm ground paths show continuity?
  4. Is there a chassis ground wire running from the top-plate (possibly via the old terminal strip) to the sub-chassis?
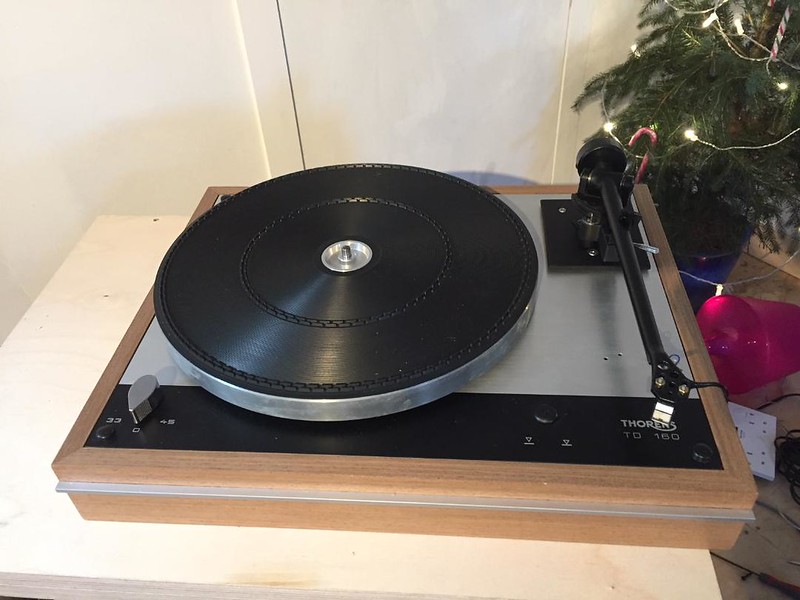
Looking forward to the photos of your work!

P.S. Please include a picture of all the wiring as is?
 
Last edited:
I recently sorted out the hum on my TD-150 (I know different model) and Craig's questions are the key to the probable solution!

Get that multimeter out, set to 'Ohms' and have a little test (while TT unplugged from the mains!!!)
 
I recently sorted out the hum on my TD-150 (I know different model) and Craig's questions are the key to the probable solution!

Get that multimeter out, set to 'Ohms' and have a little test (while TT unplugged from the mains!!!)
Thanks for the safety reminder Paul!

It may help Fraser to point out here that the TD150 and TD160 Series I were wired the same for both mains and tonearm signal/ground. As such, your thread should be considered as a valuable reference.

Previous post now updated to include safety warning(s).
 
Sorry been off fixing just about everything else in the house that decided to break just before Christmas- washing machine , my tooth and finally the oven thermostat!
I’ll have to re read my loading photo instructions as it’s been a while . There is a short earth lead coming off the sub chassis (would have connected to the linn arm I assume) and a fixed fold of metal off the top plate soldered to the original arm lead terminal strip which is clipped to the deck and has the original “arm” lead coming out of the deck. I can’t see any direct cable link between top plate and chassis.
 
Sorry to hear of your other repair woes, especially so close to Christmas; 'when it rains, it pours' my dear old Dad used to say.

The short earth lead coming off the chassis would have been solder connected to the folded metal tab that bridges the top plate to the terminal strip ground point. IOW, this short wire provided the ground connection between top plate and chassis at the same position on the terminal as was connected the original Thorens tonearm ground (via right channel -ve wire); with the external arm cable right channel shield having been connected the other side of this position on the strip.

The Linn arm would have had its own ground lead extending out the back end of the cable base plug. This was likely connected to the same point on the chassis as was the existing short ground wire.

When you typed '...terminal strip which is clipped to the deck and has the original “arm” lead coming out of the deck' are you saying that the old Thorens external tonearm lead is still connected? If so, I'll wait for the pictures.
 
Thermostat fitted and oven working which is huge relief.It wasnt the promised like for like part and much like the Thorens I had to drill through the metal of the control panel to get access to the screw holes to attach the new one.Never buy a Fisher and Paykel cooker.
Just had a fiddle with the springs to get the Thorens platter level - takes me back to my LP12 days with many lost hours trying to get the perfect piston bounce. I can`t say this bounce is as good as i remember the Linn being. It`s very stiff , but then my point of reference is now my Acutus which bounces at something like 2hz! I`m assuming this is just how the TD160 is as it looks all in order and as close to mint as you could get.
 
Great job on the board! Nicely overhung all round for a Rega.

Have you had chance to test the efficacy of the in-built Rega grounding with a multimeter, as per post #25, yet? (perhaps not, what with your cooker taking priority)

Regardless, I'd be removing the old Thorens external arm lead and re-soldering the existing sub-chassis ground wire to the metal tab that connects between top plate and terminal strip. Should the Rega ground connections test positive and the hum persists, then I'd be connecting a new ground lead from the same screw on the sub-chassis to the metal of the tonearm pillar. As trial, wedge the bare wire end between armhole and pillar at the tonearm end - with an eye to soldering on a similar earth strip to that within the arm and tinning the two strips together should the hum have been eliminated.

The plinth does look to be in good shape. A wipe with Murphy Oil Soap (or teak oil) and a good polish of the platter rim with Autosol and that deck would look like it just came from the factory with a short stop-over at Southend-on-Sea.

P.S. Hard to tell from the picture, but if the springs had been changed out for old Linn ones it will be as stiff as a stiff thing.
 
Last edited:
Just had a zoomed in look at the springs in your pic and they are Thorens.

You could try removing all three springs, determine which is the stiffest and locate it on the left (platter side), with the weaker of the two remaining springs at the front.

Also, while you have the springs off, determine and mark which side of each spring is weakest (by pinching them gently round their circumference), and then position them such that the weaker side of each spring is toward the centre of the triangle formed by the three spring locations. Once levelled, it will tend to self-centre and have an improved vertical bounce (i.e. less 'tippy' when disturbed).
 
I was hoping to leave the old cable in place and just have it exit the deck unconnected as it looks like a bit of a pain to unsolder and disconnect.I plan to solder the short cable to the top plate metal tab and then run a cable from the chassis screw to the arm which I assume should have the same result.
Does the plug at the bottom of the Rega just pull out? While I’m on the Rega , do all Rega arms swing towards the arm rest when you try to level them? Zero anti skate but it still pulls back strongly to the arm test. It was the same with the RB300 on my other daughters RP3.
Sounds and tracks fine on the test lp.SME V floats perfectly at zero weight as I seem to remember the Ekos did.


advertisement


Back
Top